remote start BUICK LESABRE 2005 Owner's Manual
[x] Cancel search | Manufacturer: BUICK, Model Year: 2005, Model line: LESABRE, Model: BUICK LESABRE 2005Pages: 392, PDF Size: 2.45 MB
Page 65 of 392

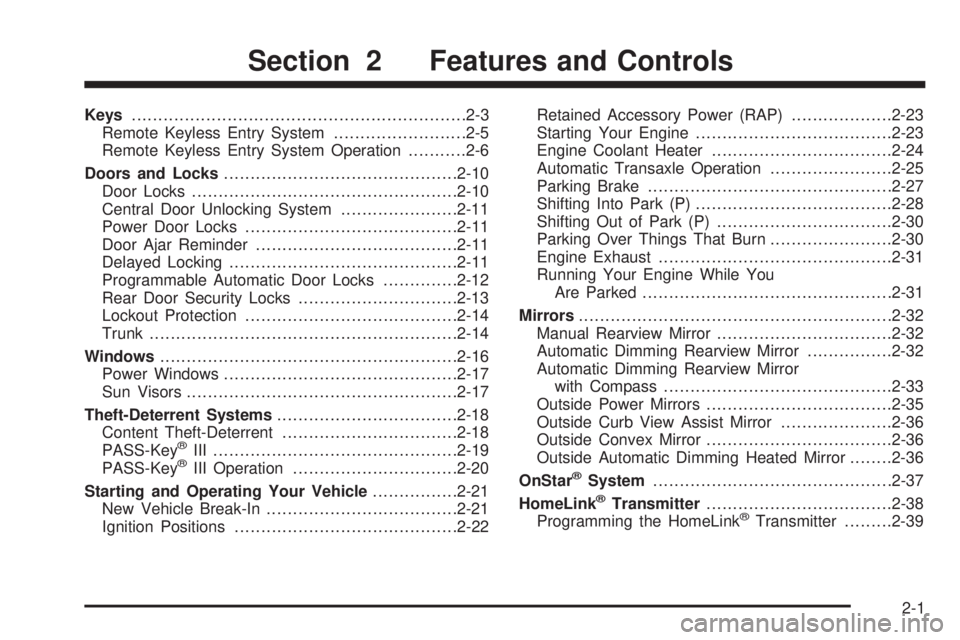
Keys...............................................................2-3
Remote Keyless Entry System.........................2-5
Remote Keyless Entry System Operation...........2-6
Doors and Locks............................................2-10
Door Locks..................................................2-10
Central Door Unlocking System......................2-11
Power Door Locks........................................2-11
Door Ajar Reminder......................................2-11
Delayed Locking...........................................2-11
Programmable Automatic Door Locks..............2-12
Rear Door Security Locks..............................2-13
Lockout Protection........................................2-14
Trunk..........................................................2-14
Windows........................................................2-16
Power Windows............................................2-17
Sun Visors...................................................2-17
Theft-Deterrent Systems..................................2-18
Content Theft-Deterrent.................................2-18
PASS-Key
®III ..............................................2-19
PASS-Key®III Operation...............................2-20
Starting and Operating Your Vehicle................2-21
New Vehicle Break-In....................................2-21
Ignition Positions..........................................2-22Retained Accessory Power (RAP)...................2-23
Starting Your Engine.....................................2-23
Engine Coolant Heater..................................2-24
Automatic Transaxle Operation.......................2-25
Parking Brake..............................................2-27
Shifting Into Park (P).....................................2-28
Shifting Out of Park (P).................................2-30
Parking Over Things That Burn.......................2-30
Engine Exhaust............................................2-31
Running Your Engine While You
Are Parked...............................................2-31
Mirrors...........................................................2-32
Manual Rearview Mirror.................................2-32
Automatic Dimming Rearview Mirror................2-32
Automatic Dimming Rearview Mirror
with Compass...........................................2-33
Outside Power Mirrors...................................2-35
Outside Curb View Assist Mirror.....................2-36
Outside Convex Mirror...................................2-36
Outside Automatic Dimming Heated Mirror........2-36
OnStar®System.............................................2-37
HomeLink®Transmitter...................................2-38
Programming the HomeLink®Transmitter.........2-39
Section 2 Features and Controls
2-1
Page 82 of 392

Theft-Deterrent Systems
Vehicle theft is big business, especially in some cities.
Although your vehicle has a number of theft-deterrent
features, we know that nothing we put on it can make it
impossible to steal.
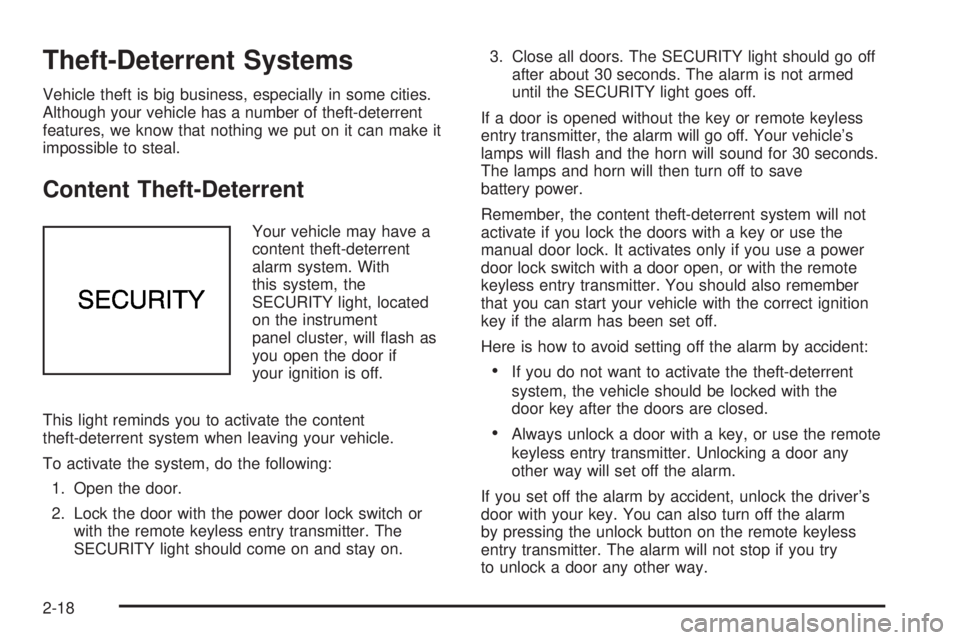
Content Theft-Deterrent
Your vehicle may have a
content theft-deterrent
alarm system. With
this system, the
SECURITY light, located
on the instrument
panel cluster, will �ash as
you open the door if
your ignition is off.
This light reminds you to activate the content
theft-deterrent system when leaving your vehicle.
To activate the system, do the following:
1. Open the door.
2. Lock the door with the power door lock switch or
with the remote keyless entry transmitter. The
SECURITY light should come on and stay on.3. Close all doors. The SECURITY light should go off
after about 30 seconds. The alarm is not armed
until the SECURITY light goes off.
If a door is opened without the key or remote keyless
entry transmitter, the alarm will go off. Your vehicle’s
lamps will �ash and the horn will sound for 30 seconds.
The lamps and horn will then turn off to save
battery power.
Remember, the content theft-deterrent system will not
activate if you lock the doors with a key or use the
manual door lock. It activates only if you use a power
door lock switch with a door open, or with the remote
keyless entry transmitter. You should also remember
that you can start your vehicle with the correct ignition
key if the alarm has been set off.
Here is how to avoid setting off the alarm by accident:
If you do not want to activate the theft-deterrent
system, the vehicle should be locked with the
door key after the doors are closed.
Always unlock a door with a key, or use the remote
keyless entry transmitter. Unlocking a door any
other way will set off the alarm.
If you set off the alarm by accident, unlock the driver’s
door with your key. You can also turn off the alarm
by pressing the unlock button on the remote keyless
entry transmitter. The alarm will not stop if you try
to unlock a door any other way.
2-18
Page 109 of 392

Vehicle Personalization
Memory Seat and Mirrors
If your vehicle has this feature, the controls are located
on the driver’s door panel, and are used to program
and recall memory settings for the driver’s seating,
outside mirror positions and climate controls.
SeeClimate Control System on page 3-24for
more information.To save your seat and mirror positions into memory,
use the following procedure:
1. First identify the DRIVER # on the Driver Information
Center (DIC) by pressing the MEMORY button 1
or 2 or by pressing the unlock button on the remote
keyless entry transmitter. SeeDriver Information
Center (DIC) on page 3-47.
2. Adjust the driver’s seat and lumbar position to a
safe and comfortable driving position. Adjust both
outside mirrors to suit you. SeeOutside Power
Mirrors on page 2-35.
3. Press and hold the MEMORY button (1 or 2)
corresponding with your DRIVER # displayed on the
DIC for longer than three seconds. You will hear
two beeps con�rming that the seat and mirror
positions have been entered into memory.
To set the seat and mirror positions for a second driver,
follow the previous steps, but start by pressing the
unlock button on the transmitter that displays the other
DRIVER # on the DIC. Be sure to use the MEMORY
button which corresponds to the DRIVER # identi�ed by
the second transmitter.
2-45
Page 161 of 392

SERVICE STABILITY SYSTEM – 54:If you ever see
the SERVICE STABILITY SYSTEM message, it
means there may be a problem with your stability
enhancement system. If you see this message, try to
reset the system: stop, turn off the engine, then start the
engine again. If the SERVICE STABILITY SYSTEM
message still comes on, it means there is a problem.
You should see your GM dealer for service. Reduce
your speed and drive accordingly.
STABILITY SYSTEM ACTIVE – 55:You may see the
STABILITY SYSTEM ACTIVE message on the Driver
Information Center. It means that an advanced,
computer-controlled system has come on to help your
vehicle continue to go in the direction in which you
are steering. This stability enhancement system
activates when the computer senses that your vehicle is
just starting to spin, as it might if you hit a patch of
ice or other slippery spot on the road. When the system
is on, you may hear a noise or feel a vibration in the
brake pedal. This is normal.
When the STABILITY SYSTEM ACTIVE message is on,
you should continue to steer in the direction you want
to go. The system is designed to help you in bad
weather or other difficult driving situations by making the
most of whatever road conditions will permit. If the
STABILITY SYSTEM ACTIVE message comes on, you
will know that something has caused your vehicle to
start to spin, so you should consider slowing down.DIC Vehicle Personalization
The DIC can be used to program the following personal
choice features available with your vehicle:
Automatic Door Locks
Window Lock Out
Security Feedback
Delayed Locking
Perimeter Lighting
Memory Seats
Outside Curb View Assist Mirror
Driver ID
Language Selection
The personal choice settings displayed on the DIC are
determined by the transmitter used to enter the
vehicle. Each remote keyless entry transmitter was
pre-programmed to belong to DRIVER 1 or DRIVER 2
and is numbered on the back. After the unlock button on
a remote keyless entry transmitter is pressed and the
ignition is in RUN, the DIC will display the identi�ed
driver and recall the settings previously programmed for
that driver. The settings can also be recalled by
brie�y pressing one of the MEMORY buttons located on
the driver’s door.
3-51
Page 253 of 392

A. Engine Compartment Fuse Block. SeeEngine
Compartment Fuse Block on page 5-89.
B. Windshield Washer Fluid Reservoir. See “Adding
Washer Fluid” underWindshield Washer Fluid
on page 5-34.
C. Remote Positive (+) Terminal. SeeJump Starting on
page 5-40.
D. Engine Coolant Recovery Tank. SeeCooling System
on page 5-28.
E. Radiator Pressure Cap. SeeRadiator Pressure Cap
on page 5-26.
F. Engine Oil Dipstick. See “Checking Engine Oil”
underEngine Oil on page 5-13.
G. Engine Oil Fill Cap. See “When to Add Engine Oil”
underEngine Oil on page 5-13.
H. Engine Coolant Air Bleed Valve. See “How to Add
Coolant to the Radiator” underCooling System
on page 5-28.
I. Automatic Transaxle Fluid Dipstick. See “Checking
the Fluid Level” underAutomatic Transaxle Fluid
on page 5-21.
J. Brake Master Cylinder Reservoir. See “Brake Fluid”
underBrakes on page 5-35.
K. Engine Air Cleaner/Filter. SeeEngine Air
Cleaner/Filter on page 5-18.Engine Oil
If the ENGINE OIL LOW
CHECK LEVEL DIC
message appears on the
instrument cluster, it
means you need to check
your engine oil level
right away. For more
information, seeDIC
Warnings and Messages
on page 3-50.
You should check your engine oil level regularly; this is
an added reminder.
Checking Engine Oil
It is a good idea to check your engine oil every time you
get fuel. In order to get an accurate reading, the oil
must be warm and the vehicle must be on level ground.
The engine oil dipstick handle is a yellow loop. See
Engine Compartment Overview on page 5-12for
the location of the engine oil dipstick.
1. Turn off the engine and give the oil several minutes
to drain back into the oil pan. If you do not do this,
the oil dipstick might not show the actual level.
2. Pull out the dipstick and clean it with a paper towel
or cloth, then push it back in all the way. Remove it
again, keeping the tip down, and check the level.
5-13
Page 281 of 392

Notice:If you leave your radio or other accessories
on during the jump starting procedure, they could
be damaged. The repairs would not be covered
by your warranty. Always turn off your radio and
other accessories when jump starting your vehicle.
3. Turn off the ignition on both vehicles. Unplug
unnecessary accessories plugged into the cigarette
lighter or the accessory power outlet(s). Turn off
the radio and all lamps that are not needed. This will
avoid sparks and help save both batteries. And it
could save the radio!
4. Open the hood on the other vehicle and locate the
positive (+) and negative (−) terminal locations on
that vehicle.
You will not see the battery of your vehicle under
the hood. It is located under the rear passenger’s
seat. You will not need to access the battery
for jump starting. The remote positive (+) terminal is
for that purpose. SeeEngine Compartment
Overview on page 5-12for location.Access the remote
positive (+) terminal by
removing the cover.
{CAUTION:
An electric fan can start up even when the
engine is not running and can injure you. Keep
hands, clothing and tools away from any
underhood electric fan.
5-41
Page 283 of 392

6. Connect the red positive (+) cable to the positive (+)
terminal of the dead battery. Use a remote
positive (+) terminal if the vehicle has one.
7. Do not let the other end touch metal. Connect it to
the positive (+) terminal of the good battery. Use a
remote positive (+) terminal if the vehicle has one.
8. Now connect the black negative (−) cable to the
negative (−) terminal of the good battery. Use a
remote negative (−) terminal if the vehicle has one.
Do not let the other end touch anything until the
next step. The other end of the negative (−) cable
does notgo to the dead battery. It goes to a
heavy, unpainted metal engine part or to a remote
negative (−) terminal on the vehicle with the
dead battery.9. Connect the other end of the negative (−) cable at
least 18 inches (45 cm) away from the dead battery,
but not near engine parts that move. The electrical
connection is just as good there, and the chance
of sparks getting back to the battery is much less.
10. Now start the vehicle with the good battery and run
the engine for a while.
11. Try to start the vehicle that had the dead battery.
If it will not start after a few tries, it probably
needs service.
5-43