service indicator BUICK LUCERNE 2010 Owner's Manual
[x] Cancel search | Manufacturer: BUICK, Model Year: 2010, Model line: LUCERNE, Model: BUICK LUCERNE 2010Pages: 474
Page 1 of 474

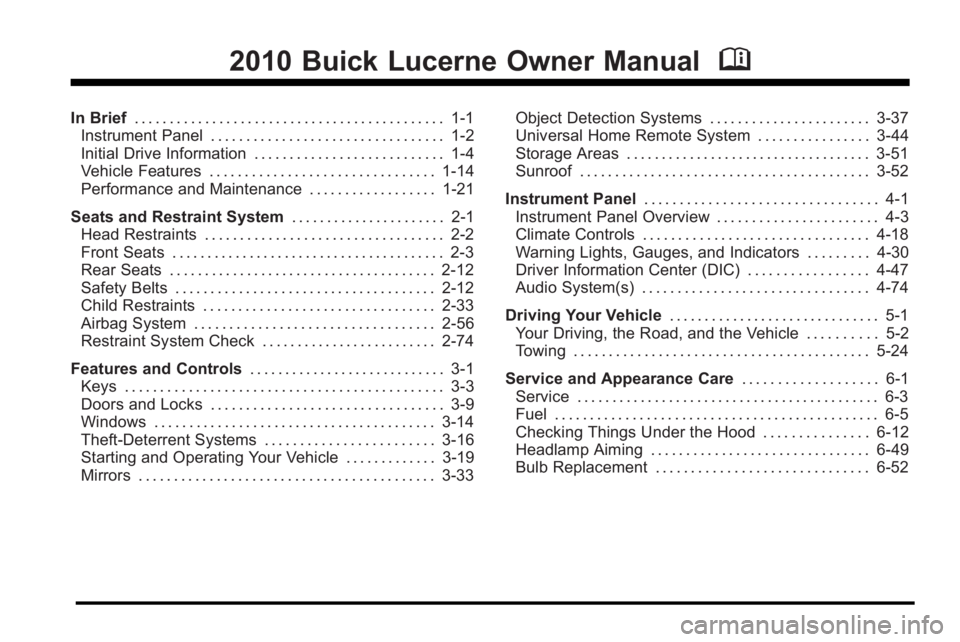
2010 Buick Lucerne Owner ManualM
In Brief. . . . . . . . . . . . . . . . . . . . . . . . . . . . . . . . . . . . . . . . . . . . 1-1
Instrument Panel . . . . . . . . . . . . . . . . . . . . . . . . . . . . . . . . . 1-2
Initial Drive Information . . . . . . . . . . . . . . . . . . . . . . . . . . . 1-4
Vehicle Features . . . . . . . . . . . . . . . . . . . . . . . . . . . . . . . . 1-14
Performance and Maintenance . . . . . . . . . . . . . . . . . . 1-21
Seats and Restraint System . . . . . . . . . . . . . . . . . . . . . . 2-1
Head Restraints . . . . . . . . . . . . . . . . . . . . . . . . . . . . . . . . . . 2-2
Front Seats . . . . . . . . . . . . . . . . . . . . . . . . . . . . . . . . . . . . . . . 2-3
Rear Seats . . . . . . . . . . . . . . . . . . . . . . . . . . . . . . . . . . . . . . 2-12
Safety Belts . . . . . . . . . . . . . . . . . . . . . . . . . . . . . . . . . . . . . 2-12
Child Restraints . . . . . . . . . . . . . . . . . . . . . . . . . . . . . . . . . 2-33
Airbag System . . . . . . . . . . . . . . . . . . . . . . . . . . . . . . . . . . 2-56
Restraint System Check . . . . . . . . . . . . . . . . . . . . . . . . . 2-74
Features and Controls . . . . . . . . . . . . . . . . . . . . . . . . . . . . 3-1
Keys . . . . . . . . . . . . . . . . . . . . . . . . . . . . . . . . . . . . . . . . . . . . . 3-3
Doors and Locks . . . . . . . . . . . . . . . . . . . . . . . . . . . . . . . . . 3-9
Windows . . . . . . . . . . . . . . . . . . . . . . . . . . . . . . . . . . . . . . . . 3-14
Theft-Deterrent Systems . . . . . . . . . . . . . . . . . . . . . . . . 3-16
Starting and Operating Your Vehicle . . . . . . . . . . . . . 3-19
Mirrors . . . . . . . . . . . . . . . . . . . . . . . . . . . . . . . . . . . . . . . . . . 3-33 Object Detection Systems . . . . . . . . . . . . . . . . . . . . . . . 3-37
Universal Home Remote System . . . . . . . . . . . . . . . . 3-44
Storage Areas . . . . . . . . . . . . . . . . . . . . . . . . . . . . . . . . . . . 3-51
Sunroof . . . . . . . . . . . . . . . . . . . . . . . . . . . . . . . . . . . . . . . . . 3-52
Instrument Panel . . . . . . . . . . . . . . . . . . . . . . . . . . . . . . . . . 4-1
Instrument Panel Overview . . . . . . . . . . . . . . . . . . . . . . . 4-3
Climate Controls . . . . . . . . . . . . . . . . . . . . . . . . . . . . . . . . 4-18
Warning Lights, Gauges, and Indicators . . . . . . . . . 4-30
Driver Information Center (DIC) . . . . . . . . . . . . . . . . . 4-47
Audio System(s) . . . . . . . . . . . . . . . . . . . . . . . . . . . . . . . . 4-74
Driving Your Vehicle . . . . . . . . . . . . . . . . . . . . . . . . . . . . . . 5-1
Your Driving, the Road, and the Vehicle . . . . . . . . . . 5-2
Towing . . . . . . . . . . . . . . . . . . . . . . . . . . . . . . . . . . . . . . . . . . 5-24
Service and Appearance Care . . . . . . . . . . . . . . . . . . . 6-1
Service . . . . . . . . . . . . . . . . . . . . . . . . . . . . . . . . . . . . . . . . . . . 6-3
Fuel . . . . . . . . . . . . . . . . . . . . . . . . . . . . . . . . . . . . . . . . . . . . . . 6-5
Checking Things Under the Hood . . . . . . . . . . . . . . . 6-12
Headlamp Aiming . . . . . . . . . . . . . . . . . . . . . . . . . . . . . . . 6-49
Bulb Replacement . . . . . . . . . . . . . . . . . . . . . . . . . . . . . . 6-52
Page 4 of 474

Safety Warnings and Symbols
Warning messages found on vehicle labels and in this
manual describe hazards and what to do to avoid or
reduce them.
Dangerindicates a hazard with a high level of risk
which will result in serious injury or death.
Warning orCaution indicates a hazard that could result
in injury or death.
{WARNING:
These mean there is something that could hurt
you or other people.
Notice: This means there is something that could
result in property or vehicle damage. This would not
be covered by the vehicle's warranty.
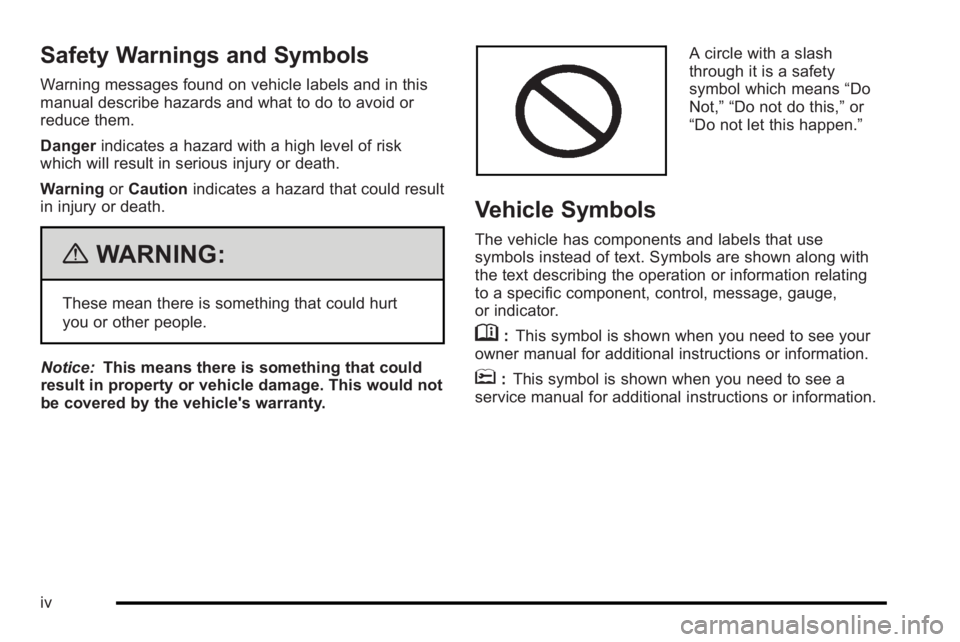
A circle with a slash
through it is a safety
symbol which means “Do
Not,” “Do not do this,” or
“Do not let this happen.”
Vehicle Symbols
The vehicle has components and labels that use
symbols instead of text. Symbols are shown along with
the text describing the operation or information relating
to a specific component, control, message, gauge,
or indicator.
M: This symbol is shown when you need to see your
owner manual for additional instructions or information.
*: This symbol is shown when you need to see a
service manual for additional instructions or information.
iv
Page 101 of 474

The passenger sensing system is designed to turn off
the right front passenger airbag and seat‐mounted side
impact airbag if:
.The right front passenger seat is unoccupied.
.The system determines that an infant is present in
a rear-facing infant seat.
.The system determines that a small child is
present in a child restraint.
.The system determines that a small child is
present in a booster seat.
.A right front passenger takes his/her weight off of
the seat for a period of time.
.The right front passenger seat is occupied by a
smaller person, such as a child who has outgrown
child restraints.
.Or, if there is a critical problem with the airbag
system or the passenger sensing system.
When the passenger sensing system has turned off the
right front passenger frontal airbag and seat‐mounted
side impact airbag, the off indicator will light and stay lit
to remind you that the airbags are off. See Passenger
Airbag Status Indicator on page 4‑34. The passenger sensing system is designed to turn on
(may inflate) the right front passenger frontal airbag and
seat‐mounted side impact airbag anytime the system
senses that a person of adult size is sitting properly in
the right front passenger seat.
When the passenger sensing system has allowed the
airbags to be enabled, the on indicator will light and
stay lit to remind you that the airbags are active.
For some children who have outgrown child restraints
and for very small adults, the passenger sensing
system may or may not turn off the right front passenger
frontal airbag and seat-mounted side impact airbag,
depending upon the person’s seating posture and body
build. Everyone in the vehicle who has outgrown child
restraints should wear a safety belt properly
—whether
or not there is an airbag for that person.
{WARNING:
If the airbag readiness light ever comes on and
stays on, it means that something may be wrong
with the airbag system. To help avoid injury to
yourself or others, have the vehicle serviced right
away. See Airbag Readiness Light
on page 4‑33
for more information, including important safety
information.
2-69
Page 128 of 474

Ignition Positions
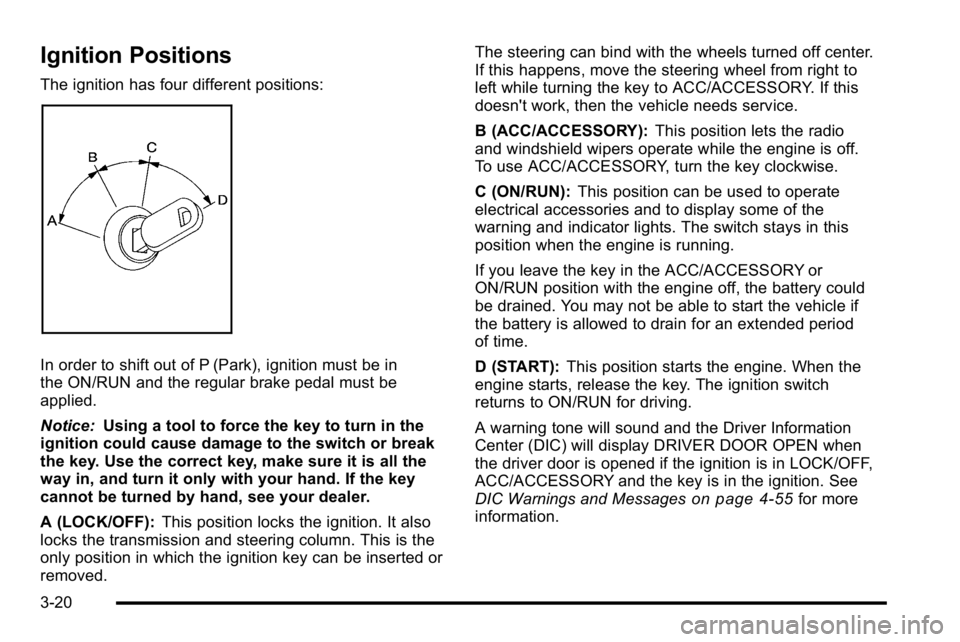
The ignition has four different positions:
In order to shift out of P (Park), ignition must be in
the ON/RUN and the regular brake pedal must be
applied.
Notice:Using a tool to force the key to turn in the
ignition could cause damage to the switch or break
the key. Use the correct key, make sure it is all the
way in, and turn it only with your hand. If the key
cannot be turned by hand, see your dealer.
A (LOCK/OFF): This position locks the ignition. It also
locks the transmission and steering column. This is the
only position in which the ignition key can be inserted or
removed. The steering can bind with the wheels turned off center.
If this happens, move the steering wheel from right to
left while turning the key to ACC/ACCESSORY. If this
doesn't work, then the vehicle needs service.
B (ACC/ACCESSORY):
This position lets the radio
and windshield wipers operate while the engine is off.
To use ACC/ACCESSORY, turn the key clockwise.
C (ON/RUN): This position can be used to operate
electrical accessories and to display some of the
warning and indicator lights. The switch stays in this
position when the engine is running.
If you leave the key in the ACC/ACCESSORY or
ON/RUN position with the engine off, the battery could
be drained. You may not be able to start the vehicle if
the battery is allowed to drain for an extended period
of time.
D (START): This position starts the engine. When the
engine starts, release the key. The ignition switch
returns to ON/RUN for driving.
A warning tone will sound and the Driver Information
Center (DIC) will display DRIVER DOOR OPEN when
the driver door is opened if the ignition is in LOCK/OFF,
ACC/ACCESSORY and the key is in the ignition. See
DIC Warnings and Messages
on page 4‑55for more
information.
3-20
Page 141 of 474

Mirrors
Automatic Dimming Rearview Mirror
The vehicle may have an automatic dimming inside
rearview mirror with OnStar®and/or a compass display.
Automatic dimming reduces the glare from the
headlamps of the vehicle behind you. The dimming
feature comes on and the indicator light illuminates
each time the vehicle is started.
Vehicles with OnStar have three additional control
buttons located at the bottom of the mirror. See your
dealer for more information on the system and how to
subscribe to OnStar. See the OnStar
®owners guide for
more information about the services OnStar provides.
O(On/Off): Press to turn the dimming feature and/or
compass display on or off.
Cleaning the Mirror
Do not spray glass cleaner directly on the mirror. Use a
soft towel dampened with water.
Compass
Compass Operation
There is a compass display in the upper right corner of
the mirror.
Compass Calibration
Press and holdOto activate the compass calibration
mode. CAL displays in the compass window on the
mirror.
If after a few seconds the display does not show a
compass direction, (N for North for example), there
may be a strong magnetic field interfering with the
compass. Interference can be caused by a magnetic
antenna mount, note pad holder, or similar object.
If CAL displays in the compass window, the compass
may need to be reset or calibrated.
The compass can be calibrated by driving the vehicle in
circles at 5 mph (8 km/h) or less until the display reads a
direction.
3-33
Page 151 of 474

How the System Works
LDW uses a camera located between the inside
rearview mirror and the windshield to detect the lane
markings.
@(Lane Departure Warning):To turn LDW on and
off, press the LDW control, located by the exterior
headlamp control. An indicator on the control will light
to indicate that LDW is on.
When the vehicle is started, the LDW symbol, located
in the instrument panel cluster, will briefly come on to
indicate that the light is operational. LDW only operates at speeds of 35 mph (56 km) or
greater. If LDW is turned on when traveling at these
speeds, the LDW symbol will appear green if the
system detects a left or right lane marking. This symbol
will change to amber and flash and three beeps will
sound if you cross a detected lane marking without
using the turn signal.
If the LDW symbol does not appear, LDW is not
currently operating and will not warn you.
To change the volume of the warning chime, see Chime
Volume under
DIC Vehicle Customization
on page 4‑65for more information.
When the System Does Not Seem To Work
Properly
The LDW symbol will not appear when the system is
having difficulty seeing the lines on the road or if the
view of the camera on the windshield is blocked with
mud, dirt, snow, ice, or slush, if the windshield is
damaged, or when weather limits visibility, such as
while driving in fog, rain, or snow conditions. This is
normal operation, the vehicle does not need service.
For cleaning instructions, see Washing Your Vehicle
on
page 6‑104.
3-43
Page 152 of 474

LDW warnings may occasionally occur due to tar
marks, shadows, cracks in the road, or other road
imperfections. This is normal system operation, the
vehicle does not need service.
LDW Error Message
SERVICE LANE DEPARTURE SYSTEM:This
message may appear in the DIC to indicate that LDW is
not working properly. If this message remains on after
continued driving, the system needs service. Take your
vehicle to your dealer.
LANE DEPARTURE SYSTEM UNAVAILABLE: This
message may appear in the DIC if LDW does not
activate due to a temporary condition.
Universal Home Remote
System
See Radio Frequency Statementon page 8‑20for
information regarding Part 15 of the Federal
Communications Commission (FCC) Rules and
RSS-210/211 of Industry Canada.
Universal Home Remote System
Operation (With Three Round LED)
This vehicle may have the Universal Home Remote
System. If there are three round Light Emitting Diode
(LED) indicator lights above the Universal Home
Remote buttons, follow the instructions below.
This system provides a way to replace up to three
remote control transmitters used to activate devices
such as garage door openers, security systems, and
home automation devices.
Do not use this system with any garage door opener
that does not have the stop and reverse feature. This
includes any garage door opener model manufactured
before April 1, 1982.
3-44
Page 195 of 474

If, after several seconds, both status indicator lights
remain on, or if there are no lights at all, there may
be a problem with the lights or the passenger sensing
system. See your dealer for service.
{WARNING:
If the airbag readiness light ever comes on and
stays on, it means that something may be wrong
with the airbag system. To help avoid injury to
yourself or others, have the vehicle serviced right
away. SeeAirbag Readiness Light
on page 4‑33
for more information, including important safety
information.
Charging System Light
This light comes on briefly
when the ignition key is
turned to START, but the
engine is not running, as
a check to show it is
working.
If it does not, have the vehicle serviced by your dealer.
The light should go out once the engine starts. If it stays
on, or comes on while driving, there could be a problem
with the charging system. A charging system message
in the Driver Information Center (DIC) can also appear.
See DIC Warnings and Messages
on page 4‑55for
more information. This light could indicate that there are
problems with a generator drive belt, or that there is an
electrical problem. Have it checked right away. If the
vehicle must be driven a short distance with the light
on, turn off accessories, such as the radio and air
conditioner.
4-35
Page 197 of 474

Antilock Brake System (ABS)
Warning Light
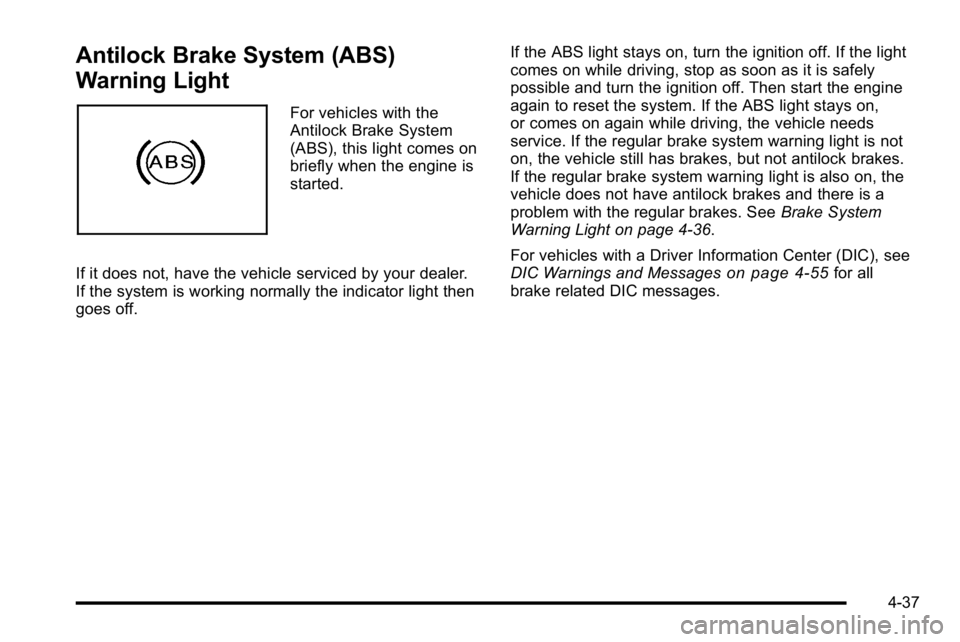
For vehicles with the
Antilock Brake System
(ABS), this light comes on
briefly when the engine is
started.
If it does not, have the vehicle serviced by your dealer.
If the system is working normally the indicator light then
goes off. If the ABS light stays on, turn the ignition off. If the light
comes on while driving, stop as soon as it is safely
possible and turn the ignition off. Then start the engine
again to reset the system. If the ABS light stays on,
or comes on again while driving, the vehicle needs
service. If the regular brake system warning light is not
on, the vehicle still has brakes, but not antilock brakes.
If the regular brake system warning light is also on, the
vehicle does not have antilock brakes and there is a
problem with the regular brakes. See
Brake System
Warning Light on page 4‑36.
For vehicles with a Driver Information Center (DIC), see
DIC Warnings and Messages
on page 4‑55for all
brake related DIC messages.
4-37
Page 198 of 474

Traction Control System (TCS)
Warning Light
For vehicles with a
Traction Control System
(TCS) and StabiliTrak
®
warning light, this light
comes on briefly when the
engine is started.
If it does not, have the vehicle serviced by your dealer.
If the system is working normally the indicator light then
goes off. When the system is active, the light flashes while the
system is limiting wheel spin or assisting with controlling
the vehicle.
If it stays on or comes on while driving a SERVICE
TRACTION CONTROL message appears in the Driver
Information Center (DIC). This indicates that there
could be a problem with the traction control system
and the vehicle may need service. When this warning
light is on and the SERVICE TRACTION CONTROL
message appears on the DIC, the system does not limit
wheel spin.
If the traction control system is manually turned off, this
light comes on and the TRACTION CONTROL OFF
message appears on the DIC.
See
Traction Control System (TCS)
on page 5‑6and
DIC Warnings and Messageson page 4‑55for more
information.
4-38