BUICK PARK AVENUE 1993 Owners Manual
Manufacturer: BUICK, Model Year: 1993, Model line: PARK AVENUE, Model: BUICK PARK AVENUE 1993Pages: 340, PDF Size: 18.17 MB
Page 261 of 340
What to Use:
Use a mixture of one-half clean water (preferably
distilled) and one-half antifreeze that meets ŌĆ£GM
Specification
1825-M,ŌĆØ which wonŌĆÖt damage aluminum
parts.
You can also use a recycled coolant conforming to
GM Specification
1825-M with a complete coolant flush
and refill. Use GM Engine Coolant Supplement (sealer)
with any complete coolant change. If you use these, you
donŌĆÖt need
to add anything else.
A CAUTION:
Adding only plain water to your cooling system
can be dangerous. Plain water, or some other
liquid like alcohol, can boil before the proper
coolant mix will. Your vehicleŌĆÖs coolant warning
system
is set for the proper coolant mix. With
plain water or the wrong mix, your engine could
get too hot but you wouldnŌĆÖt get the overheat
warning. Your engine could catch fire and you or
others could be burned. Use
a 50/50 mix of clean
water and a proper antifreeze.
If you use an improper coolant mix, your
engine :,,I could overheat and be badly damaged. TheŌĆÖ: . -
repair cost wouldnŌĆÖt be covered by your -.. - ŌĆÖ
warranty. Too much water in the mix can !ete;::
and crack the engine, radiator, heater
Core and
other parts.
~. -.- . ~. .. ..._ - . . :-: -. ~ . . ~.., -
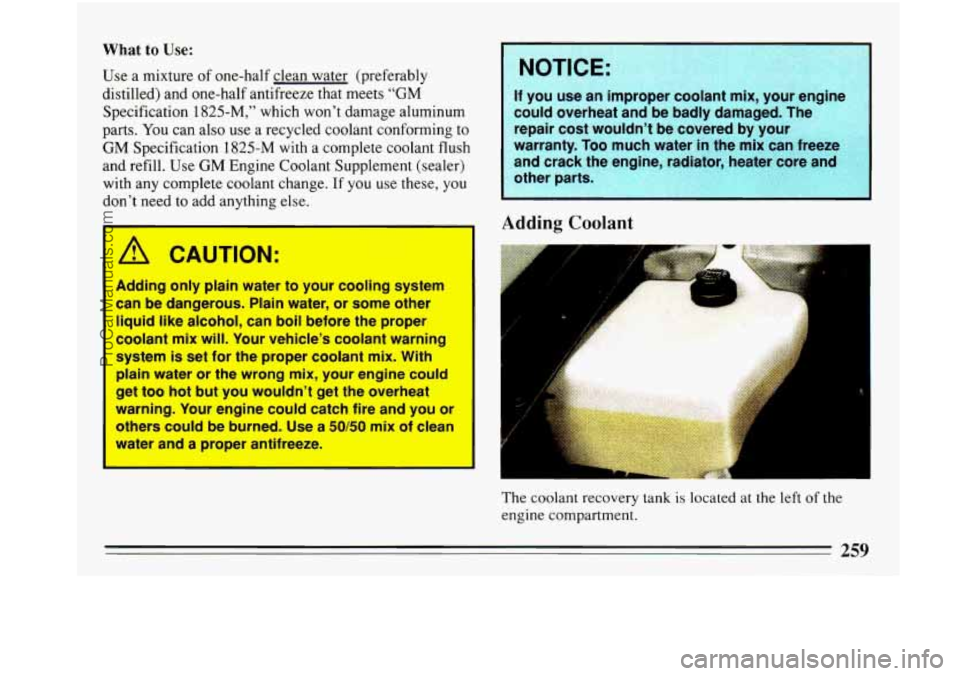
Adding Coolant
6
The coolant recovery tank IS located at the left of the
engine compartment.
259
ProCarManuals.com
Page 262 of 340
To Check Coolant: When your engine is cold, the
coolant level should be at
ŌĆ£FULL COLD,ŌĆØ or a little
higher. When your engine is warm, the level should be
up to
ŌĆ£FULL HOT,ŌĆØ or a little higher.
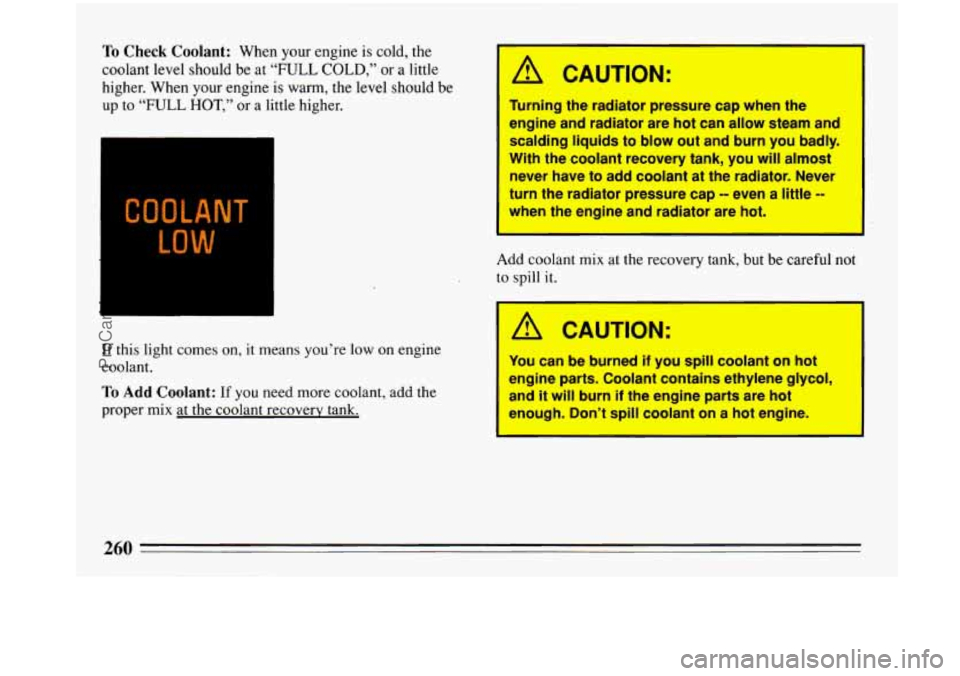
If this light comes
on, it means youŌĆÖre low on engine
coolant.
To Add Coolant: If you need more coolant, add the
proper mix at the coolant recovery .tank.
ŌĆś CAUTION:
TŌĆśurning the radiator pressure cap when the
engine and radiator are hot can allow steam and
scalding liquids to blow out and burn you badly.
With the coolant recovery tank, you will almost
never have to add coolant at the radiator. Never
turn the radiator pressure cap -- even a little -
#hen the engine and radiator are hot.
I
Add coolant mix at the recovery tank, but be careful not
to spill it.
A CAUTION:
You can be burned if you spill coolant on hot
engine parts. Coolant contains ethylene glycol,
and it will burn
if the engine parts are hot
enough. DonŌĆÖt spill coolant on a hot engine.
ProCarManuals.com
Page 263 of 340
Radiator Pressure Cap
Your radiator pressure cap is a 15 psi (105 kPa)
pressure-type cap and must be tightly install
to prevent coolant
loss and possible engine
damage from overheating. Be sure the arro
the cap line up with the
ov be on t
radiator filler neck.
Power Steering Fluid
When you replace your radiator pressure cap, an AC@
cap
is recommended.
Thermostat
Engine coolant temperature is controlled by a thermostat
in the engine coolant system. The thermostat stops the
flow
of coolant through the radiator until the coolant
reaches a preset temperature.
When
you replace your thermostat, an AC@ thermostat
is recommended.
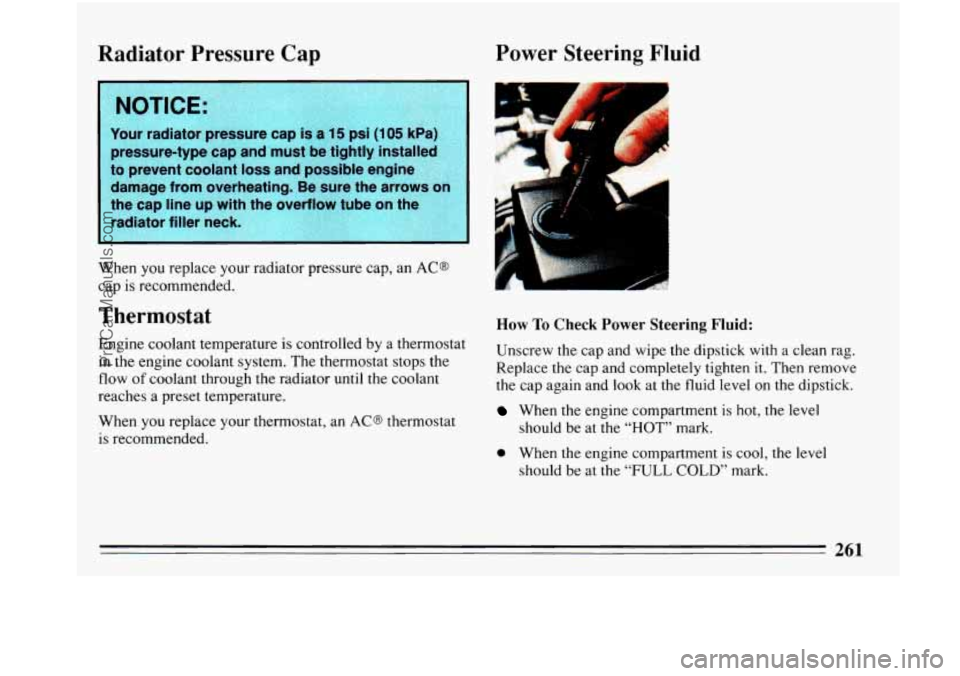
How To Check Power Steering Fluid:
Unscrew the cap and wipe the dipstick with a clean rag.
Replace
the cap and completely tighten it. Then remove
the cap again and look at the fluid level on the dipstick.
When the engine compartment is hot, the level
should be at the
ŌĆ£HOTŌĆØ mark.
0 When the engine compartment is cool, the level
should be at the ŌĆ£FULL COLDŌĆØ mark.
ProCarManuals.com
Page 264 of 340
What to Add:
Refer to the Maintenance Schedule to determine what
kind
of fluid to use. See ŌĆ£Recommended Fluids and
LubricantsŌĆØ
in the Index.
NOTICE:
When adding power steering fluid or making a
complete fluid change, always use the proper
fluid. Failure to use the proper flui
leaks and damage hoses and seals
Windshield Washer Fluid
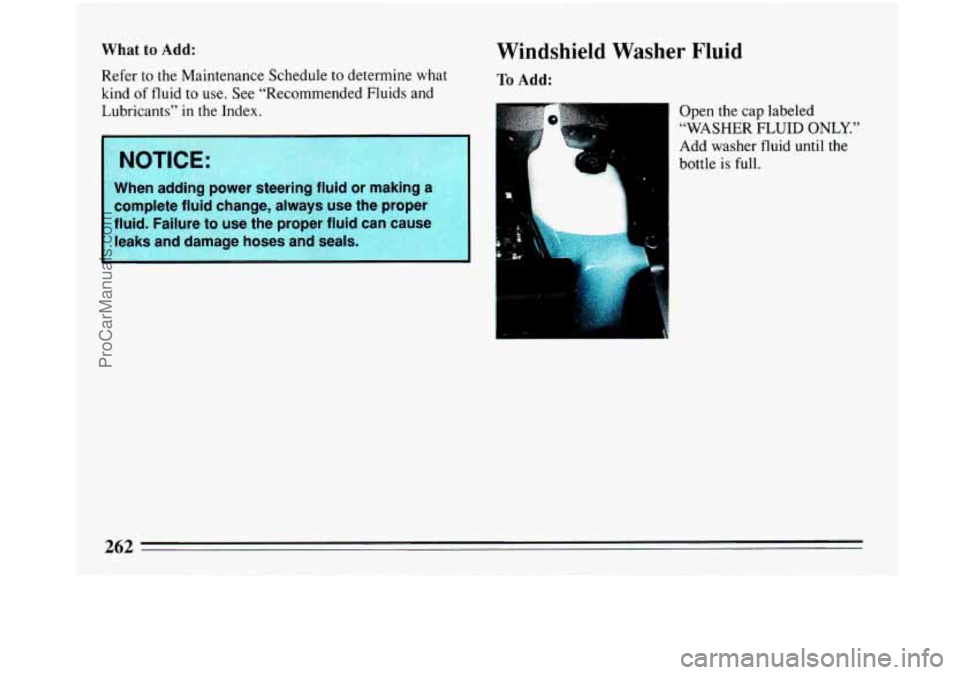
To Add:
t
_. . . .a
_. -
i
Open the cap labeled
ŌĆ£WASHER
FLUID ONLY.ŌĆØ
Add washer fluid until the
bottle
is full.
ProCarManuals.com
Page 265 of 340
0
0
0
0
Brake Master Cylinder
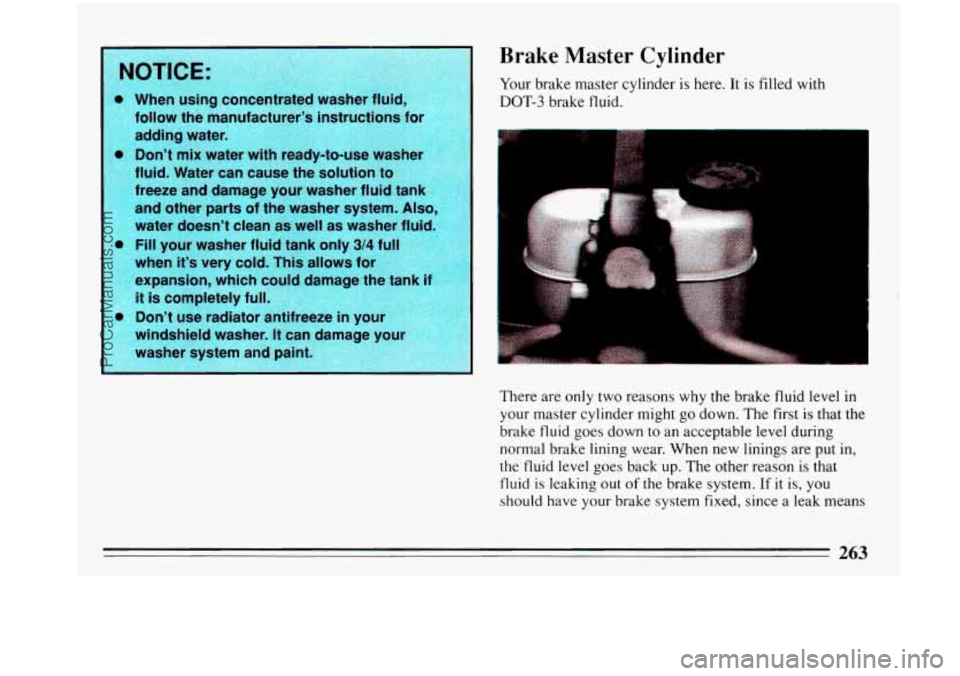
Your brake master cylinder is here. It is filled with
DOT-3 brake fluid.
There are only two reasons why the brake fluid level in
your master cylinder might
go down. The first is that the
brake fluid goes down to an acceptable level during
normal brake lining wear. When new linings are put in,
the fluid level goes back
up. The other reason is that
fluid
is leaking out of the brake system. If it is, you
should have your brake system fixed, since a leak means
ProCarManuals.com
Page 266 of 340
that sooner or later your brakes wonŌĆÖt work well, or
wonŌĆÖt work at all.
So, it isnŌĆÖt a good idea to ŌĆ£top offŌĆÖ
your brake fluid. Adding brake fluid wonŌĆÖt correct
a
leak. If you add fluid when your linings are worn, then
youŌĆÖll have
too much fluid when you get new brake
linings. You should add
(or remove) brake fluid, as
necessary, only when work is done
on the brake
hydraulic system.
I-
A CAUTION:
If you have too much brake fluid, it can spill on
the engine. The fluid will burn
if the engine is hot
enough. You or others could be burned, and your
vehicle could be damaged. Add brake fluid only
when work is done on the brake hydraulic
system.
When your brake fluid falls to a low level, your brake
warning light will come on and a chime will sound.
What to Add:
When you do need brake fluid, use only DOT-3 brake
fluid
-- such as Delco Supreme 11 @ (GM part
No.1052535). Use new brake fluid from a sealed
container only.
Replacing Brake System Parts
The braking system on a modern vehicle is complex. Its
many parts have to be
of top quality and work well
together if the vehicle is to have really good braking.
Vehicles we design and test have top-quality GM brake
parts in them, as your Buick does when it is new. When
you replace parts of your braking system
-- for example,
when your brake linings wear down and you have to
have new ones put
in -- be sure you get new genuine
GM replacement parts.
If you donŌĆÖt, your brakes may no
longer work properly. For example,
if someone puts in
brake linings that are wrong for your vehicle, the
ProCarManuals.com
Page 267 of 340
balance between your front and rear brakes can change,
for the worse. The braking performance youŌĆÖve come to
expect can change
in many other ways if someone puts
in the wrong replacement brake parts.
Battery
Every new Buick has a Delco Freedom@ battery. You
never have to add water to one of these. When itŌĆÖs time
for a new battery, we recommend a Delco Freedoms
battery. Get one that has the catalog number shown on
the original batteryŌĆÖs label.
Vehicle Storage
If youŌĆÖre not going to drive your vehicle for 25 days or
more, take
off the black, negative (-) cable from the
battery. This will help keep your battery from running
down.
I
A CAUTION:
Batteries have acid that can burn you and gas
that can explode. You can be badly hurt if you
arenŌĆÖt careful. See ŌĆ£Jump StartingŌĆÖŌĆÖ in the Index
for tips on working around
a battery without
getting hurt.
I
Contact your dealer to learn how to prepare your vehicle
for longer storage periods.
Halogen Bulbs
Halogen bulbs have pressurized gas inside and
can burst
if you drop or scratch the bulb. You or
others could be injured. Take special care when
handling and disposing of halogen bulbs.
ProCarManuals.com
Page 268 of 340
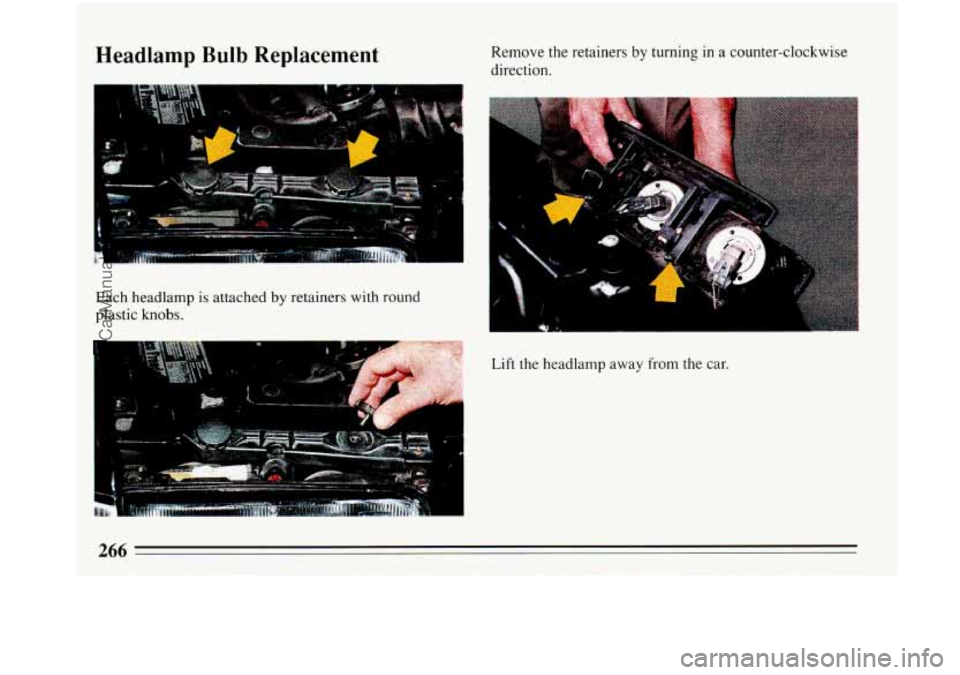
Headlamp Bulb Replacement Remove the retainers by turning in a counter-clockwise
direction.
-.
Each headlamp is attached by retainers with round
plastic knobs.
I
Lift the headlamp away from the car.
ProCarManuals.com
Page 269 of 340
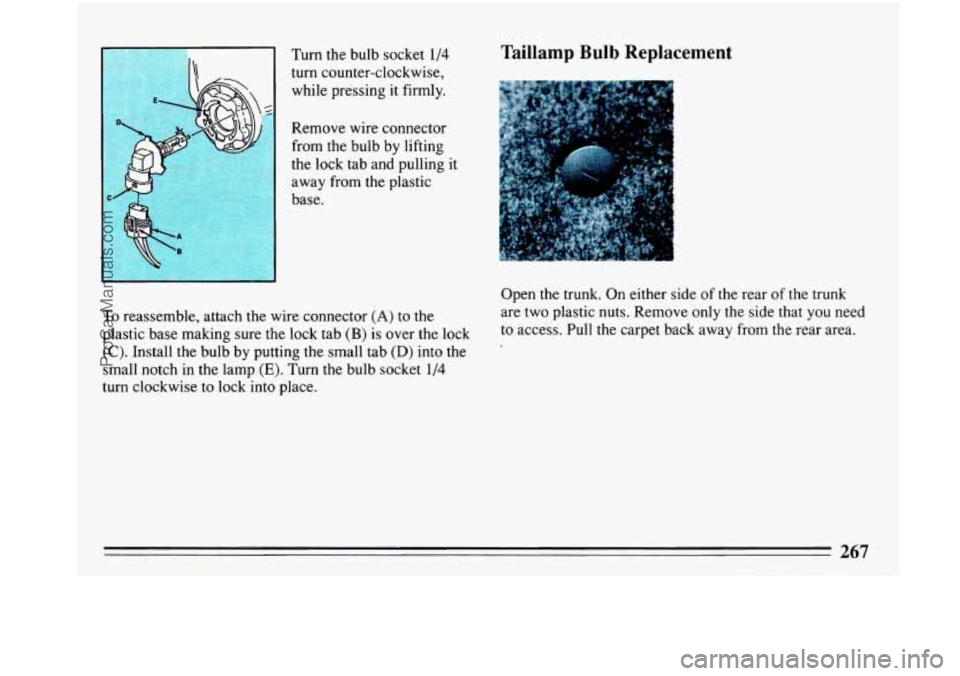
Turn the bulb socket 1/4
turn counter-clockwise,
while pressing it firmly.
Remove wire connector
from the bulb by lifting
the lock tab and pulling it
away from the plastic
base. Taillamp Bulb Replacement
To reassemble, attach the wire connector (A) to the
plastic base making sure the lock tab
(B) is over the lock
(C). Install the bulb by putting the small tab (D) into the
small notch in the lamp
(E). Turn the bulb socket 1/4
turn clockwise to lock into place. Open the trunk. On
either side
of the rear of the trunk
are two plastic nuts. Remove only the side that you need
to access. Pull the carpet back away from the rear area.
ProCarManuals.com
Page 270 of 340
1
Loading Your Vehicle
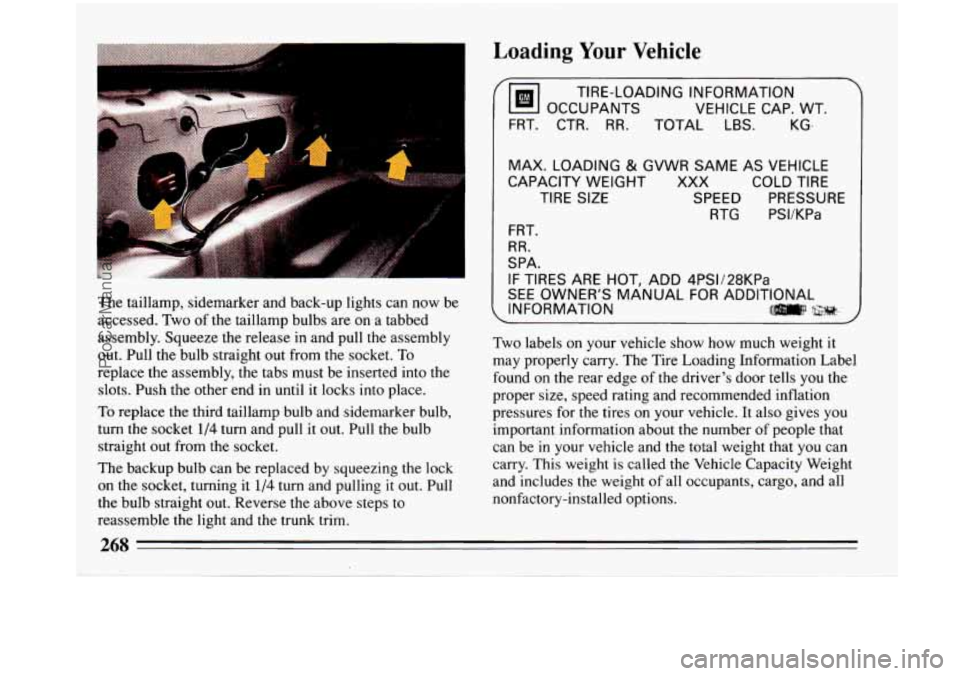
The taillamp, sidemarker and back-up lights can now be
accessed. Two of the taillamp bulbs are on a tabbed
assembly. Squeeze the release in and pull the assembly
out. Pull the bulb straight out from the socket. To
replace the assembly, the tabs must be inserted into the
slots. Push the other end in until it locks into place.
To replace the third taillamp bulb and sidemarker bulb,
turn the socket
1/4 turn and pull it out. Pull the bulb
straight out from the socket.
The backup bulb can be replaced by squeezing the lock
on the socket, turning it
l/4 turn and pulling it out. Pull
the bulb straight out. Reverse the above steps
to
reassemble the light and the trunk trim.
Tm OCCUPANTS
VEHICLE CAP. WT.
TIRE-LOADING INFORMATION
FRT. CTR.
RR. TOTAL LBS.
.~ ~~ . . ~
KG-
MAX. LOADING
& GVWR SAME AS VEHICLE
CAPACITY WEIGHT XXX COLD TIRE
TIRE SIZE SPEED PRESSURE RTG PSVKPa
FRT.
RR.
SPA.
IF TIRES ARE HOT, ADD 4PSV28KPa
SEE OWNER'S MANUAL FOR ADDITIONAL
INFORMATION
ll]m\:l .$$;;r#, : M
Two labels on your vehicle show how much weight it
may properly carry. The Tire Loading Information Label
found on the rear edge of the driver's door tells you the
proper size, speed rating and recommended inflation
pressures for the tires
on your vehicle. It also gives you
important information about the number
of people that
can be in your vehicle and the total weight that you can
carry. This weight
is called the Vehicle Capacity Weight
and includes the weight of all occupants, cargo, and all
nonfactory-installed options.
268
ProCarManuals.com