instrument panel BUICK PARK AVENUE 1993 Owners Manual
[x] Cancel search | Manufacturer: BUICK, Model Year: 1993, Model line: PARK AVENUE, Model: BUICK PARK AVENUE 1993Pages: 340, PDF Size: 18.17 MB
Page 25 of 340
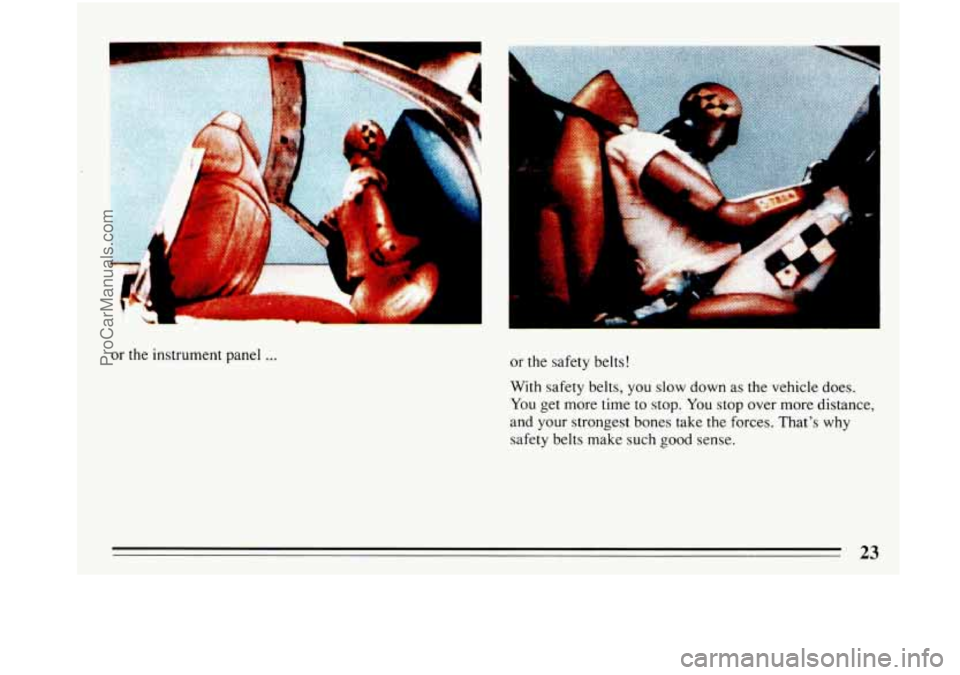
or the instrument panel ... or the safety belts!
k
With safety belts, you slow down as the vehicle does.
You get more time to stop. You stop over more distance,
and your strongest bones take the forces. That’s why
safety belts make such good sense.
23
ProCarManuals.com
Page 37 of 340
A CAUTION:
Air bags inflate with great force, faster than the
blink of an’eye. If you’re too close to an inflating
air bag,
it could seriously injure you. Safety belts
help keep you
in position for an air bag inflation
in a crash. Always wear your safety belt, even
with an air bag, and sit as far back as you can
while still maintaining control
of your vehicle.
Air Bag System Light
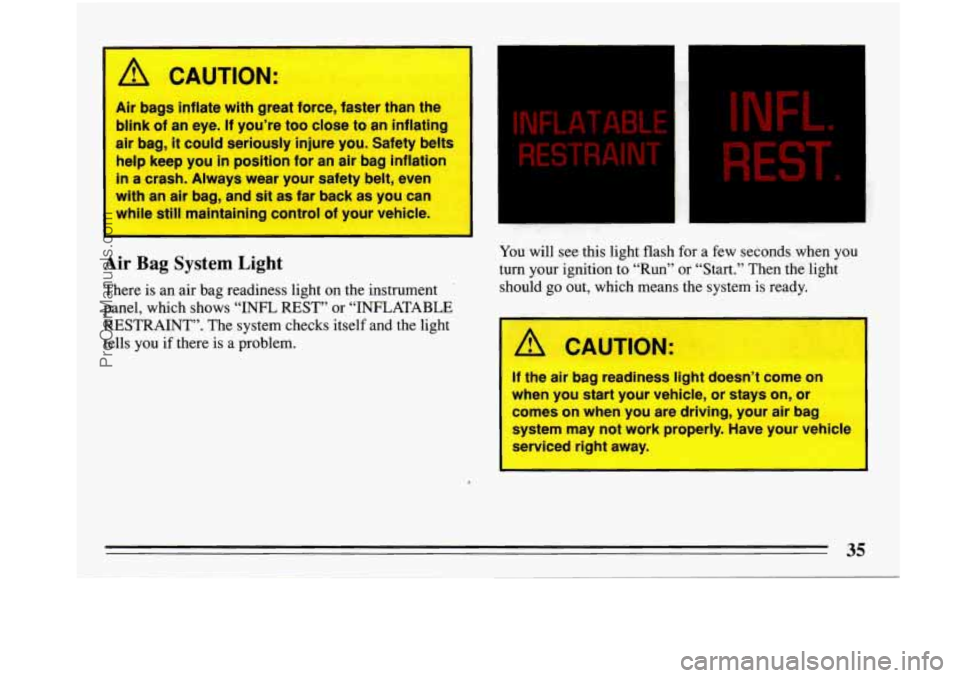
There is an air bag readiness light on the instrument ’
panel, which shows “INFL REST” or “INFLATABLE
RESTRAINT”. The system checks itself and the light
tells you
if there is a problem.
INFLATABLE INFL.
RESTRAINT
REST.
You will see this light flash for a few seconds when you
turn your ignition
to “Run” or “Start.” Then the light
should
go out, which means the system is ready.
A CAUTION:
F the air bag readiness light doesn’t come on
when you start your vehicle, or stays on, or
comes on when you are driving, your air bag
system may not work properly. Have your vehicle
serviced right away.
35
ProCarManuals.com
Page 41 of 340
Turn off the ignition.
Remove the SlR/SRS (air bag) fuse (see “Fuses and
Circuit Breakers” in the Index).
Disconnect the yellow connector at the base of the
steering column.
When the work is complete, if the air bag system was
disconnected, be sure to reattach everything and replace
the fuse before turning the ignition on. When you turn
the ignition key on, be sure
you see the inflatable
restraint light
on the instrument panel. If you don’t see
this light flash and then go
out as usual, have your air
bag system repaired.
Safety Belt Use During Pregnancy
Safety belts work for everyone, including pregnant
women. Like all occupants, they are more likely
to be
seriously injured if
they don’t wear safety belts.
A pregnant woman should wear a lap-shoulder belt, and
the lap portion should be worn as low
as possible
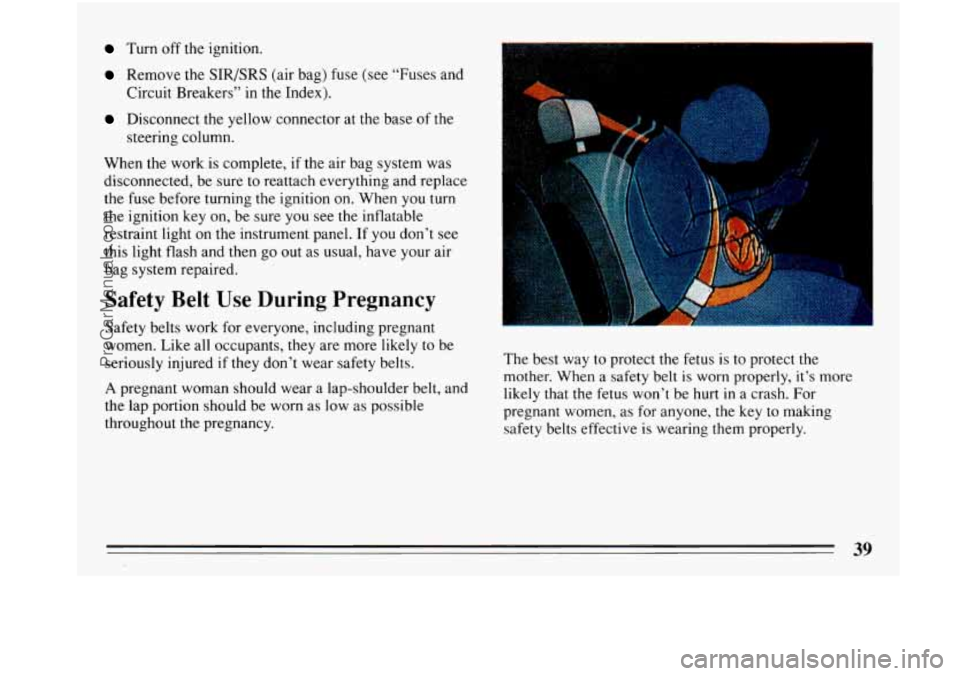
throughout the pregnancy. The best way
to protect the fetus is to protect the
mother. When a safety belt
is worn properly, it’s more
likely that the fetus won’t be hurt in a crash. For
pregnant women, as for anyone,
the key to making
safety belts effective is wearing them properly.
ProCarManuals.com
Page 61 of 340
Part 2 Features & Controls
Here you can learn about the many standard and optional features on your Buick. and information on starting. shifting
and braking
. Also explained are the instrument panel and the warning systems that tell you if everything is working
properly
.. and what to do if you have a problem .
Keys ........................................................................\
.... 60
DoorLocks
....................................................................... \
62
NewVehicleBreak-In .............................................................. 74
StartingtheEngine ................................................................. 76
ShiftingtheTransaxle
.............................................................. 80
Windows ........................................................................\
. 90
TiltSteeringWheel
................................................................ 90
Multi-FunctionLever
............................................................... 91
TurnandLaneChangeSignals ................................................... 91
Headlight High-Low Beam Change Signals
......................................... 91
WindshieldWiper/Washer
...................................................... 94
CruiseControl ................................................................ 96
Instrumentpanel
................................................................... 116
Speedometer and Odometer
..................................................... 117
Warning Lights and Gages
...................................................... 117
59
~ .. . ~ .. .. _.__~ ....... - ...... ... ..._- .... -
ProCarManuals.com
Page 67 of 340
Trunk
Remote Trunk Release
I
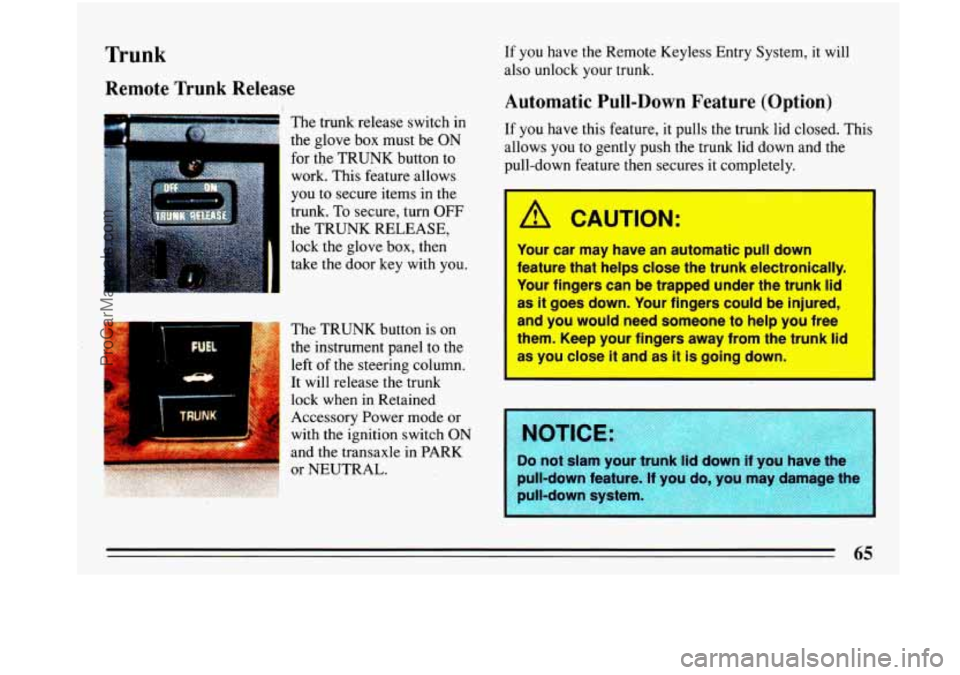
The trunk release switch in
the glove
box must be ON
for the TRUNK button to
work. This feature allows
you
to secure items in the
trunk.
To secure, turn OFF
i .= TRUNK
I
the TRUNK RELEASE,
lock the glove box, then
take the door key with you.
The TRUNK button is on
the instrument panel
to the
left of the steering column.
It will release the trunk
lock when in Retained
Accessory Power mode or
with the ignition switch
ON
and the transaxle in PARK
If you have the Remote Keyless Entry System, it will
also unlock your trunk.
Automatic Pull-Down Feature (Option)
If you have this feature, it pulls the trunk lid closed. This
allows you to gently push the trunk lid down and the
pull-down feature then secures it completely.
/d CAUTION:
Your car may have an automatic pull down
feature that helps close the trunk electronically.
Your fingers can be trapped under the trunk lid
as it goes down. Your fingers could be injured,
and you would need someone
to help you free
them. Keep your fingers away from the trunk lid
as you close
it and as it is going down.
NOTICE:
Do not slam your LI UI ~r< lid QuvVn if you have th
pull-down feature. If you do, you may damage t
ProCarManuals.com
Page 78 of 340
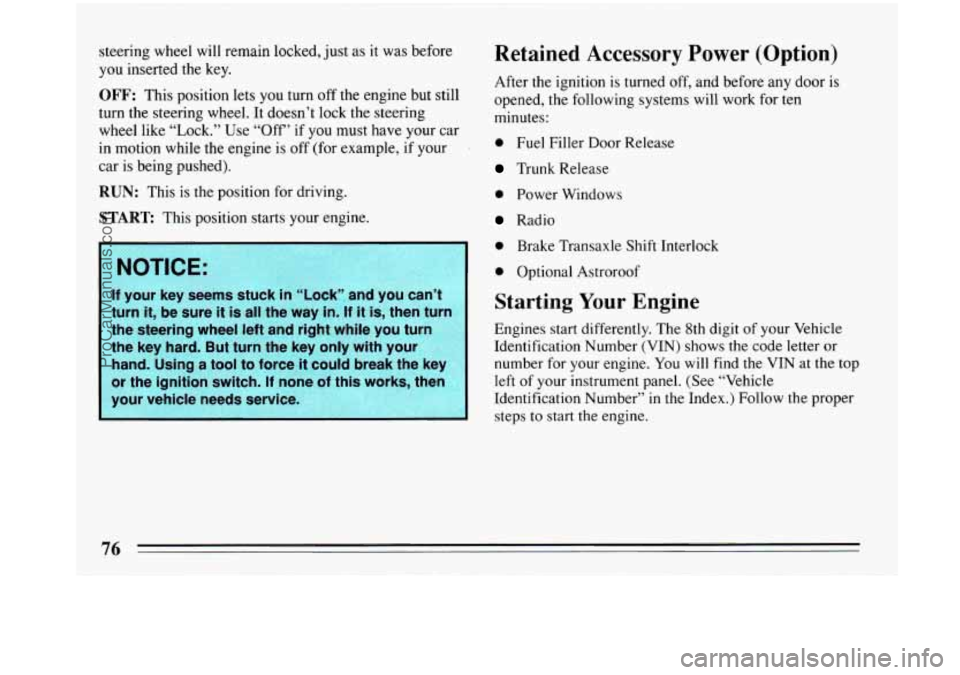
steering wheel will remain locked, just as it was before
you inserted the key.
OFF: This position lets you turn off the engine but still
turn the steering wheel.
It doesn’t lock the steering
wheel like “Lock.” Use “Off’ if
you must have your car
in motion while the engine is off (for example, if your
car is being pushed).
RUN: This is the position for driving.
START This position starts your engine.
NOTICE:
If your key seems stuck in “Lock” and you can’t
turn
it, be sure it is all the way in. If it is, then turn
the steering wheel left and right while you turn
the key hard. But turn the key only with your
hand. Using a tool to force
it could break the key
or the ignition switch. If none of this works, then
your vehicle needs service.
p’
Retained Accessory Power (Option)
After the ignition is turned off, and before any door is
opened, the following systems will work for ten
minutes:
0 Fuel Filler Door Release
Trunk Release
0 Power Windows
Radio
0 Brake Transaxle Shift Interlock
0 Optional Astroroof
Starting Your Engine
Engines start differently. The 8th digit of your Vehicle
Identification Number
(VIN) shows the code letter or
number for your engine. You will find the
VIN at the top
left of your instrument panel. (See “Vehicle
Identification Number” in the Index.) Follow the proper
steps to start the engine.
ProCarManuals.com
Page 94 of 340
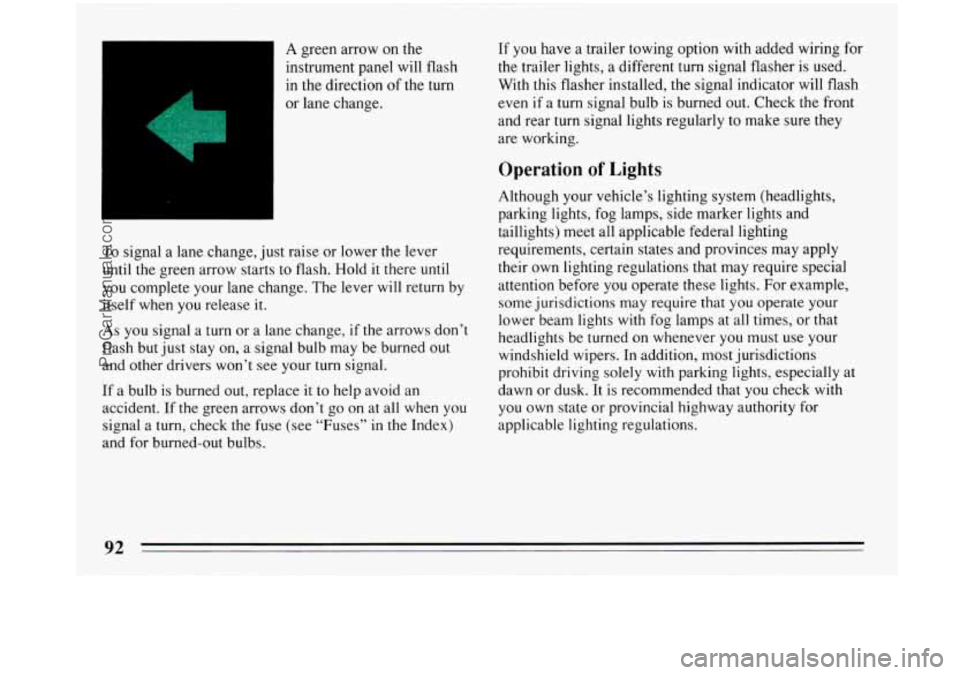
A green arrow on the
instrument panel
will flash
in the direction of the turn
or lane change.
To signal a lane change, just raise or lower the lever
until
the green arrow starts to flash. Hold it there until
you complete your lane change. The lever will return by
itself when you release it.
As you signal a turn or a lane change, if the arrows don’t
flash but just stay on, a signal bulb may be burned out
and other drivers won’t see your turn signal.
If a bulb is burned out, replace it to help avoid an
accident. If
the green arrows don’t go on at all when you
signal a turn, check the fuse (see “Fuses”
in the Index)
and for burned-out bulbs.
If you have a trailer towing option with added wiring for
the trailer lights, a different turn signal flasher is used.
With this flasher installed, the signal indicator will flash
even
if a turn signal bulb is burned out. Check the front
and rear turn signal lights regularly to make sure they
are working.
Operation of Lights
Although your vehicle’s lighting system (headlights,
parking lights, fog lamps, side marker lights and
taillights) meet all applicable federal lighting
requirements, certain states and provinces may apply
their own lighting regulations that may require special
attention before
you operate these lights. For example,
some jurisdictions may require that you operate your
lower beam lights with fog lamps at all times, or that
headlights be turned on whenever you must use your
windshield wipers. In addition, most jurisdictions
prohibit driving solely with parking lights, especially at
dawn or dusk. It is recommended that
you check with
you own state or provincial highway authority for
applicable lighting regulations.
ProCarManuals.com
Page 95 of 340
Headlight High-Low Beam
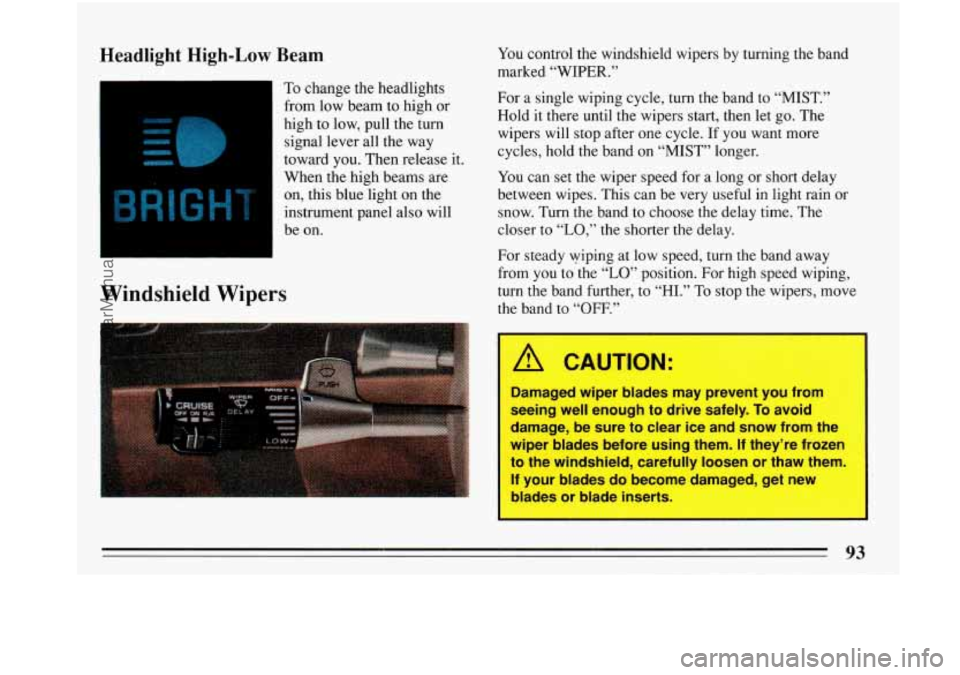
To change the headlights
from low beam to high or
high to low, pull the turn
signal lever. all the way
toward you. Then release it.
When the high beams are
on, this blue light on the
instrument panel also will
be on.
R 1J H
Windshield Wipers
You control the windshield wipers by turning the band
marked
“WIPER.”
For a single wiping cycle, turn the band to “MIST.”
Hold it there until the wipers start, then let go. The
wipers will stop after one cycle. If you want more
cycles, hold the band on “MIST” longer.
You can set the wiper speed for a long or short delay
between wipes. This can be very useful in light rain or
snow. Turn the band to choose the delay time. The
closer to
“LO,” the shorter the delay.
For steady wiping at low speed, turn the band away
from you to the
“LO” position. For high speed wiping,
turn the band further, to “HI.”
To stop the wipers, move
the band to
“OFF.”
A CAUTION:
Damaged wiper blades may prevent you from
seeing well enough to drive safely.
To avoid
damage, be sure to clear ice and snow from the
wiper blades before using them.
If they’re frozen
to the windshield, carefully loosen or thaw them.
If your blades do become damaged, get new
blades or blade inserts.
93
ProCarManuals.com
Page 103 of 340
I
I
To Erase Speed Memory
When you turn off the Cruise Control or the ignition, or
shift into
“P” (Park), your Cruise Control ,set speed
memory is erased.
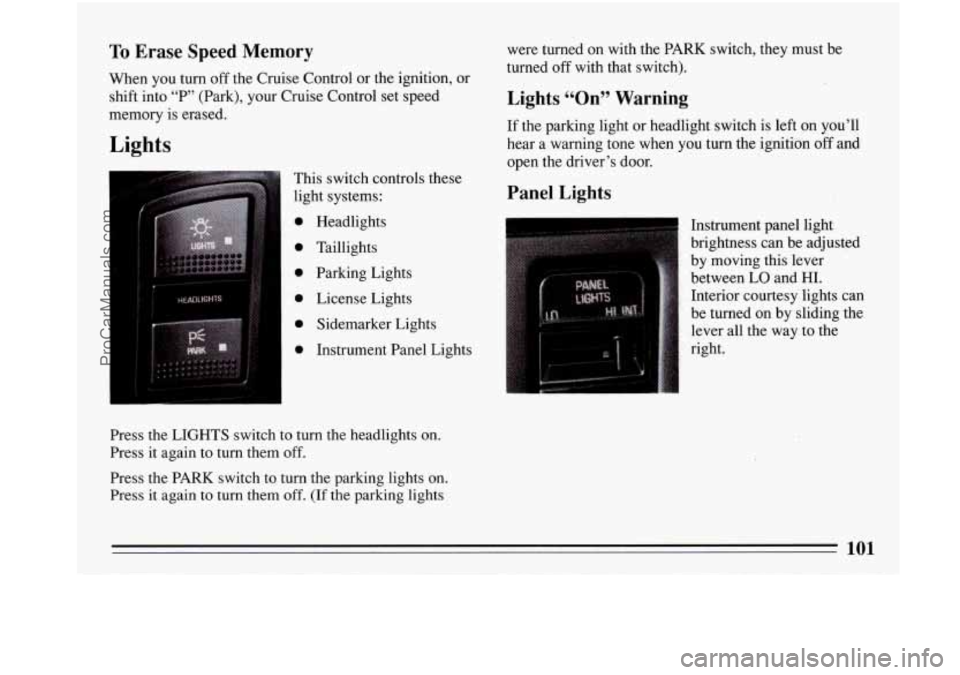
Lights
This switch controls these
light systems:
0 Headlights
0 Taillights
0 Parking Lights
0 License Lights
0 Sidemarker Lights
0 Instrument Panel Lights
Press the LIGHTS switch’to turn the headlights on.
Press it again to turn them
off.
Press the PARK switch to turn the parking lights on.
Press it again
to turn them off. (If the parking lights were turned
on with the PARK switch, they must be
turned
off with that switch).
Lights CCOn” Warning
If the parking light or headlight switch is left on you’ll
hear
a warning tone when you turn the ignition off and.
open the driver’s door.
Panel Lights
Instrument panel light
brightness can be adjusted
by moving this lever
between LO and HI.
Interior courtesy lights can
be turned on by sliding the
.lever all the way to the
right.
101
ProCarManuals.com
Page 104 of 340
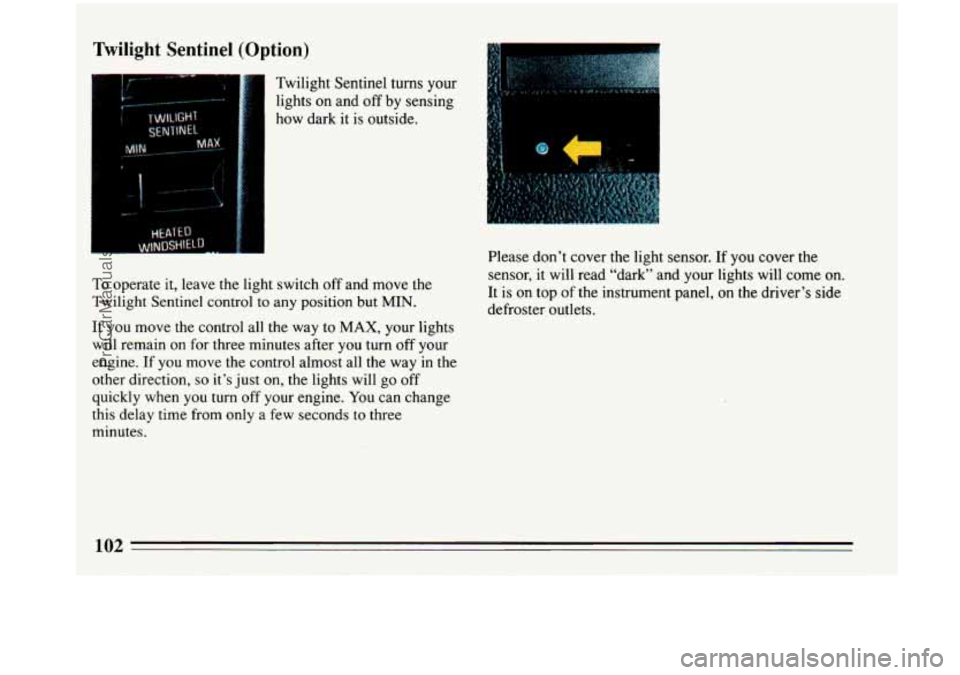
Twilight Sentinel (Option)
Twilight Sentinel turns your
lights on and off by sensing
how dark it is outside.
To operate it, leave the light switch off and move the
Twilight Sentinel control to any position but
MIN.
If you move the control all the way to MAX, your lights
will remain on for three minutes after you turn off your
engine.
If you move the control almost all the way in the
other direction,
so it’s just on, the lights will go off
quickly when you turn off your engine. You can change
this delay time from
only a few seconds to three
minutes. Please don’t
cover the light sensor.
If you cover the
sensor, it will read “dark” and your lights will come on.
It is
on top of the instrument panel, on the driver’s side
defroster outlets.
ProCarManuals.com