headlamp BUICK PARK AVENUE 1997 Owner's Manual
[x] Cancel search | Manufacturer: BUICK, Model Year: 1997, Model line: PARK AVENUE, Model: BUICK PARK AVENUE 1997Pages: 420, PDF Size: 21.93 MB
Page 301 of 420
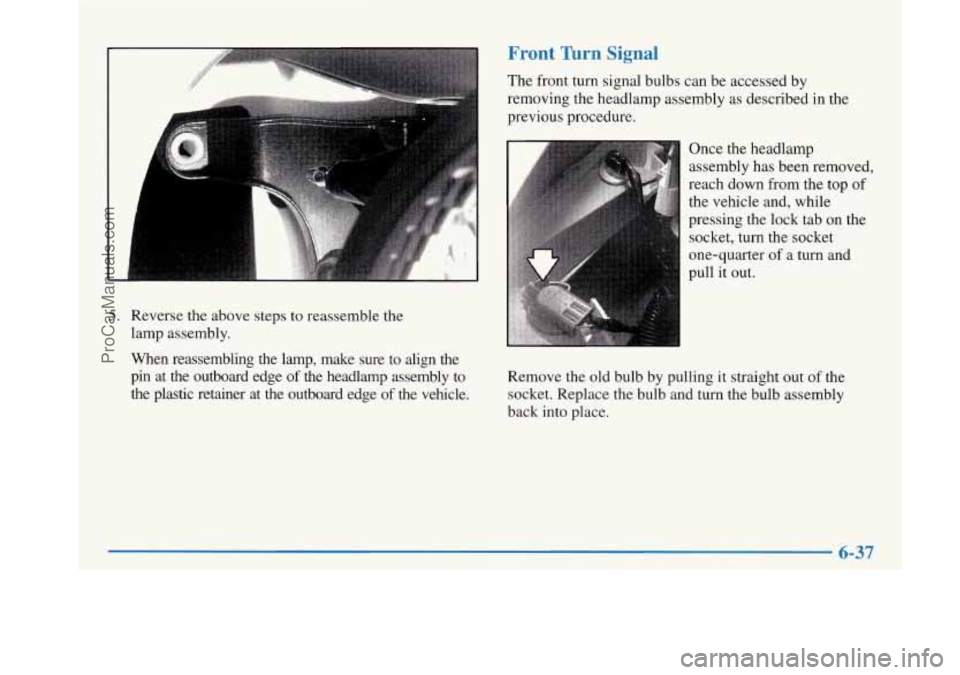
5. Reverse the above steps to reassemble the
lamp assembly.
When reassembling the lamp, make sure to align the
pin at the outboard edge
of the headlamp assembly to
the plastic retainer at the outboard edge
of the vehicle.
Front Turn Signal
The front turn signal bulbs can be accessed by
removing the headlamp assembly as described in the
previous procedure.
Once the headlamp
assembly has been removed,
reach down from the
top of
the vehicle and, while
pressing the lock tab on the
socket, turn the socket
one-quarter
of a turn and
pull it out.
Remove the old bulb by pulling
it straight out of the
socket. Replace the bulb and turn the bulb assembly
back into place.
6-37
ProCarManuals.com
Page 302 of 420
Headlamp Aiming
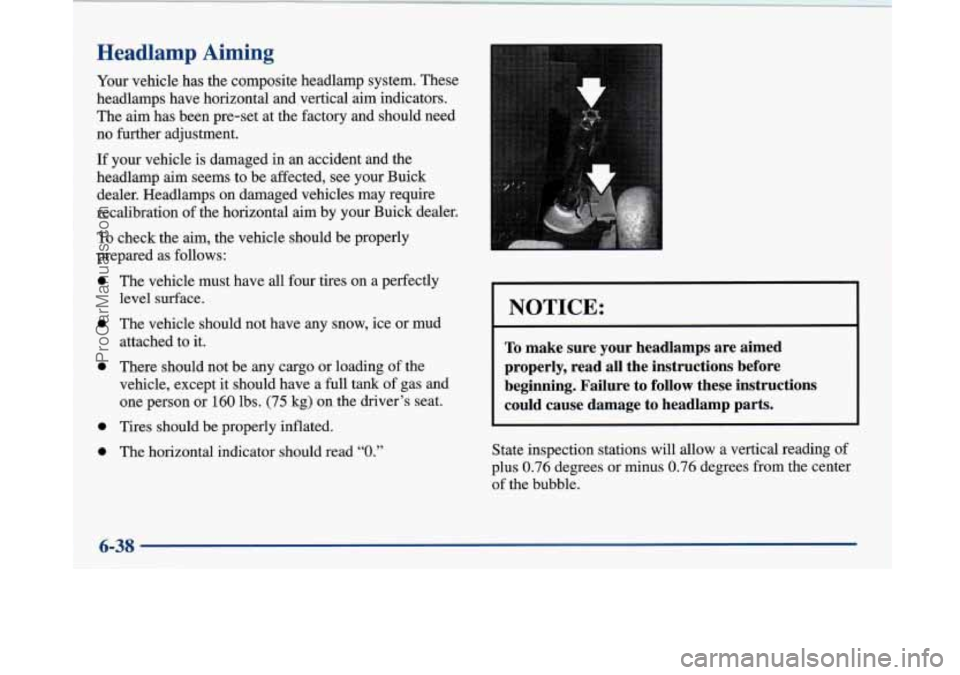
Your vehicle has the composite headlamp system. These
headlamps have horizontal and vertical aim indicators.
The
aim has been pre-set at the factory and should need
no further adjustment.
If your vehicle is damaged in an accident and the
headlamp
aim seems to be affected, see your Buick
dealer. Headlamps on damaged vehicles may require
~ recalibration of the horizontal aim by your Buick dealer.
To check the aim, the vehicle should be properly
prepared as follows:
0 The vehicle must have all four tires on a perfectly
level surface.
0 The vehicle should not have any snow, ice or mud
attached to it.
0 There should not be any cargo or loading of the
vehicle, except it should have a
full tank of gas and
one person or 160 lbs. (75 kg) on the driver’s seat.
0 Tires should be properly inflated.
0 The horizontal indicator should read “0.”
NOTICE:
I
~~
To make sure your headlamps are aimed
properly, read
all the instructions before
beginning. Failure to follow these instructions
could cause damage to headlamp parts.
State inspection stations will allow a vertical reading of
plus 0.76 degrees or minus 0.76 degrees from the center
of the bubble.
6-38
I
ProCarManuals.com
Page 303 of 420
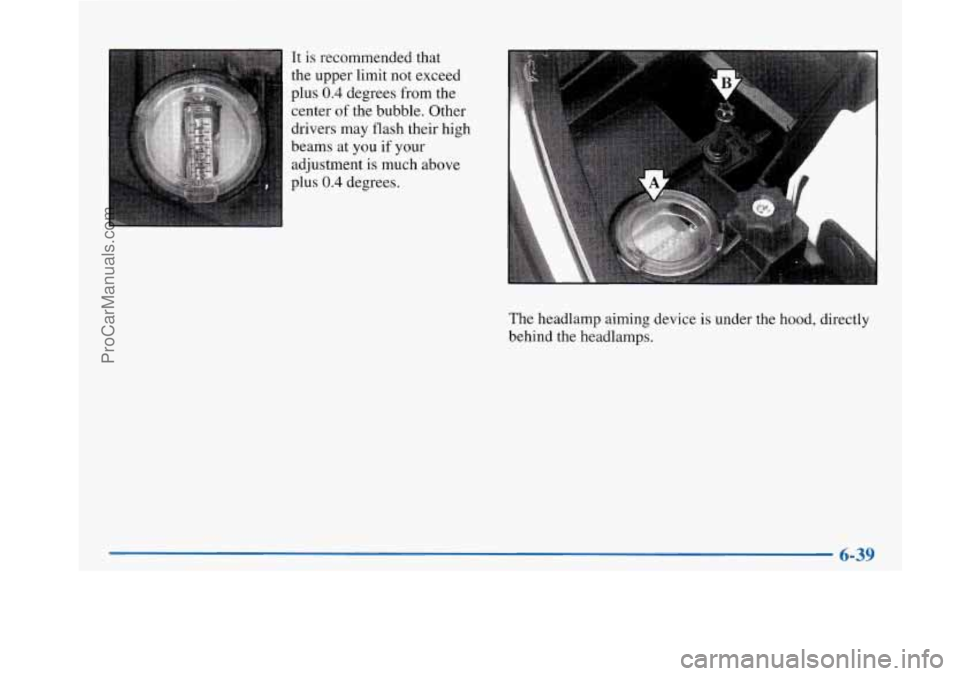
It is recommended that
the upper limit not exceed
plus
0.4 degrees from the
center
of the bubble. Other
drivers may flash their high
beams at you if your
adjustment is much above
plus
0.4 degrees.
The headlamp aiming device
is under the hood, directly
behind the headlamps.
6-39
ProCarManuals.com
Page 304 of 420
If you find that the headlamp aiming needs adjustment,
follow these steps:
Start with the vertical headlamp aim. Adjustment
screws can be turned with an
E8 Tom@ socket or T15
Torx screwdriver.
1. Check the vertical aim for each headlamp. The
vehicle must be on a level surface.
Turn the vertical
aiming screw until the bubble in the level is lined up
with the
0 (zero).
2. Now adjust the horizontal aim. The horizontal
aiming device is located on the inboard side of each
headlamp assembly, down lower from the vertical
aiming device. Check the horizontal aim and adjust
it
as necessary. There is a round dial located on the
horizontal adjuster, with an alignment notch
on it.
Turn the horizontal aiming screw until the zero is
lined up with the notch.
3. Now, visually recheck the vertical aim, to make sure
it is still correct after the horizontal aim adjustment.
Readjust, if necessary.
Taillamps
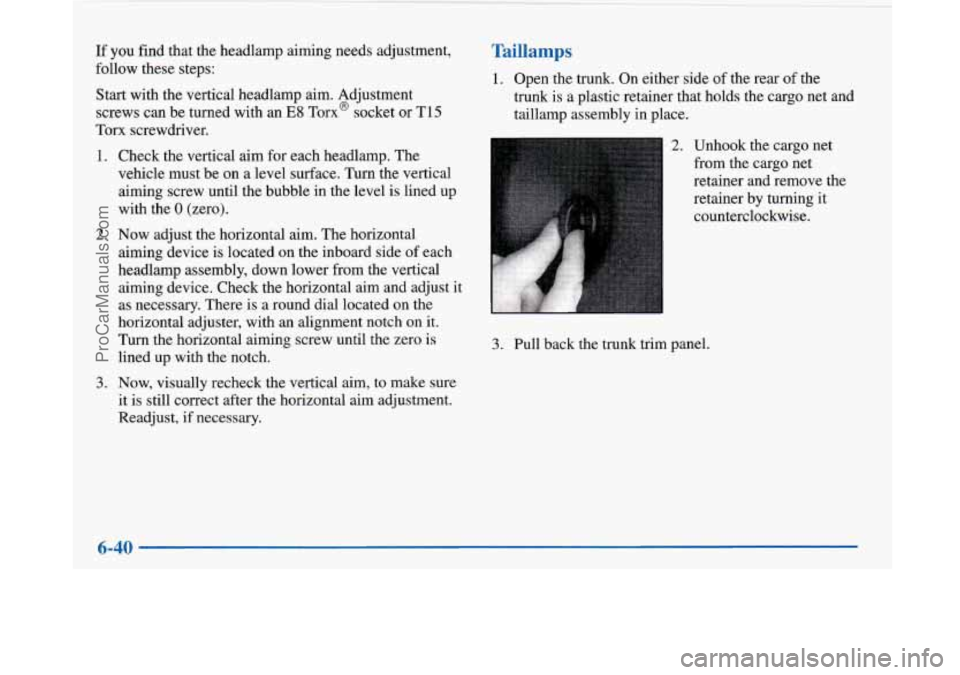
1. Open the trunk. On either side of the rear of the
trunk is a plastic retainer that holds the cargo net
and
taillamp assembly in place.
2. Unhook the cargo net
from the cargo net
retainer and remove the
retainer by turning it
counterclockwise.
3. Pull back the trunk trim panel.
ProCarManuals.com
Page 319 of 420
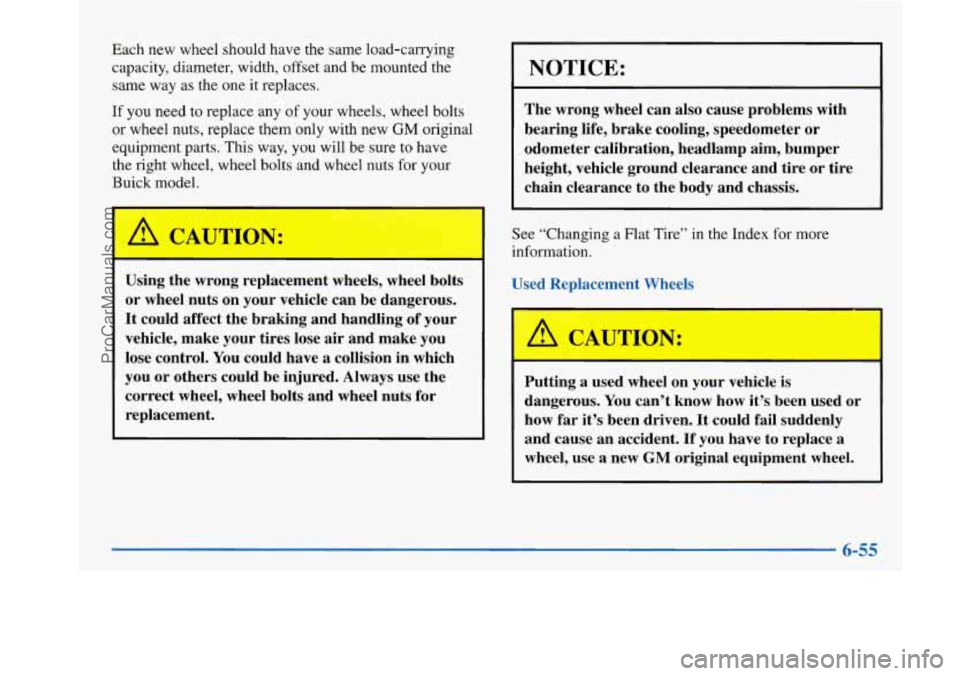
Each new wheel should have the same load-carrying
capacity, diameter, width, offset and be mounted the
same way as the one it replaces.
If you need to replace any of your wheels, wheel bolts
or wheel nuts, replace them only with new GM original
equipment
parts. This way, you will be sure to have
the right wheel, wheel bolts and wheel nuts for your
Buick model.
I
Using the wrong replacement wheels, wheel bolts
or wheel nuts on your vehicle can be dangerous.
It could affect the braking and handling of your
vehicle, make your tires lose air and make you
lose control. You could have
a collision in which
you or others could be injured. Always use the
correct wheel, wheel bolts and wheel nuts for
replacement.
NOTICE:
The wrong wheel can also cause problems with
bearing life, brake cooling, speedometer or
odometer calibration, headlamp aim, bumper
height, vehicle ground clearance and tire or tire
chain clearance to the body and chassis.
See “Changing a Flat Tire” in the Index for more
information.
Used Replacement Wheels
Putting a used wheel on your vehicle is
dangerous. You can’t know how it’s been used or
how far it’s been driven. It could fail suddenly
and cause an accident.
If you have to replace a
wheel, use a new
GM original equipment wheel.
ProCarManuals.com
Page 339 of 420
1. Buckle the center passenger position safety belt, then
route the safety belts through the proper slots in the
seat cushion. Don’t let the safety belts get twisted.
seatback
so the rear locating guides hook into the
wire loops on the back frame.
2. Slide the rear of the cushion up and under the
3. With the seat cushion lowered, push rearward and
then press down on the seat cushion until the spring
locks on both ends engage.
4. Check to make sure the safety belts are properly
routed and that no portion of any safety belt is
trapped under the seat.
Also make sure the seat
cushion
is secured.
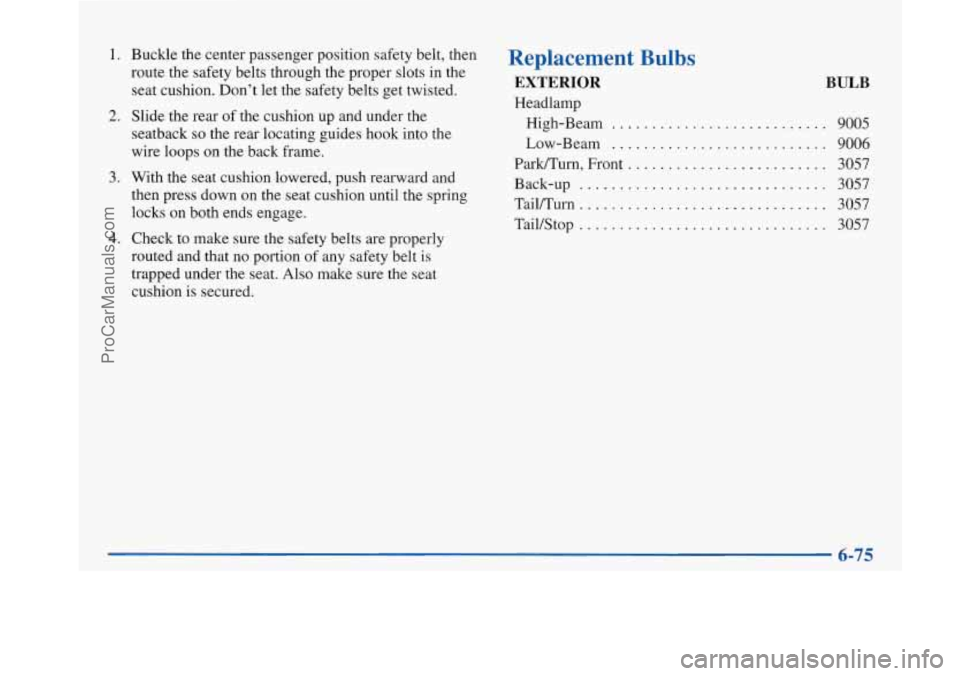
Replacement Bulbs
EXTERIOR BULB
Headlamp
High-Beam
........................... 9005
Low-Beam ........................... 9006
ParWTurn, Front ......................... 3057
Back-up
............................... 3057
Tailmum
............................... 3057
Tail/Stop
......................... . . 3057
6-75
ProCarManuals.com
Page 409 of 420
Finishcare .................................... 6-61
Finish Damage
................................. 6-63
First Gear. Automatic Transaxle
................... 2-26
Flashers. Hazard Warning
......................... 5-2
Flash-to-Pass Feature
........................... 2-36
Flat Tire. Changing
............................. 5-22
Fluid Capacities
................................ 6-76
Fluids and Lubricants
............................ 7-44
Foreign Countries. Fuel
........................... 6-5
French Language Manual
11
Front Center Console ............................ 2-60
Front Storage Armrest
........................... 2-59
FrontTowing
................................... 5-9
Fuel
.......................................... 6-3
Canada
...................................... 6-4
DoorLock
................................... 6-7
Filling Your Tank
.............................. 6-6
Gage
....................................... 2-81
In Foreign Countries
........................... 6-5
Instrument Panel
............................. 6-68
Rear
....................................... 6-72
Underhood
.................................. 6-70
Fuses and Circuit Breakers
....................... 6-68
.. ...........................
Fuse Block
Gages Engine Coolant Temperature
.................... 2-77
Fuel
....................................... 2-81
Garage Door Opener ....................... 2-56, 2-64
GAWR
....................................... 4-31 Gear
Positions. Automatic Transaxle
................ 2-23
GloveBox
.................................... 2-55
GloveBoxLamp
............................... 2-49
Gross Axle Weight Rating
........................ 4-31
Gross Vehicle Weight Rating
...................... 4-31
Guide en FranGais
-11
GVWR ......... ....................... 4-31
.. ................................
Halogen Bulbs ................................ 6-34
Hazard Warning Flashers
.......................... 5-2
Head Restraints
................................. 1-7
Headlamps
.................................... 2-44
Bulb Replacement
............................ 6-35
OnReminder
................................ 2-44
Head-Up Display
............................... 2-82
Hearing Impaired, Customer Assistance
.............. 8-4
Heated Backlite Antenna
......................... 3-35
Heated Outside Mirror
........................... 2-55
Heatedseats
.................................... 1-5
Heating
........................................ 3-5
High-Beam Headlamps
.......................... 2-36
.Highway Hypnosis
.............................. 4-24
Hill and Mountain Roads
......................... 4-24
Hitches, Trailer
................................. 4-35
Hood Checking Things Under
......................... 6-9
Release
...................................... 6-9
Horn
......................................... 2-34
Aiming
..................................... 6-38
High/Low Beamchanger
...................... 2-36
9-5
ProCarManuals.com