bulb BUICK PARK AVENUE 1998 Owners Manual
[x] Cancel search | Manufacturer: BUICK, Model Year: 1998, Model line: PARK AVENUE, Model: BUICK PARK AVENUE 1998Pages: 426, PDF Size: 23.59 MB
Page 103 of 426
E a bulb is burned out, replace it to help avoid itr~
accident. If the mows don’t go on at all when you
signal a turn, check the €use (see “‘Fuses md Circuit
Breakers” in the Index) and f~r burned-out bulbs.
If you have a trailer towing option with added wiring for
the trailer lamps, the signal indicator will flash even if a
turn signal bulb is burned aut. Check the front and rea
turn signal lamps regularly to make sure they are
workirzg. Note: You do not need to add a
different Basher.
If your turn signal is left on ~CZ more than 3/4 of a mile
(1.2 h), a chime will sound ai each flash of the turn
signal. To turn df the chime, move the turn signal lever
to the dTposition.
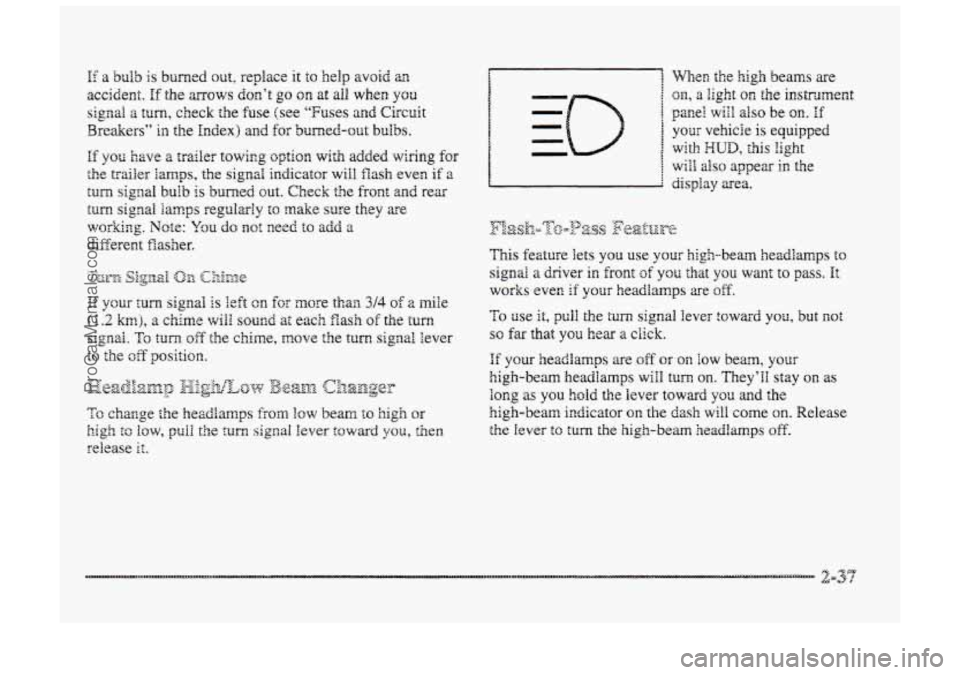
When the high beams are
on, a light the instrdment
panel wiil ~SQ be on. if
This feztuse lets you use your high-beam headlamps to
signal a driver in front of you that you want to pass. It
works even if your headamps xe 3ff.
To use it, pull the turn signal lever toward you, but not
so far that you hear a click.
If your headlamps are off or on low beam, your
high-beam headlamps will turn on. They’ll stay QPI as
long as you hold the Iever toward you and the
high-beam indicator on the dash will come on. Release
the Iever to turn the high-beam headlamps off.
ProCarManuals.com
Page 275 of 426
6-2
6- 3
4-9
6-12
4-17
6- 19
4-20
6-23
5-27
6-28
6-29
4-32
6-33
6-45
6-46
Service
Fuel
Checking Things Under the Hood
Engine Oil
Air Cleaner
Supercharger
Oil
Automatic Transaxle Fluid
Engine Coolant
Radiator Bressure Cap
VVindskieTd Washes Fluid
Br&es
3 attery
Bulb Replacement
Windshield Wiper Blade Replacement
Tires Appearance
Care
Cleaning the Inside QE Y(.w VehicEe
Cleaning
the Outside of Your Vehicle
Underbody Maintenance
Chemical
Paint Spotting
Appearance Care Materials Chart
Vehicle icientifkation Number (VIN)
Electrical System
Removing the Rear Seat Cushion
Replacement Bulbs
Capacities and Specifications
Air Conditioning Re€rigerants
Engine Specifications
Vehicle Dimensions
Normal Maintenance Replacement 'Parts
ProCarManuals.com
Page 307 of 426
If you're not going to drive your vehicle for 25 days
or mcre, remove the black, negative (-) cable from
the battery. This will help keep your battery from
running down.
Bse$tesies have acid that can burn you and gas
that can explode. You ran be badly hurt if JW.I
aren't careful. See "Jump Starting" in the Index
for tips on working around a battery without
getting
hurt.
Contact yoirr dealer to Iem how to prepzre your vehicle
for longer storage periods.
Also, for your audio system, see 'Theft-Deterrent
Feature"
in the Index.
Halogen bulbs have pressurized g;as inside and
can burst if YOU drop or scratch the bulb. You or
others could be injured. Be sure to read and
follow the instructions on the btrbb package.
ProCarManuals.com
Page 309 of 426
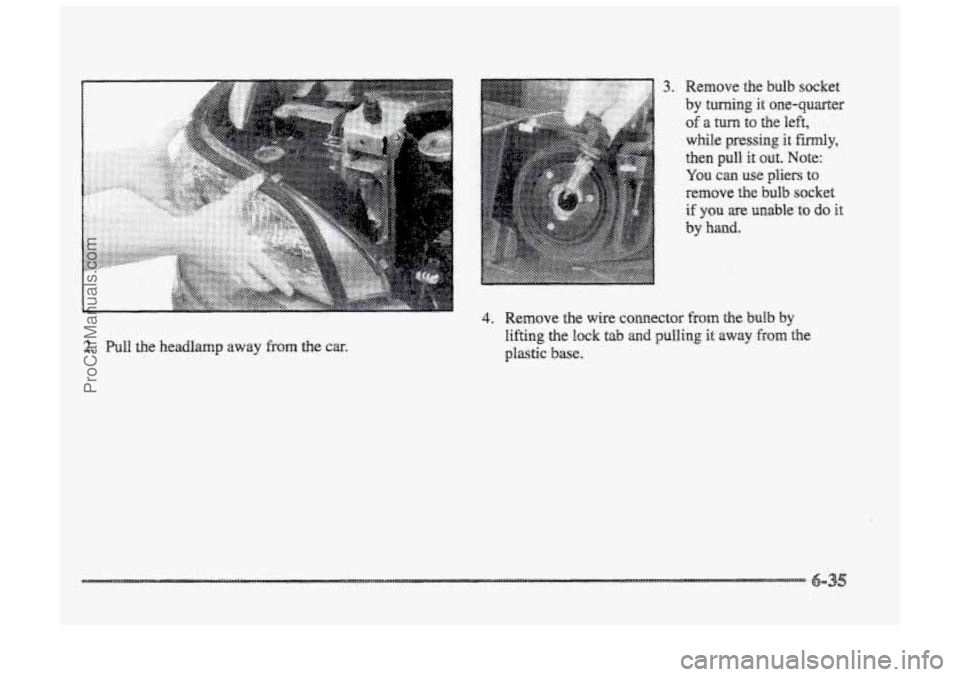
2. Pull the headlamp away from the car.
3. Remove the bulb socket
by
turning it onequarter
of a tuna to the left,
while pressing it firmly,
then pull it out. Note:
YQU can use pliers to
remove the bulb socket
if you are unable to do Et
by hand.
.. I '.
..
4. Remove the wire connector from the bulb by
lifting the EQC~ tab ad pulling it away from the
plastic base.
ProCarManuals.com
Page 310 of 426

5. Reverse the above steeps to reassemble ahe Bamp
assembly. The
fiont turn signal bulbs can be accessed by
removing
the headlamp assembly as described in
the previous procedure.
Once
the headlamp
assembly
has been removed,
reach
down from the top
of the vehicle and, while
pressing the
lock tab on the
socket,
turn the socket
onequarter
of a turn and
pull it out.
When reassembling the lamp, make sure
to align
the pin at the outboapd edge of the headlamp
assembly to
the plastic retainer at the outboard
edge
of the vehicle. Remove the
old bulb
by pulling it straight out of the
socket. Replace the bulb
md turn the bulb assembly
back into place.
ProCarManuals.com
Page 313 of 426
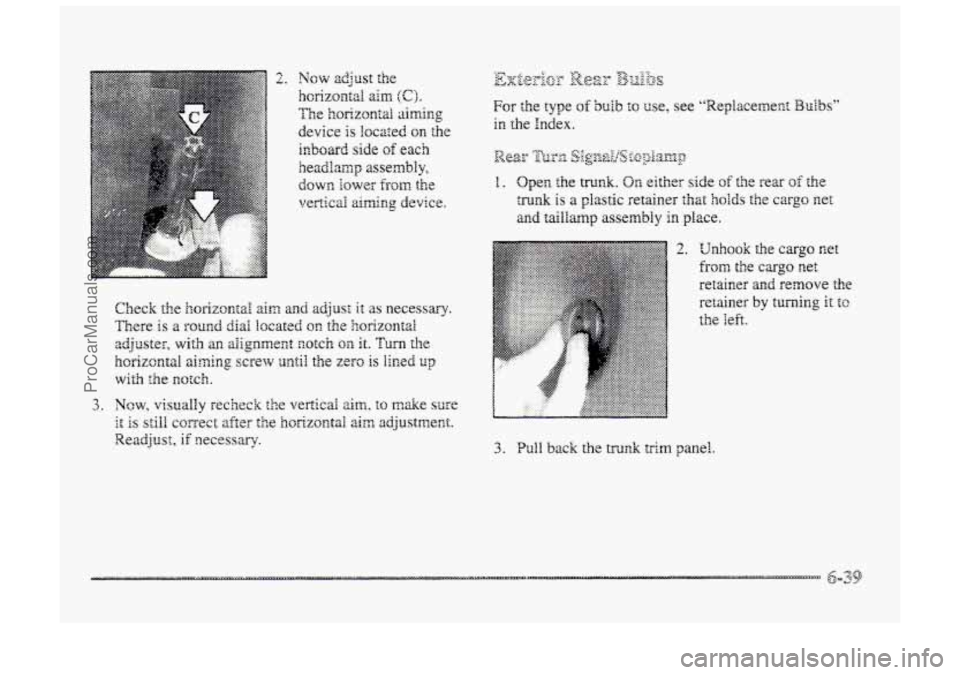
For the type of buib to use, see "Replacement Bulbs"
in the Index.
2. Unhook the cargo net
from the cargo net
retainer and remove the
retainer by turning it tc
the left.
3. Pull back the trunk trim panel.
ProCarManuals.com
Page 314 of 426
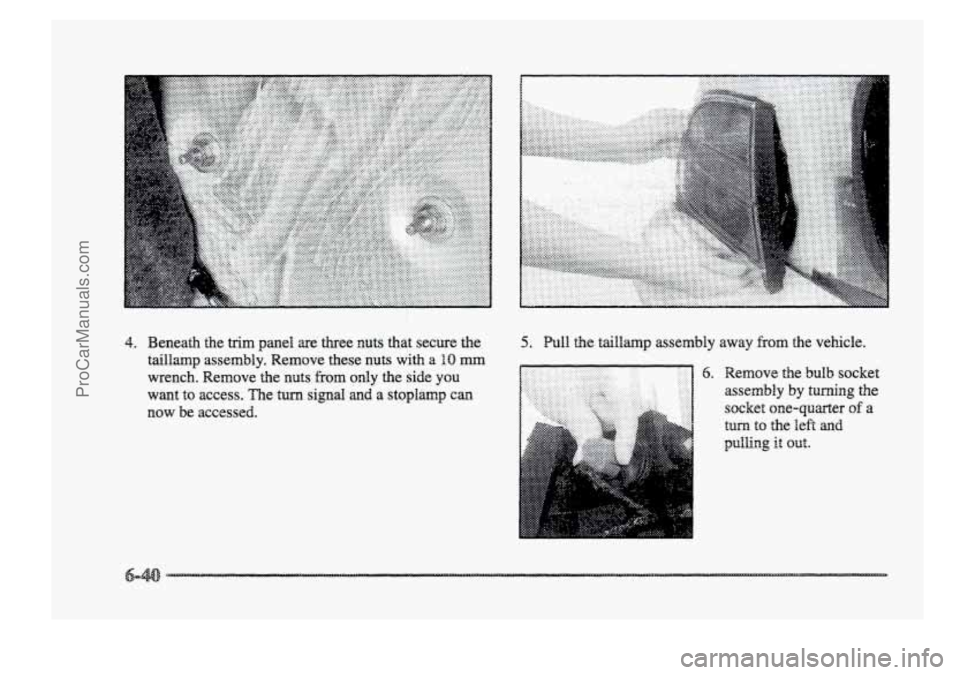
4. Beneath the trim panel are three nuts that secure the
taillamp assembly. Remove these nuts with
a BO mm
wrench. Remove the nuts from only the side you
want
to access. The turn signal and a stoplamp can
now be accessed.
5. Pull the t~illmp assembly away from the vehicle.
6. Remove the bulb socket
assembly by turning
the
socket one-quarter of a
tun to the lek and
ProCarManuals.com
Page 315 of 426
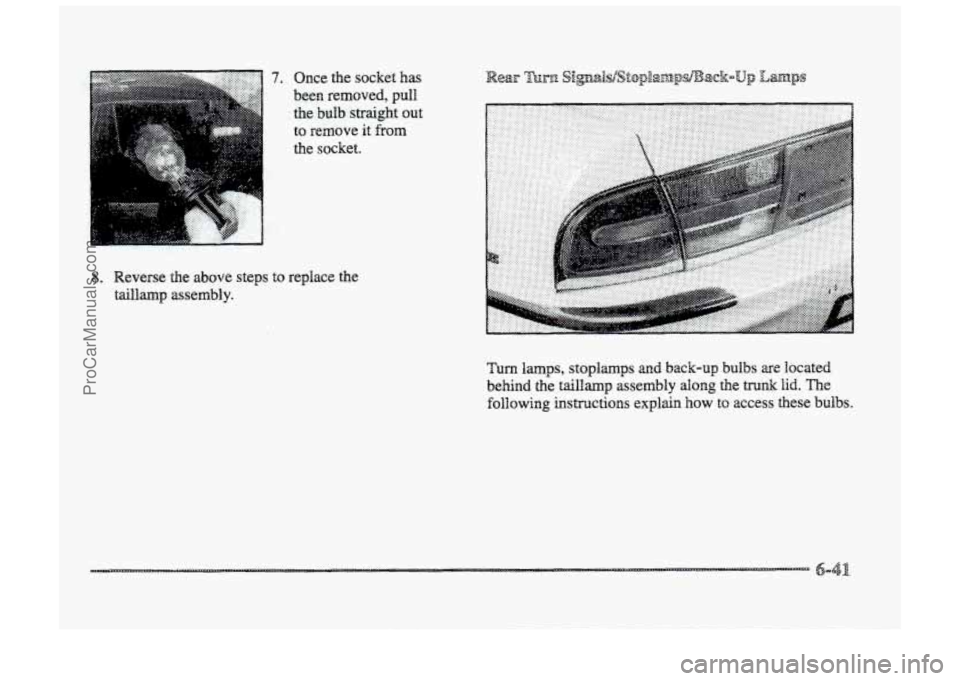
7. Once the socket has
been removed,
pull
the bulb straight out
to remove
it from
the socket.
8. Reverse the above steps to replace the
taiUamp assembly.
Turn
lamps, stoplamps and back-up bulbs are located
bekind the taillamp assembly along the trunk lid. The
following instructions explain how to access these bulbs.
ProCarManuals.com
Page 318 of 426
IC.,. . - -.- .
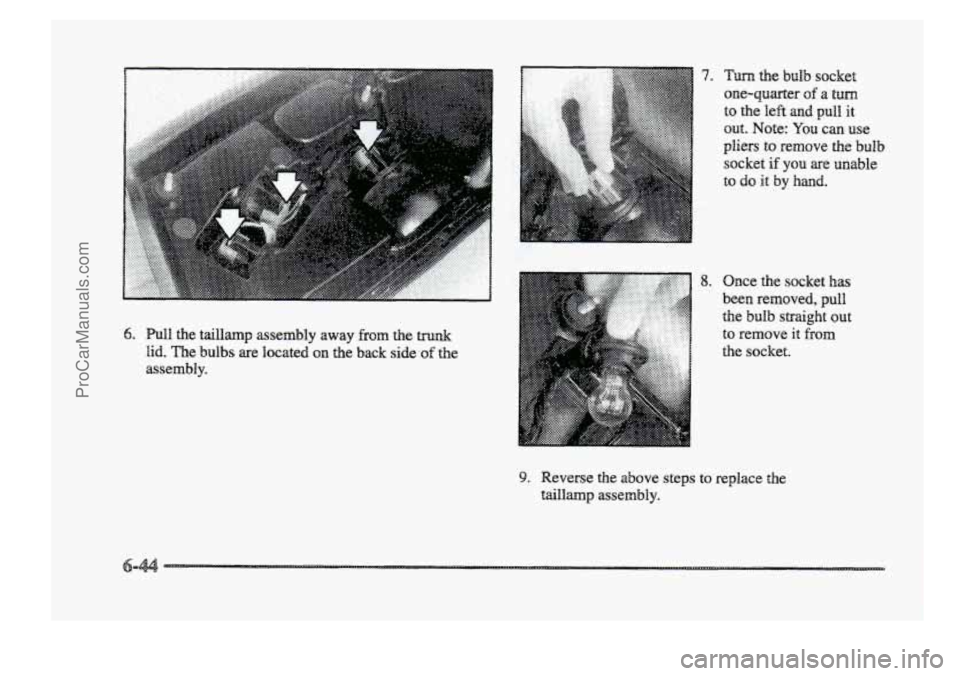
9. Reverse the above steps
taillamp assembly.
7.
8. Once the socket has
been removed, pull
the bulb straight out
to remove it from
the socket.
to replace the
-44
ProCarManuals.com
Page 345 of 426
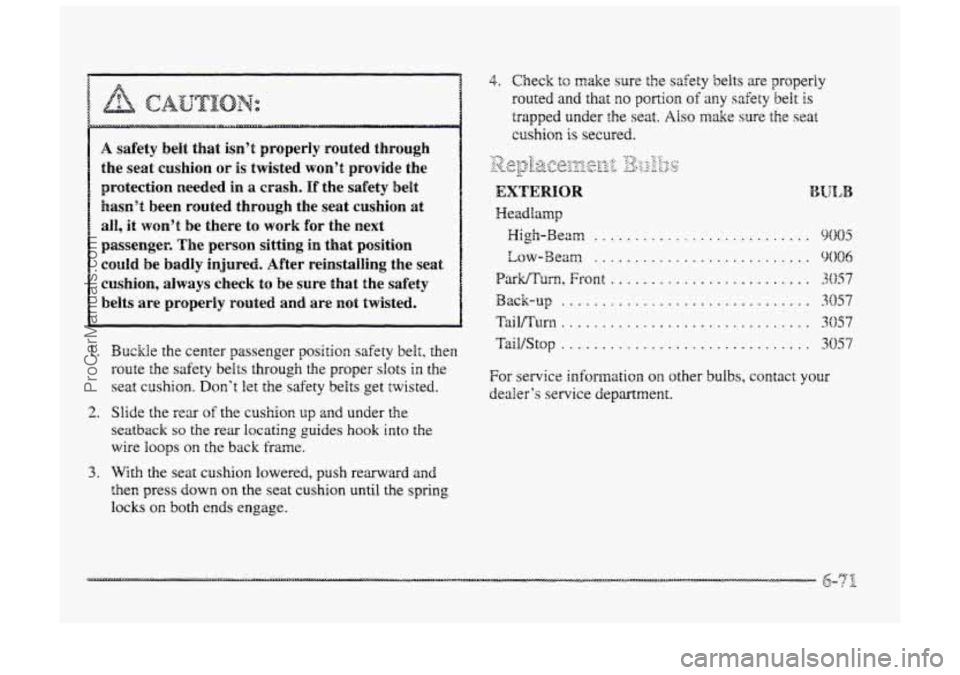
4. Check to make sure the safety belts are properly
routed
and that no p~rtion of any safety belt is
trapped under the seat. Also make sure the seat
cushion is secured.
A safety belt that isn’t properly routed through
the
seat cushion or is twisted won’t provide the
protection needed
in a crash. If the sa€ety beit
hasn’t been routed through the seat cushion at
all, it won’t be there to work for the next
passenger. The person sitting
in that position
couId be badly injured. After reinstalling the seat
cushion, always check to be sure that the safety
belts are properly routed and
are not twisted.
I.
2.
3.
Buckle the center passenger position safety beE:, then
route the safety belts though
the proper slots in the
seat csshion. Don’t let the safety belts get twisted.
Slide the rear
of the cushion up and under the
seatback so the rear locating guides hook into the
wire loops
on the back frame.
With the seat cushion lowered, push rearward
and
then press down on the seat cushion until the spring
locks on both ends engage.
EXTERIOR BBJIAB
Headlamp
High-Beam ........................... 9005
Zow-Beam ........................... 9006
ParWTum, Front ......................... 3057
Back-up ............................... 3057
Tai1Rtu-n ............................... 3057
TaiVStQp ............................... 3857
For service information on other bulbs, contact your
dealer’s service department.
ProCarManuals.com