stop start BUICK PARK AVENUE 1998 Owners Manual
[x] Cancel search | Manufacturer: BUICK, Model Year: 1998, Model line: PARK AVENUE, Model: BUICK PARK AVENUE 1998Pages: 426, PDF Size: 23.59 MB
Page 83 of 426
If a door is opened without the key OF the remote keyless
entry transmitter, the alm will
go off. Your vehicie‘s
lamps will flash and the
horn will sound for 30 seconds,
then
will turn of€ to save battery power.
Remember, the theft-deterrent system won’t activate if
you !ock the doors with a key or use the manual door
lock. kt activates only if you use a power door lock
switch with the
door open, or with the remote keyless
entry transmitter.
You should also remember that you
can start your vehicle with the correct ignition key if the
alm
has been set off.
Were’s how to avoid setting off the dam by accident:
I€ you don’t want to activate the theft-deterrent
system, the vehicle
should be locked with the door
key
after the doors are closed.
e Always U~IQC~ a door with a key, or use the remote
keyless entry transmitter. Unlocking
a door any other
way will set
of€ the alarm.
If you set off the alarm by accident, unlock any door
with your key. You can also turn off the alm by
pressing
UNLOCK on the remote keyless entry
transmitter. The
aim won’t stop if you try to unlock a
door any other way.
The aEm can be tested by following these steps:
1. From inside the vehicle, roll down foe driver’s
window and
open the driver’s door.
2. Activate the system by locking the doors with the
power
door lock switch while the door is open, or
with the remote keyless entry transmitter.
SECURITY light to go out.
3. Get out of the car, close the door and wait €or the
4. Then reach in through the window, unioclc the door
with the manual door lock and open the door. This
shouhd set off the altum.
If the alarm does not sound when it shdd but the
vehicle‘s
iiamps flash, check to see if the horn works.
The horn fuse may be blown. TQ replace the fuse, see
“Fuses and
Circrrit Breakers“ in the Index.
HE the alarm does not sound or the vehicle’s Bamps dc not
flash, the vehicle should be serviced by an authorized
service center.
ProCarManuals.com
Page 84 of 426
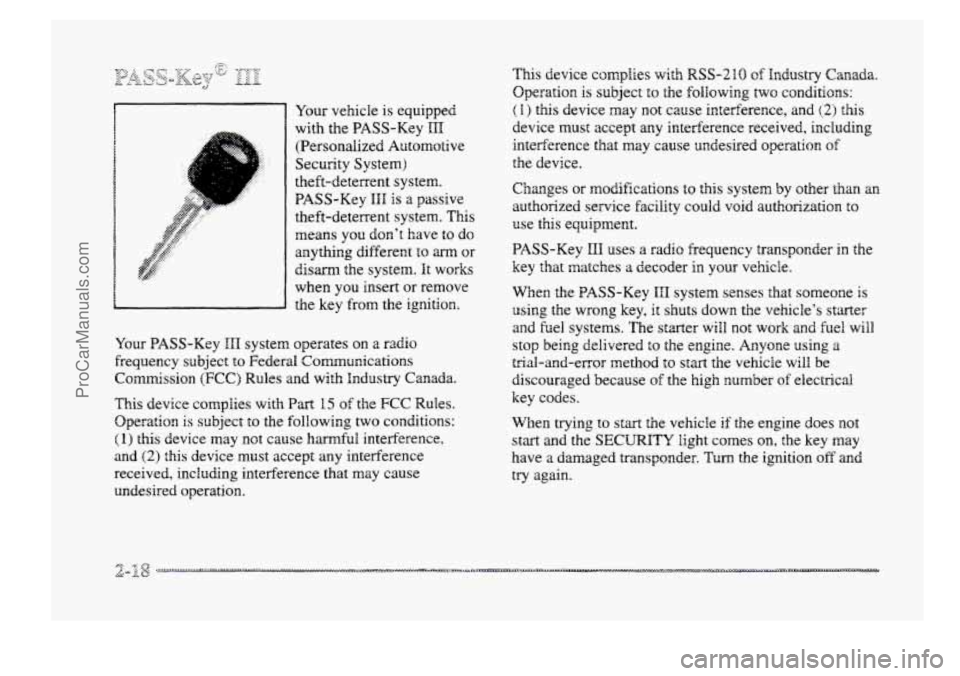
Your vehicle is equipped
with the PASS-Key
III
(Persondized Automotive
Security System)
theft-deterrent system.
PASS-Key
HHI is a passive
theft-deterrent system.
This
means you don’t have to do
anything different to arm or
disarm the system. It works
when YOU insert or remove
the key
from the ignition.
Your PASS-Key
III system operates on a radio
frequency
subject to Federal Communications
Commission
(FCC) Rules and with Industry Canada.
This device complies
with Part 15 of the FCC Rules.
Operation
is subject to the following two conditions:
(I) this device may not cause harmful interference,
and
(2) this device must accept any interference
received, including interference that may cause
undesired operation.
This device complies with RSS-210 of Industry Canada.
Operation
is subject to the following two conditions:
(I) this device may not cause interference, and (2) this
device must accept any interference received, including
interference that may cause undesired operation
of
the device.
Changes
or modifications to this system by other than an
authorized service facility could void authorization to
use this equipment.
PASS-Key
HI1 uses a radio frequency transponder in the
key that matches a decoder in your vehicle.
When the PASS-Key
III system senses that someone is
using the wrong key, it shuts
down the vehicle’s starter
and fuel systems.
The starter will not work and he8 will
stop being delivered to the engine. Anyone using a
trial-and-error method to start the vehicle will be
discouraged because
of the high number of electrical
key codes.
When trying
to start the vehicle if the engine does not
start and the SECURITY light comes on, the key may
have
a damaged transponder. Turn the ignition off and
try again.
ProCarManuals.com
Page 88 of 426
Move your shift lever to BARK (B) or NEUTRAL (N).
Your engine won’t start in any other position -- that’s a
safety feature. To restart when you’re already moving,
use NEUTRAL (N) only.
1 NOTICE:
Don9t try to shift to PARK (a) if your hick is
moving. If YOU do, YOU could damage the
transaxle.
Shift to PARK (P) only when your
vehicfe is stopped.
8. Without pushing the accelerator pedal, turn your
ignition key to START. When the engine starts, let
go
of the key. The idle speed will go down as your
engine gets wann.
NOTICE:
Holding your key in START €or longer than
15 seconds at a time will cause your battery to be
drained much sooner.
And the excessive heat can
damage your starter motor.
2. if it doesn’t start right away, hold your key in
START for about three to five seconds at a time until
your engine starts. Wait about 15 seconds between
each
try to help avoid draining your battery or
damaging your starter.
3. If your engine still won’t start (or starts but then
stops), it could be flooded with too much gasoline.
Try pushing your accelerator pedal
all the way to the
floor
and holding it there as you hold the key in
START for about three seconds. If the vehicle starts
briefly but then stops again, do the same thing, but
this time keep the pedal down for five or
six seconds.
This clears the extra gasoline from the engine.
After waiting
about 15 seconds, repeat the normal
starting procedure.
ProCarManuals.com
Page 104 of 426

L~ ,... .e... . i. : . :.:. .:. . . ... . .
You control the windshield wipers by turning the band
marked WIPER.
For a siagle wiping cycle, turn the band to MIST. HoId
it these until the wipers start, them let go. The wipers will
stop after one cycle. If YOU want more cycles, hold the
band on MIST longer.
You can set the wiper speed for a long or short delay
between wipes. This can be very useful in light rain OH
snow. Turn the band to choose the delay time. The
closer to LO, the shorter the delay between wipes.
For steady wiping at
low speed, turn the band away
from you to the LO position. For high-speed wiping,
turn the band further, io HI. To stop the wipers, move
the band to OFF.
Remember that damaged wiper biades may prevent you
from seeing well enough to dive safely. TO avoid
damage, be sure to clear ice and snow from the wiper
blades before
using them. Hf they're frozen to the
windshield, carefully loosen or thaw them. If your
blades become damaged, get s,ew blades or
Made inserts.
Heavy snow or ice can overload your wiper motor. A
circuit breaker wid stcp rhe motor until it cools. CBeu
away snow OF ice to prevent an overload.
ProCarManuals.com
Page 128 of 426
Your vehicle is equipped with 2 rear storage mrest
with a pass through feature that allows for tmnk access.
Pull the rear armrest down, then push down on the trunk
access panel latch
to open the panel. To close, push the
access panel
until it Iatches.
YQUT vehicle has a convenience net. You'll see it just
inside the bzck wall sf the trunk.
Put small loads, like grocery bags, behind the net. It can
help keep them from f'rrlling over during sharp turns or
quick starts and stops.
The net isn't for Earger, heavier loads. Store them in the
mnk as far forwrtrd as you can.
You can unhook the net so that it will lie flat when
you're
not using it.
The front ashtray may be removed for cleaning. To
remove, grasp the sides and pull forward.
The rear ashtrays
are located on each rear door panel. To
remove the rear ashtray, open the lid and ease the
ashtray
Kpward until the edge can be grasped to pull the
ashtray
up and out.
1 NOTICE:
Don't put papers or other flammable things into
your ashtrays. Hot cigarettes or other smoking
materials could ignite them, causing a
damaging
fire.
ProCarManuals.com
Page 146 of 426
NOTICE:
If you keep driving your vehicle with this light
on, after a whiie, your emission controls rnay not
work as well, your fuel economy may not be as
good and your engine may not PUR as smoothly.
This could lead to costly repairs that may not be
covered by pur warranty.
This jight should corne on, as a check to show YOU it is
working, when the ignition is
on and the engine is not
running. If the light doesn’t come on, have it repaired.
This light will also come QII during ;I malfunction in one
of ~WO ways:
8 Light Flashing -- A misfire condition has been
detected.
A misfire increases vehicle emissions and
may damage the emission controi system on your
vehicle. Dealer or qualified service center diagnosis
and service rnay be required.
@ Eight On Steady -- An emission control system
malfunction
has been detected on your vehicle.
Dealer
or qualified service center diagnosis and
service
may be required.
-.- 8:. f. ,fie ~ 2s F‘fp&-!&g --
The following may prevent more serious damage to
your vehicle:
Reducing vehicle speed.
Avoiding hard accelerations.
e Avoiding steep uphill grades.
If YOU are towing a trailer, reduce the amount of
cargo being hauled as soon as it is possible.
If the light stops flashing and remains on steady, see “If
the Light Is On Steady” following.
Sf the light continues to flash, when it is safe to do so,
stop the vehicle. Find a safe place to park your vehicle.
Turn the key off, wait at least IO seconds and restart the
engine.
If the light remains on steady, see “If the Light
Is On Steady” following. If the light is still flashing,
follow the previous steps,
and drive the vehcle to your
dealer or qualified service center €or service.
ProCarManuals.com
Page 155 of 426
Fuel Range: Press the FUEL button until the display
shows
FUEL RANGE. The fuel range will calculate the
remaining distance you can chive without refueling. This
calculation is based on the average fuel economy for the
last 25 miles (40.25 km) driven, and the fuel remaining
in the fuel
tank. The RESET button does not function in
this mode.
Fuel Used: Press the mTEk button until the display
shows
IFCTIEL USED. This display will show you how
much fuel has been used since the last reset.
TQ learn
how much fuel is used from a new starting point, press
the RESET button while the fbel used is displayed
-h
the DIC.
Oil Pressure: Press the GAGES button until OIL
PRESSURE appears in the display. If there are no
problems detected with the oil pressure, the display
will
show OIL PRESSURE NORMAL. If a low oil pressure
condition is detected, the display
will show OIL
PRESSURE LOW. If you see the OIL PRESSURE
LOW message, you could be low on oil or your oil is
not going through the engine properly. See your dealer
for service.
Coolant Temperature: Press the GAGES button until
COOLANT TEMB appears in the display. If there are no
problems detected with the temperature, C~C&4NI’
TEMP NORMAL will appear in the display. If the
temperature is too
high, COOLANT TEMP HOT will
appear in the display. If you see the COOLANT TEMP
HOT message, your engine is overheated. You should
pull off the road, stop your vehicle and turn off your
engine as soon as possible.
This manual explains what to
do. See “Engine Overheating” in the Index.
Battery Volts: Press the GAGES button until the
display shows BATTERY STAm.
If the voltage is
normal the display will show BATTERY STATE
NORMAE. If the voltage drops below 10.5 volts, the
display will show
BATTERY STAm LOW. If the
voltage
is above 16 volts, the display will show
BATTERY STATE
HIGH. If the display shows the high
or low message, you need
to have your battery checked.
ProCarManuals.com
Page 185 of 426
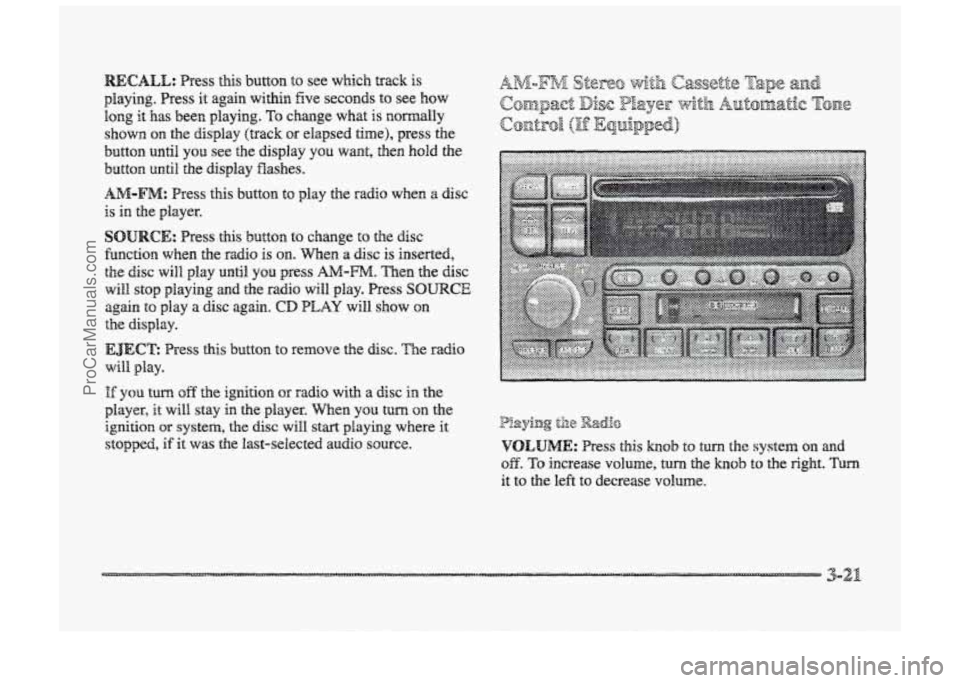
playing. Press it again within five seconds to see how
long it has been playing. TQ change what is normally
shown
on the display (track or elapsed time), press the
button until YOU see the display YOU want, then hold the
button until the display Washes.
AM-FM: Press this button to play the radio when a disc
is in the player.
SOURCE: Press this button to change to the disc
fbnction when he radio is on. When a disc is inserted,
the disc will play until YOU press AA4-m. Then the disc
will stop playing and the radio will play. Press SOURCE
again to play a disc again. CD PLAY will show on
EJECE Press this button to ~~XIIQV~ the disc. The EXI~O
will. play.
the display.
I% you turn off the ignition or radio with a disc in the
player, it will stay in the player. men YOU turn on the
ignition OF system, the disc will start playing where it
stopped, if it was the last-selected audio source.
P!aying til8 Radio
VOLUME: Press this hob to turn the system on md
OB. To increase volume, turn the knob to the right. Turn
it to the left to decrease VO~UIIE.
3-21
ProCarManuals.com
Page 211 of 426
Remember: Anti-lock doesn’t change the the you need
to get your foot up to the br&e pedal or always decrease
stopping distance. If you get too dose to the vehicle in
front of you, you won’t have time to apply your brakes
If that vehicle suddenly slows or stcps. Always leave
enough
room up ahead tu stop, even though yorr have
anti-lock brakes.
Don’t pump the brakes. Just hold the brake pedal down
5mly and let anti-lock work for you. You may feel a
slight brake pedal gulsation or notice some noise, but
this is normal.
?F? 5-~~l:”~p.Tp LC :~?$<:4:?~$ ,y...,iq:py; (TF &&@$B&) r ,y a% *.-blL& . ,%*i ...,‘. --’3 li Y z .i I A -2.
YQW vehicle may have a traction control system thzat
limits wheel spin. This is especially useful in slippery
road conditions. The system operates only if it senses
that one
or both of the front wheels are spinning or
beginning to lose traction. When this happens, the
system works the front brakes and reduces engine power
to limit wheel spin.
You may feel or hear the system working, but this
is nomal.
__ . ... a
See ‘‘T~-acti~m Contra1 System Warning Eight” ii: the
Irzdex. WEen this warning light is on, the system will mt
limit wheel spin. Adjust your driving zccsrdingly.
The traction COII~FO~ system arr;2smaticaily comes on
whenever you start your vehicle. To limit wheel spin,
especially in siippery road conditio~s, y3u shouEd
always leave the system on. But you can turn- the
traction control system off‘ if you ever need to. (YQQ
should turn the system off if pur vehicBe ever gets stuck
in sand, mud, ice or snow. See “Rockr~g Your Vehicle”
in the Index.)
ProCarManuals.com
Page 216 of 426
@ I4o not get too ciose to the vehicle you want to pass
while you’re awaiting an opportunity. For one thing,
fblhwing too closely reduces YQUP area of visiorn,
cspecidly if you’re following a larger vehide. Also,
you won’t have adequate space if the vehicle
ahead suddenly slows cx stops. Keep back a
reasonable distance.
8 When it looks like a chance to pass is coming up,
start to accelerate but stay in the right lane and don‘t
get too close. Time YOUF move so you will be
increasing speed as the time comes to move into the
other lane.
If the way is clear to pass, you will have a
“running start” that more than makes up for the
distance
you would lose by dropping back. And if
something happens to cause you to cancef your pass,
you need only slow down and drop back again and
wait for another opportunity.
If other cars =e lined up to pass a slow vehicle, wait
your
turn. But take care that someone isn’t trying to
pass YOU as you pull out +LO pass the slow vehicle.
Remember
to glance over your shoulder and check
the
blind spot.
8 Check your minors, giance over your shoulder, and
start your left Bane change signal before moving out
of the right lane to pass. When you =e far enough
ahead
of the passed vehicle BO see its front in your
inside
minor, activate your right lafie change signal
2nd move back into the right laze. (Remember that
your
right outside mirror is convex. The vehicle YSU
just passed may seem to be f~ther away from you
than it really is.)
@ Don’t overtake a sEowIy moving vehdcIe too rapidly.
Even
though the br&e lamps are not flashing, it may
be slowing down or starting to turn.
@ If you’re being passed, make it easy for the
foilowing driver to get ahead of you. Perhaps you
can ease a littie to the right.
ProCarManuals.com