rear seat BUICK PARK AVENUE 2003 Owner's Manual
[x] Cancel search | Manufacturer: BUICK, Model Year: 2003, Model line: PARK AVENUE, Model: BUICK PARK AVENUE 2003Pages: 372, PDF Size: 2.8 MB
Page 7 of 372
Front Seats......................................................1-2
Power Seats..................................................1-2
Power Lumbar...............................................1-3
Heated Seats.................................................1-3
Reclining Seatbacks........................................1-4
Head Restraints.............................................1-5
Safety Belts.....................................................1-6
Safety Belts: They Are for Everyone.................1-6
Questions and Answers About Safety Belts......1-10
How to Wear Safety Belts Properly.................1-11
Driver Position..............................................1-12
Safety Belt Use During Pregnancy..................1-18
Right Front Passenger Position.......................1-19
Center Passenger Position.............................1-19
Rear Seat Passengers..................................1-21
Rear Safety Belt Comfort Guides for
Children and Small Adults..........................1-24
Safety Belt Extender.....................................1-26
Child Restraints.............................................1-27
Older Children..............................................1-27
Infants and Young Children............................1-29
Child Restraint Systems.................................1-33
Where to Put the Restraint.............................1-36Top Strap....................................................1-37
Top Strap Anchor Location.............................1-39
Lower Anchorages and Top Tethers for
Children (LATCH System)...........................1-39
Securing a Child Restraint Designed for
the LATCH System....................................1-41
Securing a Child Restraint in a Rear
Outside Seat Position................................1-42
Securing a Child Restraint in a Center
Rear Seat Position....................................1-44
Securing a Child Restraint in the Right
Front Seat Position....................................1-46
Air Bag Systems............................................1-48
Where Are the Air Bags?...............................1-51
When Should an Air Bag In¯ate?....................1-53
What Makes an Air Bag In¯ate?.....................1-54
How Does an Air Bag Restrain?.....................1-54
What Will You See After an
Air Bag In¯ates?.......................................1-54
Servicing Your Air Bag-Equipped Vehicle.........1-56
Restraint System Check..................................1-56
Checking Your Restraint Systems...................1-56
Replacing Restraint System Parts
After a Crash............................................1-57
Section 1 Seats and Restraint Systems
1-1
Page 8 of 372
Front Seats
Power Seats
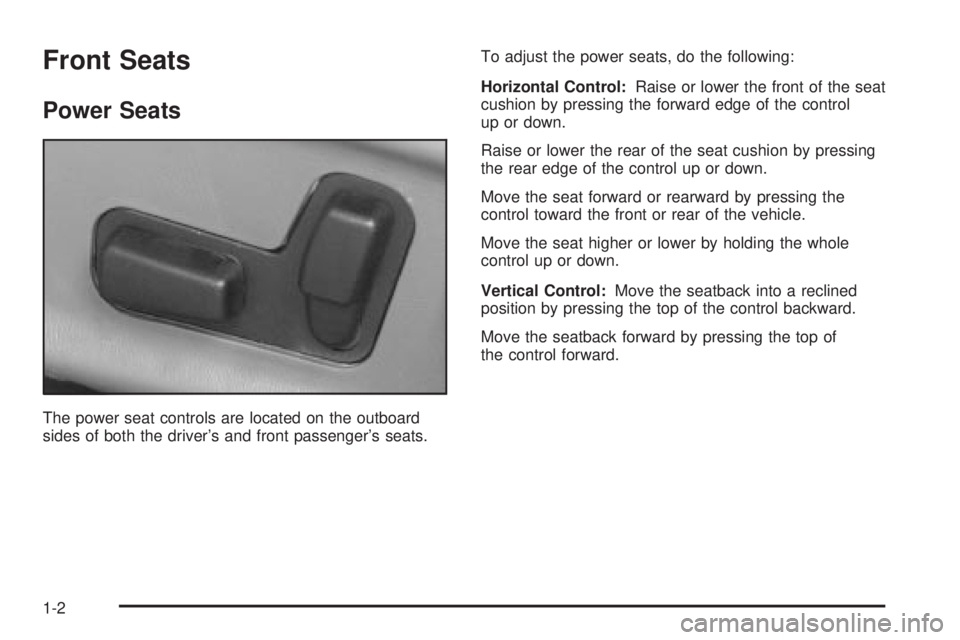
The power seat controls are located on the outboard
sides of both the driver's and front passenger's seats.To adjust the power seats, do the following:
Horizontal Control:Raise or lower the front of the seat
cushion by pressing the forward edge of the control
up or down.
Raise or lower the rear of the seat cushion by pressing
the rear edge of the control up or down.
Move the seat forward or rearward by pressing the
control toward the front or rear of the vehicle.
Move the seat higher or lower by holding the whole
control up or down.
Vertical Control:Move the seatback into a reclined
position by pressing the top of the control backward.
Move the seatback forward by pressing the top of
the control forward.
1-2
Page 9 of 372
Power Lumbar
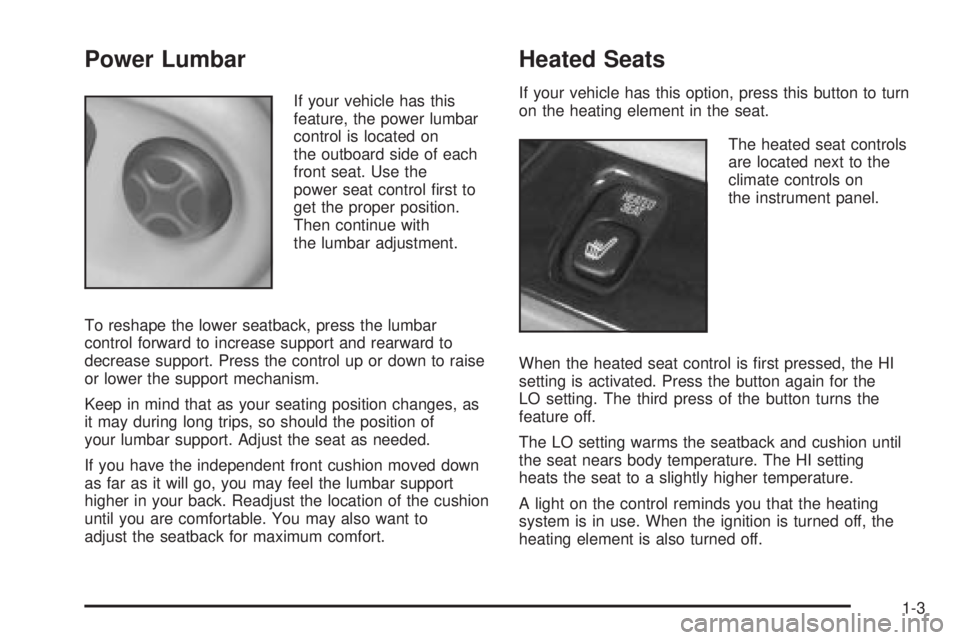
If your vehicle has this
feature, the power lumbar
control is located on
the outboard side of each
front seat. Use the
power seat control ®rst to
get the proper position.
Then continue with
the lumbar adjustment.
To reshape the lower seatback, press the lumbar
control forward to increase support and rearward to
decrease support. Press the control up or down to raise
or lower the support mechanism.
Keep in mind that as your seating position changes, as
it may during long trips, so should the position of
your lumbar support. Adjust the seat as needed.
If you have the independent front cushion moved down
as far as it will go, you may feel the lumbar support
higher in your back. Readjust the location of the cushion
until you are comfortable. You may also want to
adjust the seatback for maximum comfort.
Heated Seats
If your vehicle has this option, press this button to turn
on the heating element in the seat.
The heated seat controls
are located next to the
climate controls on
the instrument panel.
When the heated seat control is ®rst pressed, the HI
setting is activated. Press the button again for the
LO setting. The third press of the button turns the
feature off.
The LO setting warms the seatback and cushion until
the seat nears body temperature. The HI setting
heats the seat to a slightly higher temperature.
A light on the control reminds you that the heating
system is in use. When the ignition is turned off, the
heating element is also turned off.
1-3
Page 11 of 372
Head Restraints
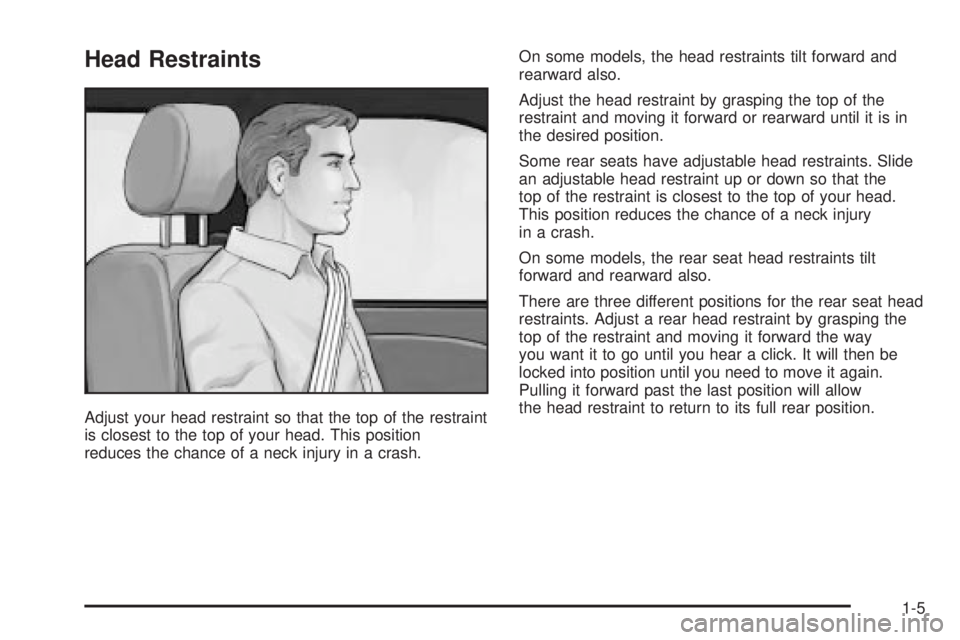
Adjust your head restraint so that the top of the restraint
is closest to the top of your head. This position
reduces the chance of a neck injury in a crash.On some models, the head restraints tilt forward and
rearward also.
Adjust the head restraint by grasping the top of the
restraint and moving it forward or rearward until it is in
the desired position.
Some rear seats have adjustable head restraints. Slide
an adjustable head restraint up or down so that the
top of the restraint is closest to the top of your head.
This position reduces the chance of a neck injury
in a crash.
On some models, the rear seat head restraints tilt
forward and rearward also.
There are three different positions for the rear seat head
restraints. Adjust a rear head restraint by grasping the
top of the restraint and moving it forward the way
you want it to go until you hear a click. It will then be
locked into position until you need to move it again.
Pulling it forward past the last position will allow
the head restraint to return to its full rear position.
1-5
Page 25 of 372
The best way to protect the fetus is to protect the
mother. When a safety belt is worn properly, it's more
likely that the fetus won't be hurt in a crash. For
pregnant women, as for anyone, the key to making
safety belts effective is wearing them properly.
Right Front Passenger Position
To learn how to wear the right front passenger's safety
belt properly, seeDriver Position on page 1-12.
The right front passenger's safety belt works the same
way as the driver's safety belt ± except for one thing.
If you ever pull the lap portion of the belt out all the way,
you will engage the child restraint locking feature. If
this happens, just let the belt go back all the way and
start again.
If your vehicle has a center passenger position, be sure
to use the correct buckle when buckling your
lap-shoulder belt. If you ®nd that the latch plate will not
go fully into the buckle, see if you are using the
buckle for the center passenger position.
Center Passenger Position
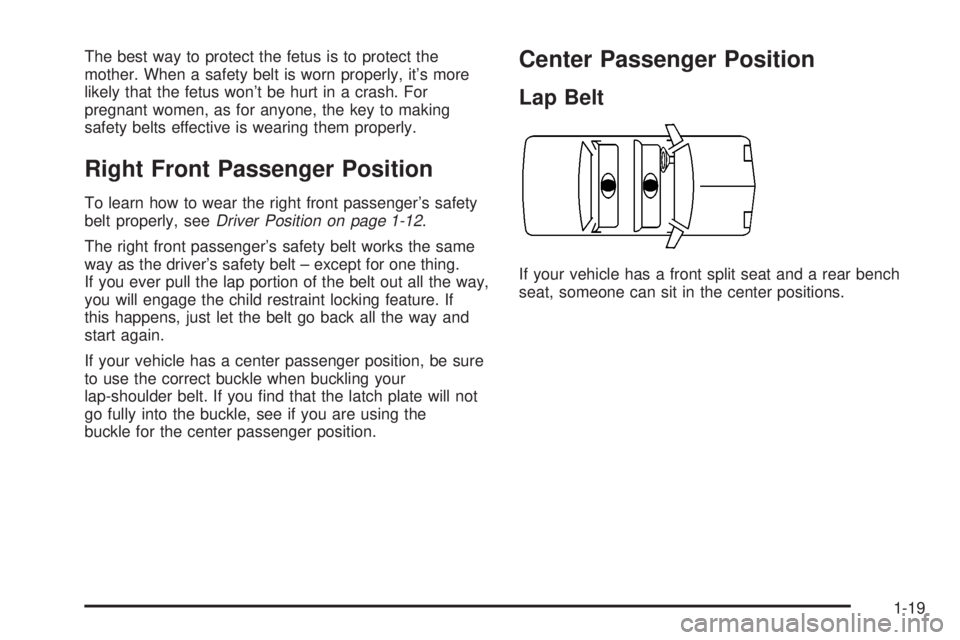
Lap Belt
If your vehicle has a front split seat and a rear bench
seat, someone can sit in the center positions.
1-19
Page 27 of 372
Rear Seat Passengers
It's very important for rear seat passengers to buckle
up! Accident statistics show that unbelted people in the
rear seat are hurt more often in crashes than those
who are wearing safety belts.
Rear passengers who aren't safety belted can be
thrown out of the vehicle in a crash. And they can strike
others in the vehicle who are wearing safety belts.
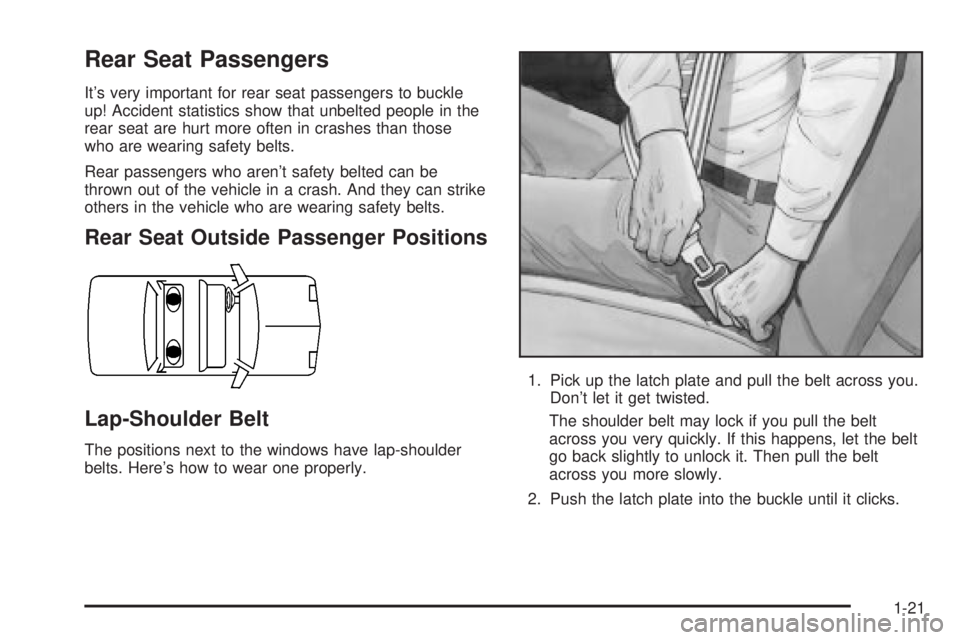
Rear Seat Outside Passenger Positions
Lap-Shoulder Belt
The positions next to the windows have lap-shoulder
belts. Here's how to wear one properly.1. Pick up the latch plate and pull the belt across you.
Don't let it get twisted.
The shoulder belt may lock if you pull the belt
across you very quickly. If this happens, let the belt
go back slightly to unlock it. Then pull the belt
across you more slowly.
2. Push the latch plate into the buckle until it clicks.
1-21
Page 30 of 372
Rear Safety Belt Comfort Guides for
Children and Small Adults
Your vehicle may have this feature already. If it doesn't,
you can get it from any GM dealer.
Rear shoulder belt comfort guides provide added safety
belt comfort for older children who have outgrown
booster seats and for small adults. When installed on a
shoulder belt, the comfort guide better positions the
belt away from the neck and head.
There is one guide available for each outside passenger
position in the rear seat. To provide added safety belt
comfort for children who have outgrown child restraints
and booster seats and for smaller adults, the comfort
guides may be installed on the shoulder belts. Here's
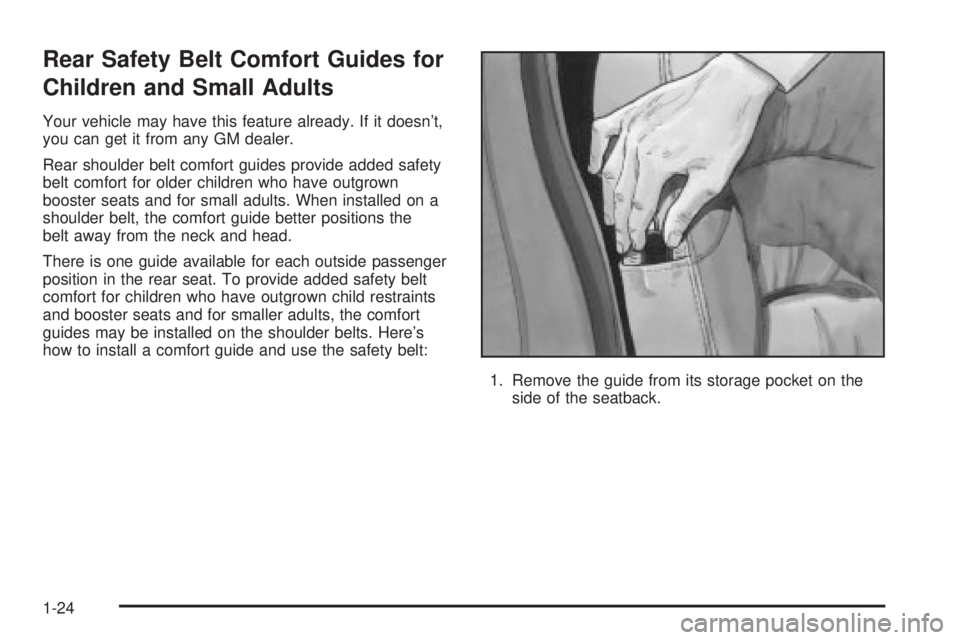
how to install a comfort guide and use the safety belt:
1. Remove the guide from its storage pocket on the
side of the seatback.
1-24
Page 32 of 372
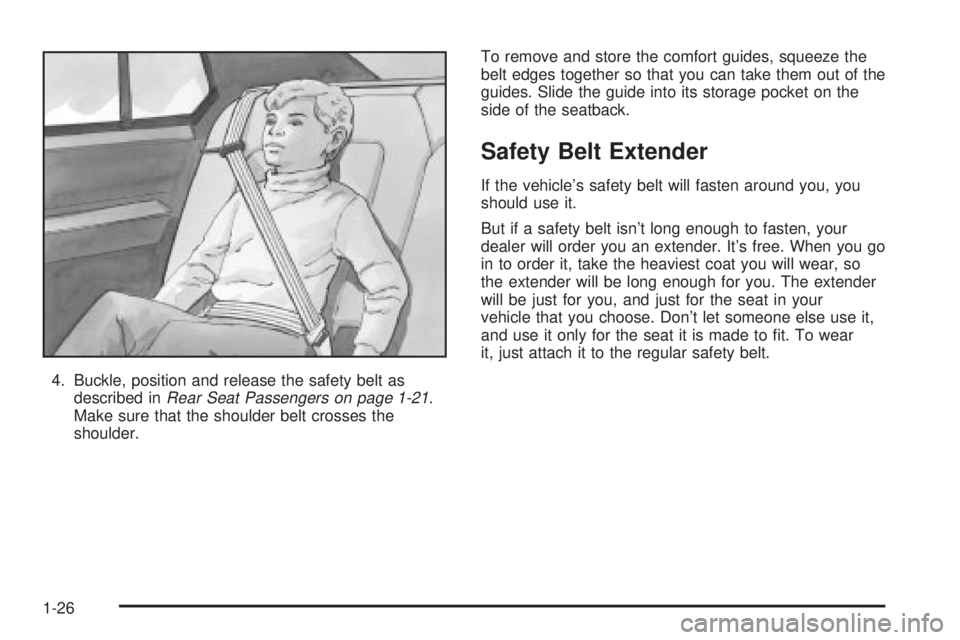
4. Buckle, position and release the safety belt as
described inRear Seat Passengers on page 1-21.
Make sure that the shoulder belt crosses the
shoulder.To remove and store the comfort guides, squeeze the
belt edges together so that you can take them out of the
guides. Slide the guide into its storage pocket on the
side of the seatback.
Safety Belt Extender
If the vehicle's safety belt will fasten around you, you
should use it.
But if a safety belt isn't long enough to fasten, your
dealer will order you an extender. It's free. When you go
in to order it, take the heaviest coat you will wear, so
the extender will be long enough for you. The extender
will be just for you, and just for the seat in your
vehicle that you choose. Don't let someone else use it,
and use it only for the seat it is made to ®t. To wear
it, just attach it to the regular safety belt.
1-26
Page 33 of 372
Child Restraints
Older Children
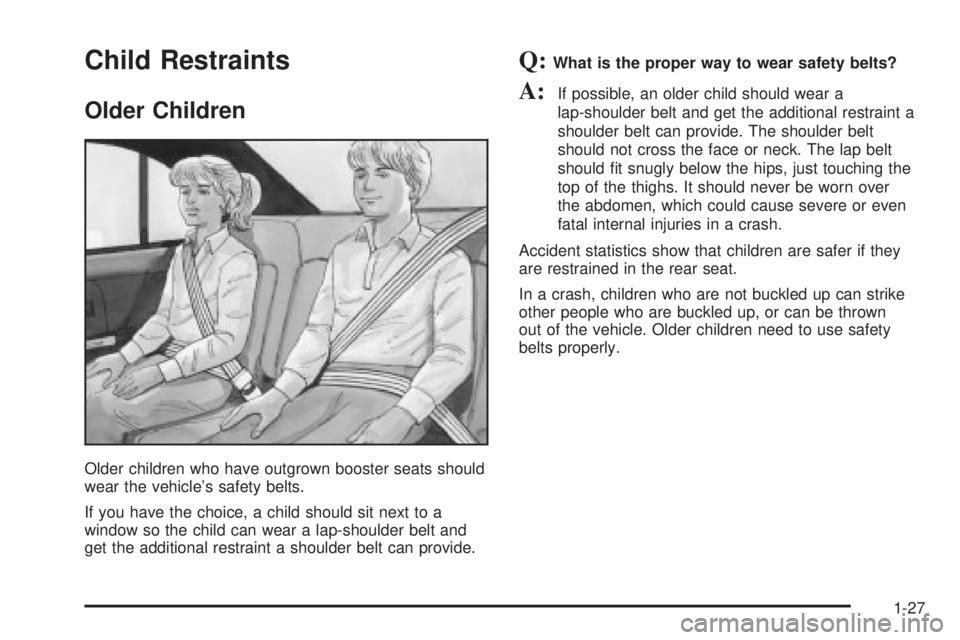
Older children who have outgrown booster seats should
wear the vehicle's safety belts.
If you have the choice, a child should sit next to a
window so the child can wear a lap-shoulder belt and
get the additional restraint a shoulder belt can provide.
Q:What is the proper way to wear safety belts?
A:If possible, an older child should wear a
lap-shoulder belt and get the additional restraint a
shoulder belt can provide. The shoulder belt
should not cross the face or neck. The lap belt
should ®t snugly below the hips, just touching the
top of the thighs. It should never be worn over
the abdomen, which could cause severe or even
fatal internal injuries in a crash.
Accident statistics show that children are safer if they
are restrained in the rear seat.
In a crash, children who are not buckled up can strike
other people who are buckled up, or can be thrown
out of the vehicle. Older children need to use safety
belts properly.
1-27
Page 34 of 372
{CAUTION:
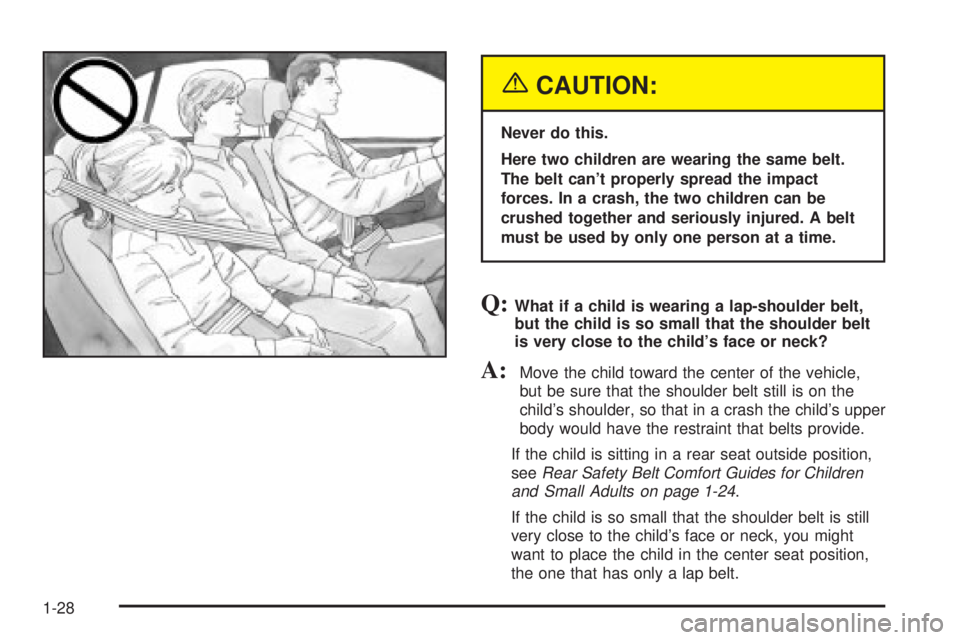
Never do this.
Here two children are wearing the same belt.
The belt can't properly spread the impact
forces. In a crash, the two children can be
crushed together and seriously injured. A belt
must be used by only one person at a time.
Q:What if a child is wearing a lap-shoulder belt,
but the child is so small that the shoulder belt
is very close to the child's face or neck?
A:Move the child toward the center of the vehicle,
but be sure that the shoulder belt still is on the
child's shoulder, so that in a crash the child's upper
body would have the restraint that belts provide.
If the child is sitting in a rear seat outside position,
see
Rear Safety Belt Comfort Guides for Children
and Small Adults on page 1-24
.
If the child is so small that the shoulder belt is still
very close to the child's face or neck, you might
want to place the child in the center seat position,
the one that has only a lap belt.
1-28