sensor BUICK PARK AVENUE 2003 Owner's Manual
[x] Cancel search | Manufacturer: BUICK, Model Year: 2003, Model line: PARK AVENUE, Model: BUICK PARK AVENUE 2003Pages: 372, PDF Size: 2.8 MB
Page 120 of 372
RainsenseŸ II Wipers
If your vehicle has this feature, the moisture sensor is
mounted on the interior of the windshield below the
rearview mirror and is used to automatically operate the
wipers. This system operates by monitoring the
amount of moisture build-up on the windshield. Wipes
occur as needed to clear the windshield depending
on the driving conditions and the sensitivity setting. In
light rain or snow, fewer wipes will occur. In heavy
rain or snow, wipes will occur more frequently.
The system will operate in the delay, low speed and
high speed modes. If the system is left on for long
periods of time, occasional wipes may occur without any
moisture on the windshield. This is normal and
indicates that the RainsenseŸ system is active.
The RainsenseŸ system is activated by turning the
wiper control band to one of the ®ve sensitivity levels
within the delay area. The delay position closest to
OFF/MIST is the lowest sensitivity setting, level
one. This allows more rain or snow to collect on the
windshield between wipes. You can increase the
sensitivity of the system and the frequency of wipes by
turning the wiper control band away from you to the
higher sensitivity levels. The highest sensitivity setting,
level ®ve, is closest to the LO position. A single wipe
will occur each time you turn the wiper control band to a
higher sensitivity level to indicate that the sensitivity
level has been increased.The windshield wipers also remain in a ªhigh parkº
position (the wipers are stopped on the windshield and
are not in the normal park position), even when the
ignition is turned off.
Notice:Turn the windshield wiper band on the
multifunction lever to off to avoid wiper damage
when going through an automatic car wash.
The MIST and wash cycles operate as normal and are
not affected by the moisture-sensing function. The
system can be overridden at any time by manually
turning the wiper band to LO or HI speed.
Notice:Do not place stickers or other items on the
exterior glass surface directly in front of the
moisture sensor. Doing this could cause the
moisture sensor to malfunction.
Windshield Washer
At the top of the multifunction lever there is a paddle
with the word PUSH on it. For ªprogrammedº operation,
press and release the paddle. The washer will provide
a measured amount of ¯uid to the windshield and
the wiper will either stop or return to your original wiping
speed. For ªdemandº operation, press and hold the
paddle for at least two seconds. Release the paddle
when you have enough ¯uid and the wipers will either
stop or return to your original wiping speed.
3-8
Page 125 of 372
Daytime Running Lamps
Daytime Running Lamps (DRL) can make it easier for
others to see the front of your vehicle during the
day. DRL can be helpful in many different driving
conditions, but they can be especially helpful in the short
periods after dawn and before sunset. Fully functional
daytime running lamps are required on all vehicles
®rst sold in Canada.
A light sensor on top of the instrument panel monitors
the exterior light level for the operation of DRL and
Twilight Sentinel
ž, so be sure it isn't covered.
The DRL system will make your high-beam headlamps
come on at reduced brightness in daylight when the
following conditions are met:
·The ignition is on,
·the exterior lamps control is off, and
·the transaxle is not in PARK (P).
When DRL are on, only your high-beam headlamps will
be on. The parking lamps, taillamps, sidemarker and
other lamps won't be on. Your instrument panel won't be
lit up either.When it's dark enough outside, your high-beam
headlamps will change to low-beam headlamps at full
brightness. The other lamps that turn on with your
headlamps will also turn on. When it's bright enough
outside, the regular lamps will turn off, and your
high-beam headlamps change to the reduced brightness
of DRL.
To idle your vehicle with the DRL off, shift the transaxle
into PARK (P). The DRL will stay off until you shift
out of PARK (P).
To turn off all exterior lighting at night when you are
parked, turn off the exterior lamp control and slide the
Twilight Sentinel
žcontrol all the way to the left.
When released, the control will return to the Twilight
Sentinel
žminimum delay position and the lights will
turn off.
As with any vehicle, you should turn on the regular
headlamp system when you need it.
Cornering Lamps
The cornering lamps come on when the headlamps or
parking lamps are on and you signal a turn with the
multifunction lever. They provide more light for
cornering.
3-13
Page 126 of 372
Twilight Sentinelž
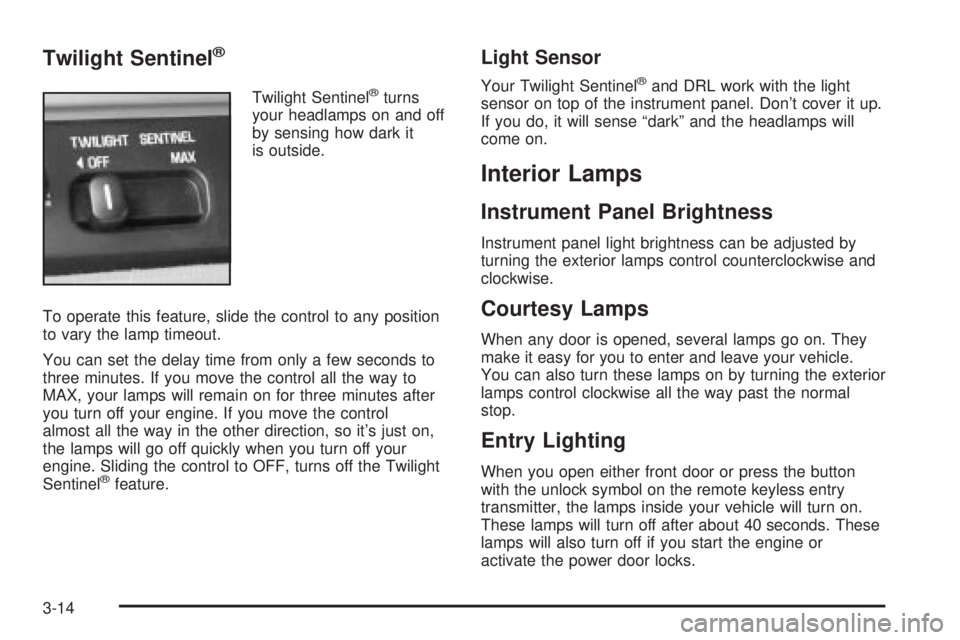
Twilight Sentinelžturns
your headlamps on and off
by sensing how dark it
is outside.
To operate this feature, slide the control to any position
to vary the lamp timeout.
You can set the delay time from only a few seconds to
three minutes. If you move the control all the way to
MAX, your lamps will remain on for three minutes after
you turn off your engine. If you move the control
almost all the way in the other direction, so it's just on,
the lamps will go off quickly when you turn off your
engine. Sliding the control to OFF, turns off the Twilight
Sentinel
žfeature.
Light Sensor
Your Twilight Sentinelžand DRL work with the light
sensor on top of the instrument panel. Don't cover it up.
If you do, it will sense ªdarkº and the headlamps will
come on.
Interior Lamps
Instrument Panel Brightness
Instrument panel light brightness can be adjusted by
turning the exterior lamps control counterclockwise and
clockwise.
Courtesy Lamps
When any door is opened, several lamps go on. They
make it easy for you to enter and leave your vehicle.
You can also turn these lamps on by turning the exterior
lamps control clockwise all the way past the normal
stop.
Entry Lighting
When you open either front door or press the button
with the unlock symbol on the remote keyless entry
transmitter, the lamps inside your vehicle will turn on.
These lamps will turn off after about 40 seconds. These
lamps will also turn off if you start the engine or
activate the power door locks.
3-14
Page 127 of 372
Delayed Entry Lighting
When you open the door, the interior lamps will come on.
When you close the door with the ignition off, the interior
lamps will stay on for 25 seconds or until the ignition is
turned to an on position. Locking the doors with the power
door lock switch will override the delayed entry lighting
feature and the lamps will turn off right away.
Using the remote keyless entry transmitter to lock the
door will not cancel delayed lighting.
Theater Dimming
This feature allows for a three to ®ve-second fade out of
the courtesy lamps instead of immediate turn off.
Delayed Exit Lighting
With this feature, the interior lamps will come on for
25 seconds after you remove the key from the ignition.
This will give you time to ®nd the door handle or
lock switches.
Parade Dimming
This feature prohibits the dimming of your instrument
panel displays during daylight while your headlamps are
on. This feature operates with the light sensor for the
Twilight Sentinel
žand is fully automatic. When the light
sensor reads darkness outside, you will be able to
dim your instrument panel displays once again.
Perimeter Lighting
When the button with the unlock symbol on the remote
keyless entry transmitter is pressed, the DRL, parking
lamps and back-up lamps will come on if it is dark
enough outside.
This feature will only be activated when the security
feedback feature is programmed to be in Modes 1, 3
or 5 on the transmitter. Modes 0, 2 and 4 do not respond
with exterior lights ¯ashing when unlocking the vehicle
so perimeter lighting will not be active.
This feature can be programmed on or off for each
transmitter.
To turn the feature off do the following:
1. Press and hold LOCK on the driver's door
lock switch throughout this procedure. All doors will
lock.
2. Press the remote alarm button on the transmitter to
enter the programming mode. Perimeter lighting
remains on at this time and the horn will chirp two
times.
3. Press the remote alarm button on the transmitter
again. Perimeter lighting is disabled and the horn
will chirp one time.
4. Release the door lock switch. The perimeter lighting
feature is now off.
3-15
Page 132 of 372
The URPA display is located inside the vehicle, above
the rear window. It has three color-coded lights that can
be seen through the rearview mirror.
{CAUTION:
Even with the Ultrasonic Rear Park Assist
system, the driver must check carefully before
backing up. The system does not operate
above typical backing speeds of 3 mph
(5 km/h) while parking. And, the system
doesn't detect objects that are more than
5 feet (1.5 meters) behind the vehicle.
So, unless you check carefully behind you
before and when you back up, you could strike
children, pedestrians, bicyclists or pets behind
you, and they could be injured or killed.
Whether or not you are using Rear Park Assist,
always check carefully behind your vehicle
before you back up and then watch closely as
you do.
How the System Works
Ultrasonic rear parking assist comes on automatically
when the shift lever is moved into REVERSE (R) and the
vehicle speed is less than 3 mph (5 km/h). When the
system comes on, the three lights on the display
will illuminate to let you know that the system is working.
URPA senses how close your vehicle is to an object.
The distance is determined by the four rear sensors
located on the bumper. When shifting into REVERSE (R)
and an object is detected, one of the following will
occur:
·At 5 ft. (1.5 m) an amber light will come on.
·At 40 in. (1.0 m) two amber lights will come on.
·At 20 in. (0.5 m) two amber lights and a red light will
come on and a continuous chime will sound.
·At 1 ft. (0.3 m) the chime will still be going
continuously and all three lights will ¯ash.
A chime will sound the ®rst time an object is detected, if
the object is between 20 inches (0.5 m) and 5 feet
(1.5 m) away.
URPA can detect objects 3 inches (7.6 cm) and wider,
and at least 10 inches (2.5 cm) tall, but cannot detect
objects that are above trunk level. In order for the rear
sensors to recognize an object, it must be within
operating range.
3-20
Page 133 of 372
If the URPA system is not functioning properly, the
display will ¯ash red, indicating that there is a problem.
The light will also ¯ash red when you are driving if a
trailer is attached to your vehicle, or if you have a bicycle
or an object hanging out of your trunk. The light will
continue to ¯ash until the trailer or the object is removed
and your vehicle is driven forward at at least 15 mph
(25 km/h). It may also ¯ash red if the ultrasonic sensors
are not kept clean. For cleaning instructions, see
Cleaning the Outside of Your Vehicle on page 5-82.
So be sure to keep your rear bumper free of mud, dirt,
snow, ice and slush or the system may not work
properly. If after cleaning the rear bumper and then
driving at at least 15 mph (25 km/h), the display
continues to ¯ash red, see your dealer. It may also ¯ash
red if your vehicle is moving in REVERSE (R) at a
speed greater than 3 mph (5 km/h). Other conditions
that may affect system performance include things like,
the vibrations from a jackhammer or the compression
of airbrakes on a very large truck.
As always, drivers should use care when backing up a
vehicle. Always look behind you, being sure to check
for other vehicles, obstructions and blind spots.
Accessory Power Outlets
The accessory power outlets can be used to plug in
electrical equipment such as a cellular telephone or
CB radio.Your vehicle has two power outlets located in the rear
storage area of the front center console. See
Center
Console Storage Area on page 2-44for more
information on location.
Your vehicle may have a small cap that must be pulled
down to access the accessory power outlet. If it
does, when not using the outlet be sure to cover it with
the protective cap.
The accessory power outlets will only operate while the
ignition key is in RUN and for 10 minutes after turning
the ignition off. If you would like to operate an accessory
for an extended period of time, contact your dealer for
more information.
Notice:When using an accessory power outlet,
maximum electrical load must not exceed 15 amps.
Always turn off any electrical equipment when
not in use. Leaving electrical equipment on for
extended periods will drain your battery.
Certain electrical accessories may not be compatible to
the accessory power outlet and could result in blown
vehicle or adapter fuses. If you experience a problem
see your dealer for additional information on accessory
power outlets.
Notice:Adding some electrical equipment to your
vehicle can damage it or keep other things from
working as they should. This wouldn't be covered by
your warranty. Check with your dealer before
adding electrical equipment, and never use anything
that exceeds the amperage rating.
3-21
Page 135 of 372
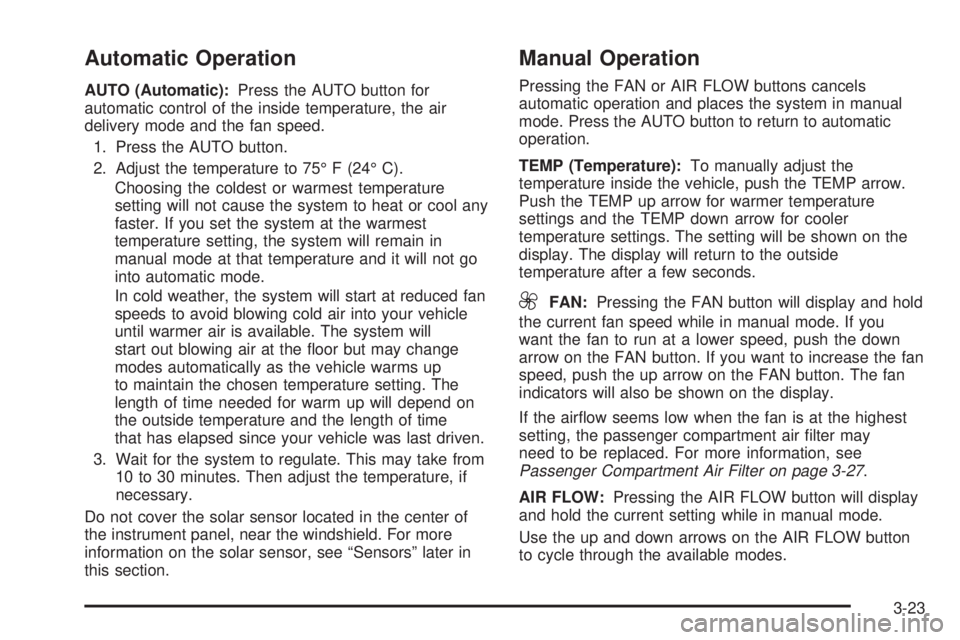
Automatic Operation
AUTO (Automatic):Press the AUTO button for
automatic control of the inside temperature, the air
delivery mode and the fan speed.
1. Press the AUTO button.
2. Adjust the temperature to 75É F (24É C).
Choosing the coldest or warmest temperature
setting will not cause the system to heat or cool any
faster. If you set the system at the warmest
temperature setting, the system will remain in
manual mode at that temperature and it will not go
into automatic mode.
In cold weather, the system will start at reduced fan
speeds to avoid blowing cold air into your vehicle
until warmer air is available. The system will
start out blowing air at the ¯oor but may change
modes automatically as the vehicle warms up
to maintain the chosen temperature setting. The
length of time needed for warm up will depend on
the outside temperature and the length of time
that has elapsed since your vehicle was last driven.
3. Wait for the system to regulate. This may take from
10 to 30 minutes. Then adjust the temperature, if
necessary.
Do not cover the solar sensor located in the center of
the instrument panel, near the windshield. For more
information on the solar sensor, see ªSensorsº later in
this section.
Manual Operation
Pressing the FAN or AIR FLOW buttons cancels
automatic operation and places the system in manual
mode. Press the AUTO button to return to automatic
operation.
TEMP (Temperature):To manually adjust the
temperature inside the vehicle, push the TEMP arrow.
Push the TEMP up arrow for warmer temperature
settings and the TEMP down arrow for cooler
temperature settings. The setting will be shown on the
display. The display will return to the outside
temperature after a few seconds.
9FAN:Pressing the FAN button will display and hold
the current fan speed while in manual mode. If you
want the fan to run at a lower speed, push the down
arrow on the FAN button. If you want to increase the fan
speed, push the up arrow on the FAN button. The fan
indicators will also be shown on the display.
If the air¯ow seems low when the fan is at the highest
setting, the passenger compartment air ®lter may
need to be replaced. For more information, see
Passenger Compartment Air Filter on page 3-27.
AIR FLOW:Pressing the AIR FLOW button will display
and hold the current setting while in manual mode.
Use the up and down arrows on the AIR FLOW button
to cycle through the available modes.
3-23
Page 137 of 372
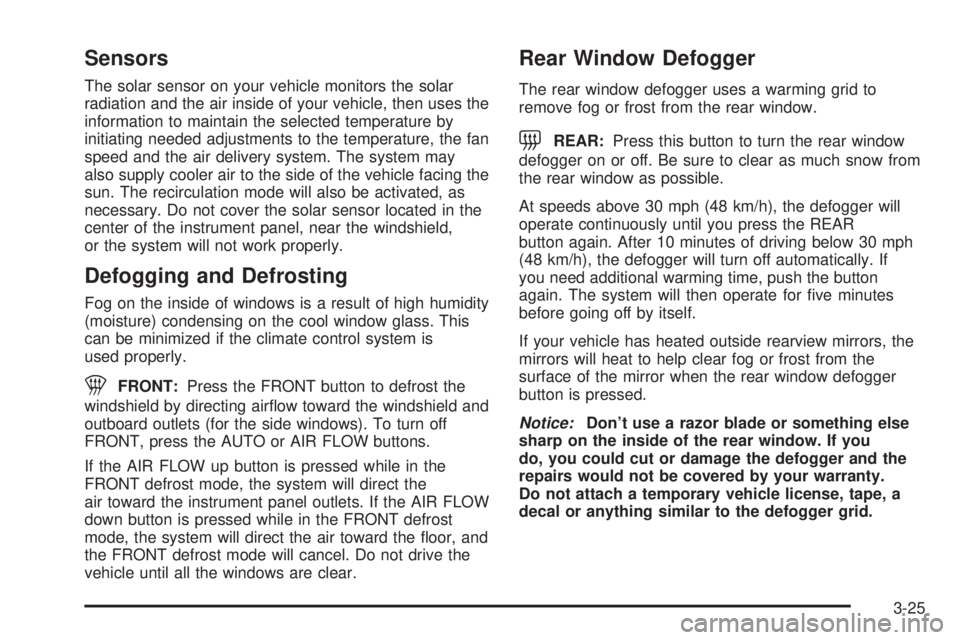
Sensors
The solar sensor on your vehicle monitors the solar
radiation and the air inside of your vehicle, then uses the
information to maintain the selected temperature by
initiating needed adjustments to the temperature, the fan
speed and the air delivery system. The system may
also supply cooler air to the side of the vehicle facing the
sun. The recirculation mode will also be activated, as
necessary. Do not cover the solar sensor located in the
center of the instrument panel, near the windshield,
or the system will not work properly.
Defogging and Defrosting
Fog on the inside of windows is a result of high humidity
(moisture) condensing on the cool window glass. This
can be minimized if the climate control system is
used properly.
1FRONT:Press the FRONT button to defrost the
windshield by directing air¯ow toward the windshield and
outboard outlets (for the side windows). To turn off
FRONT, press the AUTO or AIR FLOW buttons.
If the AIR FLOW up button is pressed while in the
FRONT defrost mode, the system will direct the
air toward the instrument panel outlets. If the AIR FLOW
down button is pressed while in the FRONT defrost
mode, the system will direct the air toward the ¯oor, and
the FRONT defrost mode will cancel. Do not drive the
vehicle until all the windows are clear.
Rear Window Defogger
The rear window defogger uses a warming grid to
remove fog or frost from the rear window.
=REAR:Press this button to turn the rear window
defogger on or off. Be sure to clear as much snow from
the rear window as possible.
At speeds above 30 mph (48 km/h), the defogger will
operate continuously until you press the REAR
button again. After 10 minutes of driving below 30 mph
(48 km/h), the defogger will turn off automatically. If
you need additional warming time, push the button
again. The system will then operate for ®ve minutes
before going off by itself.
If your vehicle has heated outside rearview mirrors, the
mirrors will heat to help clear fog or frost from the
surface of the mirror when the rear window defogger
button is pressed.
Notice:Don't use a razor blade or something else
sharp on the inside of the rear window. If you
do, you could cut or damage the defogger and the
repairs would not be covered by your warranty.
Do not attach a temporary vehicle license, tape, a
decal or anything similar to the defogger grid.
3-25
Page 145 of 372
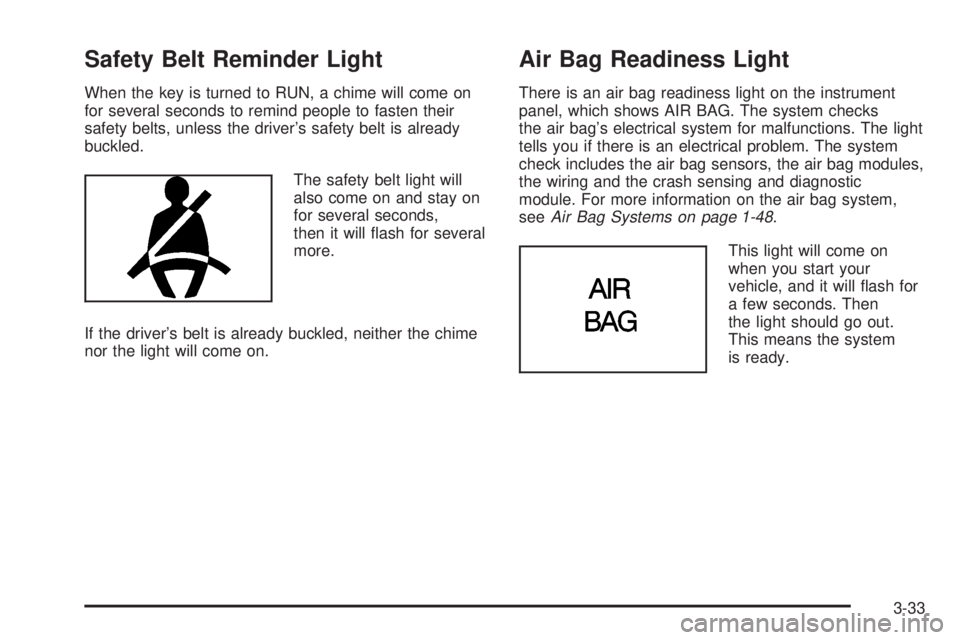
Safety Belt Reminder Light
When the key is turned to RUN, a chime will come on
for several seconds to remind people to fasten their
safety belts, unless the driver's safety belt is already
buckled.
The safety belt light will
also come on and stay on
for several seconds,
then it will ¯ash for several
more.
If the driver's belt is already buckled, neither the chime
nor the light will come on.
Air Bag Readiness Light
There is an air bag readiness light on the instrument
panel, which shows AIR BAG. The system checks
the air bag's electrical system for malfunctions. The light
tells you if there is an electrical problem. The system
check includes the air bag sensors, the air bag modules,
the wiring and the crash sensing and diagnostic
module. For more information on the air bag system,
see
Air Bag Systems on page 1-48.
This light will come on
when you start your
vehicle, and it will ¯ash for
a few seconds. Then
the light should go out.
This means the system
is ready.
3-33
Page 307 of 372
Fuses and Circuit Breakers
The wiring circuits in your vehicle are protected from
short circuits by a combination of fuses and circuit
breakers. This greatly reduces the chance of damage
caused by electrical problems.
Look at the silver-colored band inside the fuse. If the
band is broken or melted, replace the fuse. Be sure you
replace a bad fuse with a new one of the identical
size and rating.
There are four fuse blocks in your vehicle: the main and
auxiliary instrument panel fuse blocks, the underhood
fuse block and the rear fuse block.
Main and Auxiliary Instrument Panel
Fuse Blocks
The main and auxiliary instrument panel fuse blocks are
located under the instrument panel, on the passenger's
side of the vehicle. Lamps, connectors and the
HVAC duct temperature sensors may need to be
disconnected and removed to allow access to these
fuse blocks.Remove the hush panel on the passenger's side to
reveal the fuses by performing the following steps:
1. Remove the two screws located along the front
edge of the panel.
2. Lower the hush panel.
3. Remove the fuse block cover.
4. Place the wide end of the fuse puller over the
plastic end of the fuse.
5. Squeeze the ends over the fuse and pull it out.
When ®nished, reinstall the fuse block cover and
the hush panel. Reinstall lamps, connectors and HVAC
duct temperature sensors if they were removed.
5-87