wiring BUICK PARK AVENUE 2003 Owner's Manual
[x] Cancel search | Manufacturer: BUICK, Model Year: 2003, Model line: PARK AVENUE, Model: BUICK PARK AVENUE 2003Pages: 372, PDF Size: 2.8 MB
Page 77 of 372
If you don't cancel the security lock feature, adults or
older children who ride in the rear seat won't be able to
open the rear door from the inside. You should let
adults and older children know how these security locks
work, and how to cancel the locks.
To cancel the rear door lock, do the following:
1. Unlock and open the door from the outside.
2. Move the lever all the way to the unlock symbol.
3. Do the same for the other rear door.
The rear door locks will now work normally.
Lockout Protection
The power door locks will not work if the key is left in
the ignition and the driver's door is open. You can
override this feature by holding the power door lock
switch on the driver's door for more than three seconds.
Leaving Your Vehicle
If you are leaving the vehicle, take the keys, open the
door and set the locks from the inside, then get out and
close the door.
Trunk
{CAUTION:
It can be dangerous to drive with the trunk lid
open because carbon monoxide (CO) gas can
come into your vehicle. You can't see or smell
CO. It can cause unconsciousness and even
death. If you must drive with the trunk lid open
or if electrical wiring or other cable
connections must pass through the seal
between the body and the trunk lid:
·Make sure all other windows are shut.·Turn the fan on your heating or cooling
system to its highest speed and select the
control setting that will force outside air
into your vehicle. See ªClimate Control
Systemº in the Index.
·If you have air outlets on or under the
instrument panel, open them all the way.
See ªEngine Exhaustº in the Index.
Trunk Lock Release
To unlock the trunk from the outside, insert the master
key and turn it.
2-13
Page 118 of 372
Turn and Lane-Change Signals
The turn signal has two upward (for right) and two
downward (for left) positions. These positions allow you
to signal a turn or a lane change.
To signal a turn, move the lever all the way up or down.
When the turn is ®nished, the lever will return
automatically.
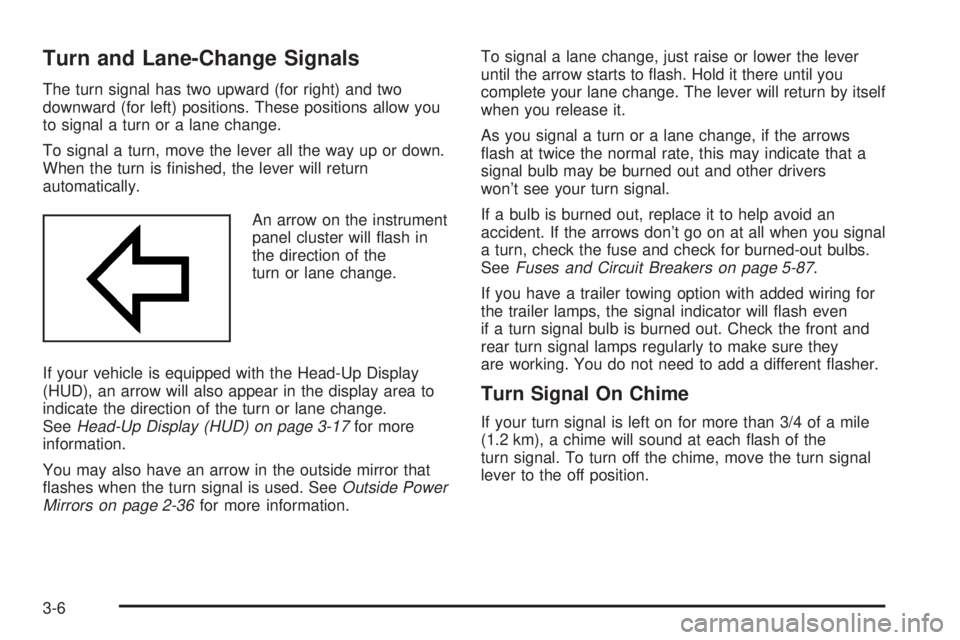
An arrow on the instrument
panel cluster will ¯ash in
the direction of the
turn or lane change.
If your vehicle is equipped with the Head-Up Display
(HUD), an arrow will also appear in the display area to
indicate the direction of the turn or lane change.
See
Head-Up Display (HUD) on page 3-17for more
information.
You may also have an arrow in the outside mirror that
¯ashes when the turn signal is used. See
Outside Power
Mirrors on page 2-36for more information.To signal a lane change, just raise or lower the lever
until the arrow starts to ¯ash. Hold it there until you
complete your lane change. The lever will return by itself
when you release it.
As you signal a turn or a lane change, if the arrows
¯ash at twice the normal rate, this may indicate that a
signal bulb may be burned out and other drivers
won't see your turn signal.
If a bulb is burned out, replace it to help avoid an
accident. If the arrows don't go on at all when you signal
a turn, check the fuse and check for burned-out bulbs.
See
Fuses and Circuit Breakers on page 5-87.
If you have a trailer towing option with added wiring for
the trailer lamps, the signal indicator will ¯ash even
if a turn signal bulb is burned out. Check the front and
rear turn signal lamps regularly to make sure they
are working. You do not need to add a different ¯asher.
Turn Signal On Chime
If your turn signal is left on for more than 3/4 of a mile
(1.2 km), a chime will sound at each ¯ash of the
turn signal. To turn off the chime, move the turn signal
lever to the off position.
3-6
Page 145 of 372
Safety Belt Reminder Light
When the key is turned to RUN, a chime will come on
for several seconds to remind people to fasten their
safety belts, unless the driver's safety belt is already
buckled.
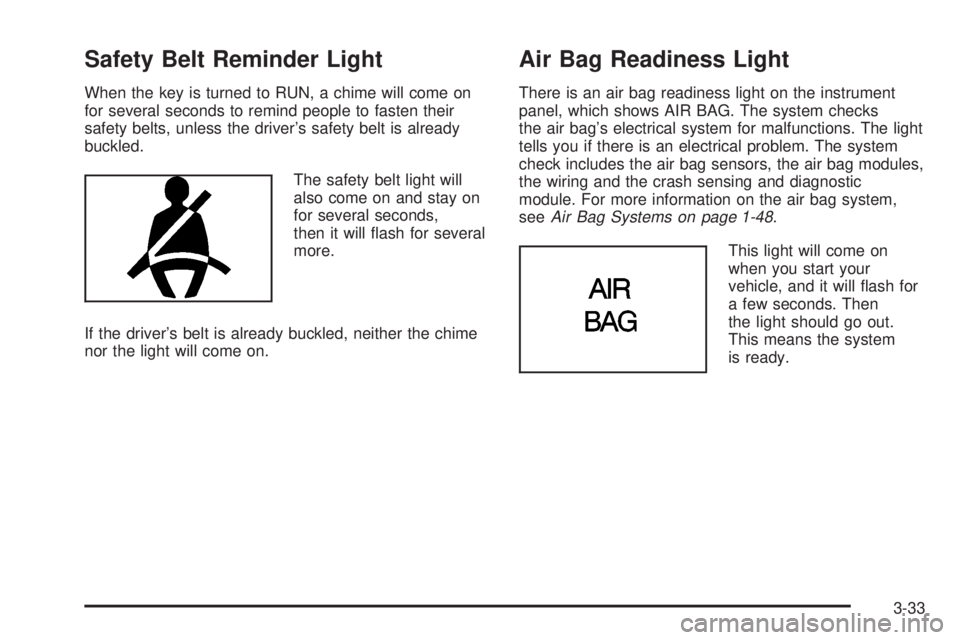
The safety belt light will
also come on and stay on
for several seconds,
then it will ¯ash for several
more.
If the driver's belt is already buckled, neither the chime
nor the light will come on.
Air Bag Readiness Light
There is an air bag readiness light on the instrument
panel, which shows AIR BAG. The system checks
the air bag's electrical system for malfunctions. The light
tells you if there is an electrical problem. The system
check includes the air bag sensors, the air bag modules,
the wiring and the crash sensing and diagnostic
module. For more information on the air bag system,
see
Air Bag Systems on page 1-48.
This light will come on
when you start your
vehicle, and it will ¯ash for
a few seconds. Then
the light should go out.
This means the system
is ready.
3-33
Page 218 of 372
Before you start, check the trailer hitch and platform
(and attachments), safety chains, electrical connector,
lamps, tires and mirror adjustment. If the trailer has
electric brakes, start your vehicle and trailer moving and
then apply the trailer brake controller by hand to be
sure the brakes are working. This lets you check your
electrical connection at the same time.
During your trip, check occasionally to be sure that the
load is secure, and that the lamps and any trailer
brakes are still working.
Following Distance
Stay at least twice as far behind the vehicle ahead as
you would when driving your vehicle without a trailer.
This can help you avoid situations that require
heavy braking and sudden turns.
Passing
You'll need more passing distance up ahead when
you're towing a trailer. And, because you're a good deal
longer, you'll need to go much farther beyond the
passed vehicle before you can return to your lane.
Backing Up
Hold the bottom of the steering wheel with one hand.
Then, to move the trailer to the left, just move that hand
to the left. To move the trailer to the right, move your
hand to the right. Always back up slowly and, if possible,
have someone guide you.
Making Turns
Notice:Making very sharp turns while trailering
could cause the trailer to come in contact with the
vehicle. Your vehicle could be damaged. Avoid
making very sharp turns while trailering.
When you're turning with a trailer, make wider turns
than normal. Do this so your trailer won't strike
soft shoulders, curbs, road signs, trees or other objects.
Avoid jerky or sudden maneuvers. Signal well in
advance.
Turn Signals When Towing a Trailer
When you tow a trailer, your vehicle may need a
different turn signal ¯asher and/or extra wiring. Check
with your dealer. The arrows on your instrument
panel will ¯ash whenever you signal a turn or lane
change. Properly hooked up, the trailer lamps will also
¯ash, telling other drivers you're about to turn,
change lanes or stop.
When towing a trailer, the arrows on your instrument
panel will ¯ash for turns even if the bulbs on the trailer
are burned out. Thus, you may think drivers behind
you are seeing your signal when they are not. It's
important to check occasionally to be sure the trailer
bulbs are still working.
4-36
Page 307 of 372
Fuses and Circuit Breakers
The wiring circuits in your vehicle are protected from
short circuits by a combination of fuses and circuit
breakers. This greatly reduces the chance of damage
caused by electrical problems.
Look at the silver-colored band inside the fuse. If the
band is broken or melted, replace the fuse. Be sure you
replace a bad fuse with a new one of the identical
size and rating.
There are four fuse blocks in your vehicle: the main and
auxiliary instrument panel fuse blocks, the underhood
fuse block and the rear fuse block.
Main and Auxiliary Instrument Panel
Fuse Blocks
The main and auxiliary instrument panel fuse blocks are
located under the instrument panel, on the passenger's
side of the vehicle. Lamps, connectors and the
HVAC duct temperature sensors may need to be
disconnected and removed to allow access to these
fuse blocks.Remove the hush panel on the passenger's side to
reveal the fuses by performing the following steps:
1. Remove the two screws located along the front
edge of the panel.
2. Lower the hush panel.
3. Remove the fuse block cover.
4. Place the wide end of the fuse puller over the
plastic end of the fuse.
5. Squeeze the ends over the fuse and pull it out.
When ®nished, reinstall the fuse block cover and
the hush panel. Reinstall lamps, connectors and HVAC
duct temperature sensors if they were removed.
5-87