light BUICK PARK AVENUE 2005 Repair Manual
[x] Cancel search | Manufacturer: BUICK, Model Year: 2005, Model line: PARK AVENUE, Model: BUICK PARK AVENUE 2005Pages: 388, PDF Size: 2.55 MB
Page 172 of 388
Adjusting the Speakers (Balance/Fade)
BAL (Balance):Press this knob lightly so it extends.
Turn the knob to move the sound toward the left or the
right speakers. The middle position balances the
sound between the speakers.
FADE:Press this knob lightly so it extends. Turn the
knob to move the sound toward the front or the
rear speakers. The middle position balances the sound
between the speakers.
Return these knobs to their stored positions when you
are not using them.
Playing a Cassette Tape
The tape player is built to work best with tapes that are
up to 30 to 45 minutes long on each side. Tapes
longer than that are so thin they may not work well in
this player. The longer side with the tape visible should
face to the right. If you hear nothing or hear a garbled
sound, the tape may not be in squarely. Press the
EJECT button to remove the tape and start over.
If the ignition and radio are off, press the EJECT button
or the RECALL button to insert and to begin play of
a tape. If the ignition is on and the radio is off, the tape
can be inserted and will begin playing.While the tape is playing, use the VOLUME, SEEK,
FADE, BAL, BASS, and TREB controls just as you do for
the radio. The display will show an arrow to show which
side of the tape is playing. The tape player will play the
other side of the tape when it reaches the end.
Cassette tape adapter kits for portable CD players will
work in the cassette tape player.
The tape bias is set automatically when a metal or
chrome tape is inserted.
If an error appears on the display, see “Cassette Tape
Messages” later in this section.
1 PREV (Previous):The tape must have at least three
seconds of silence between each selection for PREV
to work. Press this pushbutton to search for the previous
selection on the tape.
2 NEXT:The tape must have at least three seconds of
silence between each selection for NEXT to work.
Press this pushbutton to search for the next selection
on the tape.
3
r(Reverse):Press this pushbutton to quickly
reverse the tape. The radio will play while the tape
reverses. Press this pushbutton again to return
to playing speed.
4
[(Forward):Press this pushbutton to quickly
advance the tape. The radio will play while the tape
advances. Press this pushbutton again to return
to playing speed.
3-58
Page 175 of 388
AUTO SET (Automatic Set):Press this button, after
selecting AM or FM, to seek and set the 12 strongest
FM or the 6 strongest AM stations on your preset
pushbuttons. AUTO SET will appear on the display and
�ash while seeking until this function is complete. To
return to the stations you manually set, press AUTO
SET again.
Setting Preset Stations
The six numbered pushbuttons let you return to
your favorite stations. You can set up to 18 stations
(six FM1, six FM2, and six AM) by performing the
following steps:
1. Turn the radio on.
2. Press AM-FM to select FM1, FM2, or AM.
3. Tune in the desired station.
4. Press TONE to select the equalization.
5. Press and hold one of the six numbered
pushbuttons. The sound will mute. When the sound
returns, release the pushbutton. Whenever you
press that numbered pushbutton, the station you set
will return and the equalization you selected will
be automatically stored for that pushbutton.
6. Repeat the steps for each pushbutton.
Setting the Tone (Bass/Treble)
BASS:Press this knob lightly so it extends. Turn the
knob to increase or to decrease bass.
TREB (Treble):Press this knob lightly so it extends.
Turn the knob to increase or to decrease treble. If
a station is weak or noisy, you may want to decrease
the treble.
Return these knobs to their stored positions when you
are not using them.
TONE:Press this button to select customized
equalization settings designed for country/western, jazz,
talk, pop, and classical.
To return the bass and treble to the manual mode,
press TONE until MANUAL appears on the display or
press and release the BASS or TREB knob and
turn it until the display goes blank. See “Setting
Preset Stations” listed previously to program the auto
tone feature.
3-61
Page 176 of 388
Adjusting the Speakers (Balance/Fade)
BAL (Balance):Press this knob lightly so it extends.
Turn the knob to move the sound toward the left or the
right speakers. The middle position balances the
sound between the speakers.
FADE:Press this knob lightly so it extends. Turn the
knob to move the sound toward the front or the
rear speakers. The middle position balances the sound
between the speakers.
Return these knobs to their stored positions when you
are not using them.
Playing a Cassette Tape
Your tape player is built to work best with tapes that are
up to 30 to 45 minutes long on each side. Tapes longer
than that are so thin they may not work well in this player.
The longer side with the tape visible should face to the
right. If the ignition is on and the radio is off, the tape can
be inserted and will begin playing. If you hear nothing but
a garbled sound, the tape may not be in squarely. Press
EJECT to remove the tape and start over.
While the tape is playing, use the VOLUME, SEEK,
FADE, BAL, BASS, and TREB controls just as you do
for the radio. The display will show an arrow to
show which side of the tape is playing.
The tape player automatically begins playing the other
side when it reaches the end of the tape.If you want to insert a tape while the ignition or radio is
off, �rst press EJECT or RECALL. Cassette tape
adapter kits for portable CD players will work in your
cassette tape player.
Your tape bias is set automatically when a metal or
chrome tape is inserted.
If an error appears on the display, see “Cassette Tape
Messages” later in this section.
1 PREV (Previous):Press this pushbutton to search
for the previous selection on the tape. Your tape
must have at least three seconds of silence between
each selection for PREV to work.
2 NEXT:Press this pushbutton to search for the next
selection on the tape. Your tape must have at least
three seconds of silence between each selection
for NEXT to work.
3
r(Reverse):Press this pushbutton to reverse
quickly within the tape. The radio will play while the tape
reverses. Press the pushbutton again to return to
playing speed.
4
[(Forward):Press this pushbutton to advance
quickly within the tape. The radio will play while the tape
advances. Press the pushbutton again to return to
playing speed.
3-62
Page 187 of 388
Care of Your Cassette Tape Player
A tape player that is not cleaned regularly can cause
reduced sound quality, ruined cassettes, or a damaged
mechanism. Cassette tapes should be stored in their
cases away from contaminants, direct sunlight, and
extreme heat. If they are not, they may not operate
properly or may cause failure of the tape player.
The tape player should be cleaned regularly after every
50 hours of use. The radio may display CLN to
indicate that the tape player has been used for 50 hours
without resetting the tape clean timer. If CLN appears
on the display, the cassette tape player needs to
be cleaned. It will still play tapes, but it should be
cleaned as soon as possible to prevent damage to the
tapes and player. If there is a reduction in sound
quality, try a known good cassette to see if the tape or
the tape player is at fault. If this other cassette has
no improvement in sound quality, clean the tape player.
For best results, use a scrubbing action, non-abrasive
cleaning cassette with pads which scrub the tape
head as the hubs of the cleaner cassette turn. The
recommended cleaning cassette is available through
your dealer.The cut tape detection feature of the cassette
tape player may identify the cleaning cassette as a
damaged tape, in error. If the cleaning cassette ejects,
insert the cassette at least three times to ensure
thorough cleaning.
A non-scrubbing action, wet-type cleaner which uses a
cassette with a fabric belt to clean the tape head
can be used. This type of cleaning cassette will not
eject on its own. A non-scrubbing action cleaner may not
clean as thoroughly as the scrubbing type cleaner.
The use of a non-scrubbing action, dry-type cleaning
cassette is not recommended.
After the player is cleaned, press and hold the EJECT
button for �ve seconds to reset the CLN indicator.
The radio will display --- to show the indicator was reset.
Cassettes are subject to wear and the sound
quality may degrade over time. Always make sure the
cassette tape is in good condition before the tape player
is serviced.
3-73
Page 188 of 388
Care of Your CDs
Handle CDs carefully. Store them in their original cases
or other protective cases and away from direct
sunlight and dust. If the surface of a CD is soiled,
dampen a clean, soft cloth in a mild, neutral detergent
solution and clean it, wiping from the center to the edge.
Be sure never to touch the side without writing when
handling CDs. Pick up CDs by grasping the outer edges
or the edge of the hole and the outer edge.
Care of Your CD Player
The use of CD lens cleaners for CD players is not
advised, due to the risk of contaminating the lens of the
CD optics with lubricants internal to the CD mechanism.
Heated Backlite Antenna
The AM-FM antenna is integrated with the rear window
defogger, located in the rear window. Make sure that
the inside surface of the rear window is not scratched
and that the grid lines on the glass are not damaged. If
the inside surface is damaged, it could interfere with
radio reception.Notice:Do not apply aftermarket glass tinting with
metallic �lm. The metallic �lm in some tinting
materials will interfere with or distort the incoming
radio reception. Any damage caused to your
backglass antenna due to metallic tinting materials
will not be covered by your warranty.
Notice:Using a razor blade or sharp object to clear
the inside rear window may damage the rear
window antenna and/or the rear window defogger.
Repairs would not be covered by your warranty.
Do not clear the inside rear window with
sharp objects.
If static is heard on the radio station, when the rear
window defogger is turned on, it could mean that
a defogger grid line has been damaged. If this is true,
the grid line must be repaired.
If adding a cellular telephone to your vehicle, and the
antenna needs to be attached to the glass, make
sure that the grid lines for the AM-FM antenna are not
damaged. Make sure the cellular telephone antenna
does not touch a grid line.
3-74
Page 195 of 388
Anti-Lock Brake System (ABS)
Your vehicle has anti-lock brakes. ABS is an advanced
electronic braking system that will help prevent a
braking skid.
When you start your engine and begin to drive away,
your anti-lock brake system will check itself. You
may hear a momentary motor or clicking noise while
this test is going on, and you may even notice that your
brake pedal moves a little. This is normal.
If there is a problem with
the anti-lock brake system,
this warning light will
stay on. SeeAnti-Lock
Brake System Warning
Light on page 3-39.
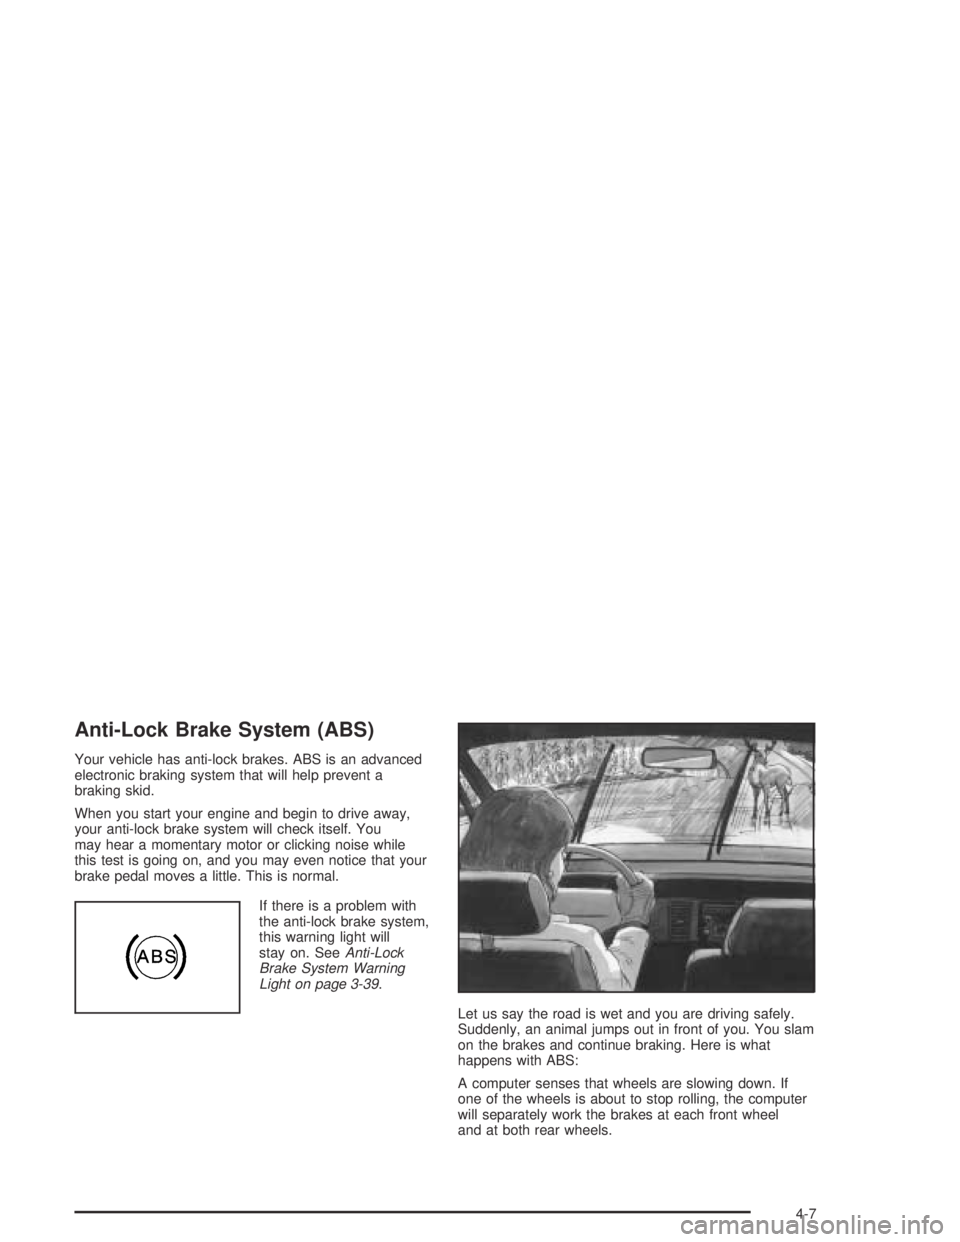
Let us say the road is wet and you are driving safely.
Suddenly, an animal jumps out in front of you. You slam
on the brakes and continue braking. Here is what
happens with ABS:
A computer senses that wheels are slowing down. If
one of the wheels is about to stop rolling, the computer
will separately work the brakes at each front wheel
and at both rear wheels.
4-7
Page 197 of 388
Braking in Emergencies
With anti-lock, you can steer and brake at the same
time. In many emergencies, steering can help you more
than even the very best braking.
Traction Control System (TCS)
Your vehicle may have a traction control system that
limits wheel spin. This is especially useful in slippery
road conditions. The system operates only if it senses
that one or both of the front wheels are spinning or
beginning to lose traction. When this happens,
the system works the front brakes and reduces engine
power to limit wheel spin.
You may feel or hear the system working, but this
is normal.
If your vehicle is in cruise control when the traction
control system begins to limit wheel spin, the cruise
control will automatically disengage. When road
conditions allow you to safely use it again, you may
reengage the cruise control. SeeCruise Control
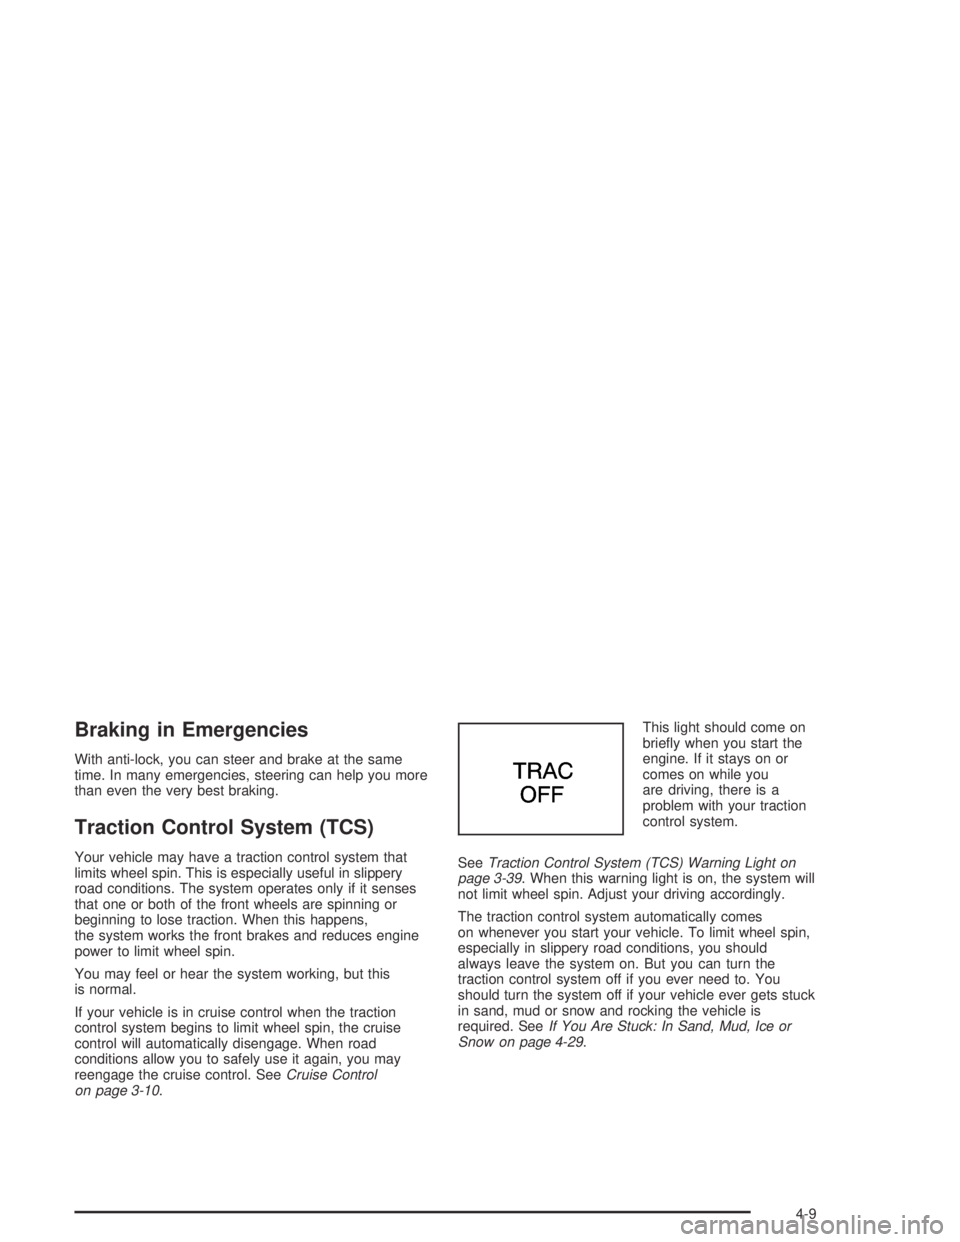
on page 3-10.This light should come on
brie�y when you start the
engine. If it stays on or
comes on while you
are driving, there is a
problem with your traction
control system.
SeeTraction Control System (TCS) Warning Light on
page 3-39. When this warning light is on, the system will
not limit wheel spin. Adjust your driving accordingly.
The traction control system automatically comes
on whenever you start your vehicle. To limit wheel spin,
especially in slippery road conditions, you should
always leave the system on. But you can turn the
traction control system off if you ever need to. You
should turn the system off if your vehicle ever gets stuck
in sand, mud or snow and rocking the vehicle is
required. SeeIf You Are Stuck: In Sand, Mud, Ice or
Snow on page 4-29.
4-9
Page 198 of 388
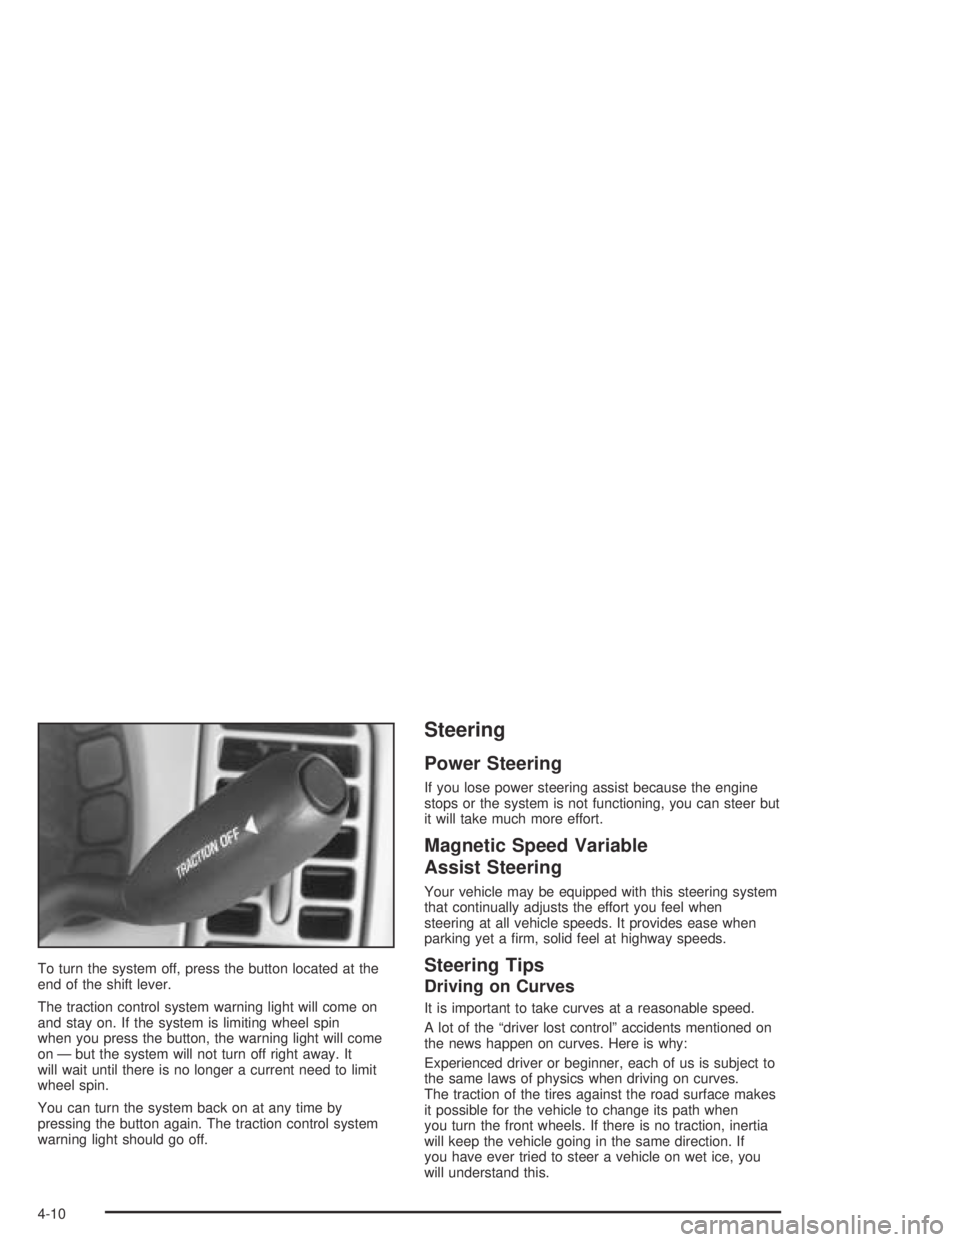
To turn the system off, press the button located at the
end of the shift lever.
The traction control system warning light will come on
and stay on. If the system is limiting wheel spin
when you press the button, the warning light will come
on — but the system will not turn off right away. It
will wait until there is no longer a current need to limit
wheel spin.
You can turn the system back on at any time by
pressing the button again. The traction control system
warning light should go off.
Steering
Power Steering
If you lose power steering assist because the engine
stops or the system is not functioning, you can steer but
it will take much more effort.
Magnetic Speed Variable
Assist Steering
Your vehicle may be equipped with this steering system
that continually adjusts the effort you feel when
steering at all vehicle speeds. It provides ease when
parking yet a �rm, solid feel at highway speeds.
Steering Tips
Driving on Curves
It is important to take curves at a reasonable speed.
A lot of the “driver lost control” accidents mentioned on
the news happen on curves. Here is why:
Experienced driver or beginner, each of us is subject to
the same laws of physics when driving on curves.
The traction of the tires against the road surface makes
it possible for the vehicle to change its path when
you turn the front wheels. If there is no traction, inertia
will keep the vehicle going in the same direction. If
you have ever tried to steer a vehicle on wet ice, you
will understand this.
4-10
Page 200 of 388
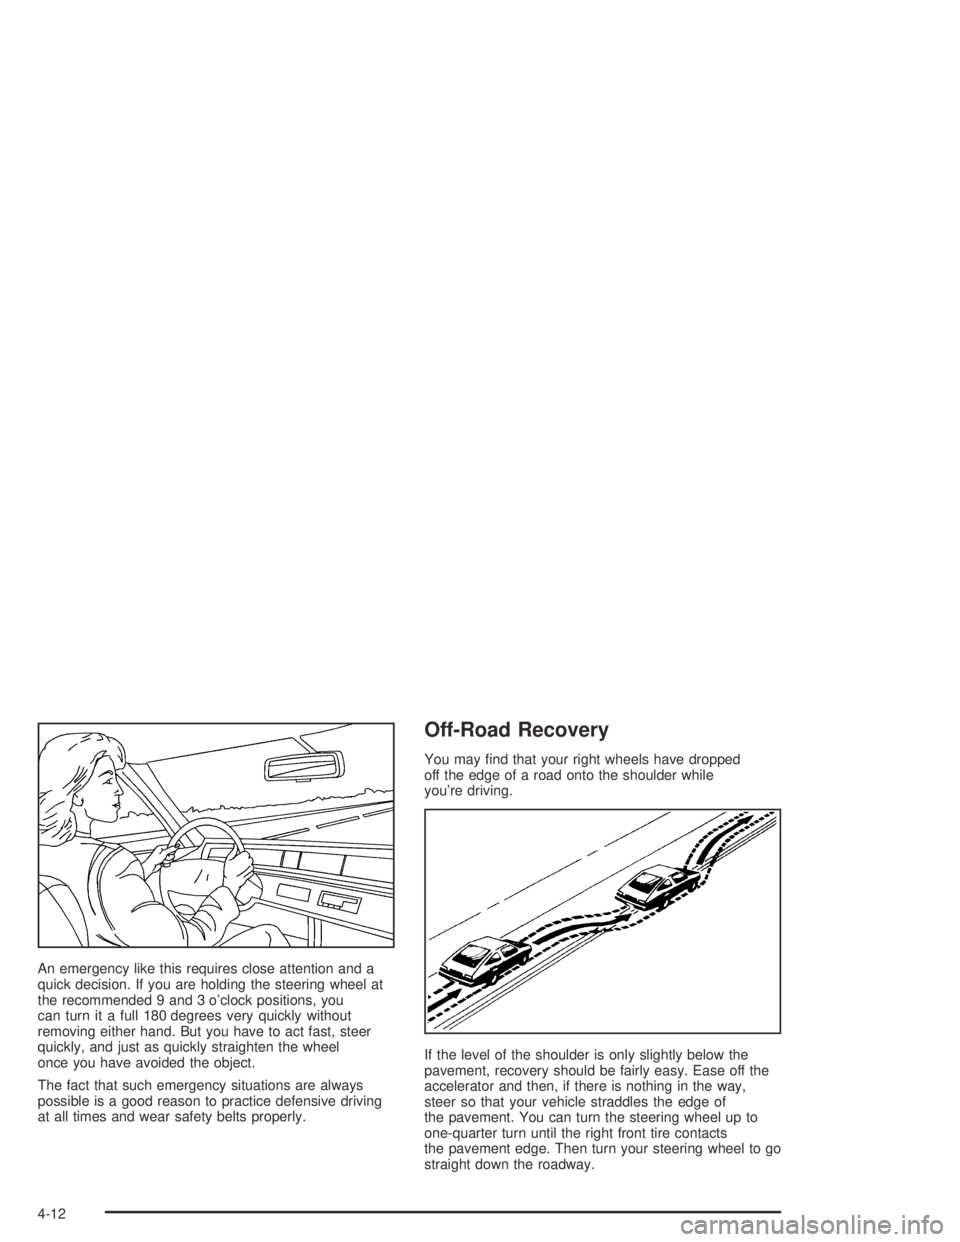
An emergency like this requires close attention and a
quick decision. If you are holding the steering wheel at
the recommended 9 and 3 o’clock positions, you
can turn it a full 180 degrees very quickly without
removing either hand. But you have to act fast, steer
quickly, and just as quickly straighten the wheel
once you have avoided the object.
The fact that such emergency situations are always
possible is a good reason to practice defensive driving
at all times and wear safety belts properly.
Off-Road Recovery
You may �nd that your right wheels have dropped
off the edge of a road onto the shoulder while
you’re driving.
If the level of the shoulder is only slightly below the
pavement, recovery should be fairly easy. Ease off the
accelerator and then, if there is nothing in the way,
steer so that your vehicle straddles the edge of
the pavement. You can turn the steering wheel up to
one-quarter turn until the right front tire contacts
the pavement edge. Then turn your steering wheel to go
straight down the roadway.
4-12
Page 204 of 388
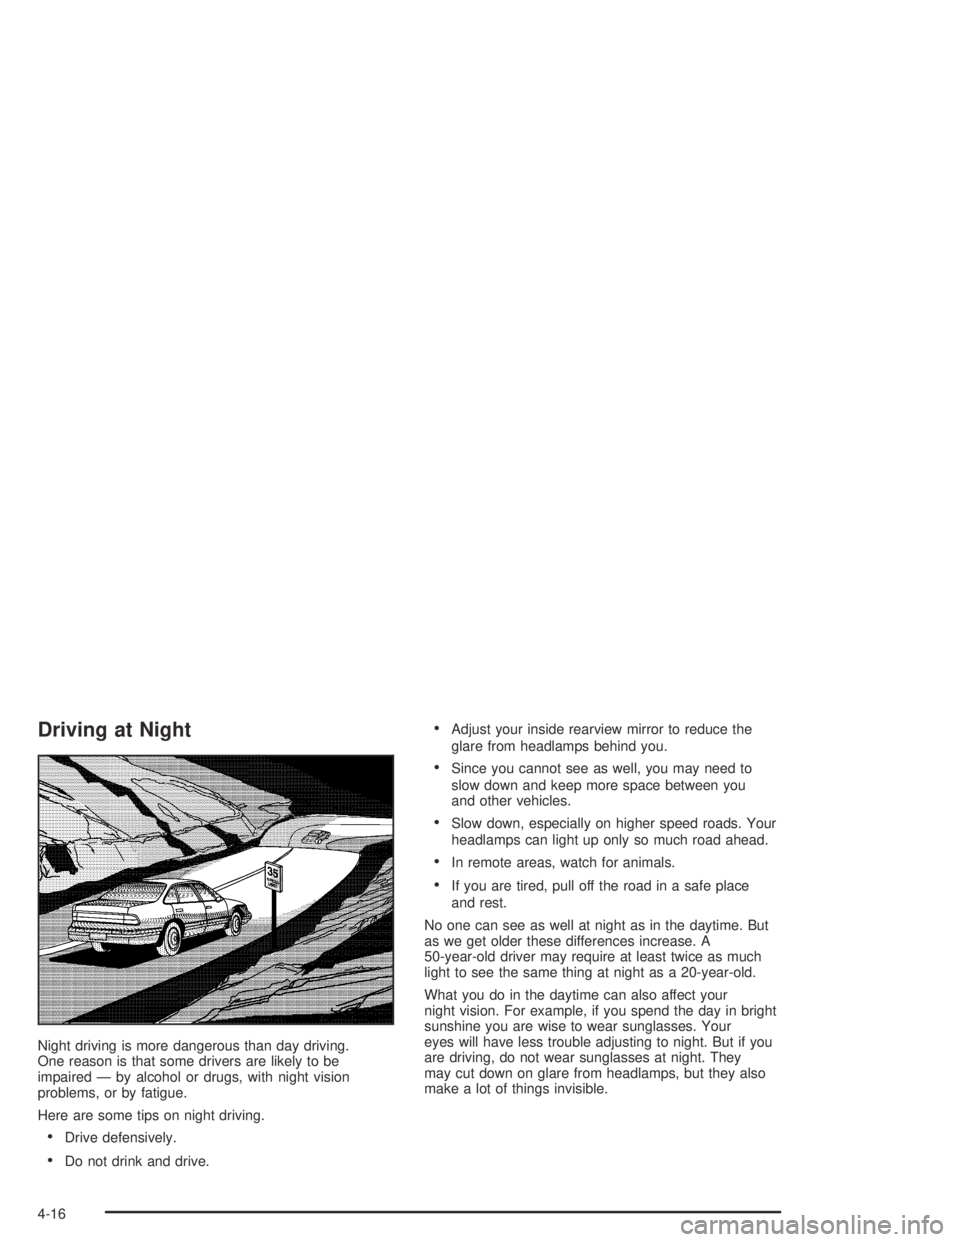
Driving at Night
Night driving is more dangerous than day driving.
One reason is that some drivers are likely to be
impaired — by alcohol or drugs, with night vision
problems, or by fatigue.
Here are some tips on night driving.
Drive defensively.
Do not drink and drive.
Adjust your inside rearview mirror to reduce the
glare from headlamps behind you.
Since you cannot see as well, you may need to
slow down and keep more space between you
and other vehicles.
Slow down, especially on higher speed roads. Your
headlamps can light up only so much road ahead.
In remote areas, watch for animals.
If you are tired, pull off the road in a safe place
and rest.
No one can see as well at night as in the daytime. But
as we get older these differences increase. A
50-year-old driver may require at least twice as much
light to see the same thing at night as a 20-year-old.
What you do in the daytime can also affect your
night vision. For example, if you spend the day in bright
sunshine you are wise to wear sunglasses. Your
eyes will have less trouble adjusting to night. But if you
are driving, do not wear sunglasses at night. They
may cut down on glare from headlamps, but they also
make a lot of things invisible.
4-16