turn signal BUICK RANDEZVOUS 2004 Owner's Guide
[x] Cancel search | Manufacturer: BUICK, Model Year: 2004, Model line: RANDEZVOUS, Model: BUICK RANDEZVOUS 2004Pages: 486, PDF Size: 3.18 MB
Page 323 of 486

Service............................................................5-3
Doing Your Own Service Work.........................5-3
Adding Equipment to the Outside of Your
Vehicle......................................................5-4
Fuel................................................................5-4
Gasoline Octane............................................5-4
Gasoline Speci�cations....................................5-5
California Fuel...............................................5-5
Additives.......................................................5-6
Fuels in Foreign Countries...............................5-6
Filling Your Tank............................................5-7
Filling a Portable Fuel Container.......................5-9
Checking Things Under the Hood....................5-10
Hood Release..............................................5-11
Engine Compartment Overview.......................5-12
Engine Oil...................................................5-14
Engine Air Cleaner/Filter................................5-19
Automatic Transaxle Fluid..............................5-21
Engine Coolant.............................................5-23
Radiator Pressure Cap..................................5-25
Engine Overheating.......................................5-26
Cooling System............................................5-29
Power Steering Fluid.....................................5-36
Windshield Washer Fluid................................5-37
Brakes........................................................5-38Battery........................................................5-42
Jump Starting...............................................5-43
All-Wheel Drive..............................................5-48
Bulb Replacement..........................................5-50
Halogen Bulbs..............................................5-50
Headlamps..................................................5-50
Front Turn Signal, Sidemarker and Parking
Lamps.....................................................5-52
Taillamps, Turn Signal, and Stoplamps............5-52
Taillamps and Back-Up Lamps.......................5-53
Replacement Bulbs.......................................5-54
Windshield Wiper Blade Replacement..............5-55
Tires..............................................................5-57
In�ation - Tire Pressure.................................5-64
Check Tire Pressure System..........................5-65
Tire Inspection and Rotation...........................5-67
When It Is Time for New Tires.......................5-69
Buying New Tires.........................................5-70
Uniform Tire Quality Grading..........................5-71
Wheel Alignment and Tire Balance..................5-72
Wheel Replacement......................................5-72
Tire Chains..................................................5-74
Accessory In�ator.........................................5-74
Section 5 Service and Appearance Care
5-1
Page 374 of 486

10. Put the bulb assembly back into the lamp housing
and turn the bulb socket one-quarter of a turn
counterclockwise.
11. Align the retaining clips on the back of the headlamp
with the rectangular holes in the mounting panel.
12. Push �rmly on both ends of the headlamp to snap it
into position.
13. Push the retaining clip down to its original position.
14. Reinstall the wing stud.
Front Turn Signal, Sidemarker and
Parking Lamps
To replace the front turn signal, parking or sidemarker
lamp bulbs, follow the headlamp bulb replacement
procedure and replace the appropriate bulb.
Taillamps, Turn Signal, and
Stoplamps
1. Open the liftgate.
2. Remove the two
screws on the inboard
taillamp panel.
3. Pull the lamp directly rearward from the vehicle.
4. Turn the bulb socket one-quarter of a turn
counterclockwise.
5. Pull the bulb assembly out from the lamp housing.
6. Unhook the electrical connector by lifting up the tabs
and separate the connector from the bulb base.
5-52
Page 376 of 486

A. Outboard Taillamp
B. Center Taillamp
C. Inboard Back-Up Lamp
6. Turn the bulb socket one-quarter of a turn
counterclockwise.
7. Pull the bulb assembly out from the lamp housing.
8. Pull the bulb out of the base.
9. Install the new bulb into the electrical connector.
Push the bulb �rmly enough so that the tabs hook
over the tab on the bulb.10. Put the bulb assembly back into the lamp housing
and turn the bulb socket one-quarter of a turn
clockwise.
11. Replace the applique on the liftgate.
12. Gently lift the liftgate.
13. Reinstall the seven wing nuts and the four
outboard nuts.
14. Reinstall the panel inside the liftgate by connecting
the tabs.
15. Close the liftgate.
Replacement Bulbs
For any bulb not listed here contact your dealer.
Lamp Bulb Number
Front Turn Signal/Parking Lamps 3457K
Headlamps High-Beam 9005
Headlamps Low-Beam 9006
Liftgate-Mounted Back-Up Lamps 921
Liftgate-Mounted Taillamps 161
Rear Outboard Stop/Tail/Turn 3057K
Sidemarker Lamps 168
5-54
Page 432 of 486

Floor Console Fuse Block
The �oor console fuse block is located to the left of the
glove box near the �oor.
Pull the door open to access the fuse block.
Fuse Usage
1 Empty
2 Steering Wheel Radio Controls
3 Power Door Locks
4 Empty
5 Empty
6 Empty
7 Empty
8 Empty
9 Empty
10Turn Signal and Hazard Lamp
Flashers
5-110
Page 433 of 486

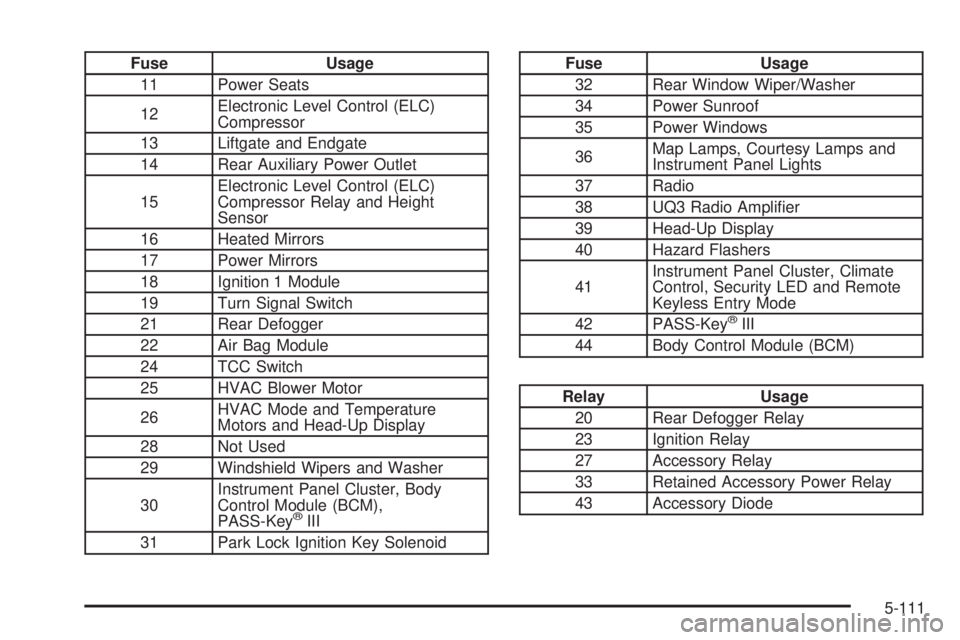
Fuse Usage
11 Power Seats
12Electronic Level Control (ELC)
Compressor
13 Liftgate and Endgate
14 Rear Auxiliary Power Outlet
15Electronic Level Control (ELC)
Compressor Relay and Height
Sensor
16 Heated Mirrors
17 Power Mirrors
18 Ignition 1 Module
19 Turn Signal Switch
21 Rear Defogger
22 Air Bag Module
24 TCC Switch
25 HVAC Blower Motor
26HVAC Mode and Temperature
Motors and Head-Up Display
28 Not Used
29 Windshield Wipers and Washer
30Instrument Panel Cluster, Body
Control Module (BCM),
PASS-Key
®III
31 Park Lock Ignition Key Solenoid
Fuse Usage
32 Rear Window Wiper/Washer
34 Power Sunroof
35 Power Windows
36Map Lamps, Courtesy Lamps and
Instrument Panel Lights
37 Radio
38 UQ3 Radio Ampli�er
39 Head-Up Display
40 Hazard Flashers
41Instrument Panel Cluster, Climate
Control, Security LED and Remote
Keyless Entry Mode
42 PASS-Key
®III
44 Body Control Module (BCM)
Relay Usage
20 Rear Defogger Relay
23 Ignition Relay
27 Accessory Relay
33 Retained Accessory Power Relay
43 Accessory Diode
5-111
Page 470 of 486

Audio System(s) (cont.)
Radio with Six-Disc CD................................3-98
Rear Seat Audio (RSA)...............................3-126
Setting the Time..........................................3-73
Theft-Deterrent Feature...............................3-128
Understanding Radio Reception...................3-130
XM™ Satellite Radio Antenna System...........3-132
Auto Door Lock/Unlock....................................3-67
Automatic Headlamp System............................3-15
Automatic Level Control...................................4-42
Automatic Operation........................................3-35
Automatic Transaxle
Fluid..........................................................5-21
Operation...................................................2-23
B
Backing Up....................................................4-48
Battery..........................................................5-42
Battery Replacement......................................... 2-7
Battery Run-Down Protection............................3-20
Before Leaving on a Long Trip.........................4-25
Before You Drive...........................................3-113
Bench Seat, Split............................................. 1-9
Brake
Low Fluid Warning Message.........................3-57
Parking......................................................2-26
System Warning Light..................................3-44
Brake Fluid....................................................5-38Brake Wear...................................................5-41
Brakes..........................................................5-38
Braking........................................................... 4-7
Braking in Emergencies...................................4-10
Break-In, New Vehicle.....................................2-19
Bulb Replacement...........................................5-50
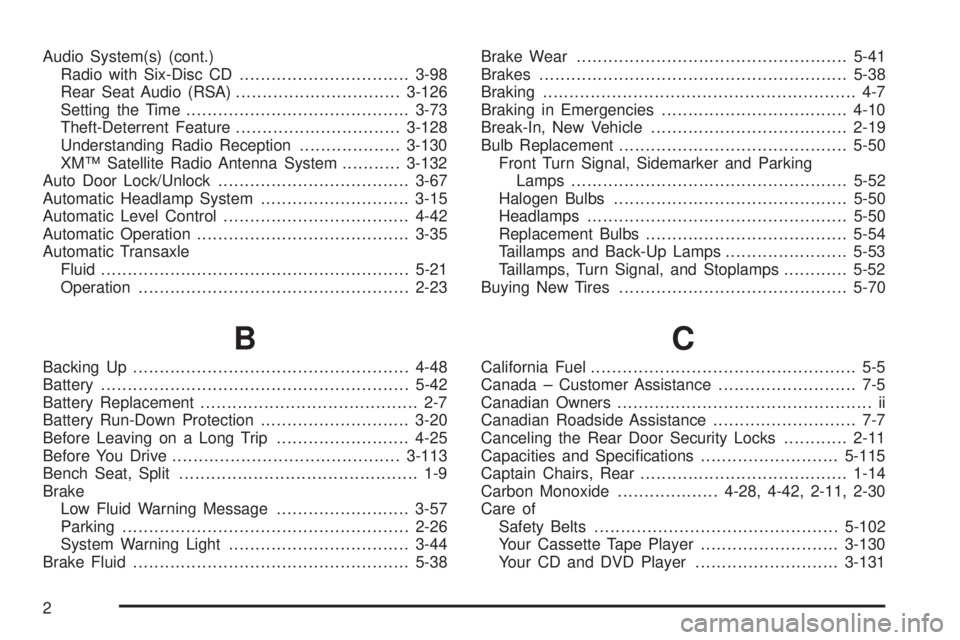
Front Turn Signal, Sidemarker and Parking
Lamps....................................................5-52
Halogen Bulbs............................................5-50
Headlamps.................................................5-50
Replacement Bulbs......................................5-54
Taillamps and Back-Up Lamps.......................5-53
Taillamps, Turn Signal, and Stoplamps............5-52
Buying New Tires...........................................5-70
C
California Fuel.................................................. 5-5
Canada – Customer Assistance.......................... 7-5
Canadian Owners................................................ ii
Canadian Roadside Assistance........................... 7-7
Canceling the Rear Door Security Locks............2-11
Capacities and Speci�cations..........................5-115
Captain Chairs, Rear.......................................1-14
Carbon Monoxide...................4-28, 4-42, 2-11, 2-30
Care of
Safety Belts..............................................5-102
Your Cassette Tape Player..........................3-130
Your CD and DVD Player...........................3-131
2
Page 475 of 486

Following Distance..........................................4-48
Four-Way Manual Driver Seat............................ 1-3
Front Armrest Storage Area..............................2-40
Front Console Storage Area.............................2-40
Front Reading Lamps......................................3-20
Fuel............................................................... 5-4
Additives...................................................... 5-6
California Fuel.............................................. 5-5
Filling a Portable Fuel Container..................... 5-9
Filling Your Tank........................................... 5-7
Fuels in Foreign Countries.............................. 5-6
Gage.........................................................3-49
Gasoline Octane........................................... 5-4
Gasoline Speci�cations.................................. 5-5
Low Warning Message.................................3-56
Fuses
Fuses and Circuit Breakers.........................5-109
Windshield Wiper.......................................5-109
G
Gage
Engine Coolant Temperature.........................3-46
Fuel..........................................................3-49
Speedometer..............................................3-41
Tachometer.................................................3-42
Garage Door Opener.......................................2-35Gasoline
Octane........................................................ 5-4
Speci�cations............................................... 5-5
Gate Operator and Canadian Programming........2-37
Glove Box.....................................................2-39
GM Mobility Program for Persons with
Disabilities.................................................... 7-6
H
Hatch Ajar Warning Message............................3-54
Hazard Warning Flashers................................... 3-6
Head Restraints............................................... 1-8
Headlamp Exit Delay...............................3-17, 3-65
Headlamp High/Low-Beam Changer.................... 3-9
Headlamp Wiring...........................................5-108
Headlamps....................................................5-50
Bulb Replacement.......................................5-50
Front Turn Signal, Sidemarker and Parking
Lamps....................................................5-52
Halogen Bulbs............................................5-50
Headphones.................................................3-113
Head-Up Display (HUD)...................................3-21
Heated Seats................................................... 1-6
Highbeam Out Warning Message......................3-59
Highway Hypnosis...........................................4-26
Hill and Mountain Roads..................................4-26
7
Page 483 of 486

Service Manuals.............................................7-12
Setting Preset PTYs (RDS Only).....................3-102
Setting Preset Stations..................3-76, 3-87, 3-100
Setting the Time.............................................3-73
Setting the Tone (Bass/Treble)........3-76, 3-88, 3-100
Sheet Metal Damage.....................................5-105
Shifting Into Park (P).......................................2-27
Shifting Out of Park (P)...................................2-29
Shoulder Belt Height Adjuster...........................1-30
Skidding........................................................4-17
Some Other Rainy Weather Tips.......................4-22
Special Fabric Cleaning Problems....................5-101
Speci�cations, Capacities...............................5-115
Speedometer..................................................3-41
Split Bench Seats............................................. 1-9
Starting Your Engine.......................................2-21
Steering........................................................4-13
Steering in Emergencies..................................4-14
Steering Tips..................................................4-13
Steering Wheel Controls, Audio.......................3-129
Stereo RCA Jacks.........................................3-114
Storage Areas
Cell Phone Storage Area..............................2-39
Convenience Net.........................................2-44
Cupholder(s)...............................................2-39
Floor Console Storage Area..........................2-40
Front Armrest Storage Area...........................2-40
Glove Box..................................................2-39Storage Areas (cont.)
Overhead Console.......................................2-39
Rear Convenience Center.............................2-44
Rear Storage Area.......................................2-40
Roof Rack System.......................................2-41
Storage Compartment......................................2-39
Storing a Flat or Spare Tire and Tools...............5-91
Stowable Seat................................................1-18
Stuck in Sand, Mud, Ice or Snow......................4-32
Sun Visors.....................................................2-15
Sunglasses Storage Compartment.....................2-40
Sunroof.........................................................2-48
Switchbanks, Instrument Panel..........................3-21
T
Tachometer....................................................3-42
Taillamps
Back-Up Lamps...........................................5-53
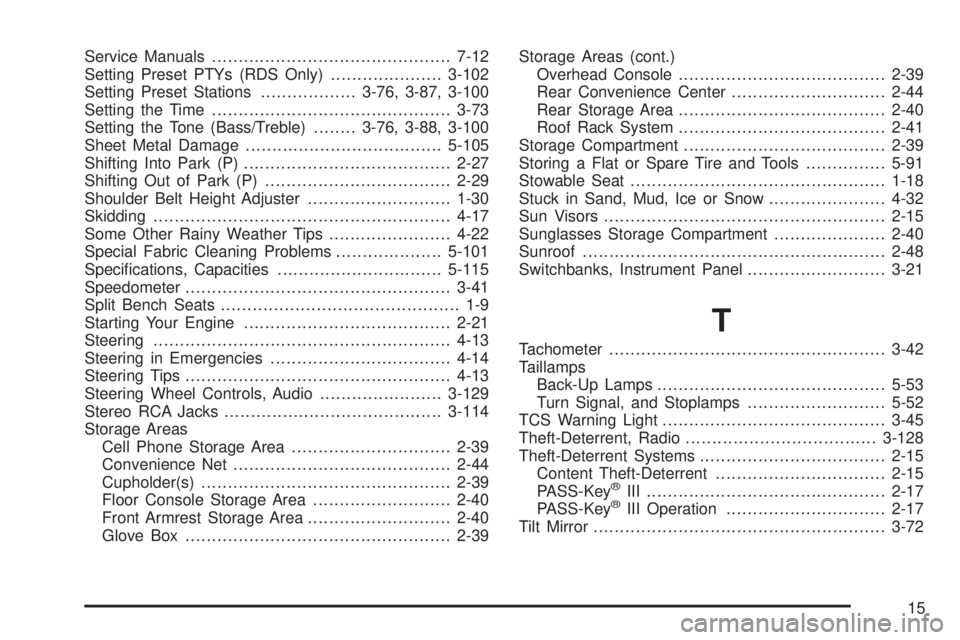
Turn Signal, and Stoplamps..........................5-52
TCS Warning Light..........................................3-45
Theft-Deterrent, Radio....................................3-128
Theft-Deterrent Systems...................................2-15
Content Theft-Deterrent................................2-15
PASS-Key
®III .............................................2-17
PASS-Key®III Operation..............................2-17
Tilt Mirror.......................................................3-72
15
Page 484 of 486

Tilt Wheel........................................................ 3-7
Tips and Trouble...........................................3-123
Tire
Low Message.............................................3-54
Tire Sidewall Labeling......................................5-58
Tire Size.......................................................5-61
Tire Terminology and De�nitions........................5-62
Tires.............................................................5-57
Buying New Tires........................................5-70
Chains.......................................................5-74
Changing a Flat Tire....................................5-77
Check Tire Pressure System.........................5-65
Compact Spare Tire.....................................5-98
If a Tire Goes Flat.......................................5-76
In�ation - Tire Pressure................................5-64
Inspection and Rotation................................5-67
Uniform Tire Quality Grading.........................5-71
Wheel Alignment and Tire Balance.................5-72
Wheel Replacement.....................................5-72
When It Is Time for New Tires......................5-69
To Use the Engine Coolant Heater....................2-22
Top Strap......................................................1-57
Top Strap Anchor Location...............................1-58
Torque Lock...................................................2-29Total Weight on Your Vehicle’s Tires..................4-46
Towing
Recreational Vehicle.....................................4-34
Towing a Trailer..........................................4-42
Your Vehicle...............................................4-33
Traction
Active Message...........................................3-51
Control System (TCS)..................................4-11
Control System Warning Light.......................3-45
Service Traction System Warning Message.....3-50
Trailer Brakes.................................................4-46
Trailer Wiring Harness.....................................4-50
Transaxle
Fluid, Automatic...........................................5-21
Transaxle Operation, Automatic.........................2-23
Transfer Case (Power Transfer Unit)..................5-48
Transmission, Transaxle, Transfer Case Unit
Repair Manual............................................7-12
Transportation Options...................................... 7-8
Trip Odometer................................................3-41
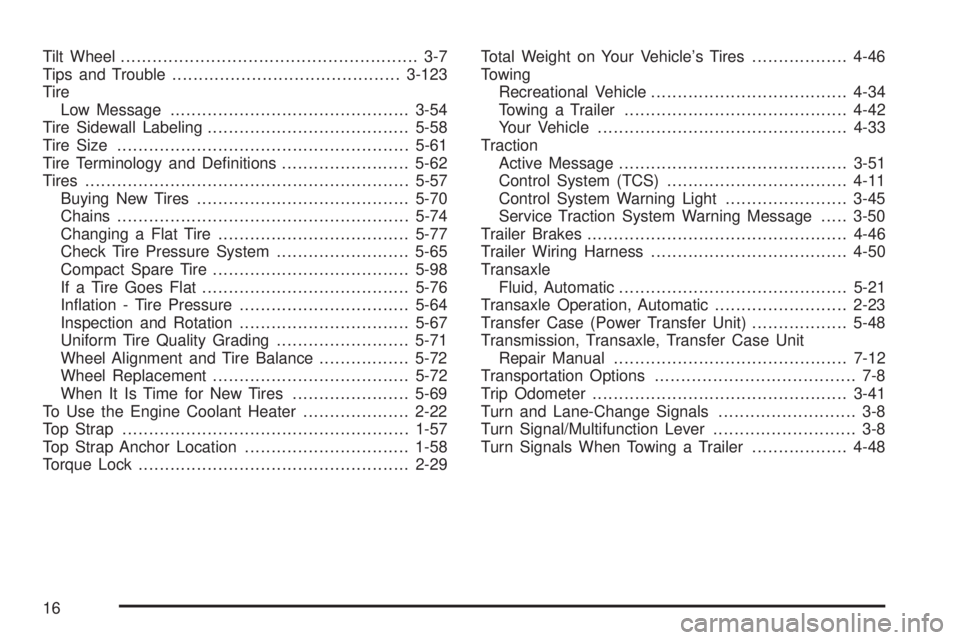
Turn and Lane-Change Signals.......................... 3-8
Turn Signal/Multifunction Lever........................... 3-8
Turn Signals When Towing a Trailer..................4-48
16