remote start BUICK RANDEZVOUS 2005 Owner's Manual
[x] Cancel search | Manufacturer: BUICK, Model Year: 2005, Model line: RANDEZVOUS, Model: BUICK RANDEZVOUS 2005Pages: 480, PDF Size: 2.96 MB
Page 91 of 480
Keys...............................................................2-3
Remote Keyless Entry System.........................2-5
Remote Keyless Entry System Operation...........2-6
Doors and Locks.............................................2-8
Door Locks....................................................2-8
Power Door Locks..........................................2-9
Delayed Locking.............................................2-9
Programmable Automatic Door Locks..............2-10
Rear Door Security Locks..............................2-10
Lockout Protection........................................2-11
Liftgate........................................................2-11
Windows........................................................2-13
Power Windows............................................2-14
Sun Visors...................................................2-15
Theft-Deterrent Systems..................................2-15
Content Theft-Deterrent.................................2-15
PASS-Key
®III ..............................................2-17
PASS-Key®III Operation...............................2-18
Starting and Operating Your Vehicle................2-19
New Vehicle Break-In....................................2-19
Ignition Positions..........................................2-20
Retained Accessory Power (RAP)...................2-21
Starting Your Engine.....................................2-21
Engine Coolant Heater..................................2-22Automatic Transaxle Operation.......................2-23
All-Wheel Drive............................................2-26
Parking Brake..............................................2-26
Shifting Into Park (P).....................................2-27
Shifting Out of Park (P).................................2-28
Parking Over Things That Burn.......................2-29
Engine Exhaust............................................2-29
Running Your Engine While You Are Parked.......2-30
Mirrors...........................................................2-31
Manual Rearview Mirror.................................2-31
Outside Power Mirror....................................2-31
Outside Curb View Assist Mirror.....................2-32
Outside Convex Mirror...................................2-32
Outside Heated Mirrors..................................2-32
OnStar
®System.............................................2-33
HomeLink®Transmitter...................................2-34
Programming the HomeLink®Transmitter.........2-35
Storage Areas................................................2-38
Glove Box...................................................2-38
Cupholder(s)................................................2-39
Cell Phone Storage Area...............................2-39
Overhead Console........................................2-39
Floor Console Storage Area...........................2-39
Section 2 Features and Controls
2-1
Page 106 of 480
Once armed, the alarm will go off if someone tries to
enter the vehicle without using the optional remote
keyless entry transmitter or the key, or tries to turn the
ignition on without using the correct key. The horn
will sound and the headlamps and parking lamps will
�ash any time the alarm sounds.
When the content theft-deterrent system is armed, the
liftgate may be opened by pressing the REAR button on
the remote keyless entry transmitter. The alarm will
go into standby mode. Once the liftgate is closed, the
alarm will be armed. See “Liftgate Release” under
Liftgate on page 2-11for more information on how to
open the liftgate.
Arming with the Power Lock Switch
The content theft-deterrent alarm system will arm when
you use either power door lock switch to lock the doors
while any door or the liftgate is open and the key is
removed from the ignition. The security light, located on
top of the instrument panel, will start �ashing when the
system is armed.
Within �ve seconds, after the security light begins to
�ash, any door can be manually unlocked and opened,
without sounding the alarm. A door unlocked manually
will remain unlocked until locked again.
Arming with the Remote Keyless Entry
Transmitter
Your alarm system will arm when you press LOCK once
on your remote keyless entry transmitter to lock the
doors. The alarm system light will come on for
30 seconds and then start �ashing to let you know the
system is armed.
Within the 30 second delay after the security light
comes on, and an additional �ve seconds after the light
begins to �ash, any door can be manually unlocked
and opened, without sounding the alarm.
If LOCK is pressed on your remote keyless entry
transmitter twice within �ve seconds, any door can be
manually unlocked and opened within �ve seconds after
the security light begins to �ash, without sounding the
alarm. A door unlocked manually will remain unlocked
until locked again.
2-16
Page 202 of 480
DIC Controls and Displays
When the ignition is turned to ON or START, the DIC
will display the following:
BUICK:BUICK will be displayed for three seconds.
DRIVER #:This message will be displayed for another
three seconds after BUICK appears in the display.
This display lets the driver know which driver’s remote
keyless entry transmitter is being used and the
driver’s customization features.
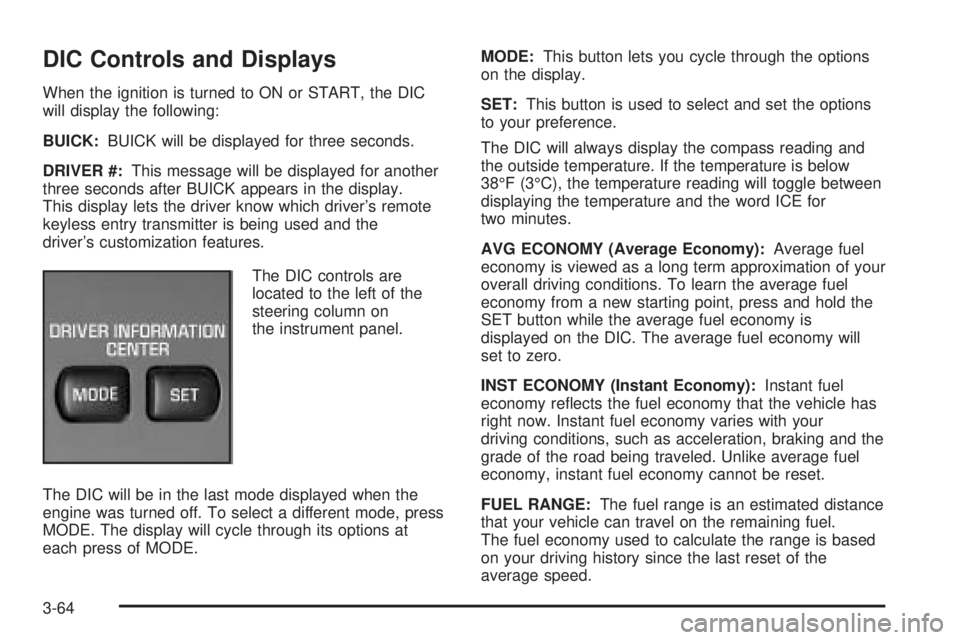
The DIC controls are
located to the left of the
steering column on
the instrument panel.
The DIC will be in the last mode displayed when the
engine was turned off. To select a different mode, press
MODE. The display will cycle through its options at
each press of MODE.MODE:This button lets you cycle through the options
on the display.
SET:This button is used to select and set the options
to your preference.
The DIC will always display the compass reading and
the outside temperature. If the temperature is below
38°F (3°C), the temperature reading will toggle between
displaying the temperature and the word ICE for
two minutes.
AVG ECONOMY (Average Economy):Average fuel
economy is viewed as a long term approximation of your
overall driving conditions. To learn the average fuel
economy from a new starting point, press and hold the
SET button while the average fuel economy is
displayed on the DIC. The average fuel economy will
set to zero.
INST ECONOMY (Instant Economy):Instant fuel
economy re�ects the fuel economy that the vehicle has
right now. Instant fuel economy varies with your
driving conditions, such as acceleration, braking and the
grade of the road being traveled. Unlike average fuel
economy, instant fuel economy cannot be reset.
FUEL RANGE:The fuel range is an estimated distance
that your vehicle can travel on the remaining fuel.
The fuel economy used to calculate the range is based
on your driving history since the last reset of the
average speed.
3-64
Page 259 of 480
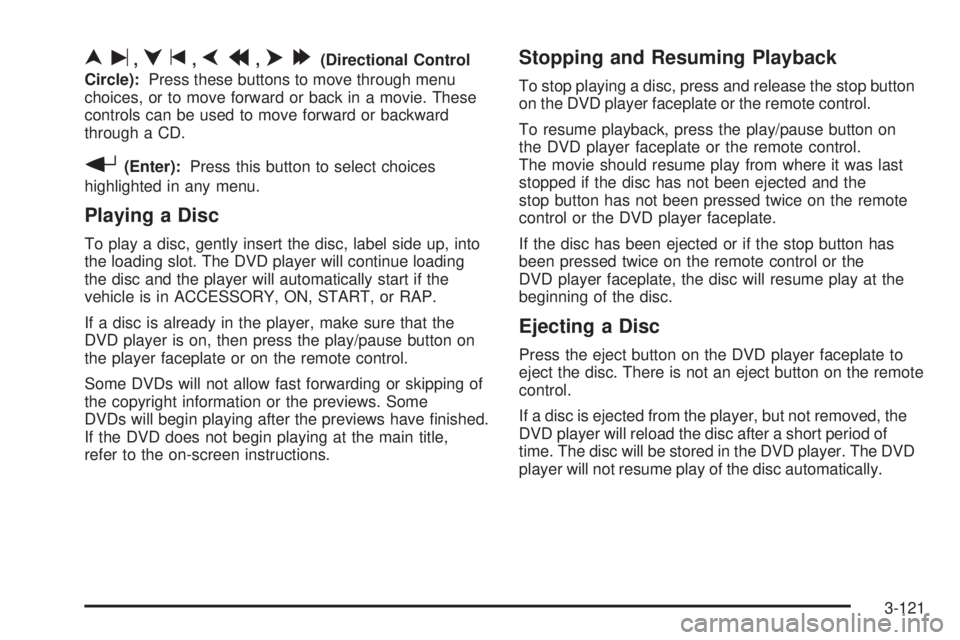
nu,qt,pr,o[(Directional Control
Circle):Press these buttons to move through menu
choices, or to move forward or back in a movie. These
controls can be used to move forward or backward
through a CD.
r(Enter):Press this button to select choices
highlighted in any menu.
Playing a Disc
To play a disc, gently insert the disc, label side up, into
the loading slot. The DVD player will continue loading
the disc and the player will automatically start if the
vehicle is in ACCESSORY, ON, START, or RAP.
If a disc is already in the player, make sure that the
DVD player is on, then press the play/pause button on
the player faceplate or on the remote control.
Some DVDs will not allow fast forwarding or skipping of
the copyright information or the previews. Some
DVDs will begin playing after the previews have �nished.
If the DVD does not begin playing at the main title,
refer to the on-screen instructions.
Stopping and Resuming Playback
To stop playing a disc, press and release the stop button
on the DVD player faceplate or the remote control.
To resume playback, press the play/pause button on
the DVD player faceplate or the remote control.
The movie should resume play from where it was last
stopped if the disc has not been ejected and the
stop button has not been pressed twice on the remote
control or the DVD player faceplate.
If the disc has been ejected or if the stop button has
been pressed twice on the remote control or the
DVD player faceplate, the disc will resume play at the
beginning of the disc.
Ejecting a Disc
Press the eject button on the DVD player faceplate to
eject the disc. There is not an eject button on the remote
control.
If a disc is ejected from the player, but not removed, the
DVD player will reload the disc after a short period of
time. The disc will be stored in the DVD player. The DVD
player will not resume play of the disc automatically.
3-121
Page 263 of 480
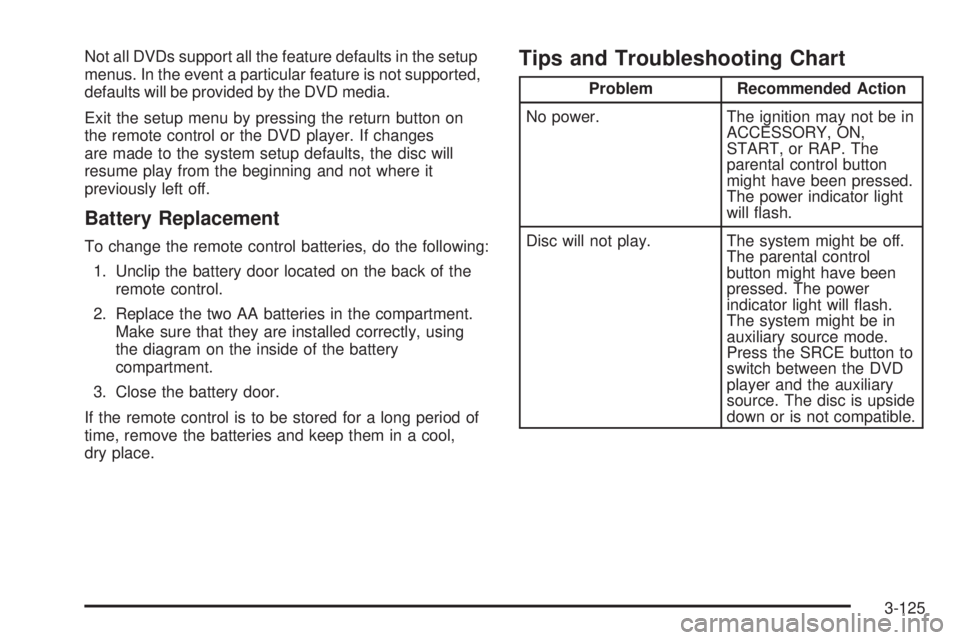
Not all DVDs support all the feature defaults in the setup
menus. In the event a particular feature is not supported,
defaults will be provided by the DVD media.
Exit the setup menu by pressing the return button on
the remote control or the DVD player. If changes
are made to the system setup defaults, the disc will
resume play from the beginning and not where it
previously left off.
Battery Replacement
To change the remote control batteries, do the following:
1. Unclip the battery door located on the back of the
remote control.
2. Replace the two AA batteries in the compartment.
Make sure that they are installed correctly, using
the diagram on the inside of the battery
compartment.
3. Close the battery door.
If the remote control is to be stored for a long period of
time, remove the batteries and keep them in a cool,
dry place.
Tips and Troubleshooting Chart
Problem Recommended Action
No power. The ignition may not be in
ACCESSORY, ON,
START, or RAP. The
parental control button
might have been pressed.
The power indicator light
will �ash.
Disc will not play. The system might be off.
The parental control
button might have been
pressed. The power
indicator light will �ash.
The system might be in
auxiliary source mode.
Press the SRCE button to
switch between the DVD
player and the auxiliary
source. The disc is upside
down or is not compatible.
3-125
Page 265 of 480
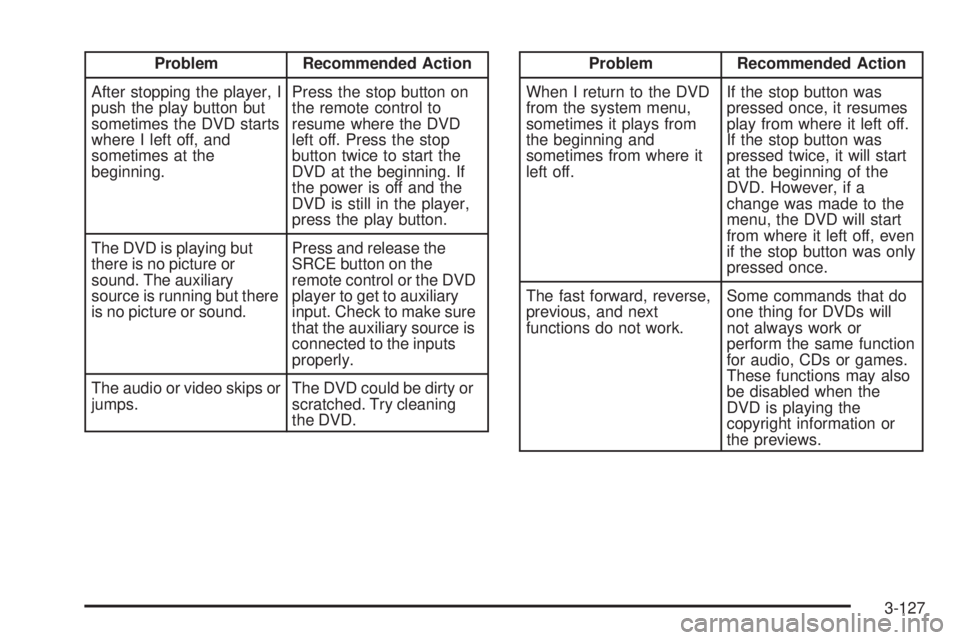
Problem Recommended Action
After stopping the player, I
push the play button but
sometimes the DVD starts
where I left off, and
sometimes at the
beginning.Press the stop button on
the remote control to
resume where the DVD
left off. Press the stop
button twice to start the
DVD at the beginning. If
the power is off and the
DVD is still in the player,
press the play button.
The DVD is playing but
there is no picture or
sound. The auxiliary
source is running but there
is no picture or sound.Press and release the
SRCE button on the
remote control or the DVD
player to get to auxiliary
input. Check to make sure
that the auxiliary source is
connected to the inputs
properly.
The audio or video skips or
jumps.The DVD could be dirty or
scratched. Try cleaning
the DVD.Problem Recommended Action
When I return to the DVD
from the system menu,
sometimes it plays from
the beginning and
sometimes from where it
left off.If the stop button was
pressed once, it resumes
play from where it left off.
If the stop button was
pressed twice, it will start
at the beginning of the
DVD. However, if a
change was made to the
menu, the DVD will start
from where it left off, even
if the stop button was only
pressed once.
The fast forward, reverse,
previous, and next
functions do not work.Some commands that do
one thing for DVDs will
not always work or
perform the same function
for audio, CDs or games.
These functions may also
be disabled when the
DVD is playing the
copyright information or
the previews.
3-127
Page 333 of 480
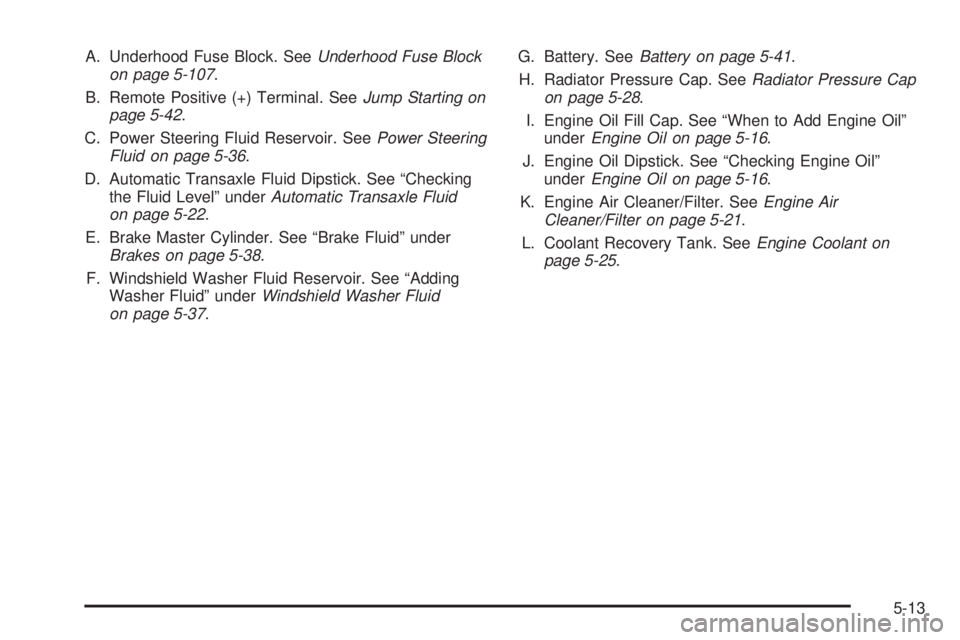
A. Underhood Fuse Block. SeeUnderhood Fuse Block
on page 5-107.
B. Remote Positive (+) Terminal. SeeJump Starting on
page 5-42.
C. Power Steering Fluid Reservoir. SeePower Steering
Fluid on page 5-36.
D. Automatic Transaxle Fluid Dipstick. See “Checking
the Fluid Level” underAutomatic Transaxle Fluid
on page 5-22.
E. Brake Master Cylinder. See “Brake Fluid” under
Brakes on page 5-38.
F. Windshield Washer Fluid Reservoir. See “Adding
Washer Fluid” underWindshield Washer Fluid
on page 5-37.G. Battery. SeeBattery on page 5-41.
H. Radiator Pressure Cap. SeeRadiator Pressure Cap
on page 5-28.
I. Engine Oil Fill Cap. See “When to Add Engine Oil”
underEngine Oil on page 5-16.
J. Engine Oil Dipstick. See “Checking Engine Oil”
underEngine Oil on page 5-16.
K. Engine Air Cleaner/Filter. SeeEngine Air
Cleaner/Filter on page 5-21.
L. Coolant Recovery Tank. SeeEngine Coolant on
page 5-25.
5-13
Page 335 of 480
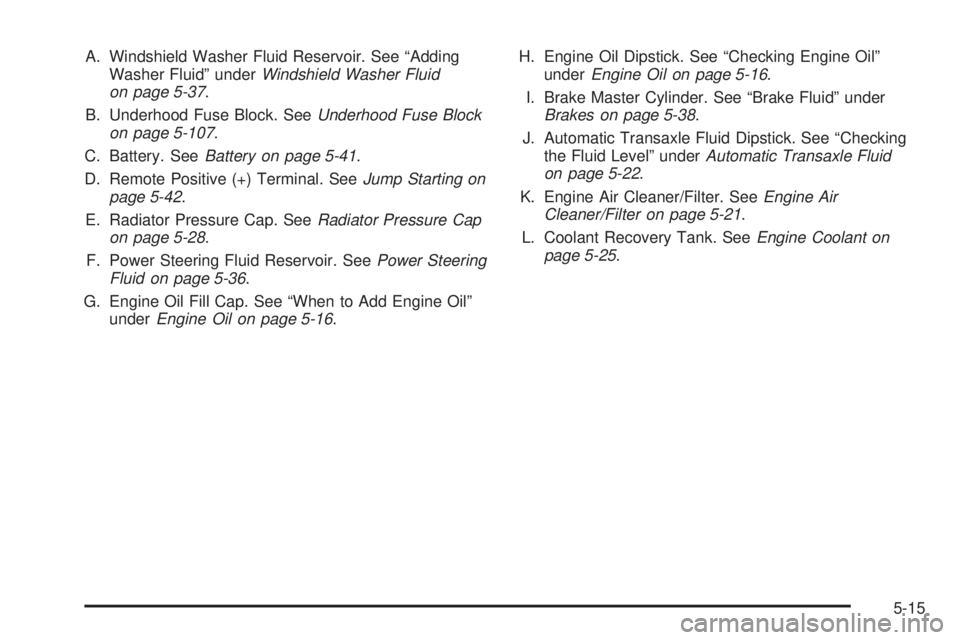
A. Windshield Washer Fluid Reservoir. See “Adding
Washer Fluid” underWindshield Washer Fluid
on page 5-37.
B. Underhood Fuse Block. SeeUnderhood Fuse Block
on page 5-107.
C. Battery. SeeBattery on page 5-41.
D. Remote Positive (+) Terminal. SeeJump Starting on
page 5-42.
E. Radiator Pressure Cap. SeeRadiator Pressure Cap
on page 5-28.
F. Power Steering Fluid Reservoir. SeePower Steering
Fluid on page 5-36.
G. Engine Oil Fill Cap. See “When to Add Engine Oil”
underEngine Oil on page 5-16.H. Engine Oil Dipstick. See “Checking Engine Oil”
underEngine Oil on page 5-16.
I. Brake Master Cylinder. See “Brake Fluid” under
Brakes on page 5-38.
J. Automatic Transaxle Fluid Dipstick. See “Checking
the Fluid Level” underAutomatic Transaxle Fluid
on page 5-22.
K. Engine Air Cleaner/Filter. SeeEngine Air
Cleaner/Filter on page 5-21.
L. Coolant Recovery Tank. SeeEngine Coolant on
page 5-25.
5-15
Page 363 of 480
Notice:If you leave your radio or other accessories
on during the jump starting procedure, they could
be damaged. The repairs would not be covered
by your warranty. Always turn off your radio and
other accessories when jump starting your vehicle.
3. Turn off the ignition on both vehicles. Unplug
unnecessary accessories plugged into the cigarette
lighter or the accessory power outlet(s). Turn off
the radios and all lamps that are not needed. This
will avoid sparks and help save both batteries.
And it could save the radio!
4. Open the hood on the other vehicle and locate the
positive (+) and negative (−) terminal locations on
that vehicle.
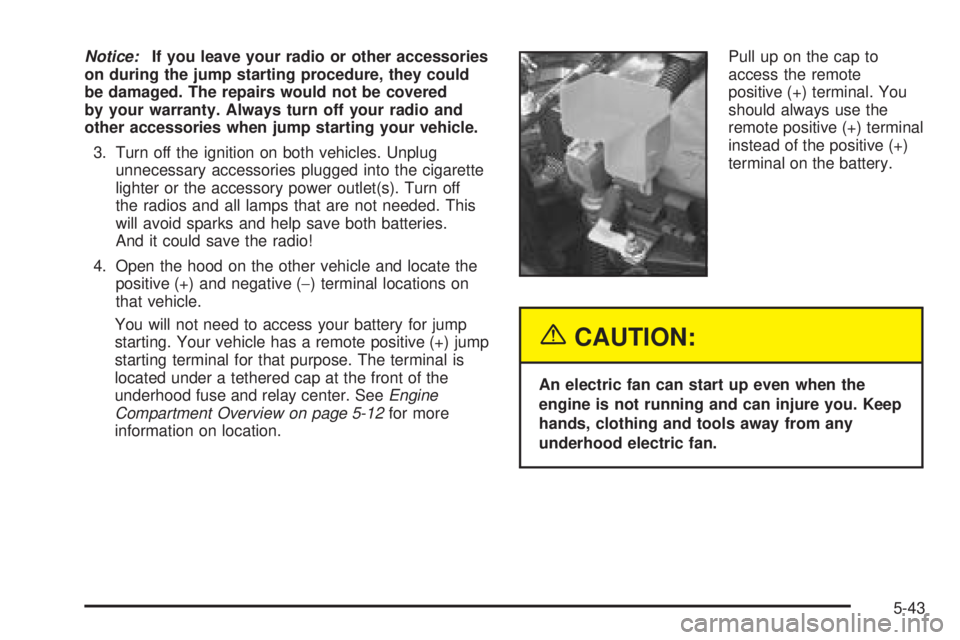
You will not need to access your battery for jump
starting. Your vehicle has a remote positive (+) jump
starting terminal for that purpose. The terminal is
located under a tethered cap at the front of the
underhood fuse and relay center. SeeEngine
Compartment Overview on page 5-12for more
information on location.Pull up on the cap to
access the remote
positive (+) terminal. You
should always use the
remote positive (+) terminal
instead of the positive (+)
terminal on the battery.
{CAUTION:
An electric fan can start up even when the
engine is not running and can injure you. Keep
hands, clothing and tools away from any
underhood electric fan.
5-43
Page 365 of 480
Notice:If you connect a negative cable to the ECM,
ECM mounting bracket or any cables that attach
to the ECM bracket, you may damage the ECM.
Attach the negative cable to a heavy, unpainted
metal engine part, other than the ECM, ECM bracket
or cables attached to the ECM bracket.
Do not connect positive (+) to negative (−)oryou
will get a short that would damage the battery
and maybe other parts too. And do not connect the
negative (−) cable to the negative (−) terminal on
the dead battery because this can cause sparks.
6. Connect the red positive (+) cable to the positive (+)
terminal of the dead battery. Use a remote
positive (+) terminal if the vehicle has one.
7. Do not let the other end touch metal. Connect it to
the positive (+) terminal of the good battery. Use a
remote positive (+) terminal if the vehicle has one.8. Now connect the black negative (−) cable to the
negative (−) terminal of the good battery. Use a
remote negative (−) terminal if the vehicle has one.
Do not let the other end touch anything until the
next step. The other end of the negative (−) cable
does notgo to the dead battery. It goes to a
heavy, unpainted metal engine part or to a remote
negative (−) terminal on the vehicle with the
dead battery.
9. Connect the other end of the negative (−) cable at
least 18 inches (45 cm) away from the dead battery,
but not near engine parts that move. The electrical
connection is just as good there, and the chance
of sparks getting back to the battery is much less.
10. Now start the vehicle with the good battery and run
the engine for a while.
11. Try to start the vehicle that had the dead battery.
If it will not start after a few tries, it probably needs
service.
5-45