BUICK REGAL 1993 Owners Manual
Manufacturer: BUICK, Model Year: 1993, Model line: REGAL, Model: BUICK REGAL 1993Pages: 308, PDF Size: 16.35 MB
Page 111 of 308
@ Part 3 Comfort Controls And Audio Systems
~~
In this part you’ll find out how to operate the comfort control systems and audio systems offered with your Buick .
Be sure to read about the particular system supplied with your vehicle .
Part 3 includes:
Comfort Control System
............................................................ 110
Heater and Defroster
........................................................... 111
Airconditioner
............................................................... 111
RearWindowDefogger ........................................................ 113
Ventilation ................................................................... 112
AudioSystems
.................................................................... 113
SettingtheClock
.......................................................... 1.16,121
RadioControls
........................................................... 115, 119
Tape Player Controls ....................................................... 11 7, 121
CDPlayerControls
............................................................ 118
Understanding
Radio Reception .................................................. 113
Care of Cassette ‘hpe Player & l-hpes ............................................. 123
CareofCompactDiscs
......................................................... 124
Antennacare
................................................................ 124
109
ProCarManuals.com
Page 112 of 308
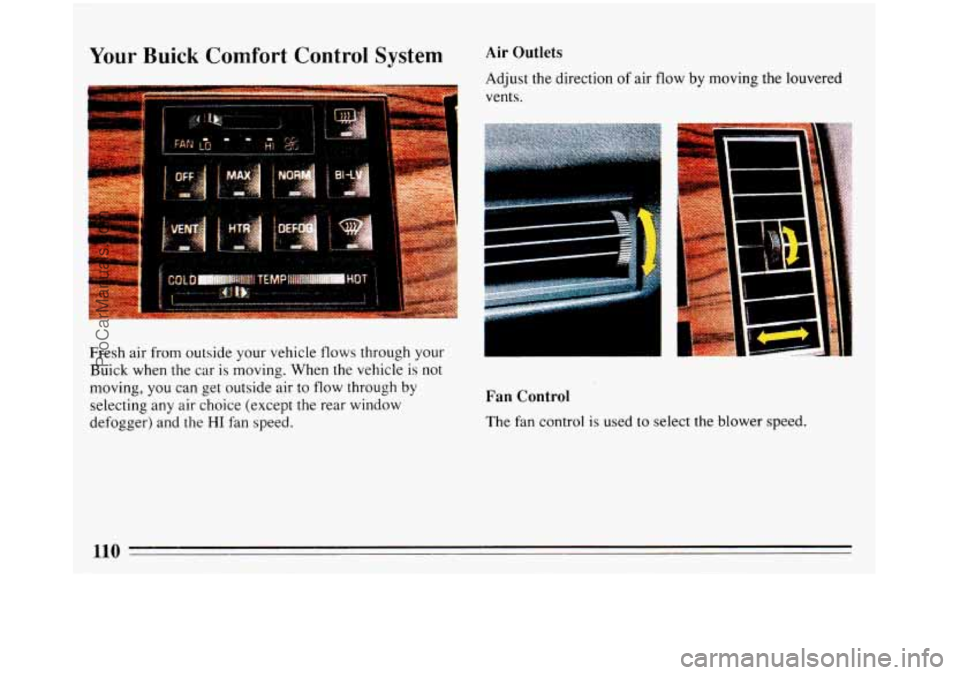
Your Buick Comfort Control System
i
Fresh air from outside your vehicle flows through your
Buick when the car is moving, When the vehicle is not
moving,
you can get outside air to flow through by
selecting
any air choice (except the rear window
defogger) and
the HI fan speed.
Air Outlets
Adjust the direction of air flow by moving the louvered
vents.
I
Fan Control
The fan control is used to select the blower speed.
ProCarManuals.com
Page 113 of 308
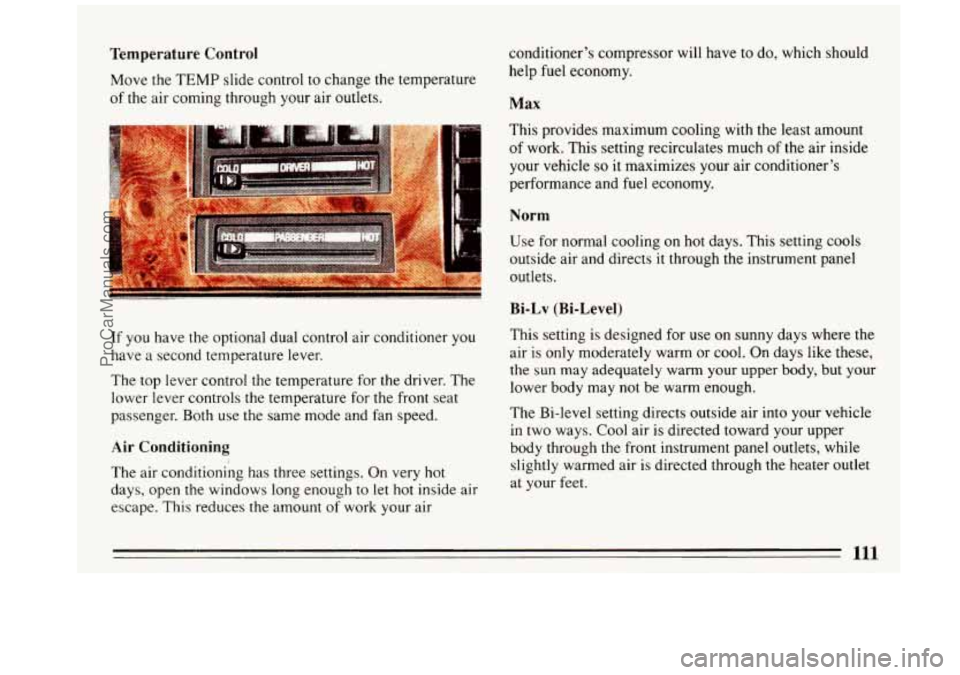
Temperature Control
Move the TEMP slide control to change the temperature
of the air coming through your air outlets. conditioner’s
compressor will have to do, which should
help fuel economy. Max
This provides maximum cooling with the least amount
of work. This setting recirculates much of the air inside
your vehicle
so it maximizes your air conditioner’s
performance and fuel economy.
Norm
Use for normal cooling on hot days. This setting cools
outside air and directs it through the instrument panel
outlets.
Bi-Lv (Bi-Level)
If you have the optional dual control air conditioner you
have a second temperature lever.
The top lever control the temperature for the driver. The
lower lever controls the temperature for the front seat
passenger. Both use
the same mode and fan speed.
Air Conditioning
The air conditioning has three settings. On very hot
days, open
the windows long enough to let hot inside air
escape.. This reduces the amount of work your air This setting
is designed for
use on sunny days where the
air is only moderately warm or cool. On days like these,
the
sun may adequately warm your upper body, but your
lower body may not be warm enough.
The Bi-level setting directs outside air into your vehicle
in two ways.
Cool air is directed toward your upper
body through the front instrument panel outlets, while
slightly warmed air is directed through the heater outlet
at your feet.
111
ProCarManuals.com
Page 114 of 308
The air conditioner compressor operates in all Air
Conditioning positions, and
the Defrost position when
the outside temperature is above 40'F (4.5 "C).
Ventilation
For mild outside temperatures, when little heating or
cooling
is needed, press the VENT button. Air will flow
through the instrument panel outlets. Use the air outlets
to turn on, adjust and turn
off the air flow. Adjust the
TEMP lever to control the temperature.
Heating
When outside temperatures are cold, press the button
marked HTR and slide the
TEMP lever toward HOT to
send heated air through the floor outlets.
Defog
When your windshield is foggy, press the DEFOG
button to direct most of the air flow toward the
windshield. When it's
50 F ( 10 C) or warmer, the
system will provide cooled air.
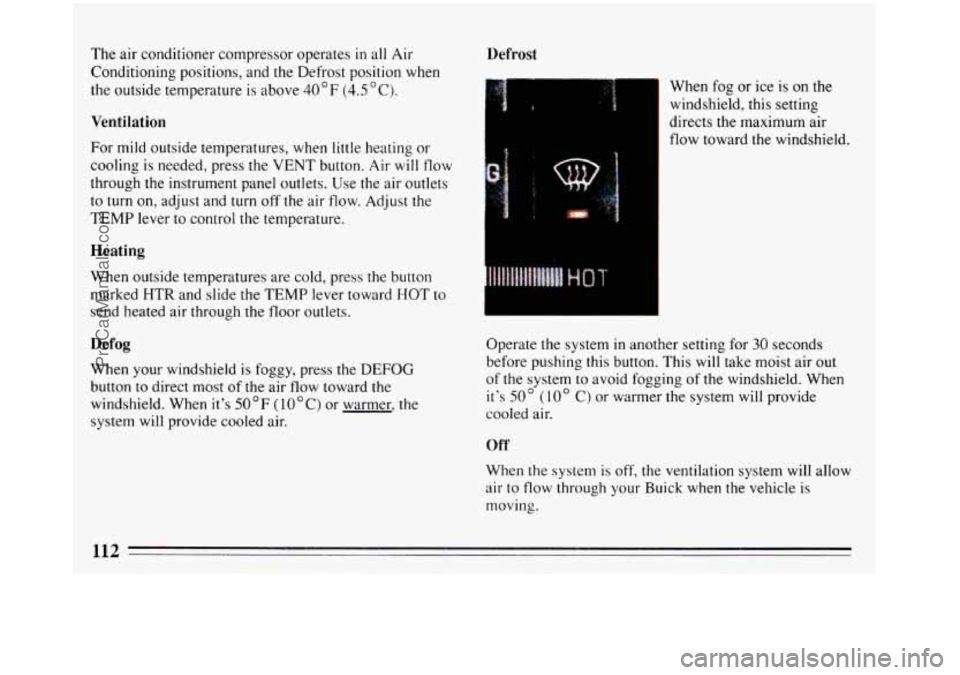
Defrost
When fog or ice is on the
windshield, this setting
directs the maximum air
flow toward the windshield.
Operate the system
in another setting for 30 seconds
before pushing this button.
This will take moist air out
of the system
to avoid fogging of the windshield. When
it's
50' (10" C) or warmer the system will provide
cooled air.
Off
When the system is off, the ventilation system will allow
air to flow through your Buick when the vehicle is
moving.
112
ProCarManuals.com
Page 115 of 308
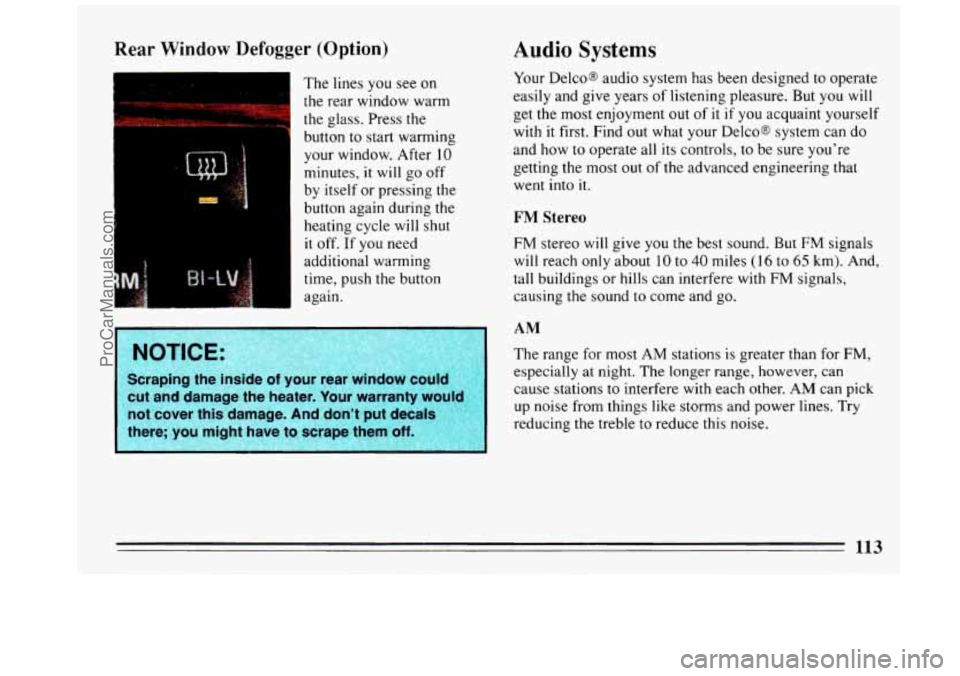
Rear Window Defogger (Option)
b
I -c
1 The lines you see on
I the rear window warm
the glass. Press the
button to start warming
your window. After
10
minutes, it will go off
by itself or pressing the
button again during the
heating cycle will shut
it
off. If you need
additional warming
time, push the button
again.
NOTICE:
Scraping the inside of your rear window could
cut and damage the heater. Your warranty would
not cover this damage.
And don’t plat decals
there; you might have to scrape them
off.
Audio Systems
Your Delcom audio system has been designed to operate
easily and give years of listening pleasure.
But you will
get the most enjoyment out
of it if you acquaint yourself
with it first. Find out what your Delcoa system can do
and how to operate all its controls, to be sure you’re
getting the most
out of the advanced engineering that
went into it.
FM Stereo
FM stereo will give you the best sound. But FM signals
will reach only about 10 to 40 miles (16 to 65 km). And,
tall buildings or hills can interfere with FM signals,
causing the sound
to come and go.
AM
The range for most AM stations is greater than for FM,
especially at night. The longer range, however, can
cause stations to interfere with each other. AM can pick
up noise from things like storms and power lines. Try
reducing the treble to reduce this noise.
113
ProCarManuals.com
Page 116 of 308
AM Stereo
This means the DelcoB system can receive C-QUAM@
stereo broadcasts. Many AM stations around the country
use C-QUAM@
to produce stereo, though some do not.
(C-QUAM@ is a registered trademark
of Motorola, Inc.)
If your Delcoa system can get C-QUAM@, your
“STEREO” light will come on when you’re receiving it.
A CAUTION:
Hearing damage from loud noise is ZIIH IOSl
undetectable until it is too late. Your hearing can
adapt
to higher volumes of sound. Sound that
seems normal can be loud and harmful
to your
hearing. Take precautions by adjusting the
volume control on your radio
to a safe sound
level before your hearing adapts to
it.
To help avoid hearing loss or damage:
Adjust the volum
Increase volume
setting.
comfortably and
clear11
;i
Before you add any sound eqi me your
vehicle
-- like a tape player, CB radio, mobile
telephone or two-way radio
-- be sure you c I
add what you want. If you can, it’s very importan
to
do it properly. Added sound equipment may
interfere with the operation
of your vehicle’s
engine, Delco@ radio or other systems, and even
damage them.
And, your vehicle’s systems may
interfere with the operation of
so
that has been added improperly.
So, before adding sound equipment, check with
your dealer and be sure to check Federal
r
covering mobile radio and telephone units
1
ProCarManuals.com
Page 117 of 308
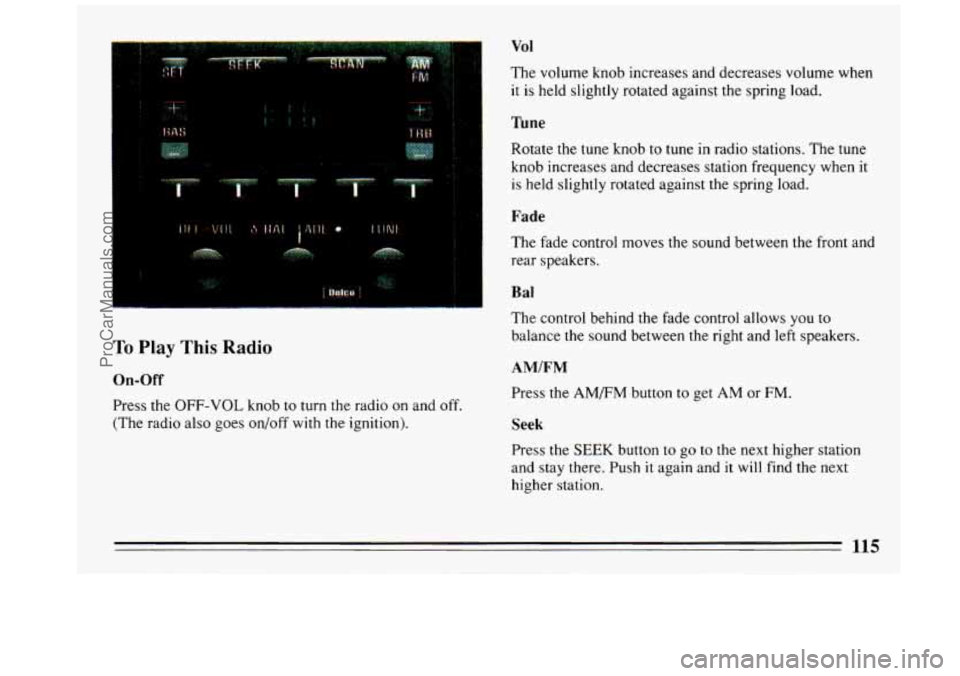
To Play This Radio
On-Off
Press the OFF-VOL knob to turn the radio on and off.
(The radio also goes on/off with the ignition).
Vol
The volume knob increases and decreases volume when
it is held slightly rotated against the spring load.
Tune
Rotate the tune knob to tune in radio stations. The tune
knob increases and decreases station frequency when it
is held slightly rotated against the spring load.
Fade
The fade control moves the sound between the front and
rear speakers.
B a1
The control behind the fade control allows you to
balance
the sound between the right and left speakers.
AM/FM
Press the AM/FM button to get AM or FM.
Seek
Press the SEEK button to go to the next higher station
and stay there. Push
it again and it will find the next
higher station.
115
ProCarManuals.com
Page 118 of 308
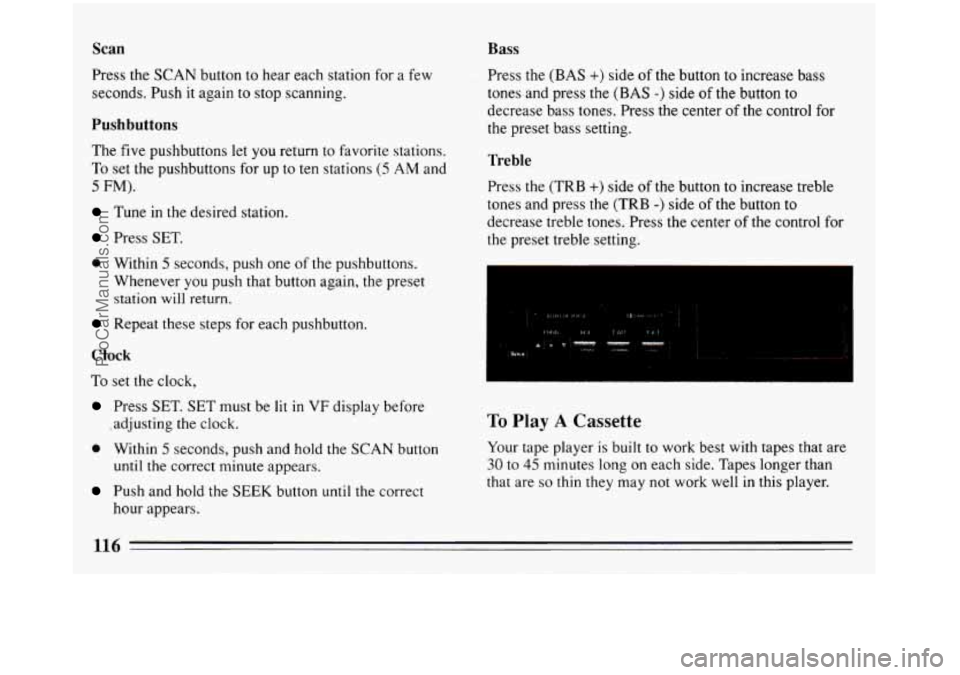
Scan
Press the SCAN button to hear each station for a few
seconds. Push it again
to stop scanning.
Pushbuttons
The five pushbuttons let you return to favorite stations.
To set the pushbuttons for up to ten stations (5 AM and
5 FM).
Tune in the desired station.
Press SET.
0 Within 5 seconds, push one of the pushbuttons.
Whenever you push that button again, the preset
station
will return.
Repeat these steps for each pushbutton.
Clock
To set the clock,
fore
Press SET. SET must be lit in VF display be
.adjusting the clock.
0 Within 5 seconds, push and hold the SCAN button
until the correct minute appears.
Push and hold the SEEK button until the correct
hour appears.
Bass
Press the (BAS +) side of the button to increase bass
tones and press the (BAS
-) side of the button to
decrease bass tones. Press the center of the control for
the preset bass setting.
Treble
Press the (TRB +) side of the button to increase treble
tones and press the
(TRB -) side of the button to
decrease treble tones. Press the center
of the control for
the preset treble setting.
To Play A Cassette
Your tape player is built to work best with tapes that are
30 to 45 minutes long on each side. Tapes longer than
that are
so thin they may not work well in this player.
116
ProCarManuals.com
Page 119 of 308
With the radio on, press a tape into the slot marked
AUTO REVERSE (tape side goes
in first).
Once the tape
is playing, use the volume, balance and
fade just
as you did for the radio. The arrows indicate
which side of the tape
is being played.
Program
To go from one side of the tape to the other, press the
PROG button.
Fwd
To advance the tape, press FWD and the tape will
rapidly go forward
until you press the REV button
lightly.
Rev
To reverse the tape, press REV and the tape will rapidly
go backward until you press the FWD button lightly.
Eject
To remove the tape and switch to the radio, press EJCT
button.
To Play A Compact Disc
Use full -size compact discs. DO NOT use mini-discs
that are called singles. They won't eject.
To turn the system on, the radio power must be on.
Insert a disc partway into the slot, label side up. The
player will pull
it in. The word CD IN will appear in the
graphic display. Wait a few seconds and the disc should
play.
If
the disc comes back out, check whether:
0 The disc is upside down.
0 It is dirty, scratched, or wet.
0 There's too much moisture in the air. (If there is,
wait about one hour and try again.)
117
ProCarManuals.com
Page 120 of 308
RCL STOP
Press RCL to see what track is playing. Press it again
within
5 seconds to see how long the CD has been
playing that track.
The track number also appears when you change the
volume or when a new track starts to play.
NEXT
Press NEXT to hear the next track now (instead of
waiting until the present track is finished.) If you hold
this button, or press
it more than once, the disc will
advance further.
PREV
If you press and hold the PREV button, or press it more
than once, the disc will return to previous tracks.
SCAN
Press SCAN to hear the first ten seconds of each track.
Press
it again to stop scanning. By
pressing STOP, the compact disc
will stop playing
and the radio will play.
PLAY
Pressing PLAY will cause the radio to stop and the
compact disc will play,
if there is one inserted.
COMP
Pressing the COMP button makes soft and loud passages
more equal
in volume.
E JCT
By pressing EJECT, the disc will eject and the radio will
play. The disc will start at track one when you reinsert it.
Press the OFF-VOL knob or turn the ignition key off to
stop the disc player. The disc stays
in the player and will
resume playing at the point where
it stopped.
118
ProCarManuals.com