check engine BUICK REGAL 1995 Owner's Manual
[x] Cancel search | Manufacturer: BUICK, Model Year: 1995, Model line: REGAL, Model: BUICK REGAL 1995Pages: 340, PDF Size: 17.16 MB
Page 224 of 340
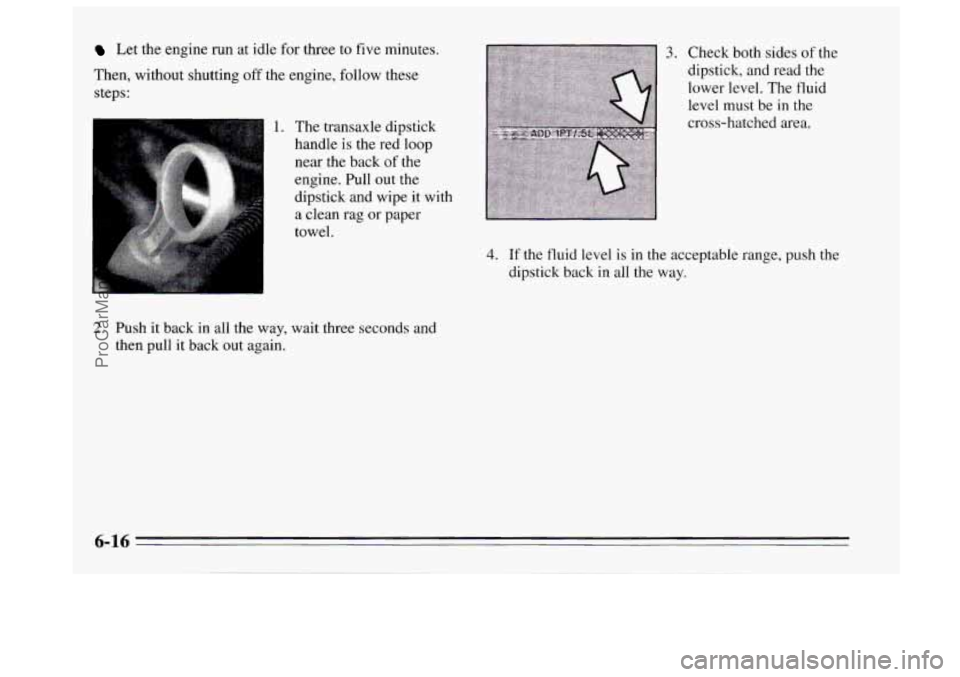
Let the engine run at idle for three to five minutes.
Then, without shutting
off the engine, follow these
steps:
1. The transaxle dipstick
handle is the red loop
near the back
of the
engine. Pull out the
dipstick and wipe it with
a clean rag or paper
towel.
2. Push it back in all the way, wait three seconds and
then pull it back out again.
3. Check both sides of the
dipstick, and read the
lower level. The fluid
level must be in the
cross-hatched area.
4. If the fluid level is in the acceptable range, push the
dipstick back
in all the way.
6-16
ProCarManuals.com
Page 225 of 340
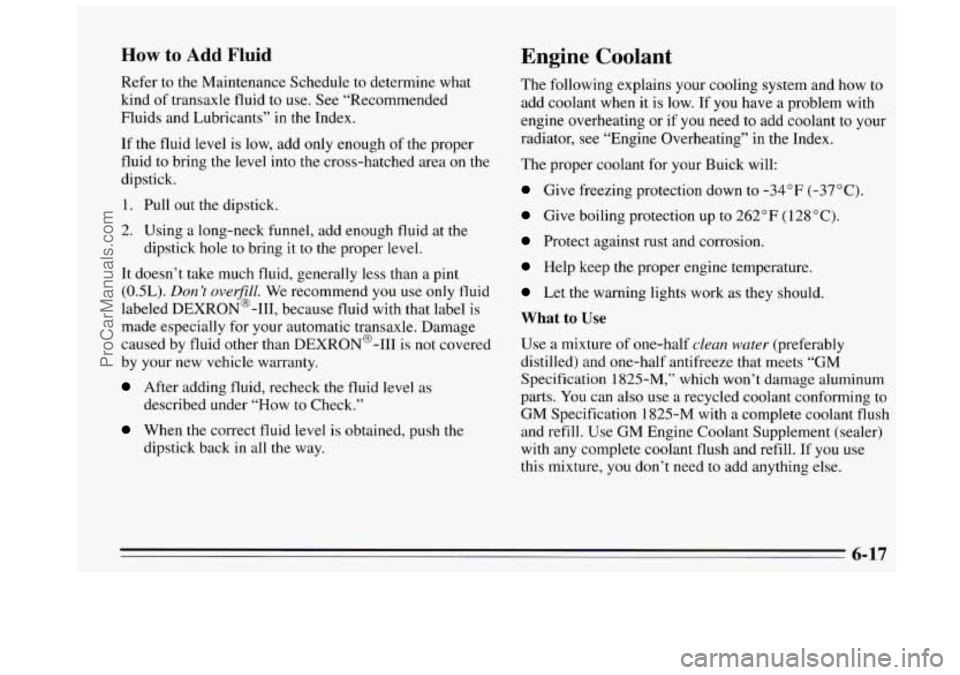
How to Add Fluid
Refer to the Maintenance Schedule to determine what
kind of transaxle fluid to use. See “Recommended
Fluids and Lubricants”
in the Index.
If the fluid level is low, add only enough of the proper
fluid to bring the level into the cross-hatched area on the
dipstick.
1. Pull out the dipstick.
2. Using a long-neck funnel, add enough fluid at the
dipstick hole
to bring it to the proper level.
It doesn’t take much fluid, generally less than a pint
(OSL). Don ’t ouefill. We recommend you use only fluid
labeled DEXRON@-111, because fluid with that label is
made especially for your automatic transaxle. Damage
caused by fluid other than DEXRON@-I11 is not covered
by your new vehicle warranty.
After adding fluid, recheck the fluid level as
described under “How
to Check.”
When the correct fluid level is obtained, push the
dipstick back in all the way.
Engine Coolant
The following explains your cooling system and how to
add coolant when it is low. If you have a problem with
engine overheating or if
you need to add coolant to your
radiator, see “Engine Overheating” in the Index.
The proper coolant for your Buick will:
Give freezing protection down to -34°F (-37°C).
Give boiling protection up to 262 OF (1 28 O C).
Protect against rust and corrosion.
Help keep the proper engine temperature.
Let the warning lights work as they should.
What to Use
Use a mixture of one-half clean water (preferably
distilled) and one-half antifreeze that meets “GM
Specification
1825-M,” which won’t damage aluminum
parts. You can also use a recycled coolant conforming to
GM Specification 1825-M with a complete coolant flush
and refill. Use GM Engine Coolant Supplement (sealer)
with any complete coolant flush and refill.
If you use
this mixture, you don’t need to add anything else.
~
6-17
ProCarManuals.com
Page 226 of 340
I NOTICE:
If you use an improper coolant mix, your engine
could overheat and be badly damaged. The
repair cost wouldn’t be covered by your
warranty. Too much water in the mix can freeze
and crack the engine, radiator, heater core and
other parts.
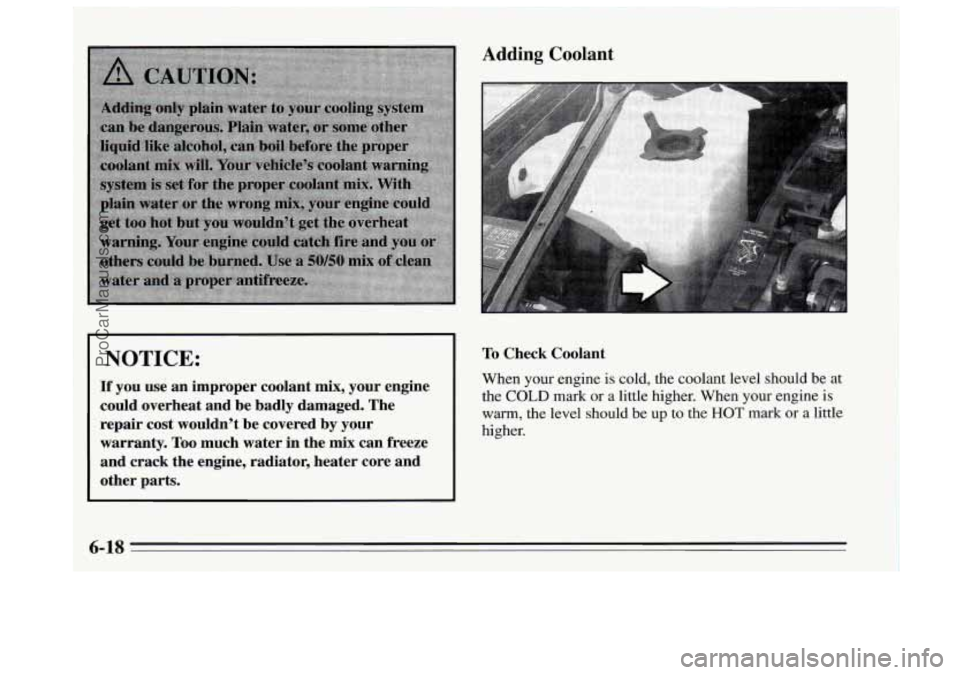
Adding Coolant
To Check Coolant
When your engine is cold, the coolant level should be at
the
COLD mark or a little higher. When your engine is
warm, the level should be up to the HOT mark or a little
higher.
ProCarManuals.com
Page 228 of 340
Radiator Pressure Cap Power Steering Fluid
NOTICE:
Your radiator cap is a 15 psi (105 kPa)
pressure-type cap and must be tightly installed to
prevent coolant loss and possible engine damage
from overheating. Be sure the arrows
on the cap
line up with the overflow tube on the radiator
filler neck.
When you replace your radiator pressure cap, an AC@
cap is recommended.
Thermostat
Engine coolant temperature is controlled by a thermostat
in the engine coolant system. The thermostat stops the
flow of coolant through the radiator until the coolant
reaches a preset temperature.
When you replace your thermostat, an
AC@ thermostat
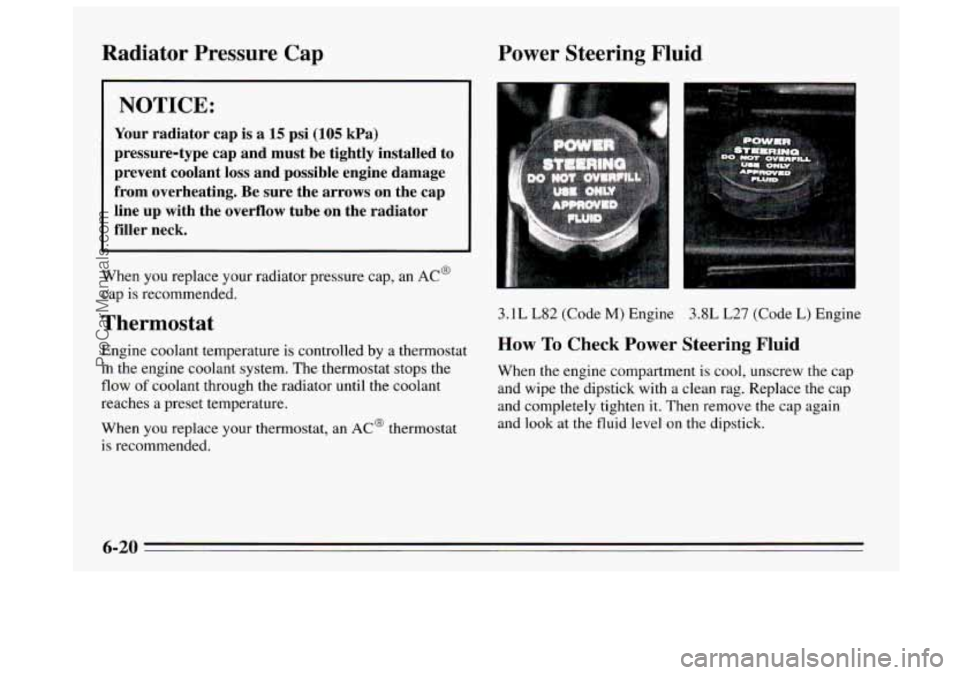
is recommended. 3.1L
L82 (Code M) Engine
3.8L L27 (Code L) Engine
How To Check Power Steering Fluid
When the engine compartment is cool, unscrew the cap
and wipe the dipstick with a clean rag. Replace the cap
and completely tighten
it. Then remove the cap again
and look at the fluid level
on the dipstick.
6-20
ProCarManuals.com
Page 255 of 340
Add-on Electrical Equipment Fuses and Circuit Breakers
NOTICE:
Don’t add anything electrical to your Buick unless
you check with your dealer first. Some electrical
equipment can damage your vehicle and the
damage wouldn’t be covered by your warranty.
Some add-on electrical equipment can keep other
components from working as they should.
Your vehicle has an air bag system. Before attempting to
add anything electrical to your Buick, see “Servicing
Your Air Bag-Equipped Buick”
in the Index. The wiring
circuits
in your vehicle are protected from
short circuits by
a combination of fuses, circuit breakers,
and fusible thermal links in the wiring itself. This
greatly reduces the chance of fires caused
by electrical
problems.
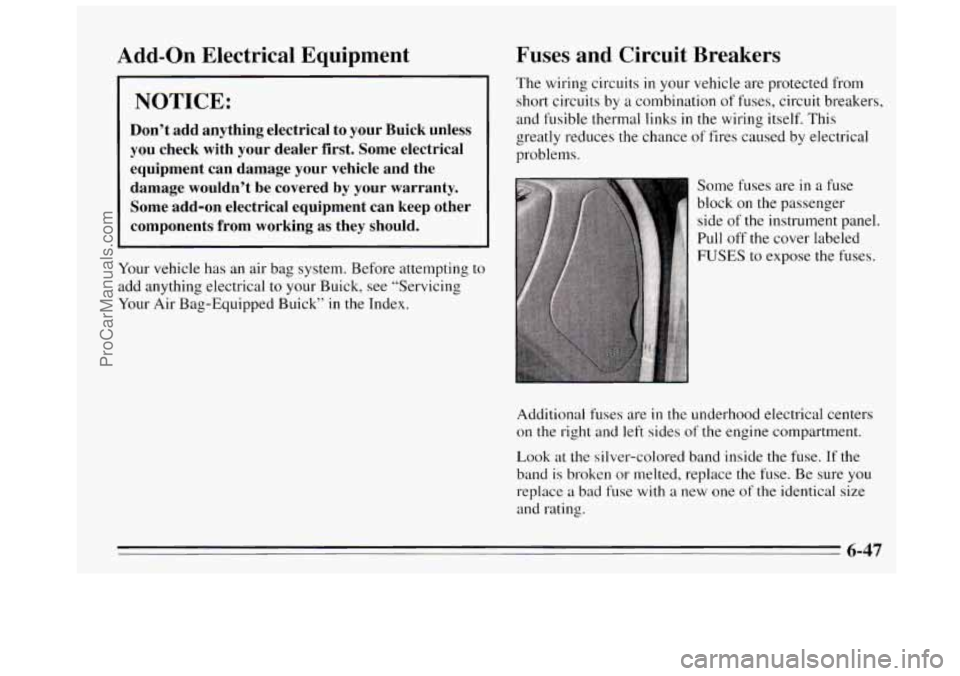
Some fuses are
in a fuse
block on the passenger
side of the instrument panel.
Pull off
the cover labeled
FUSES to expose the fuses.
Additional fuses are
in the underhood electrical centers
on the right and left sides of the engine compartment.
Look at the silver-colored band inside the fuse. If the
band is broken or melted, replace the fuse. Be sure
you
replace a bad fuse with a new one of the identical size
and rating.
6-47
ProCarManuals.com
Page 304 of 340
Part B: Owner Checks and Services
Listed below are owner checks and services which
should be performed at the intervals specified to help
ensure the safety, dependability and emission control
performance of your vehicle.
Be sure any necessary repairs are completed at once.
Whenever any fluids or lubricants are added to your
vehicle, make sure they are the proper ones, as shown
in Part D.
At Each Fuel Fill
It is inzportuntfor you or a service station attendant to
pecform these un,derlwocl clwcks at eaclz~fl~el~fi’ll.
Engine Oil Level
Check the engine oil level and add the proper oil if
necessary. See “Engine Oil” in the Index for further
details.
Engine Coolant Level
Check the engine coolant level and add the proper
coolant mix if necessary. See “Coolant”
in the Index for
further details.
Windshield Washer Fluid Level
Check the windshield washer fluid level in the
windshield washer tank and add the proper fluid if
necessary. See “Windshield Washer Fluid” in the Index
for further details.
At Least Once a Month
Tire Inflation
Check tire inflation. Make sure tires are inflated to the
pressures specified on the Tire-Loading Information
label. See “Loading Your Vehicle” in the Index. See
“Tires”
in the Index for further details.
Cassette Deck
Clean cassette deck. Cleaning should be done every
50 hours of tape play. See “Audio Systems” in the Index
for further details.
Power Antenna
Clean power antenna mast. See “Audio Systems” in the
Index for further details.
7-36
ProCarManuals.com
Page 305 of 340
At Least Once a Year
Key Lock Cylinders
Lubricate the key lock cylinders with the lubricant
specified
in Part D.
Body Lubrication
Lubricate all hinges and latches including those for the
body doors, hood, rear compartment, glove
box door,
console door and any folding seat hardware. Part
D tells
you what to use. More frequent lubrication may be
required when exposed to a corrosive environment.
Starter Switch
I I
When you are doing this check, the vehicle could
move suddenly. If it does, you or others could be
injured. Follow
the steps below.
1. Before you start, be sure you have enough room
around the vehicle.
2. Firmly apply both the parking brake (see “Parking
Brake”
in the Index if necessary) and the regular brake.
NOTE: Do not use the accelerator pedal, and be
ready
to turn off the engine immediately if it starts.
3. Try to start the engine in each gear. The starter
should work only
in PARK (P) or NEUTRAL (N). If
the starter works in any other position, your vehicle
needs service.
Brake-Transaxle Shift Interlock -- BTSI
I I
1. Before you start, be sure you have enough room
around the vehicle. It should
be parked on a level
surface.
2. Firmly apply the parking brake (see “Parking Brake”
in the Index
if necessary).
NOTE: Be ready to apply the regular brake
immediately
if the vehicle begins to move.
7-37
ProCarManuals.com
Page 306 of 340
3. With the engine off, turn the key to the RUN position,
but don’t start the engine. Without applying the
regular brake, try to move the shift lever out of
PARK (P) with normal effort. If the shift lever moves
out
of PARK (P), your vehicle’s BTSI needs service.
Steering Column Lock
While parked, and with the parking brake set, try to turn
the key to LOCK in each shift lever position.
0 The key should turn to LOCK only when the shift
lever is
in PARK (P).
0 The key should come out only in LOCK.
Parking Brake and Automatic Transaxle PARK (P)
Mechanism Check
Park on a fairly steep hill, with the vehicle facing
downhill. Keeping your foot on the regular brake, set the
parking brake.
To check the parking brake: With the engine running
and transaxle
in NEUTRAL (N), slowly remove foot
pressure from the regular brake pedal.
Do this until
the vehicle
is held by the parking brake only.
0 To check the PARK (P) mechanism’s holding ability:
Shift to PARK (P). Then release
all brakes.
Underbody Flushing
At least every spring, use plain water to flush any
corrosive materials from the underbody. Take care to
clean thoroughly any areas where mud and other debris
can collect.
7-38
ProCarManuals.com
Page 307 of 340
Part C: Periodic Maintenance
Inspections
Listed below are inspections and services which should
be performed at least twice
a year (for instance, each
spring and fall).
You should let your GM dealer's
service department
or other qualified service center do
these
jobs. Make sure any necessary repairs are
completed at once.
Restraint Systems
Now and then, make sure all your belts. buckles, latch
plates, retractors, anchorages and reminder systems are
working properly. Look for any loose parts or damage.
If
you see anything that might keep a restraint system
from doing its job, have
it repaired.
Steering, SuSpension and
Front-Wheel-Drive Axle Boot and
Seal Inspection
Inspect the front and rear suspension and steering system
for damaged, loose or missing parts, signs of wear. or
lack of lubrication. Inspect the power steering lines and
hoses for proper hookup. binding, leaks, cracks, chafing,
etc. Clean and then inspect the drive axle boot seals
for
darnage, tears or leakage. Replace seals if necessary.
Exhaust System Inspection
Inspect the complete exhaust system. Inspect the body
near the exhaust system. Look for broken. damaged,
missing or out-of-position parts
as well as open seams.
holes. loose connections,
or other conditions which
could cause a heat build-up
in the tloor pan or could let
exhaust fumes into the vehicle. See "Engine Exhaust"
in
the Index.
Throttle Linkage Inspection
Inspect the throttle linkage for interference or binding.
and ,for dalnaged or missing parts. Replace parts
as
needed. Accelerator and cruise control cables should not
be lubricated.
Brake System Inspection
Inspect the complete system. Inspect brake lines and
hoses for proper hookup. binding, leaks. cracks, chafing,
etc. Inspect disc brake pads for wear and rotors for
surface condition. Inspect other brake parts. including
calipers, parking brake, etc. Check parking brake
acl-justment. You may need
to have your brakes inspected
more often
if yo~~r driving habits or conditions result in
frequent braking.
7-39
ProCarManuals.com
Page 329 of 340

Checking Automatic Transaxle Fluid
..................... 6- IS
Brake Fluid ................................. 6-23
Engine Coolant
.............................. 6- 18
Engine Oil ................................... 6-8
Power Steering Fluid ......................... 6-20
Restraint Systems
............................ 1-50
Things Under the Hood
........................ 6-6
Chemical Paint Spotting
.......................... 6-44
Child Restraints
................................ 1-37
(2-Door Models)
........................... 1-38
(4-Door Models) ........................... 1-40
Securing
in the Center Rear Seat Position ......... 1-42
Securing in the Right Front Seat Position .......... 1-44
TOP Strap ................................... 1-38
Where to Put ................................ 1-37
Cigarette Lighter ............................... 2-4 I
Power Options ................................ 6-53
City Driving
................................... 4- 17
Cleaner. Air ................................... 6-13
Aluminum Wheels ........................... 6-43
Fabric
..................................... 6-39
Glass ...................................... 6-41
Inside of Your Buick .......................... 6-38
Securing in a Rear Outside Seat Position
Securing
in a Rear Outside Seat Position
Circuit Breaker. Power Windows and Other
Cleaning
Leather
.................................... 6-40
Outside of the Windshield and Wiper Blades ....... 6-41
Outside
01 Your Buick ........................ 6-42
Special Problems
............................ 6-39
Stains ...................................... 6-39
Tires
......................................... 43
Top
of the Instrument Panel .................... 6-41
Vinyl ...................................... 6-40
Clock. Setting The
............................... 3-5
Comfort Controls
................................
Bleed Valves ................................ 5-21
Heater, Engine
......................... 2- 14, 6- 13
How to Add to the Coolant Recovery Tank ........ 5-18
How to
Add to the Radiator .................... 5-20
Temperature Gage ............................ 2-50
Temperature Light
........................... 2-49
Cooling System
................................ 5-16
Courtesy Transportation
........................... 8-5
ProCarManuals.com