cooling BUICK REGAL 1998 Owners Manual
[x] Cancel search | Manufacturer: BUICK, Model Year: 1998, Model line: REGAL, Model: BUICK REGAL 1998Pages: 388, PDF Size: 20.19 MB
Page 88 of 388
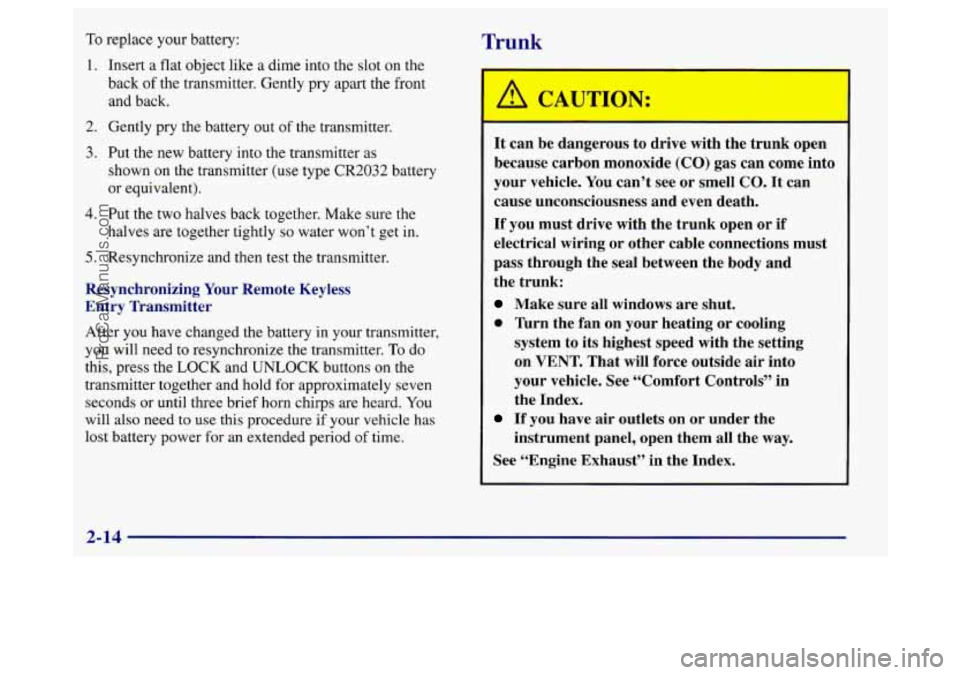
To replace your battery: Trunk
1. Insert a flat object like a dime into the slot on the
back
of the transmitter. Gently pry apart the front
and back.
2. Gently pry the battery out of the transmitter.
3. Put the new battery into the transmitter as
shown on the transmitter (use type CR2032 battery
or equivalent).
4. Put the two halves back together. Make sure the
halves are together tightly
so water won’t get in.
5. Resynchronize and then test the transmitter.
Resynchronizing Your Remote Keyless
Entry Transmitter
After you have changed the battery in your transmitter,
you will need to resynchronize the transmitter.
To do
this, press the LOCK and UNLOCK buttons on the
transmitter together and hold for approximately seven
seconds or until three brief horn chirps are heard. You
will also need to use this procedure
if your vehicle has
lost battery power
for an extended period of time.
It can be dangerous to drive with the trunk open
because carbon monoxide (CO) gas can come into
your vehicle. You can’t see or smell CO.
It can
cause unconsciousness and even death.
If you must drive with the trunk open or if
electrical wiring or other cable connections must
pass through the seal between the body and
the trunk:
Make sure all windows are shut.
0 Tbrn the fan on your heating or cooling
system to its highest speed with the setting
on
VENT. That will force outside air into
your vehicle. See “Comfort Controls” in
the Index.
instrument panel, open them all the
way.
If you have air outlets on or under the
See “Engine Exhaust’’ in the Index.
2-14
ProCarManuals.com
Page 141 of 388
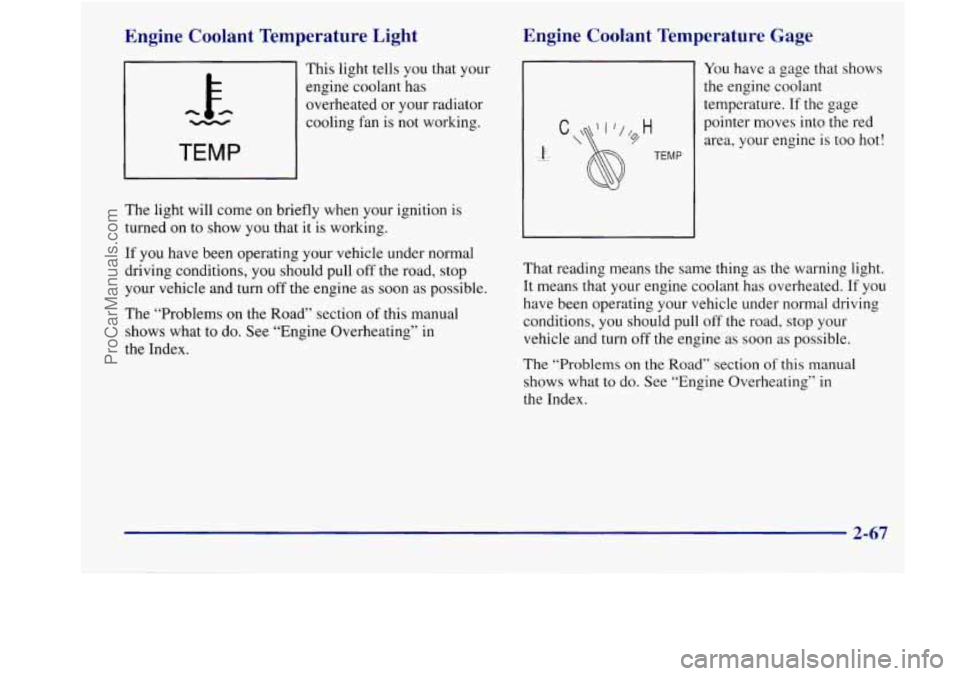
Engine Coolant Temperature Light
This light tells you that your
engine coolant has
overheated or your radiator
- cooling fan is not working.
TEMP
The light will come on briefly when your ignition is
turned on to show you that it is working.
If you have been operating your vehicle under normal
driving conditions, you should pull off the road, stop
your vehicle and turn
off the engine as soon as possible.
The “Problems on the Road” section of this manual
shows what to
do. See “Engine Overheating” in
the Index.
Engine Coolant Temperature Gage
TEMP
You have a gage that shows
the engine coolant
temperature.
If the gage
pointer moves into the red area, your engine is too hot!
That reading means the same thing as the warning light.
It means that your engine coolant has overheated.
If you
have been operating your vehicle under normal driving
conditions, you should pull
off the road, stop your
vehicle and turn off the engine as
soon as possible.
The “Problems on the Road” section of this manual
shows what to
do. See “Engine Overheating” in
the Index.
2-67
ProCarManuals.com
Page 154 of 388
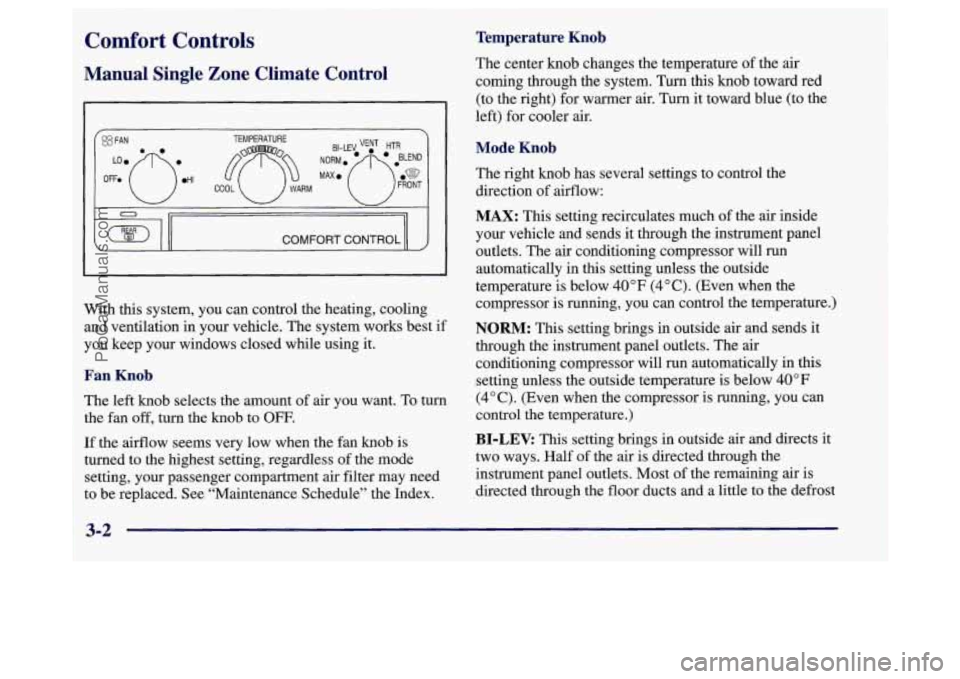
Comfort Controls
Manual Single Zone Climate Control
[OD I COMFORT CONTROL
With this system, you can control the heating, cooling
and ventilation in your vehicle. The system works best if
you keep your windows closed while using it.
Fan Knob
The left knob selects the amount of air you want. To turn
the fan off, turn the knob to OFF.
If the airflow seems very low when the fan knob is
turned to the highest setting, regardless
of the mode
setting, your passenger compartment
air filter may need
to be replaced. See “Maintenance Schedule” the Index.
~~~
Temperature Knob
The center knob changes the temperature of the air
coming through the system. Turn this knob toward red
(to the right) for warmer air. Turn it toward blue (to the
left) for cooler air.
Mode Knob
The right knob has several settings to control the
direction of airflow:
MAX: This setting recirculates much of the air inside
your vehicle and sends it through the instrument panel
outlets. The air conditioning compressor will run
automatically in
this setting unless the outside
temperature is below
40°F (4°C). (Even when the
compressor is running, you can control the temperature.)
NORM: This setting brings in outside air and sends it
through the instrument panel outlets. The air conditioning compressor will run automatically in this
setting unless the outside temperature is below
40°F
(4°C). (Even when the compressor is running, you can
control the temperature.)
BI-LEV: This setting brings in outside air and directs it
two ways. Half of the air is directed through the
instrument panel outlets. Most of the remaining air is
directed through the floor ducts and a little to the defrost
3-2
ProCarManuals.com
Page 155 of 388
and side window vents. The air conditioning compressor
will run automatically in this setting unless the outside
temperature is below
40°F (4°C).
VENT This setting brings in outside air and directs it
through the instrument panel outlets.
HTR: This setting sends most of the air through the
ducts near the floor. The rest comes out of the defroster
and side window vents.
BLEND: This setting allows half of the air to go to the
floor ducts and half to the defroster and side window
vents. The air conditioning compressor will run
automatically in this setting unless the outside
temperature is below
40°F (4°C).
FRONT This setting directs most of the air
through the defroster and side window vents. Some of
the air also goes to the floor ducts. The air conditioning
compressor will run automatically in this setting unless
the outside temperature is below
40°F (4" C).
Air Conditioning
On very hot days, open the windows long enough to let
hot, inside air escape. This reduces the time for the
vehicle to cool down.
For a quick cool-down
on very hot days, use MAX with
the temperature knob all the way in the blue area. If this
setting
is used for long periods of time, the air in your
vehicle may become too dry.
For normal cooling on hot days, use
NORM with the
temperature knob in the blue area. The system will bring
in outside air and cool it.
On cool, but sunny days, the sun may warm your upper
body, but your lower body may not be warm enough.
You can use
BI-LEV and set the temperature knob to a
comfortable setting. The system will bring in outside air
and direct it to your upper body, while sending slightly
warmed air to your lower body. You may notice this
temperature difference more at some times than others.
3-3
ProCarManuals.com
Page 156 of 388
Heating
On cold days, use HTR with the temperature knob all
the way in the red area. The system will bring in outside
air, heat it and send it to
the floor ducts.
If your vehicle has an engine coolant heater,
you can use
it to help your system provide warm air faster when it’s
cold outside
(0°F (-18°C) or lower). An engine coolant
heater warms the coolant your engine and heating
system use
to provide heat. See “Engine Coolant
Heater” in
the Index.
Ventilation
For mild outside temperatures when little heating or
cooling is needed,
use VENT to direct outside air
through your vehicle. Your vehicle also has the
flow-through ventilation system described later in
this section.
Defogging and Defrosting
Your system has two settings for clearing the front and
side windows.
To defrost the windows quickly, use
FRONT with the temperature knob all the way in the red
area.
To warm passengers while keeping the windows
clear, use
BLEND.
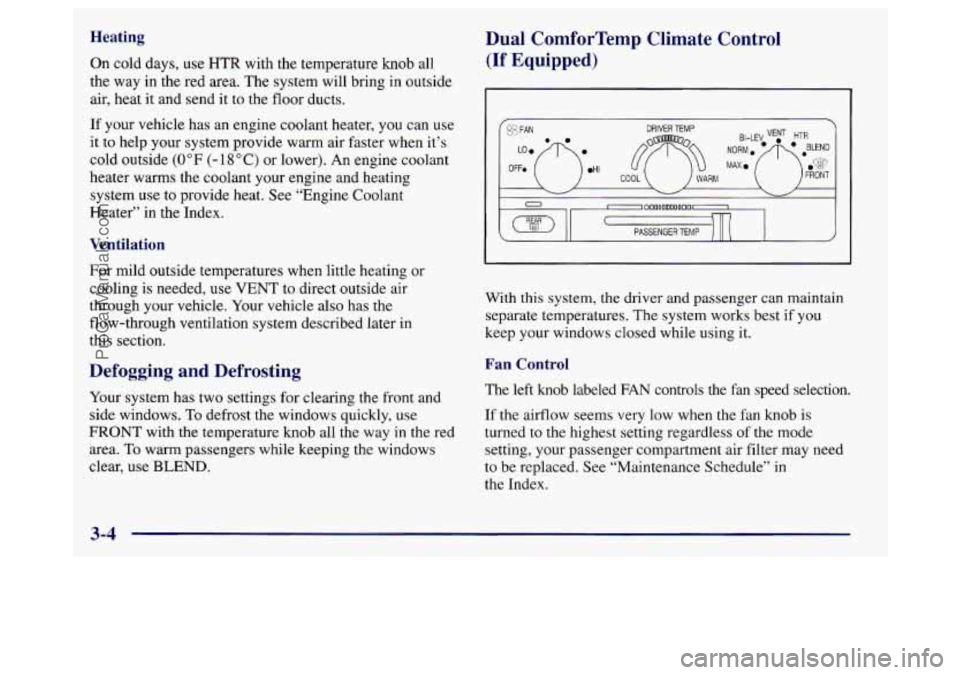
Dual ComforTemp Climate Control
(If Equipped)
~DoooomnoooLr[n~ PASSENGER TEMP
With this system, the driver and passenger can maintain
separate temperatures. The system works best if you
keep your windows closed while using it.
Fan Control
The left knob labeled FAN controls the fan speed selection.
If
the airflow seems very low when the fan knob is
turned to the highest setting regardless
of the mode
setting, your passenger compartment air filter may need
to be replaced. See “Maintenance Schedule” in
the Index.
3-4
ProCarManuals.com
Page 158 of 388
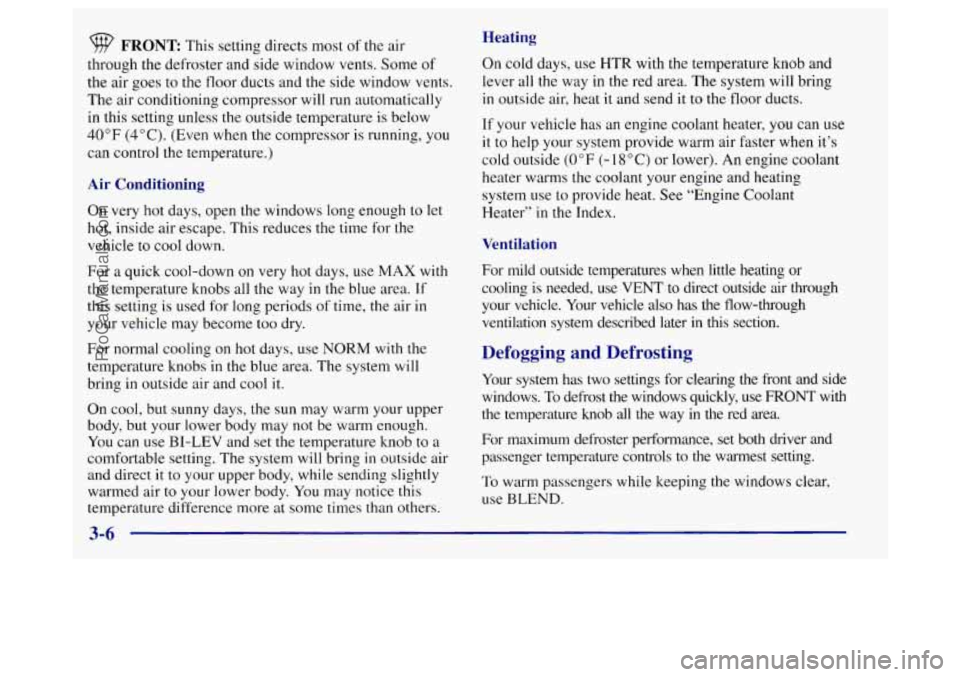
FRONT This setting directs most of the air
through the defroster and side window vents. Some of
the air goes to the floor ducts and the side window vents.
The air conditioning compressor will
run automatically
in this setting unless the outside temperature is below
40°F (4°C). (Even when the compressor is running, you
can control the temperature.)
Air Conditioning
On very hot days, open the windows long enough to let
hot, inside air escape. This reduces the time for the
vehicle to cool down.
For a quick cool-down
on very hot days, use MAX with
the temperature knobs all the way
in the blue area. If
this setting is used for long periods of time, the air in
your vehicle may become too dry.
For normal cooling on
hot days, use NORM with the
temperature knobs in the blue area.
The system will
bring in outside air and cool
it.
On cool, but sunny days, the sun may warm your upper
body, but your lower body may not be warm enough.
You can use BI-LEV and set the temperature knob to a
comfortable setting. The system will bring
in outside air
and direct it to your upper body, while sending slightly
warmed air to your lower body. You may notice this
temperature difference more at some times than others.
Heating
On cold days, use HTR with the temperature knob and
lever
all the way in the red area. The system will bring
in outside air, heat it and send it to the floor ducts.
If your vehicle has an engine coolant heater, you can use
it to help your system provide warm air faster when it’s
cold outside
(0°F (-18°C) or lower). An engine coolant
heater warms the coolant your engine and heating
system use to provide heat. See “Engine Coolant
Heater’’
in the Index.
Ventilation
For mild outside temperatures when little heating or
cooling is needed, use
VENT to direct outside air through
your vehicle. Your vehicle also has the flow-through
ventilation system described later
in this section.
Defogging and Defrosting
Your system has two settings for clearing the front and side
windows. To defrost the windows quickly, use
FRONT with
the temperature knob all the way in the red area.
For maximum defroster performance, set both driver and passenger temperature controls to the warmest setting.
To warm passengers while keeping the windows clear,
use
BLEND.
3-6
ProCarManuals.com
Page 160 of 388
Passenger’s Temperature Control
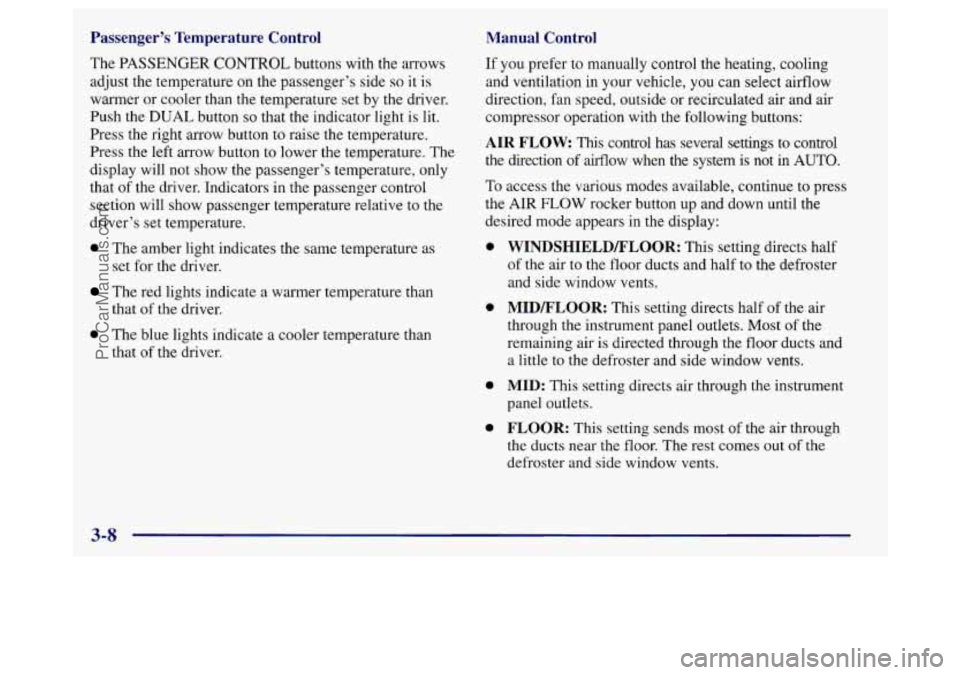
The PASSENGER CONTROL buttons with the arrows
adjust the temperature on the passenger’s side
so it is
warmer or cooler than the temperature set by the driver.
Push the
DUAL button so that the indicator light is lit.
Press the right arrow button to raise the temperature.
Press the left arrow button to lower the temperature. The
display will not show the passenger’s temperature, only
that
of the driver. Indicators in the passenger control
section will show passenger temperature relative to the
driver’s set temperature.
0 The amber light indicates the same temperature as
set for the driver.
The red lights indicate a warmer temperature than
that of the driver.
Manual Control
If you prefer to manually control the heating, cooling
and ventilation in your vehicle, you can select airflow
direction, fan speed, outside or recirculated air and air
compressor operation with the following buttons:
AIR FLOW: This control has several settings to control
the direction of airflow when the system is not
in AUTO.
To access the various modes available, continue to press
the AIR
FLOW rocker button up and down until the
desired mode appears in the display:
0
0
0 The blue lights indicate a cooler temperature than
that of the driver.
0
0
WINDSHIELDD’LOOR: This setting directs half
of the air to the floor ducts and half to the defroster
and side window vents.
MIDD’LOOR: This setting directs half of the air
through the instrument panel outlets. Most of the
remaining air is directed through the floor ducts and
a little to the defroster and side window vents.
MID: This setting directs air through the instrument
panel outlets.
FLOOR: This setting sends most of the air through
the ducts near the floor.
The rest comes out of the
defroster and side window vents.
3-8
ProCarManuals.com
Page 161 of 388
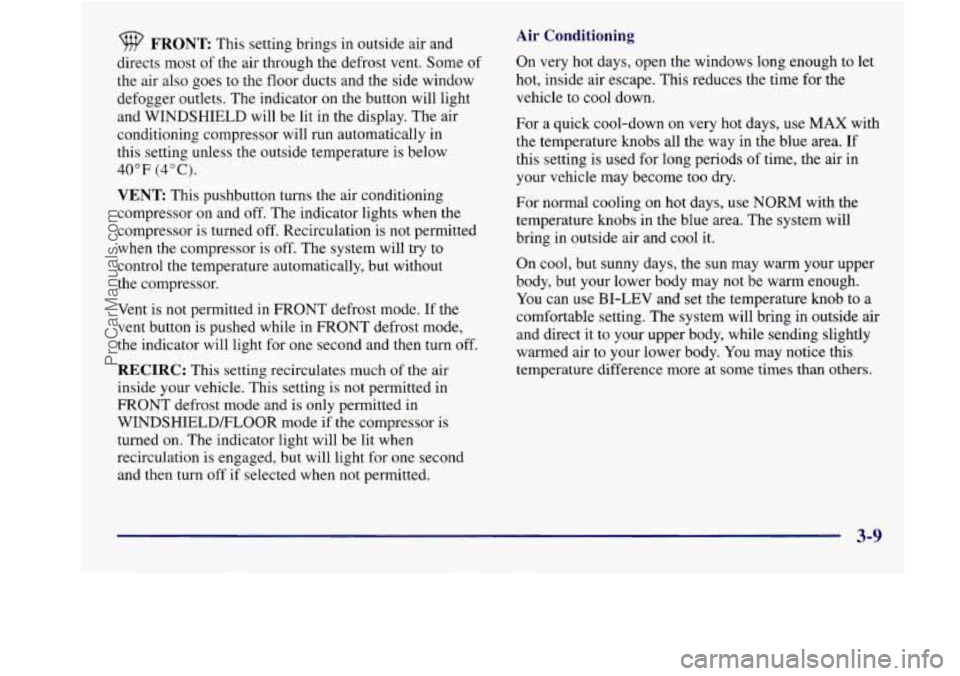
9 FRONT This setting brings in outside air and
directs most of the air through the defrost vent. Some
of
the air also goes to the floor ducts and the side window
defogger outlets. The indicator on the button will light
and WINDSHIELD will be lit in the display.
The air
conditioning compressor will run automatically in
this setting unless the outside temperature is below
40°F (4°C).
VENT: This pushbutton turns the air conditioning
compressor on and
off. The indicator lights when the
compressor is turned off. Recirculation is not permitted
when the compressor
is off. The system will try to
control the temperature automatically, but without
the compressor.
Vent is not permitted in FRONT defrost mode. If the
vent button is pushed while in FRONT defrost mode,
the indicator will light for one second and then turn off.
RECIRC: This setting recirculates much of the air
inside your vehicle. This setting is not permitted in
FRONT defrost mode and is only permitted in
WINDSHIELD/FLOOR mode if the compressor is
turned
on. The indicator light will be lit when
recirculation is engaged, but will light for
one second
and then turn off if selected when not permitted.
Air Conditioning
On very hot days, open the windows long enough to let
hot, inside air escape. This reduces the time
for the
vehicle to cool down.
For a quick cool-down
on very hot days, use MAX with
the temperature knobs all the way in the blue area.
If
this setting is used for long periods of time, the air in
your vehicle may become too dry.
For normal cooling
on hot days, use NORM with the
temperature knobs in the blue area. The system will
bring in outside air and cool it.
On cool, but sunny days, the sun may warm your upper
body, but your lower body may
not be warm enough.
You can use BI-LEV and set the temperature knob to a
comfortable setting. The system will bring in outside air
and direct it to your upper body, while sending slightly
warmed air to your lower body. You may notice this
temperature difference more at
some times than others.
3-9
ProCarManuals.com
Page 210 of 388
If you drive regularly in steep country, or if you’re
planning
to visit there, here are some tips that can make
your trips safer and more enjoyable.
0 Keep your vehicle in good shape. Check all fluid
levels and also the brakes, tires, cooling system
and transaxle. These parts can work hard
on
mountain roads.
Know how to go down hills. The most important
thing
to know is this: let your engine do some of the
slowing down. Shift to a lower gear when you
go
down a steep or long hill.
7-
If you don’t shift down, your brakes could
get
so hot that they wouldn’t work well. You
would then have poor braking or even none going
down
a hill. You could crash. Shift down to let
your engine assist your brakes on a steep
downhill slope.
U
Coasting downhill in NEUTRAL (N) or with the
ignition
off is dangerous. Your brakes will have to
do all the work of slowing down. They could get
so
hot that they wouldn’t work well. You would then
have poor braking
or even none going down a hill.
You could crash. Always have your engine running
and your vehicle in gear when you go downhill.
0
0
0
0
Know how to go uphill. You may want to shift down
to a lower gear. The lower gears help cool your engine
and transaxle, and you can climb the hill better.
Stay in your own lane when driving on two-lane
roads in hills or mountains. Don’t swing wide or cut
across the center
of the road. Drive at speeds that let
you stay in your own lane.
As you go over the top of a hill, be alert. There could be
something in your lane, like a stalled car or
an accident.
You may see highway signs
on mountains that warn of
special problems. Examples are long grades, passing or
no-passing zones,
a falling rocks area or winding
roads. Be alert to these and take appropriate action.
4-26
ProCarManuals.com
Page 224 of 388
Parking on Hills 0 Shift into a gear; and
0 Release the parking brake.
You really should not park your vehicle, with a trailer
attached, on
a hill. If something goes wrong, your rig
could start to move. People can be injured, and both
your vehicle and the trailer can be damaged.
But if you ever have to park your rig on a hill, here’s
how to do it:
1. Apply your regular brakes, but don’t shift into
PARK (P) yet.
2. Have someone place chocks under the
trailer’s wheels.
3. When the wheel chocks are in place, release the
regular brakes until the chocks absorb the load.
4. Reapply the regular brakes. Then apply your parking
brake, and shift to
PARK (P).
5. Release the regular brakes.
When You Are Ready to Leave After
Parking
on a Hill
1. Apply your regular brakes and hold the pedal down
while you:
Start your engine;
2. Let up on the brake pedal.
3. Drive slowly until the trailer is clear of the chocks.
4. Stop and have someone pick up and store the chocks.
Maintenance When Trailer Towing
Your vehicle will need service more often when you’re
pulling a trailer. See the Maintenance Schedule for more
on this. Things that are especially important in trailer
operation are automatic transaxle fluid (don’t overfill),
engine oil, drive belt, cooling system and brake
adjustment. Each of these
is covered in this manual, and
the Index
will help you find them quickly. If you’re
trailering, it’s a good idea to review this information
before you start your trip.
Check periodically
to see that all hitch nuts and bolts
are tight.
Engine Cooling When Trailer Towing
Your cooling system may temporarily overheat during
severe operating conditions. See “Engine Overheating”
in the Index.
4-40
ProCarManuals.com