engine BUICK REGAL 1998 Owners Manual
[x] Cancel search | Manufacturer: BUICK, Model Year: 1998, Model line: REGAL, Model: BUICK REGAL 1998Pages: 388, PDF Size: 20.19 MB
Page 3 of 388
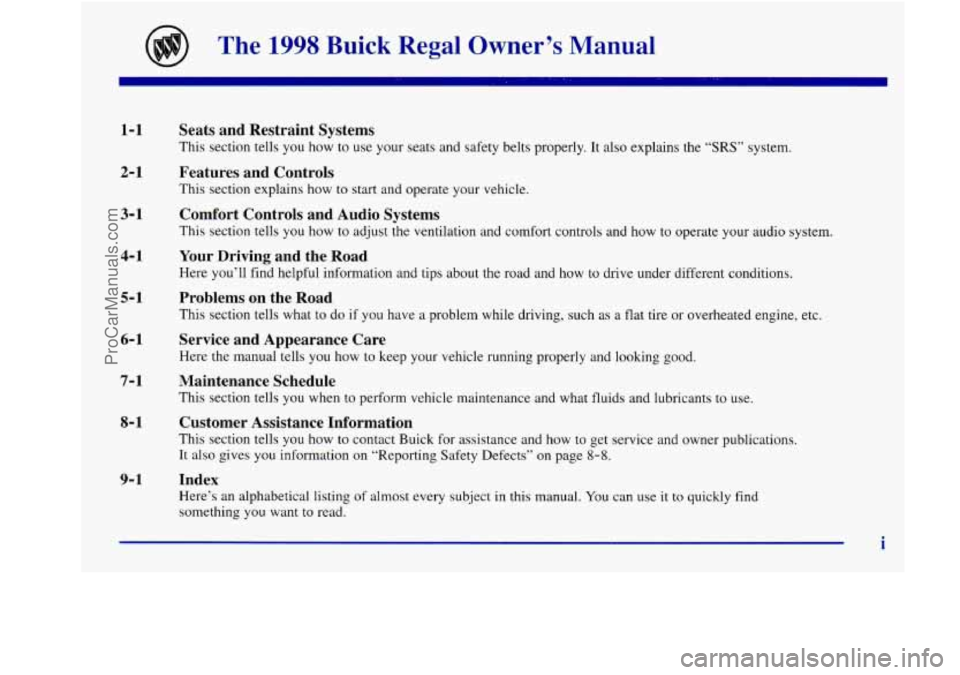
The 1998 Buick Regal Owner’s Manual
1-1
2-1
3-1
4- 1
5-1
6- 1
7-1
8- 1
9- 1
Seats and Restraint Systems
This section tells you how to use your seats and safety belts\
properly. It also explains the “SRS” system.
Features and Controls
This section explains how to start and operate your vehicle.
Comfort Controls and Audio Systems
This section tells you how to adjust the ventilation and comfo\
rt controls and how to operate your audio system.
Your Driving and the Road
Here you’ll find helpful information and tips about the road\
and how to drive under different conditions.
Problems on the Road
This section tells what to do if you have a problem while driving, such as a flat tire or overheated engine, etc.
Service and Appearance Care
Here the manual tells you how to keep your vehicle running properly and looking good.
Maintenance Schedule
This section tells you when to perform vehicle maintenance and what fluids and lu\
bricants to use.
Customer Assistance Information
This section tells you how to contact Buick for assistance and how to get service and owner publications.
It also gives you information on “Reporting Safety Defects” on page 8-8.
Index
Here’s an alphabetical listing of almost every subject in this manual. You can use it to quickly find
something you want to read.
i
ProCarManuals.com
Page 7 of 388
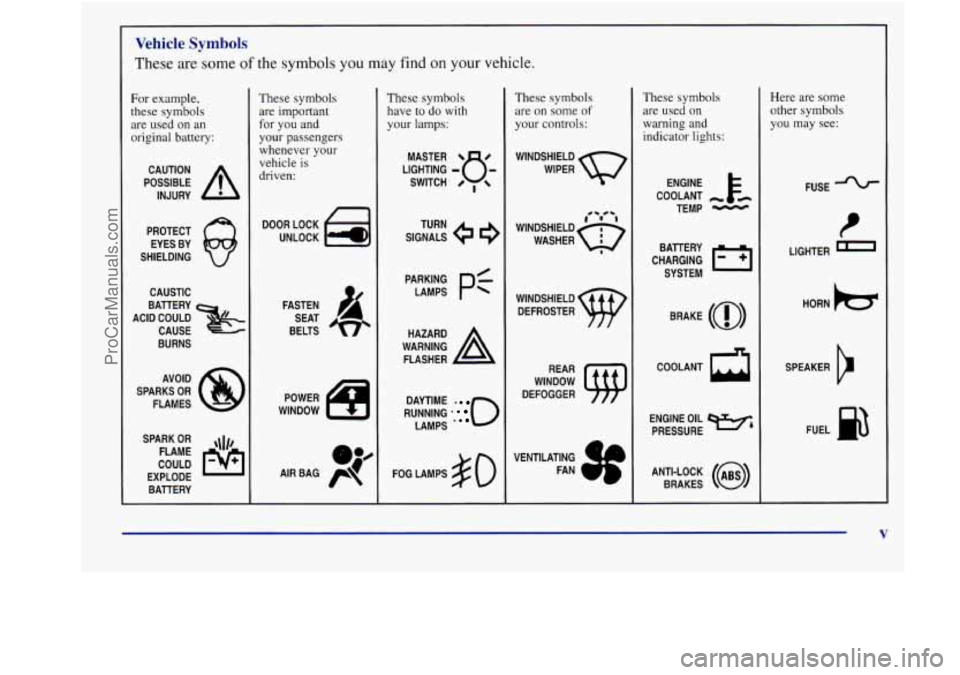
Vehicle Symbols
These are some of the symbols you may find on your vehicle.
For example,
these symbols are used on an
original battery:
POSSIBLE A
CAUTION
INJURY
PROTECT EYES BY
SHIELDING
CAUSTIC
ACID COULD BATTERY
CAUSE
BURNS
AVOID
SPARKS
OR
FLAMES
SPARK
OR ,\I/,
COULD FLAME
EXPLODE BAllERY
These symbols
are important
for you and
your passengers
whenever
your
vehicle is
driven:
DOOR LOCK
UNLOCK
FASTEN SEAT
BELTS
These symbols
have to do with
your lamps:
SIGNALS e
TURN
WARNING
A
HAZARD
FLASHER
RUNNING
. 0
DAYTIME -
LAMPS *
FOG LAMPS $0
These symbols
are on some of
your controls:
WINDSHIELD
WIPER
WINDSHIELD DEFROSTER
WINDOW
DEFOGGER
VENTILATING FAN
These symbols are used on
warning and indicator lights:
COOLANT -
TEMP -
CHARGING I-1
BATTERY
SYSTEM
BRAKE
(0)
COOLANT a
ENGINE OIL e,
PRESSURE
ANTI-LOCK
(@)
BRAKES
Here are some
other symbols
you may see:
FUSE *
t
LIGHTER
HORN
k3
SPEAKER
b
FUEL p3
V
ProCarManuals.com
Page 75 of 388
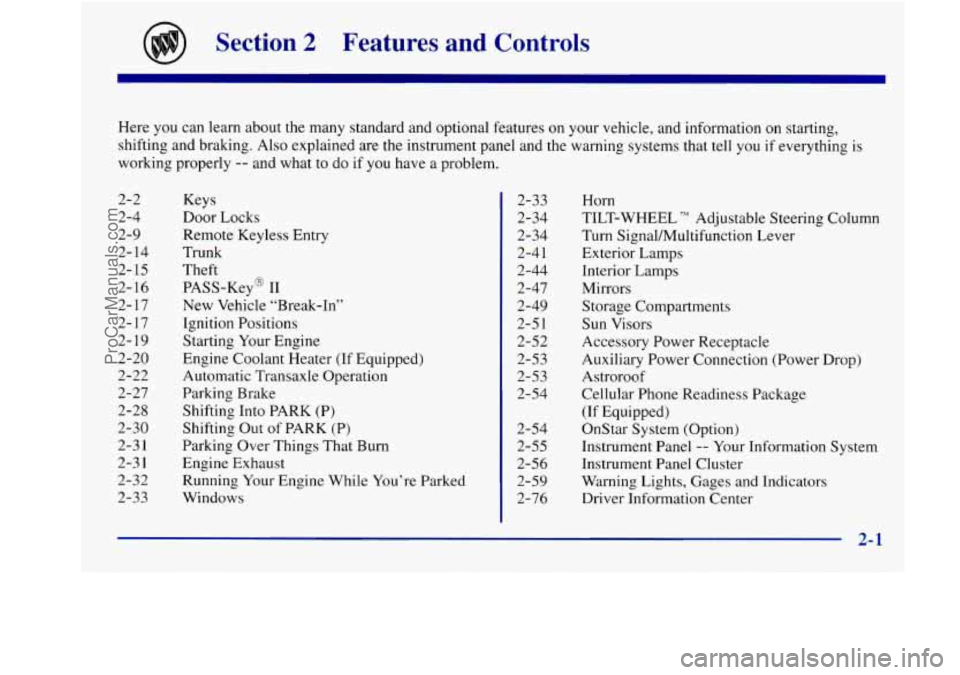
Section 2 Features and Controls
Here you can learn about the many standard and optional features on your vehicle, and information on starting,
shifting and bralung. Also explained are the instrument panel and the warning systems that tell you
if everything is
working properly
-- and what to do if you have a problem.
2-2
2-4
2-9
2- 14
2- 15
2- 16
2- 17
2-1 7
2- 19
2-20
2-22
2-27
2-28
2-30
2-3 1
2-3 1
2-32
2-33 Keys
Door Locks
Remote Keyless Entry
Trunk
Theft
PASS-Key@ I1
New Vehicle “Break-In”
Ignition Positions Starting Your Engine
Engine Coolant Heater (If Equipped)
Automatic Transaxle Operation
Parking Brake
Shifting Into PARK (P)
Shifting
Out of PARK (P)
Parking Over Things That Burn
Engine Exhaust Running Your Engine While You’re Parked
Windows 2-33
2-34
2-34
2-4 1
2-44
2-47
2-49
2-5 1
2-52
2-53
2-53
2-54
2-54
2-55
2-56
2-59
2-76 Horn
TILT-WHEEL
TM Adjustable Steering Column
Turn Signal/Multifunction Lever
Exterior Lamps
Interior Lamps
Mirrors
Storage Compartments
Sun Visors
Accessory Power Receptacle
Auxiliary Power Connection (Power Drop)
Astroroof
Cellular Phone Readiness Package
(If Equipped)
OnStar System (Option)
Instrument Panel
-- Your Information System
Instrument Panel Cluster
Warning Lights, Gages and Indicators
Driver Information Center
2-1
ProCarManuals.com
Page 81 of 388
Programmable Automatic Power
Door Locks
Programmable Automatic Power Door Locks is a
standard feature that
is intended to provide enhanced
security and convenience by automatically locking and
unlocking doors. This feature provides four operating
modes. For your vehicle, you may select and program
one of the following four operating modes:
Mode 1: No automatic door lock or unlock.
Mode 2: Automatic all-door lock when the transaxle is
shifted out of PARK (P); no automatic door unlock.
Automatic door relock when any door is unlocked,
opened and then all doors are again closed while
the
vehicle is not in PARK (P) or NEUTRAL (N) and the
driver’s foot is on the brake pedal.
Mode 3: Automatic all-door lock when the transaxle is
shifted out
of PARK (P).
Automatic all-door unlock when the transaxle is shifted
into PARK (P).
Automatic door relock when any door is unlocked,
opened and then all doors are again closed while the
vehicle is not in PARK (P) or NEUTRAL
(N) and the
driver’s foot is
on the brake pedal.
Mode 4: Automatic all-door lock when the transaxle is
shifted out
of PARK (P).
Automatic driver’s door only unlock when the transaxle
is shifted into PARK
(P).
Automatic door relock when any door is unlocked,
opened and then all doors are again closed while the
vehicle is not in PARK (P) or NEUTRAL
(N) and the
driver’s foot is on the brake pedal.
The operating mode of the Programmable Automatic
Power Door Locks will be changed when the driver
performs the following sequence with the engine not
running, the doors closed and the ignition key in RUN:
1. Apply your regular brakes.
2. Press and hold the power door lock switch. While
holding the door lock switch, cycle the transaxle out
of and back into PARK (P).
After an initial transaxle cycle, each additional cycle
will advance the operating mode by one, starting from
the current operating mode. During this procedure, the
automatic door lock and unlock functions will operate
as defined
by each mode above, providing the driver
with feedback of the current operating mode. If cycled
beyond Mode
4, the vehicle will enter operating
Mode
1. When the door lock switch is released, the
vehicle will remain in the most recent operating mode.
2-7
ProCarManuals.com
Page 88 of 388
To replace your battery: Trunk
1. Insert a flat object like a dime into the slot on the
back
of the transmitter. Gently pry apart the front
and back.
2. Gently pry the battery out of the transmitter.
3. Put the new battery into the transmitter as
shown on the transmitter (use type CR2032 battery
or equivalent).
4. Put the two halves back together. Make sure the
halves are together tightly
so water won’t get in.
5. Resynchronize and then test the transmitter.
Resynchronizing Your Remote Keyless
Entry Transmitter
After you have changed the battery in your transmitter,
you will need to resynchronize the transmitter.
To do
this, press the LOCK and UNLOCK buttons on the
transmitter together and hold for approximately seven
seconds or until three brief horn chirps are heard. You
will also need to use this procedure
if your vehicle has
lost battery power
for an extended period of time.
It can be dangerous to drive with the trunk open
because carbon monoxide (CO) gas can come into
your vehicle. You can’t see or smell CO.
It can
cause unconsciousness and even death.
If you must drive with the trunk open or if
electrical wiring or other cable connections must
pass through the seal between the body and
the trunk:
Make sure all windows are shut.
0 Tbrn the fan on your heating or cooling
system to its highest speed with the setting
on
VENT. That will force outside air into
your vehicle. See “Comfort Controls” in
the Index.
instrument panel, open them all the
way.
If you have air outlets on or under the
See “Engine Exhaust’’ in the Index.
2-14
ProCarManuals.com
Page 90 of 388
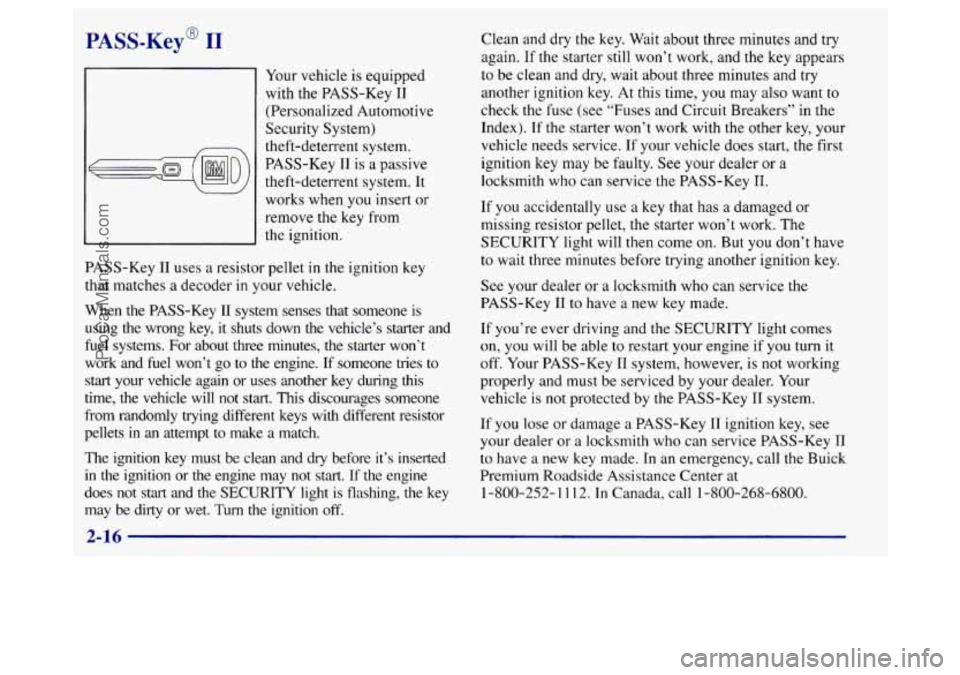
PASS-Key@ I1
Your vehicle is equipped
with the PASS-Key
I1
(Personalized Automotive
Security System)
theft-deterrent system.
PASS-Key I1 is a passive
theft-deterrent system. It
works when you insert or
remove the
key from
the ignition.
PASS-Key
I1 uses a resistor pellet in the ignition key
that matches a decoder
in your vehicle.
When the PASS-Key I1 system senses that someone
is
using the wrong key, it shuts down the vehicle’s starter and
fuel systems. For about three minutes, the starter won’t
work and fuel won’t
go to the engine. If someone tries to
start your vehicle again or uses another key during this
time, the vehicle will not start. This discourages someone
from randomly trying different keys with different resistor
pellets in
an attempt to make a match.
The ignition key must be clean and dry before it’s inserted
in the ignition or the engine may not start. If the engine
does not start and the SECURITY light is flashing, the key
may be dirty or wet. Turn the ignition off. Clean and
dry
the key. Wait about three minutes and try
again.
If the starter still won’t work, and the key appears
to be clean and dry, wait about three minutes and try
another ignition key. At this time, you may also want to
check the fuse (see “Fuses and Circuit Breakers” in the
Index). If
the starter won’t work with the other key, your
vehicle needs service. If your vehicle does start, the first
ignition key may be faulty. See your dealer or a
locksmith who can service the PASS-Key
11.
If you accidentally use a key that has a damaged or
missing resistor pellet, the starter won’t work. The
SECURITY light will then come
on. But you don’t have
to wait three minutes before trying another ignition key.
See your dealer or a locksmith who can service the
PASS-Key
I1 to have a new key made.
If you’re ever driving and the SECURITY light comes
on, you will be able to restart your engine if
you turn it
off. Your PASS-Key I1 system, however, is not working
properly and must be serviced by your dealer. Your
vehicle is not protected by the PASS-Key I1 system.
If you lose or damage a PASS-Key
I1 ignition key, see
your dealer or
a locksmith who can service PASS-Key I1
to have a new key made. In an emergency, call the Buick
Premium Roadside Assistance Center at
1-800-252-
1 112. In Canada, call 1-800-268-6800.
2-16
ProCarManuals.com
Page 91 of 388
1 sw Vehicle “Break-In” Ignition
Positions
NOTICE:
Your vehicle doesn’t need an elaborate
“break-in.” But it will perform better in the long
run if you follow these guidelines:
0 Don’t drive at any one speed -- fast or
slow -- for the first 500 miles (805 km).
Don’t make full-throttle starts.
200 miles (322 km) or so. During this time
your new brake linings aren’t yet broken
in. Hard stops with new linings can mean
premature wear and earlier replacement.
Follow this breaking-in guideline every
time you get new brake linings.
See “Towing a Trailer” in the Index for
more information.
0 Avoid making hard stops for the first
Don’t tow a trailer during break-in.
A L
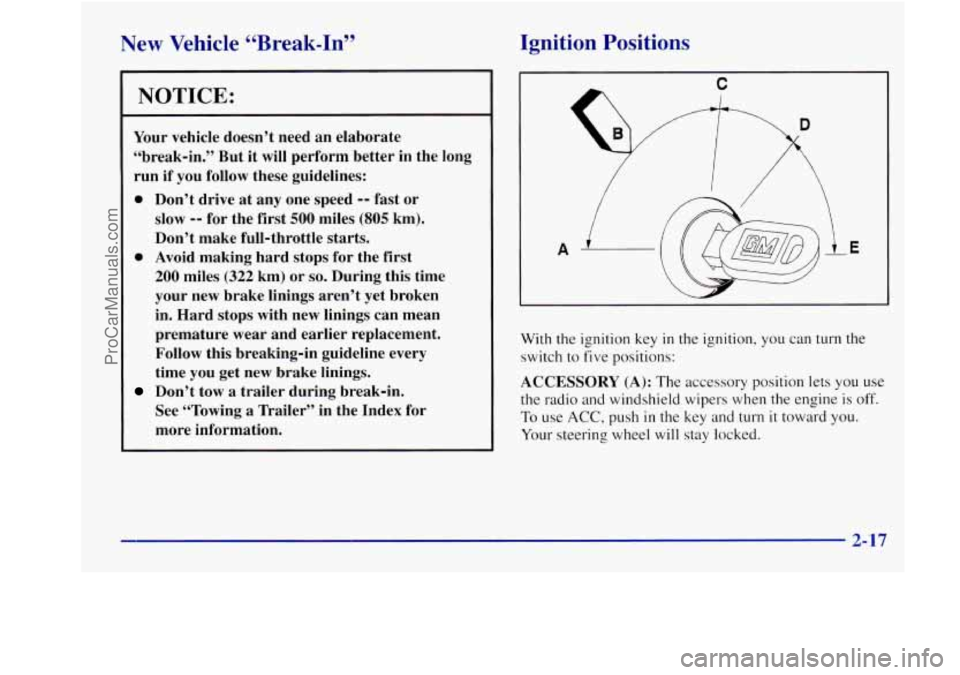
With the ignition key in the ignition, you can turn tne
switch to five positions:
ACCESSORY
(A): The accessory position lets you use
the radio and windshield wipers when the engine
is off.
To use ACC, push in the key and turn it toward you.
Your steering wheel will stay locked.
2-17
ProCarManuals.com
Page 92 of 388
LOCK (B): Before you put the key into the ignition
switch, the switch is in
LOCK. It’s also the only position
from which
you can remove your key. This position
locks your ignition, steering wheel and transaxle. It’s a
theft-deterrent feature.
OF” (C): This position lets you turn off the engine but
still turn the steering wheel. It doesn’t lock the steering
wheel. Use
OFF if you must have your vehicle pushed
or towed.
RUN (D): This position is where the key returns after
you start your vehicle. With the engine off, you
can use
RUN to display some of your warning and
indicator lights.
START (E): This position starts your engine.
A warning chime will sound if you open the driver’s
door when the ignition is in
OFF, LOCK or
ACCESSORY and the key is in the ignition.
‘ NOTICE:
~
If your key seems stuck in LOCK and you can’t
turn
it, be sure you are using the correct key; if
so, is it all the way in? If it is, then turn the
steering wheel left and right while you turn the
key hard. But turn the key only with your hand.
Using
a tool to force it could break the key or the
ignition switch. If none of this works, then your
vehicle needs service.
In case you cannot remove your key from the ignition,
find the access slot which is located underneath the
steering column below the lock cylinder.
To use this slot, remove the trim cap. Insert a key or
screwdriver into the access slot and rotate the lock
cylinder. You will now be able to remove your key from
the ignition. Be sure to replace the trim cap after use.
2-18
ProCarManuals.com
Page 93 of 388
Starting Your Engine
Move your shift lever to PARK (P) or NEUTRAL (N).
Your engine won’t start in any other position -- that’s a
safety feature.
To restart when you’re already moving,
use
NEUTRAL (N) only.
I NOTICE:
~
Don’t try to shift to PARK (P) if your Buick is
moving.
If you do, you could damage the
transaxle. Shift to
PARK (P) only when your
vehicle is stopped.
~ ~
1. Without pushing the accelerator pedal, turn your
ignition key to START. When the engine starts, let
go of the key. The idle speed will go down as your
engine gets warm.
I NOTICE:
Holding your key in START for longer than
15 seconds at a time will cause your battery to be
drained much sooner. And the excessive heat can
damage your starter motor.
2. If it doesn’t start right away, hold your key in
START for about three to five seconds at a time
until
your engine starts. Wait about 15 seconds between
each try to help avoid draining your battery or
damaging your starter.
2-19
ProCarManuals.com
Page 94 of 388
3. If your engine still won’t start (,or starts but then stops),
it could
be flooded with too much gasoline. Tly
pushing your accelerator pedal all the way to the floor
and holding it there
as you hold the key in START for
about three seconds. If the vehicle
starts brkfly but
then stops again, do,the same thing, but this time keep
the pedal down for
five or six seconds. This clears the
extra gasoline from the engine. After waiting about
15 seconds, repeat the noma1 starting procedure.
NOTICE:
Your engine is designed to work with the
electronics in your vehicle.
If you add electrical
parts or accessories, you could change the way
the engine operates. Before adding electrical
equipment, check with your dealer.
If you don’t,
your engine might not perform properly.
If you ever have to have your vehicle towed, see
the part
of this manual that tells how to do it
without damaging your vehicle. See “Towing
Your Vehicle” in the Index.
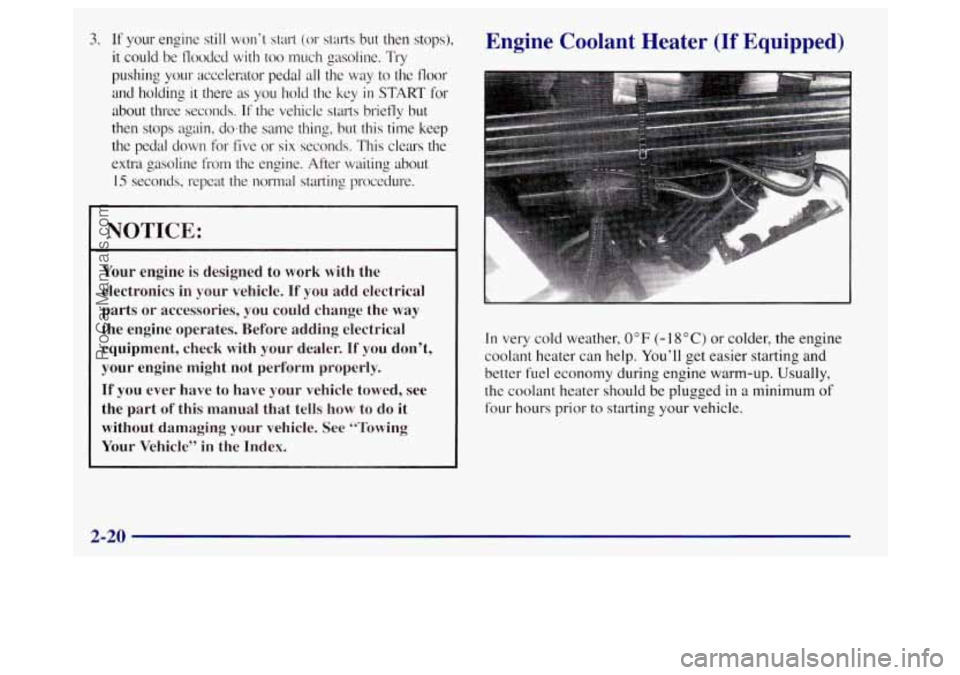
Engine Coolant Heater (If Equipped)
In very cold weather, 0°F (- 18” C) or colder, the engine
coolant heater can help. You’ll get easier starting and
better fuel economy during engine warm-up. Usually,
the coolant heater should be plugged
in a minimum of
four hours prior to starting your vehicle.
2-20
ProCarManuals.com