service indicator BUICK REGAL 2016 User Guide
[x] Cancel search | Manufacturer: BUICK, Model Year: 2016, Model line: REGAL, Model: BUICK REGAL 2016Pages: 357, PDF Size: 5.37 MB
Page 122 of 357
Buick Regal Owner Manual (GMNA-Localizing-U.S./Canada/Mexico-
9159380) - 2016 - CRC - 2/23/16
Instruments and Controls 121
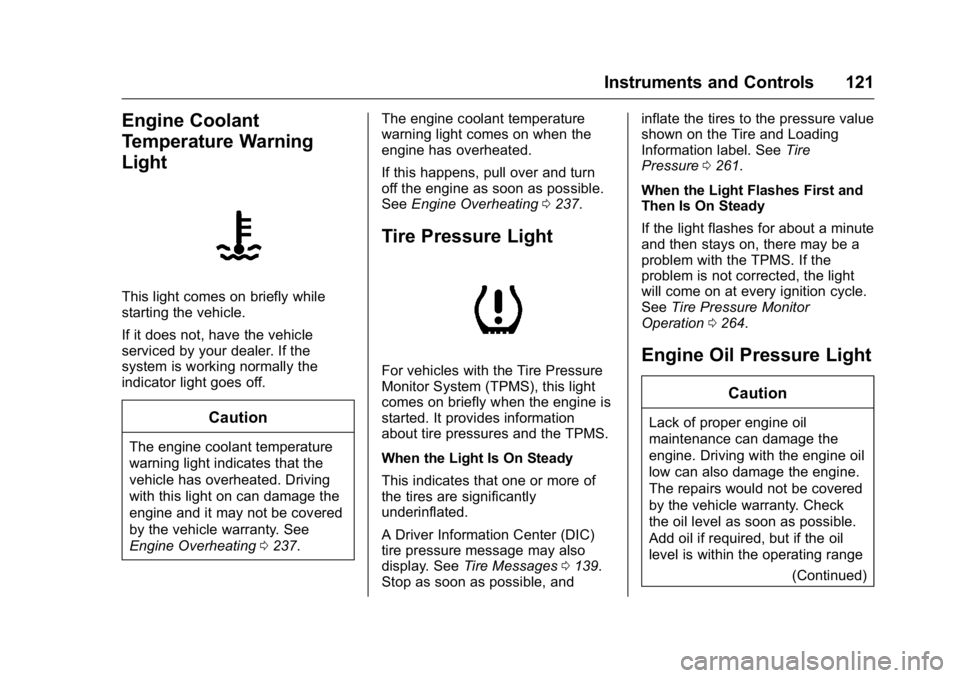
Engine Coolant
Temperature Warning
Light
This light comes on briefly while
starting the vehicle.
If it does not, have the vehicle
serviced by your dealer. If the
system is working normally the
indicator light goes off.
Caution
The engine coolant temperature
warning light indicates that the
vehicle has overheated. Driving
with this light on can damage the
engine and it may not be covered
by the vehicle warranty. See
Engine Overheating0237. The engine coolant temperature
warning light comes on when the
engine has overheated.
If this happens, pull over and turn
off the engine as soon as possible.
See
Engine Overheating 0237.
Tire Pressure Light
For vehicles with the Tire Pressure
Monitor System (TPMS), this light
comes on briefly when the engine is
started. It provides information
about tire pressures and the TPMS.
When the Light Is On Steady
This indicates that one or more of
the tires are significantly
underinflated.
A Driver Information Center (DIC)
tire pressure message may also
display. See Tire Messages 0139.
Stop as soon as possible, and inflate the tires to the pressure value
shown on the Tire and Loading
Information label. See
Tire
Pressure 0261.
When the Light Flashes First and
Then Is On Steady
If the light flashes for about a minute
and then stays on, there may be a
problem with the TPMS. If the
problem is not corrected, the light
will come on at every ignition cycle.
See Tire Pressure Monitor
Operation 0264.Engine Oil Pressure Light
Caution
Lack of proper engine oil
maintenance can damage the
engine. Driving with the engine oil
low can also damage the engine.
The repairs would not be covered
by the vehicle warranty. Check
the oil level as soon as possible.
Add oil if required, but if the oil
level is within the operating range
(Continued)
Page 123 of 357
Buick Regal Owner Manual (GMNA-Localizing-U.S./Canada/Mexico-
9159380) - 2016 - CRC - 2/23/16
122 Instruments and Controls
Caution (Continued)
and the oil pressure is still low,
have the vehicle serviced. Always
follow the maintenance schedule
for changing engine oil.
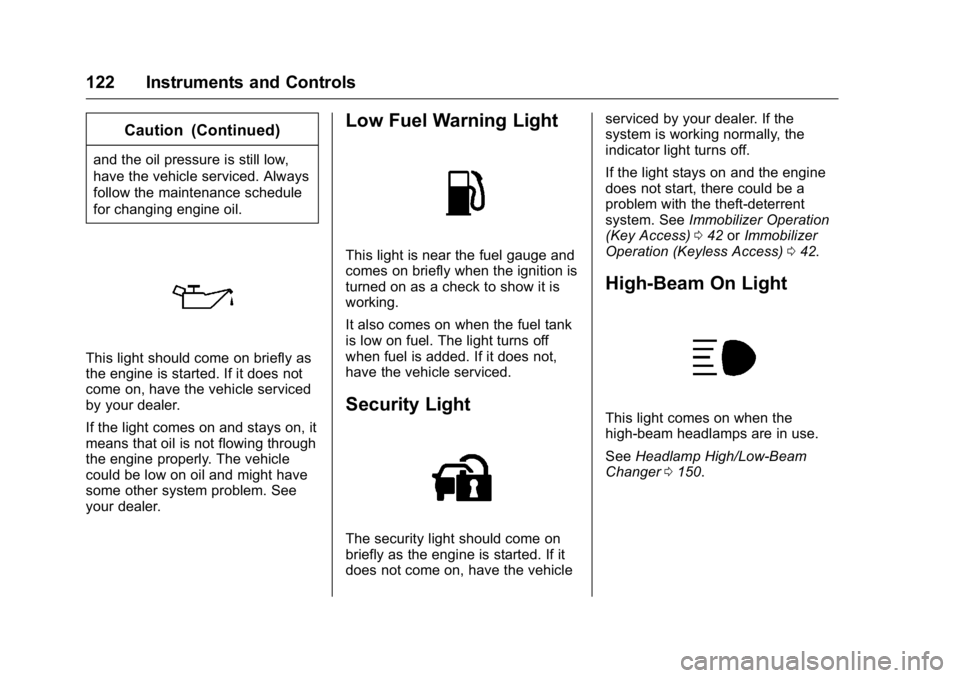
This light should come on briefly as
the engine is started. If it does not
come on, have the vehicle serviced
by your dealer.
If the light comes on and stays on, it
means that oil is not flowing through
the engine properly. The vehicle
could be low on oil and might have
some other system problem. See
your dealer.
Low Fuel Warning Light
This light is near the fuel gauge and
comes on briefly when the ignition is
turned on as a check to show it is
working.
It also comes on when the fuel tank
is low on fuel. The light turns off
when fuel is added. If it does not,
have the vehicle serviced.
Security Light
The security light should come on
briefly as the engine is started. If it
does not come on, have the vehicleserviced by your dealer. If the
system is working normally, the
indicator light turns off.
If the light stays on and the engine
does not start, there could be a
problem with the theft-deterrent
system. See
Immobilizer Operation
(Key Access) 042 orImmobilizer
Operation (Keyless Access) 042.
High-Beam On Light
This light comes on when the
high-beam headlamps are in use.
See Headlamp High/Low-Beam
Changer 0150.
Page 177 of 357
Buick Regal Owner Manual (GMNA-Localizing-U.S./Canada/Mexico-
9159380) - 2016 - CRC - 2/23/16
176 Driving and Operating
Do not turn the engine off when the
vehicle is moving. This will cause a
loss of power assist in the brake
and steering systems and disable
the airbags.
If the vehicle must be shut off in an
emergency:1. Brake using a firm and steady pressure. Do not pump the
brakes repeatedly. This may
deplete power assist, requiring
increased brake pedal force.
2. Shift the vehicle to (N) Neutral. This can be done while the
vehicle is moving. After shifting
to (N) Neutral, firmly apply the
brakes and steer the vehicle to
a safe location.
3. Come to a complete stop. Shift to P (Park). Turn the ignition to
LOCK/OFF.
4. Set the parking brake. See Parking Brake 0189.{Warning
Turning off the vehicle while
moving may cause loss of power
assist in the brake and steering
systems and disable the airbags.
While driving, only shut the
vehicle off in an emergency.
If the vehicle cannot be pulled over,
and must be shut off while driving,
turn the ignition to ACC/
ACCESSORY.
The ignition switch can bind in the
LOCK/OFF position with the wheels
turned off center. If this happens,
move the steering wheel from right
to left while turning the key to ACC/
ACCESSORY. If this does not work,
then the vehicle needs service.
1 (ACC/ACCESSORY) : This
position unlocks the steering wheel.
Some accessories can be used in
this position.
2 (ON/RUN) : The ignition switch
stays in this position when the
engine is running. This position can
be used to operate the electrical accessories, as well as to display
some warning and indicator lights.
This position can also be used for
service and diagnostics, and to
verify the proper operation of the
malfunction indicator lamp as may
be required for emission inspection
purposes.
The battery could be drained if the
key is left in the ON/RUN position
with the engine off. The vehicle
might not start if the battery is
allowed to drain for an extended
period of time.
3 (START) :
This position starts the
engine. When the engine starts,
release the key. The ignition switch
will return to ON/RUN for normal
driving.
If the ignition becomes difficult to
turn, see Keys026.
Page 179 of 357
Buick Regal Owner Manual (GMNA-Localizing-U.S./Canada/Mexico-
9159380) - 2016 - CRC - 2/23/16
178 Driving and Operating
{Warning
Turning off the vehicle while
moving may cause loss of power
assist in the brake and steering
systems and disable the airbags.
While driving, only shut the
vehicle off in an emergency.
If the vehicle cannot be pulled over,
and must be shut off while driving,
press and hold the ENGINE START/
STOP button for longer than
two seconds, or press twice in
five seconds.
ACC/ACCESSORY (Amber
Indicator Light) : This mode allows
you to use some electrical
accessories when the engine is off.
With the ignition off, pressing the
button one time without the brake
pedal applied will place the ignition
system in ACC/ACCESSORY.
The ignition will switch from ACC/
ACCESSORY to OFF after
five minutes to prevent battery
run down. ON/RUN/START (Green Indicator
Light) :
This mode is for driving and
starting. With the ignition off, and
the brake pedal applied, pressing
the button once will place the
ignition system in ON/RUN/START.
Once engine cranking begins,
release the button. Engine cranking
will continue until the engine starts.
See Starting the Engine 0178 for
more information. The ignition will
then remain in ON/RUN.
Service Only Mode
This power mode is available for
service and diagnostics, and to
verify the proper operation of the
malfunction indicator lamp as may
be required for emission inspection
purposes. With the vehicle off, and
the brake pedal not applied,
pressing and holding the button for
more than five seconds will place
the vehicle in Service Only Mode.
The instruments and audio systems
will operate as they do in ON/RUN,
but the vehicle will not be able to be
driven. The engine will not start in
Service Only Mode. Push the button
again to turn the vehicle off.
Starting the Engine
Place the transmission in the
proper gear.
Caution
If you add electrical parts or
accessories, you could change
the way the engine operates. Any
resulting damage would not be
covered by the vehicle warranty.
See Add-On Electrical
Equipment 0218.
Move the shift lever to P (Park) or
N (Neutral). To restart the vehicle
when it is already moving, use
N (Neutral) only.
Caution
Do not try to shift to P (Park) if the
vehicle is moving. If you do, you
could damage the transmission.
Shift to P (Park) only when the
vehicle is stopped.
Page 209 of 357
Buick Regal Owner Manual (GMNA-Localizing-U.S./Canada/Mexico-
9159380) - 2016 - CRC - 2/23/16
208 Driving and Operating
{Warning
FCA does not provide a warning
to help avoid a crash, unless it
detects a vehicle. FCA may not
detect a vehicle ahead if the FCA
sensor is blocked by dirt, snow,
or ice, or if the windshield is
damaged. It may also not detect a
vehicle on winding or hilly roads,
or in conditions that can limit
visibility such as fog, rain,
or snow, or if the headlamps or
windshield are not cleaned or in
proper condition. Keep the
windshield, headlamps, and FCA
sensors clean and in good repair.
Collision Alert
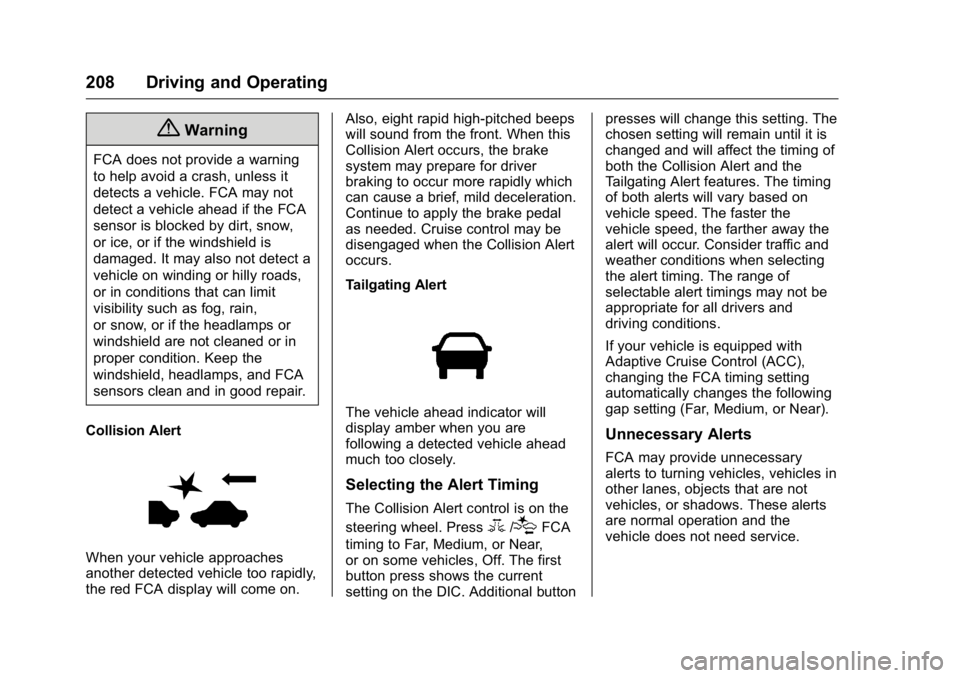
When your vehicle approaches
another detected vehicle too rapidly,
the red FCA display will come on. Also, eight rapid high-pitched beeps
will sound from the front. When this
Collision Alert occurs, the brake
system may prepare for driver
braking to occur more rapidly which
can cause a brief, mild deceleration.
Continue to apply the brake pedal
as needed. Cruise control may be
disengaged when the Collision Alert
occurs.
Tailgating Alert
The vehicle ahead indicator will
display amber when you are
following a detected vehicle ahead
much too closely.
Selecting the Alert Timing
The Collision Alert control is on the
steering wheel. Press
3/[FCA
timing to Far, Medium, or Near,
or on some vehicles, Off. The first
button press shows the current
setting on the DIC. Additional button presses will change this setting. The
chosen setting will remain until it is
changed and will affect the timing of
both the Collision Alert and the
Tailgating Alert features. The timing
of both alerts will vary based on
vehicle speed. The faster the
vehicle speed, the farther away the
alert will occur. Consider traffic and
weather conditions when selecting
the alert timing. The range of
selectable alert timings may not be
appropriate for all drivers and
driving conditions.
If your vehicle is equipped with
Adaptive Cruise Control (ACC),
changing the FCA timing setting
automatically changes the following
gap setting (Far, Medium, or Near).
Unnecessary Alerts
FCA may provide unnecessary
alerts to turning vehicles, vehicles in
other lanes, objects that are not
vehicles, or shadows. These alerts
are normal operation and the
vehicle does not need service.
Page 214 of 357
Buick Regal Owner Manual (GMNA-Localizing-U.S./Canada/Mexico-
9159380) - 2016 - CRC - 2/23/16
Driving and Operating 213
Warning (Continued)
departing the lane on the side
where it has detected a lane
marking. Always keep your
attention on the road and
maintain proper vehicle position
within the lane, or vehicle
damage, injury, or death could
occur. Always keep the
windshield, headlamps, and
camera sensors clean and in
good repair. Do not use LDW in
bad weather conditions.
How the System Works
The LDW camera sensor is on the
windshield ahead of the rearview
mirror.
To turn LDW on and off, press
@on
the center stack. The control
indicator will light when LDW is on.
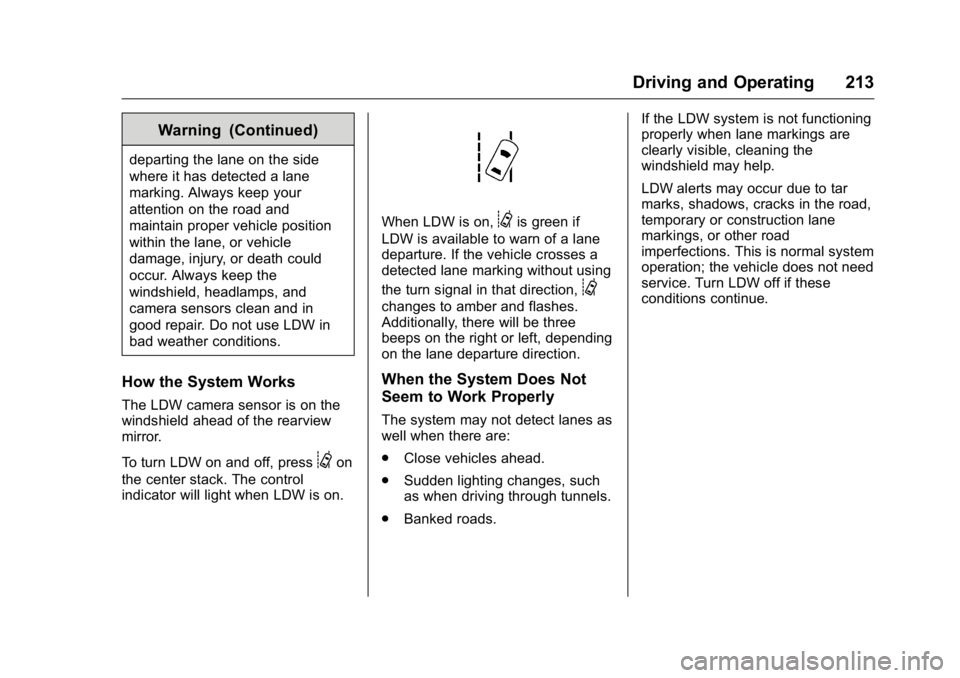
When LDW is on,@is green if
LDW is available to warn of a lane
departure. If the vehicle crosses a
detected lane marking without using
the turn signal in that direction,
@
changes to amber and flashes.
Additionally, there will be three
beeps on the right or left, depending
on the lane departure direction.
When the System Does Not
Seem to Work Properly
The system may not detect lanes as
well when there are:
. Close vehicles ahead.
. Sudden lighting changes, such
as when driving through tunnels.
. Banked roads. If the LDW system is not functioning
properly when lane markings are
clearly visible, cleaning the
windshield may help.
LDW alerts may occur due to tar
marks, shadows, cracks in the road,
temporary or construction lane
markings, or other road
imperfections. This is normal system
operation; the vehicle does not need
service. Turn LDW off if these
conditions continue.
Page 216 of 357
Buick Regal Owner Manual (GMNA-Localizing-U.S./Canada/Mexico-
9159380) - 2016 - CRC - 2/23/16
Driving and Operating 215
methylcyclopentadienyl manganese
tricarbonyl (MMT). Do not use
gasolines and/or fuel additives with
MMT as they can reduce spark plug
life and affect emission control
system performance. The
malfunction indicator lamp may turn
on. If this occurs, see your dealer
for service.
California Fuel
Requirements
If the vehicle is certified to meet
California Emissions Standards, it is
designed to operate on fuels that
meet California specifications. See
the underhood emission control
label. If this fuel is not available in
states adopting California Emissions
Standards, the vehicle will operate
satisfactorily on fuels meeting
federal specifications, but emission
control system performance might
be affected. The malfunction
indicator lamp could turn on and the
vehicle may not pass a smog-check
test. SeeMalfunction Indicator
Lamp (Check Engine Light) 0116.
If this occurs, return to your
authorized dealer for diagnosis. If it is determined that the condition is
caused by the type of fuel used,
repairs may not be covered by the
vehicle warranty.
Fuels in Foreign
Countries
If planning to drive in countries
outside the U.S. or Canada, the
proper fuel might be hard to find.
Check regional auto club or fuel
retail brand websites for availability
in the country where driving. Never
use leaded gasoline, fuel containing
methanol, manganese, or any other
fuel not recommended. Costly
repairs caused by use of improper
fuel would not be covered by the
vehicle warranty.
Fuel Additives
To keep fuel systems clean, TOP
TIER Detergent Gasoline is
recommended. See
Fuel0214.
If TOP TIER Detergent Gasoline is
not available, one bottle of Fuel
System Treatment PLUS added to
the fuel tank at every engine oil
change, can help. Fuel System Treatment PLUS is the only
gasoline additive recommended by
General Motors. It is available at
your dealer.
Filling the Tank
{Warning
Fuel vapors and fuel fires burn
violently and can cause injury or
death.
. To help avoid injuries to you
and others, read and follow
all the instructions on the
fuel pump island.
. Turn off the engine when
refueling.
. Keep sparks, flames, and
smoking materials away
from fuel.
. Do not leave the fuel pump
unattended.
. Do not use a cell phone
while refueling.
(Continued)
Page 219 of 357
Buick Regal Owner Manual (GMNA-Localizing-U.S./Canada/Mexico-
9159380) - 2016 - CRC - 2/23/16
218 Driving and Operating
Towing
General Towing
Information
The vehicle is neither designed nor
intended to tow a trailer.
Conversions and
Add-Ons
Add-On Electrical
Equipment
{Warning
The Data Link Connector (DLC) is
used for vehicle service and
Emission Inspection/Maintenance
testing. SeeMalfunction Indicator
Lamp (Check Engine Light) 0116.
A device connected to the DLC —
such as an aftermarket fleet or
driver-behavior tracking device —
may interfere with vehicle
systems. This could affect vehicle
operation and cause a crash.
Such devices may also access
information stored in the vehicle’s
systems.
Caution
Some electrical equipment can
damage the vehicle or cause
components to not work and
would not be covered by the
vehicle warranty. Always check
with your dealer before adding
electrical equipment.
Add-on equipment can drain the
vehicle's 12-volt battery, even if the
vehicle is not operating.
The vehicle has an airbag system.
Before attempting to add anything
electrical to the vehicle, see
Servicing the Airbag-Equipped
Vehicle 073 and Adding Equipment
to the Airbag-Equipped
Vehicle 074.
Page 314 of 357

Buick Regal Owner Manual (GMNA-Localizing-U.S./Canada/Mexico-
9159380) - 2016 - CRC - 2/23/16
Service and Maintenance 313
Hoses
Hoses transport fluids and should
be regularly inspected to ensure
that there are no cracks or leaks.
With a multi-point inspection, your
dealer can inspect the hoses and
advise if replacement is needed.
Lamps
Properly working headlamps,
taillamps, and brake lamps are
important to see and be seen on
the road.
.Signs that the headlamps need
attention include dimming, failure
to light, cracking, or damage.
The brake lamps need to be
checked periodically to ensure
that they light when braking.
. With a multi-point inspection,
your dealer can check the lamps
and note any concerns. Shocks and Struts
Shocks and struts help aid in control
for a smoother ride.
.
Signs of wear may include
steering wheel vibration, bounce/
sway while braking, longer
stopping distance, or uneven
tire wear.
. As part of the multi-point
inspection, trained dealer
technicians can visually inspect
the shocks and struts for signs
of leaking, blown seals,
or damage, and can advise
when service is needed. Tires
Tires need to be properly inflated,
rotated, and balanced. Maintaining
the tires can save money and fuel,
and can reduce the risk of tire
failure.
.
Signs that the tires need to be
replaced include three or more
visible treadwear indicators; cord
or fabric showing through the
rubber; cracks or cuts in the
tread or sidewall; or a bulge or
split in the tire.
. Trained dealer technicians can
inspect and recommend the right
tires. Your dealer can also
provide tire/wheel balancing
services to ensure smooth
vehicle operation at all speeds.
Your dealer sells and services
name brand tires.
Page 351 of 357

Buick Regal Owner Manual (GMNA-Localizing-U.S./Canada/Mexico-
9159380) - 2016 - CRC - 2/23/16
350 Index
FusesEngine Compartment Fuse
Block . . . . . . . . . . . . . . . . . . . . . . . . 249
Fuses and Circuit Breakers . . . 249
Instrument Panel Fuse Block . . . . . . . . . . . . . . . . . . . . . . . . 252
G
Garage Door Opener . . . . . . . . . . . 146Programming . . . . . . . . . . . . . . . . . 146
Gauges Engine Coolant
Temperature . . . . . . . . . . . . . . . . .112
Fuel . . . . . . . . . . . . . . . . . . . . . . . . . . . 111
Odometer . . . . . . . . . . . . . . . . . . . . . .110
Speedometer . . . . . . . . . . . . . . . . . .110
Tachometer . . . . . . . . . . . . . . . . . . . . 111
Trip Odometer . . . . . . . . . . . . . . . . . 111
Warning Lights and Indicators . . . . . . . . . . . . . . . . . . . 103
General Information
Service and Maintenance . . . . . 304
Towing . . . . . . . . . . . . . . . . . . . . . . . . 218
Vehicle Care . . . . . . . . . . . . . . . . . . 220
Glove Box . . . . . . . . . . . . . . . . . . . . . . . 95
GM Mobility Reimbursement Program . . . . . . . . . . . . . . . . . . . . . . . 325
H
Halogen Bulbs . . . . . . . . . . . . . . . . . . 245
Hazard Warning Flashers . . . . . . . 152
Head Restraints . . . . . . . . . . . . . . . . . 50
HeadlampsAiming . . . . . . . . . . . . . . . . . . . . . . . . 245
Automatic . . . . . . . . . . . . . . . . . . . . . 151
Bulb Replacement . . . . . . . . . . . . 245
Daytime RunningLamps (DRL) . . . . . . . . . . . . . . . . 151
Flash-to-Pass . . . . . . . . . . . . . . . . . 151
High Intensity Discharge (HID) Lighting . . . . . . . . . . . . . . . 245
High-Beam On Light . . . . . . . . . . 122
High/Low Beam Changer . . . . . 150
Lamps On Reminder . . . . . . . . . 123
Heated Steering Wheel . . . . . . . . . . . . . . . . . 99
Heated Front Seats . . . . . . . . . . . . . . 55
Heated Mirrors . . . . . . . . . . . . . . . . . . . 44
Heater
Engine . . . . . . . . . . . . . . . . . . . . . . . . 181
High Voltage Devices and Wiring . . . . . . . . . . . . . . . . . . . . . . . . . 248
High-Beam On Light . . . . . . . . . . . . 122
High-Speed Operation . . . . . . . . . . 262
Hill and Mountain Roads . . . . . . . . 169
Hill Start Assist (HSA) . . . . . . . . . . 191 Hood . . . . . . . . . . . . . . . . . . . . . . . . . . . 222
Horn . . . . . . . . . . . . . . . . . . . . . . . . . . . . 100
How to Wear Safety Belts
Properly . . . . . . . . . . . . . . . . . . . . . . . . 59
I
Ignition Positions . . . . . . . . . . 175, 177
Ignition Transmission LockCheck . . . . . . . . . . . . . . . . . . . . . . . . . 243
Immobilizer . . . . . . . . . . . . . . . . . . . . . . 42
Indicator Vehicle Ahead . . . . . . . . . . . . . . . . .119
Infants and Young Children, Restraints . . . . . . . . . . . . . . . . . . . . . . 77
Information Energy . . . . . . . . . . . . . . . . . . . . . . . 125
Infotainment . . . . . . . . . . . . . . . . . . . . 156
Infotainment System . . . . . . . . . . . . 335
Instrument Cluster . . . . . . . . . 104, 108
Instrument Panel Storage Area . . . . . . . . . . . . . . . . . . . 95
Interior Rearview Mirrors . . . . . . . . . 44
Introduction . . . . . . . . . . . . . . . . . . . . . . . 2
J
Jump Starting - North America . . . . . . . . . . . . . . . . . . 288, 289