reset BUICK RIVIERA 1993 Owners Manual
[x] Cancel search | Manufacturer: BUICK, Model Year: 1993, Model line: RIVIERA, Model: BUICK RIVIERA 1993Pages: 324, PDF Size: 16.01 MB
Page 94 of 324
To Resume a Set Speed
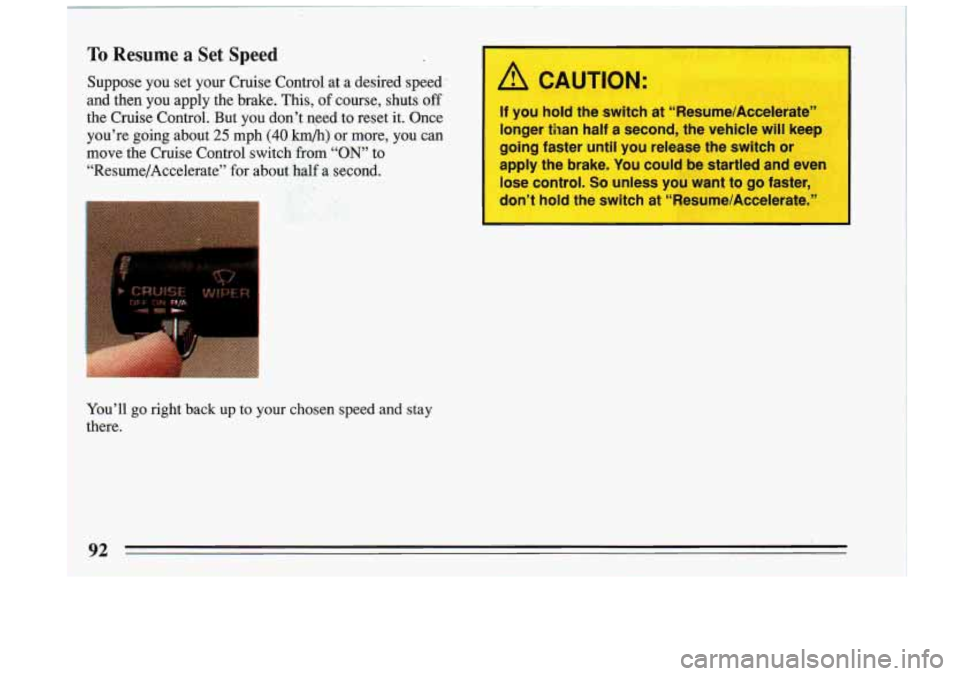
Suppose you set your Cruise Control at a desired speed:
and then you apply the brake. This,
of course, shuts off I
the Cruise Control. But you don’t need to reset it. Once
you’re going about
25 mph (40 lunk) or more, you can
move the Cruise Control switch
from “ON’ to
“Resume/Accelerate” for abo
A CAUTION:
If you hold the switch at “Resume/Accelerate”
longer than half a second, the vehicle will keep
going faster until you release the switch or
apply the brake. You could be startled and even
lose control.
So unless you want to go faster,
don’t hold the switch at “Resume/Accelerate.’
You’ll go right back up to your chosen speed and stay
there.
Page 107 of 324
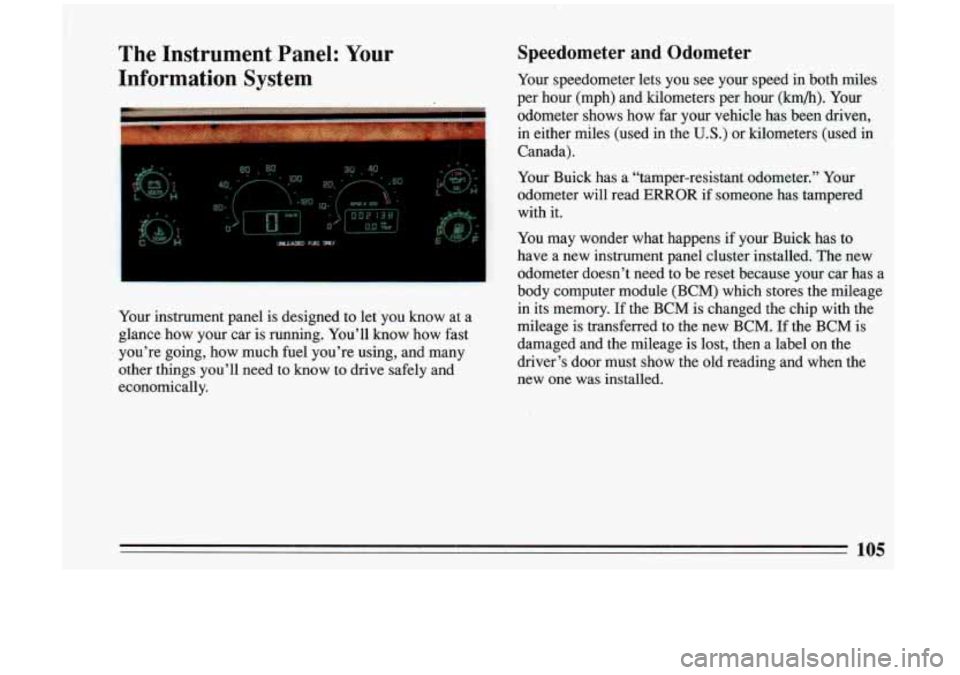
The Instrument Panel: Your Speedometer and Odometer
Information System Your speedometer lets you see your speed in both miles I I“ , _’ .... __ . I, . -’ ~ ” per hour (mph) and kilometers per hour (lun/h). Your
odometer shows how far
your vehicle has been driven,
in either miles (used in the
U.S.) or kilometers (used in
Canada).
I-
Your instrument panel is designed to let’you know at a
glance how your car
is running. You’ll know how fast
you’re going, how much fuel you’re using, and many
other
things you’ll need to know to drive safely and
economically. Your Buick has
a “tamper-resistant odometer.” Your
odometer will read
ERROR if someone has tampered
with it.
You may wonder what happens if your Buick has to
have a new instrument panel cluster installed. The new
odometer doesn’t need to be reset because your car has a
body computer module (BCM) which stores the mileage
in its memory.
If the BCM is changed the chip with the
mileage
is transferred to the new BCM. If the BCM is
damaged and the mileage is lost, then a label on the
driver’s door must show the old reading and when the
new one was installed.
105
Page 109 of 324
Trip Odometer
I
Warning Lights, Gages and Indicators
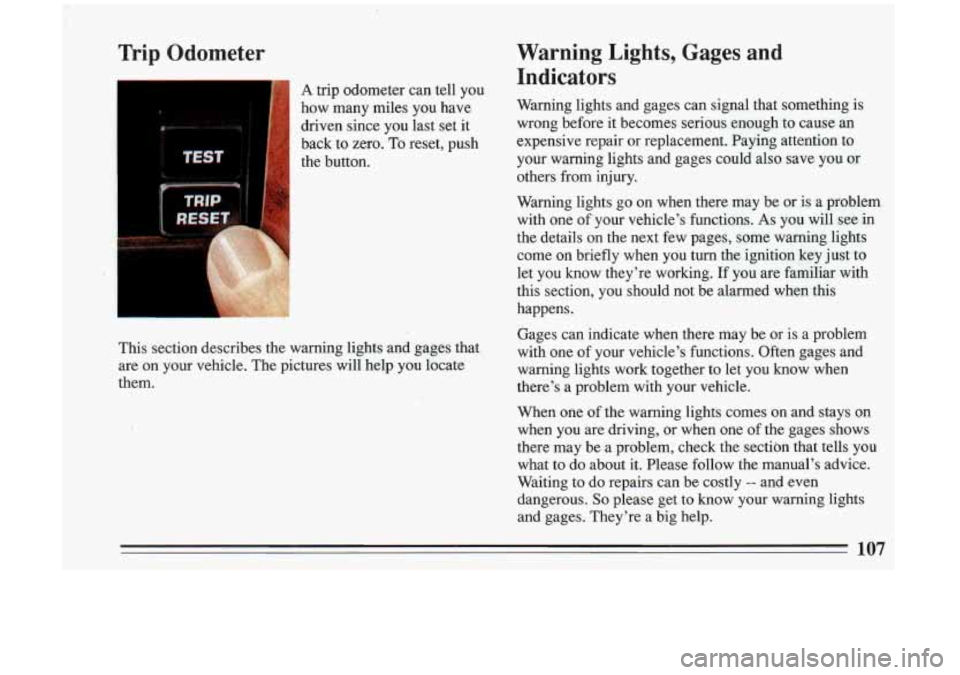
A trip odometer can tell you
how many miles you have Warning lights and gages can signal t\
hat something is
driven since you last set it wrong before it becomes serious enough to cause an
back to zero.
TO reset, push expensive repair or replacement. Paying attention to
the button. your warning lights and gages could also save you or
others from injury.
Warning lights go on when there may be or
is a problem
with one
of your vehicle's functions. As you will see in
the details on the next few pages, some warning lights come on briefly when you turn the ignition key just to
let you know they're working.
If you are familiar with
this section, you should not be alarmed when this
happens.
This section describes the warning lights and gages that
are on your vehicle. The pictures will help
you locate
them. Gages can indicate when there may be or is a problem
with one
of your vehicle's functions. Often gages and
warning lights work together to let you know when
there's a problem with your vehicle.
When one of the warning lights comes on and stays on
when you are driving, or when one of the gages shows
there may be a problem, check the section that tells
you
what to do about it. Please follow the manual's advice.
Waiting to do repairs can be costly
-- and even
dangerous.
So please get to know your warning lights
and gages. They're a big help.
107
Page 114 of 324
Anti-Lock Brake System Warning Light
1
I’
i
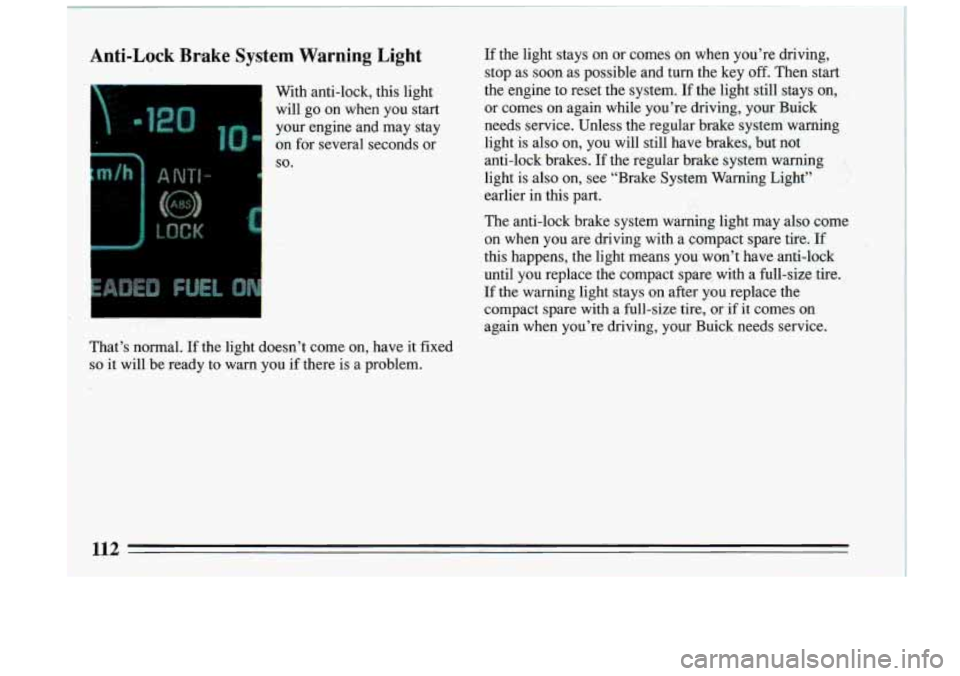
If the light stays on or comes on when you’re driving,
stop as soon as possible and turn the key off. Then start
With anti-lock, this light the engine to reset the system.
If the light still stays on,
will go on when you start or comes on again while you’re driving, your Buick
your engine and may stay needs service. Unless the regular brake system’ warning
on for several seconds or light is also on, you will still have brakes, but not
so. anti-lock brakes.
If the regular brake system warning
light
is also on, see “Brake System Warning Light”
earlier in this part.
The anti-lock brake system warning light may also come on when you are driving with
a compact spare tire. If
this happens, the light means you won’t have anti-lock
until you replace the compact spare, with a full-size tire.
If the warning light stays on after you replace the
compact spare with
a full-si.ze tire, or if it comes on
again when you’re driving, your Buick needs service.
That’s normal.
If the light doesn’t come on, have it fixed
~ so it will be ready to warn you if there is a problem.
112
Page 129 of 324
Pushbuttons
The four pushbuttons let you return to favorite stations.
You can set the pushbuttons for up to fourteen stations
(7 AM and 7 FM).
0
0
0
0
0
0
Tune in the desired station.
Press the SET pushbutton. (SET appears in the
display.)
Within
5 seconds, push one of the four pushbuttons.
Whenever you press that button, the preset station
will return. In additional to the
4 stations set as
above, up to three additional stations may be preset
on each band by pressing two adjoining buttons at
the same time.
Tune in the station you want.
Press SET pushbutton. (SET appears in the display.)
Within
5 seconds, push any two adjoining
pushbuttons at the same time. (The station will return
when the same two buttons are pressed again.)
Clock
To set the clock,
0 Press the SET pushbutton.
0 Within 5 seconds, press and hold SCAN until the
0 Press and hold SEEK until the correct minute correct hour appears on
the display.
appears on the display.
Treble
Slide the treble lever up to increase the treble response.
If station is weak or noisy, slide the treble lever down to
reduce the noise.
Bass
Slide the bass lever up to increase the bass response.
Adjust the bass lever to give a pleasing sound to your
ear.
DNR Q
This is the Dynamic Noise Reduction button. DNR Q
helps remove background hiss from the radio or tape
player. You may want to leave
it pushed in all the time.
127
Page 131 of 324
To Play This Radio
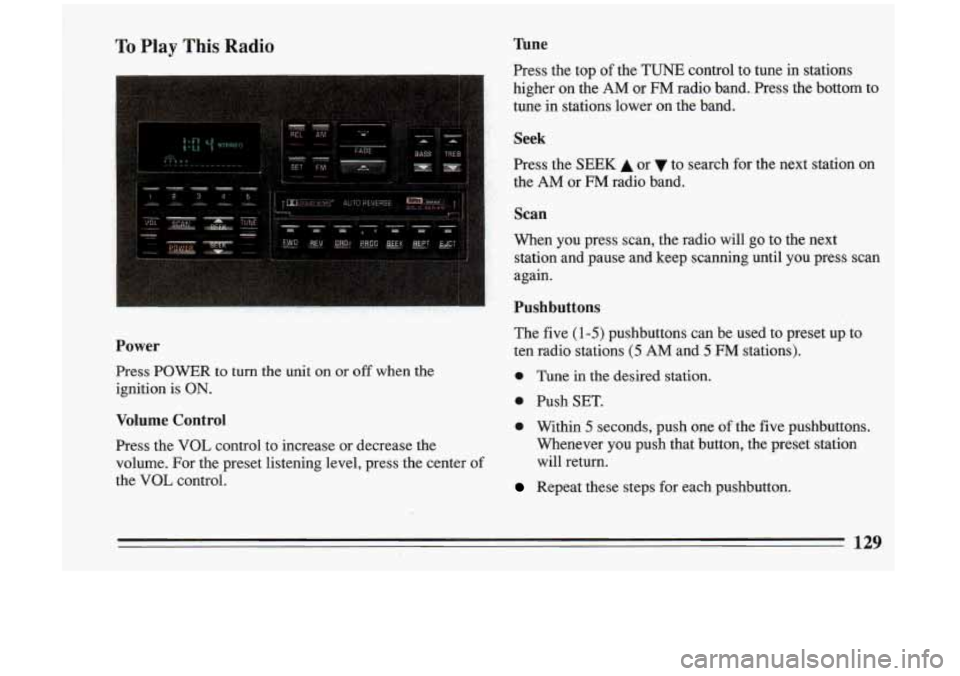
Power
Press POWER to turn the unit on or off when the
ignition is
ON.
Volume Control
Press the VOL control to increase or decrease the
volume. For the preset listening level, press the center of
the
VOL control.
Tune
Press the top of the TUNE control to tune in stations
higher
on the AM or FM radio band. Press the bottom to
tune in stations lower
on the band.
Seek
Press the SEEK A or to search forthe next station on
the AM,or FM radio band.
Scan
When you press scan, the radio will go to the next
station and pause and keep scanning until you press scan
again.
Pushbuttons
The five (1-5) pushbuttons can be used to preset up to
ten radio stations
(5 AM and 5 FM stations).
0 Tune in the desired station.
0 Push SET.
0 Within 5 seconds, push one of the five pushbuttons.
Whenever you push that button, the preset station
will return.
Repeat these steps for each pushbutton.
129
Page 132 of 324
Setting The Clock
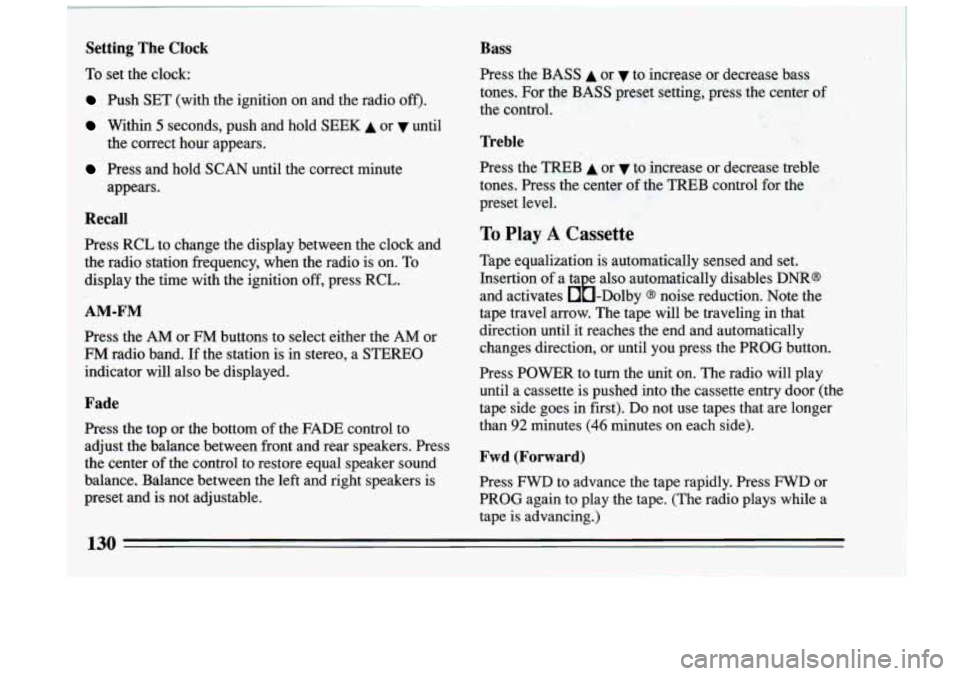
To set the clock:
Push SET (with the ignition on and the radio off').
Within 5 seconds, push and hold SEEK A or until
Press and hold SCAN until the correct minute the correct hour appears.
appears.
Recall
1 Press RCL to change the display between the clock and
the radio station frequency, when the radio is on. To
display the time with the ignition
off, press RCL.
AM-FM
Press the AM or FM buttons to select either the AM or
FM radio band. If the station is in stereo, a STEREO
indicator will also be displayed.
Fade
Press the top or the bottom of the FADE control to
adjust the balance between front and rear speakers. Press
the center
of the control to restore equal speaker sound
balance. Balance between the left and right speakers is
preset and is not adjustable.
Bass
Press the.BASS A or v to increase or decrease bass
tones. For the
BASS preset setting, press the center of
the control.
Treble
Press the TREB A or v to increase or decrease treble
tones. Press the center
of the TREB control for the
preset level.
To Play A Cassette
Tape equalization is automatically sensed and set.
Insertion
of a ta e also automatically disables DNR@
and activates &-Dolby
@ noise reduction. Note the
tape travel arrow. The tape will be traveling in that
direction until it reaches the end and automatically
changes direction, or until you press the PROG button.
Press POWER to turn the unit
on. The radio will play
until a cassette is pushed into the cassette entry door (the
tape side goes
in first). Do not use tapes that are longer
than
92 minutes (46 minutes on each side).
Fwd (Forward)
Press FWD to advance the tape rapidly. Press FWD or
PROG again to play the tape. (The radio plays while a
tape is advancing.)
130
Page 134 of 324
To Play This Radio Tune
Press the top of the TUNE control to tune in stations
higher
on the AM or FM radio band. Press the bottom to
tune in stations lower on the band.
Seek
Press the SEEK A or to search for the next station on
the
AM or FM radio band.
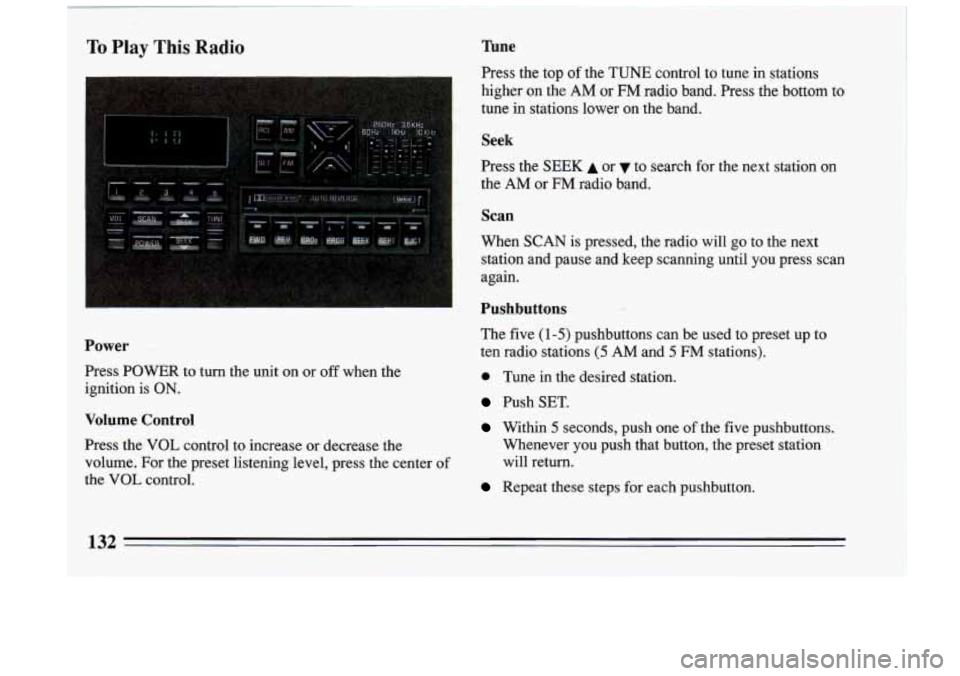
Scan
When SCAN is pressed, the radio will go to the next
station and pause and keep scanning until
you press scan
again.
Pushbuttons
The five (1-5) pushbuttons can be used to preset up to
e Tune in the desired station.
Push SET.
Within 5 seconds, push one of the five pushbuttons.
Power ten radio stations (5 AM and 5 FM stations).
Press POWER to turn the unit on or
off when the
ignition
is ON.
Volume Control
Press the VOL control to increase or decrease the Whenever you push that button, the preset station
volume. For the preset listening level, press the center of will return.
the VOL control.
Repeat these steps for each pushbutton.
132
Page 235 of 324
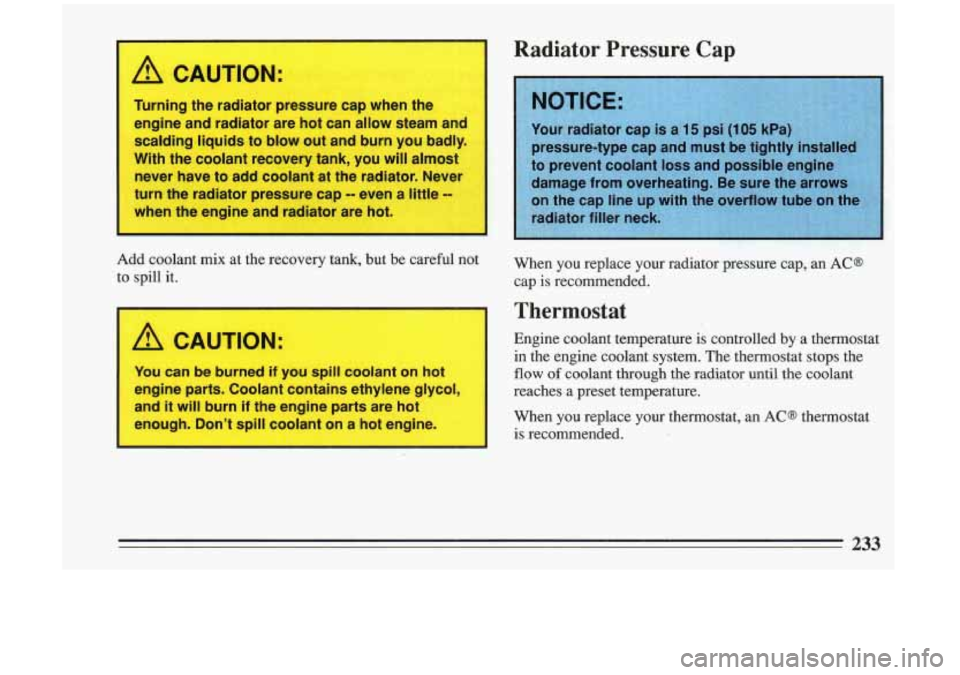
A CAUTION:
Turning the radiator pressure cap when the
engine and radiator are hot can
allow steam and
scalding liquids to blow out and burn you badly.
With the coolant recovery tank, you
will almost
never have to add coolant at the radiator. Never
turn the radiator pressure cap
-- even a little --
when the engine and radiator are hot.
Add coolant mix at the recovery tank, but be careful not
to spill it.
A CAUTION:
You can be burned if you spill coolant on hot
engine parts. Coolant contains ethylene glycol,
and it
will burn if the engine parts are hot
enough. Don’t spill coolant on a hot engine.
Radiator Pressure Cap
When you replace your radiator pressure cap, an ACS
cap
is recommended.
Thermostat
Engine coolant temperature is controlled by a thermostat
in the engine coolant system. The thermostat stops ,the
flow of coolant through the radiator until the coolant
reaches a preset temperature.
When you replace your thermostat, an AC@ thermostat
is recommended. I
233
Page 252 of 324
Wheel Alignment and Tire Balance w.
The wheels on your vehicle were aligned and balanced
carefully at the factory to give you the longest tire life
and best overall performance.
In most cases, you will not need to have your wheels
aligned again. However, if you notice unusual tire wear or your vehicle pulling one way or the other, the
alignment may need to be reset. If you notice your
vehicle vibrating when driving on a smooth road, your
wheels may need to be rebalanced.
Wheel Replacement
Replace any wheel that is bent, cracked or badly rusted.
If wheel nuts keep coming loose, the wheel, wheel bolts,
and wheel nuts should be replaced. If the wheel leaks air
out, replace it (except some aluminum wheels, which
can sometimes be repaired). See your Buick dealer if
any of these conditions exist.
Your dealer will know the kind of wheel you need.
Eachnew wheel should have the same load carrying
capacity, diameter, width, offset, and be mounted the
same way as the one it replaces.
If you need to replace any of your wheels, wheel bolts,
or wheel nuts, replace them only with new
GM original
equipment parts. This way, you will be sure to have the
right wheel, .wheel bolts, and wheel nuts for your Buick
model.
'1250