inflation pressure BUICK ROADMASTER 1993 Owners Manual
[x] Cancel search | Manufacturer: BUICK, Model Year: 1993, Model line: ROADMASTER, Model: BUICK ROADMASTER 1993Pages: 340, PDF Size: 18.34 MB
Page 240 of 340
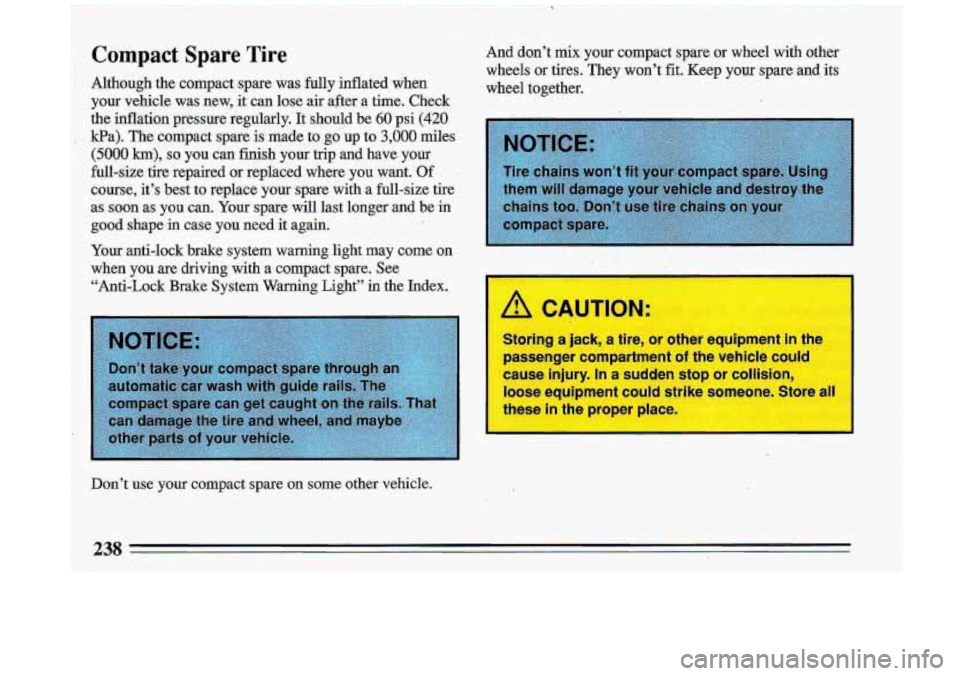
Compact Spare T,ire
Although the compact spare was fully inflated when
your vehicle -was new, it can lose air after a time. Check
the inflation pressure regularly. It should be
60 psi (420
Pa). The compact spare is made to g6 up to 3,000 miles
(50,OO km), so you can finish your trip and have. your
full-size tire repaired
or replaced where you want. Of
course, it’s best to replace your spare with a full-size ti\
re
as soon as you can. Your spare will last longer and be in
good shape in case you need it again.
Your anti-1ock.brake system warning light -may come on
when you are driving with a compact spare. See
“Anti-Lock Brake System Waming Light”
in the Index.
Don’t-use
your compact spare on some other vehicle. And don’t mix your compact spare or wheel
with other
wheels or tires. They. won’t
fit.. Keep your spare and its
wheel together.
., ,. .. .. , ...
L CAUTIOF
s J a Jal , a we, or orner equlpmenr in rn
passenger compartment of the vehicle could
cause injury. In
a sudden stop or collision,
loose equipment could strike someone. Store al
these
in the proper place
3s
Page 271 of 340
Center High Mounted Stop Light
Replacement
Lift up the tailgate window. Unscrew the two screws. Bring down the bulb assembly. Pull a bulb out of.its
retainer and replace. Reverse the,steps to reassemble.
Loading Your Vehi.cIe
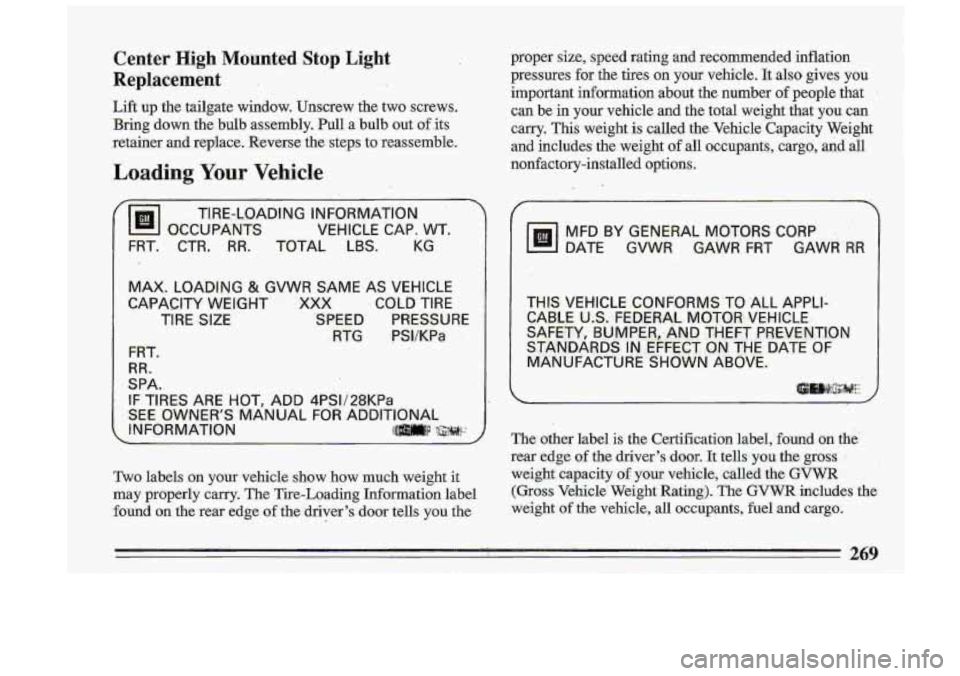
proper size, speed rating and recommended inflation
pressures for the tires
on your vehicle. It also gives you
important information about the number
of people that
can be in your vehicle and the total weight that you can
carry.
This weight is called the Vehicle Capacity Weight
and includes the weight of
all occupants, cargo, and all
nonfactory-installed options.
@I OCCUPAN'TS TIRE-LOADING
INF0,RMATlON
.
V:EHICLE CAP, WT.
FRT.. CTR. RR. TOTAL LBS. KG
1
MAX. LOADING & GVWR SAME AS VEHICLE
CAPACITY
WEIGHT XXX COLD TIRE
TIRE SIZE
SPEED PRESSURE
.RTG PSI/KPa
FRT.
RR.
SPA.
IF TIRES ARE HOT, ADD 4PSI/28KPa
SEE OWNER'S 'MANUAL FOR ADDITIONAL
INF0,RMATlON
ll]mp ,$$$#/:::
Two labels on your vehicle show how much weight it
may properly carry. The Tire-Loading Information label
found -on- the rear edge of the driver's door tells you the
Y
MFD BY GENER-At MOTORS CORP
DATE GVWR GAWR FRT GAWR
RR
THIS VEHICLE CONFORMS TO 'ALL APPLI- CABLE US. FE,DE.RAL MOT0.R'
VEH'ICLE
SAFETY, BU.MPER,-AND THiEFT PREVENTI0.N
STANDARD,S IN EFFECT ON THE DATE
OF
MANUFACTURE SHOWN ABOVE.
~i~,l\i$;~!~~!~
The other label is the Certification 'label, found on the'
rear edge of the driver's do,ar. It tells you the gross
weight capacity
of your vehicle, called the GVWR
(Gross Vehicle' Weight Rating). The GVWX includes the.
weight of the vehicle, all occupants, fuel and cargo.
269
Page 274 of 340
ION
)orly maintained and improper1
dangerous.
Overloading
- 3ur tires can caus [sed
tires are
e
overheating as a result
of too much
friction:You could have an air-out ant
serisws accident. See -“Loading Your
Vehicle”
in the Inde:
Underinflated tires
pose the same dangc
as overloaded tires. The resulting
accident’could cause serious injury.
Check
all tires frequently to maintain a I
recommended pressure. Tire pressure
sha I be checked when your tires are
cold
Overinflated tires are more likely to be cut,
punctured, or broken
by a sudden impact,
such as when
you hit a pothole. Keep tires
at the recommended pressure
Worn, old tires can cause accidents.
I,
your tread is badly worn, or if your tires
have been damaged, replace them.
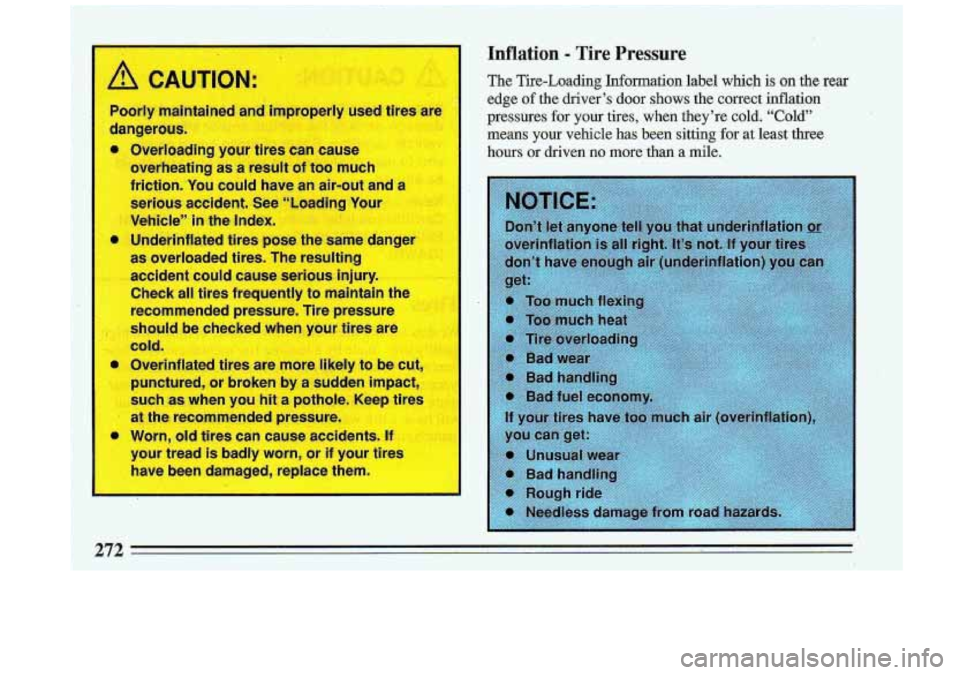
Inflation - Tire Pressure
The Tire-Loading Information label which is on the rear
edge of the driver’s door shows the correct inflation
pressures
for your tires, when they’re cold. “Cold”
means your vehicle
has been sitting for at least three
hours or driven no more than a mile.
Page 276 of 340
After the tires have beers rotated, adjust the front and
rea inflation pressure as shown on the Tire-Loading
Information label. Make certain that all wheel nuts ax9
properly tightened. See “Wheel Nut Torque” in the
’ ..
Index.
A CAUTION:
Rust or diir on a wheel, or on the parts to which
it is fastened, can make wheel nuts become
loose after a time. The wheel-could come off
‘and cause an accident. When you change a
wheel, remove any rust or dirt from places
where the wheel attaches to the vehicle.
In an
emergency, you can use a’cloth or a paper towel
to
do this; but be sure to use a scraper or wire
brush later,
if you need to, to get all the rust --
dirt off. (See “Changing a Flat Tire” in the
Index.)
I
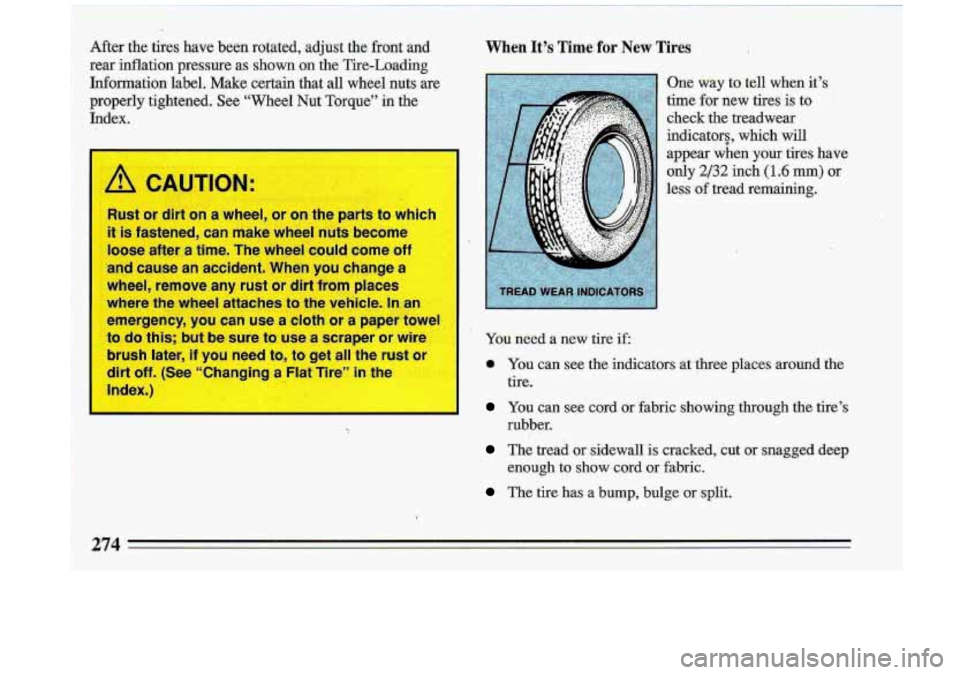
When It’s Time for New Tires
One way to tell when it’s
time for new tires
is to.
check the treadwear’-
*. ’
indicators, which will
appear when your tires have only
2/32 inch (1.6 mm) or
less of tread remaining.
I
I
.’
DU need a new tire if
You can see the indicators at three places around the
tire.
You can see cord or fabric showing through the tire’s
The tread or sidewall is cracked, cut -or snagged deep
rubber.
enough to show cord or fabric.
The tire has a bump, bulge or .split.
274
Page 311 of 340
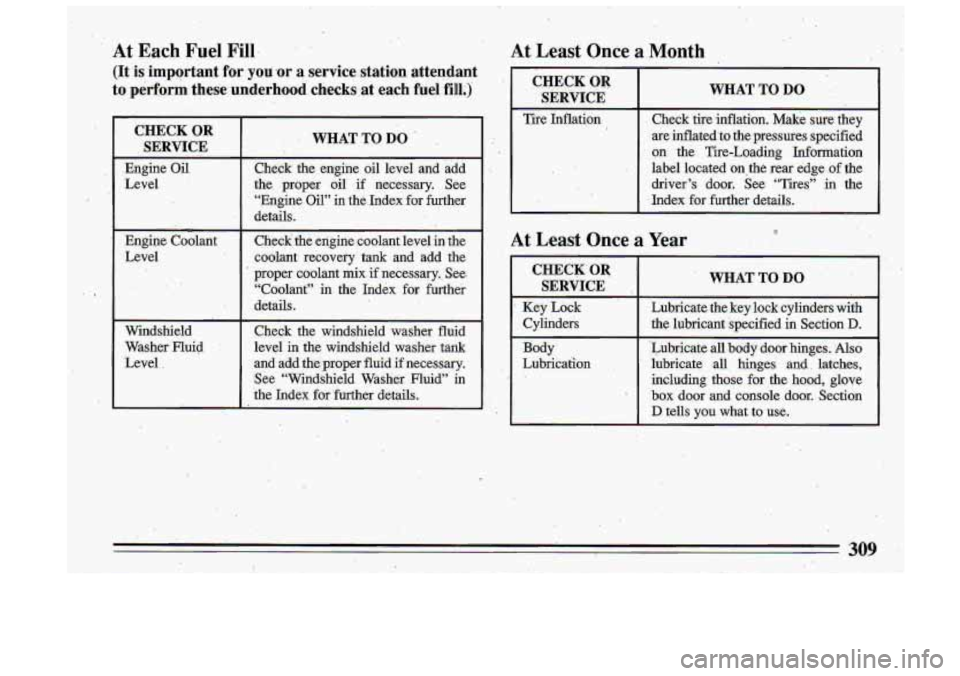
At Each Fuel Fill.
(It is important for you ‘or a service station. attendant
to perform these underhood
.ch~ecks ,,at each fuel fill.)
CHECK OR
SERVICE
Engine Oil
Level
Engine Coolant
Level
Winashield Washer Fluid
Level
.
WHAT TO DO .
Check the engine oil level and add
the. proper
oil. if necessary. See
Tngine Oil” in the Index for further
details.
Check the engine coolant level
In thy
coolant recovery tank and add the
’ proper coolant mix if necessary., See. “Coolant” in the Index for further
details.
Check the windshield washer fluid
level
in ‘the windshield washer tank
and add the proper fluid
if necessary.
See “Windshield Washer Fluid” in
the Index for ‘further details.
,, .,
At Least Once a Month
CHECK OR
‘SERVICE
Tire Inflation
WHAT TO DO ;
Check tire .inflation. Make sure they
are inflated to.the pressures specified
on the Tire-Loading Information
label located on, the rear edge
.of the
,driver’s door. See “Tires”
in the
Index for further details.
At Least Once a Year
s
CHECK-OR
I ’ SERVICE
Key Lock
I Cylinders
WHAT TO DO
Lubricate the key lock cylinders with
the. lubricant specified in Section D.
‘Lubricate all body door hinges. Also
lubricate all
hinges and. latches,
including those for, the hood, glove
box door and console .door. Section
D tells you what to use.
..
309