maintenance BUICK ROADMASTER 1993 Owners Manual
[x] Cancel search | Manufacturer: BUICK, Model Year: 1993, Model line: ROADMASTER, Model: BUICK ROADMASTER 1993Pages: 340, PDF Size: 18.34 MB
Page 41 of 340
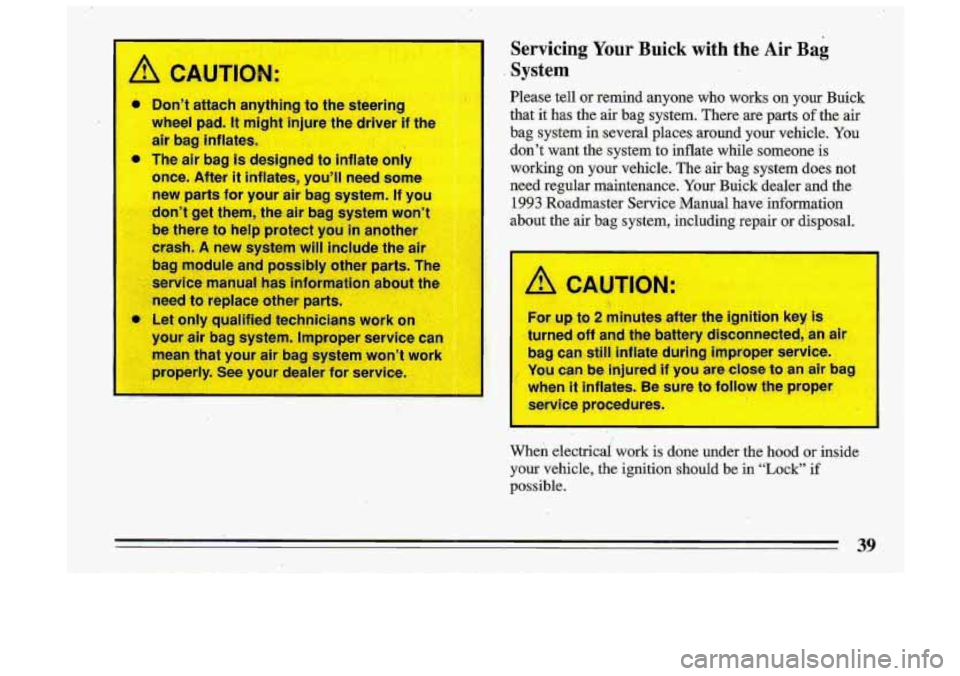
A CAUTION:
Servicing Your Buick with the Air Bag
System
Please tell or remind anyone who works on your Buick
that it has the air bag system. There are parts
of the air
bag system in several places around your vehicle. You
don't want the system to inflate while someone is working on your vehicle. The air bag system does not
need regular maintenance. Your Buick dealer and the
1993 Roadmaster Service Manual have information
about the air bag system, including repair
or disposal.
A CAUTION:
For up to 2 minutes after the ignition key is
turned
off and the battery disconnected,'an air
bag can still inflate during improper service.
You can be injured if you are close to an air bag
when it inflates. Be sure to
follow the proper
service procedures.
When electricai work is done under the hood or inside
your vehicle, the ignition
should be in "Lock" if
possible.
Page 155 of 340
.
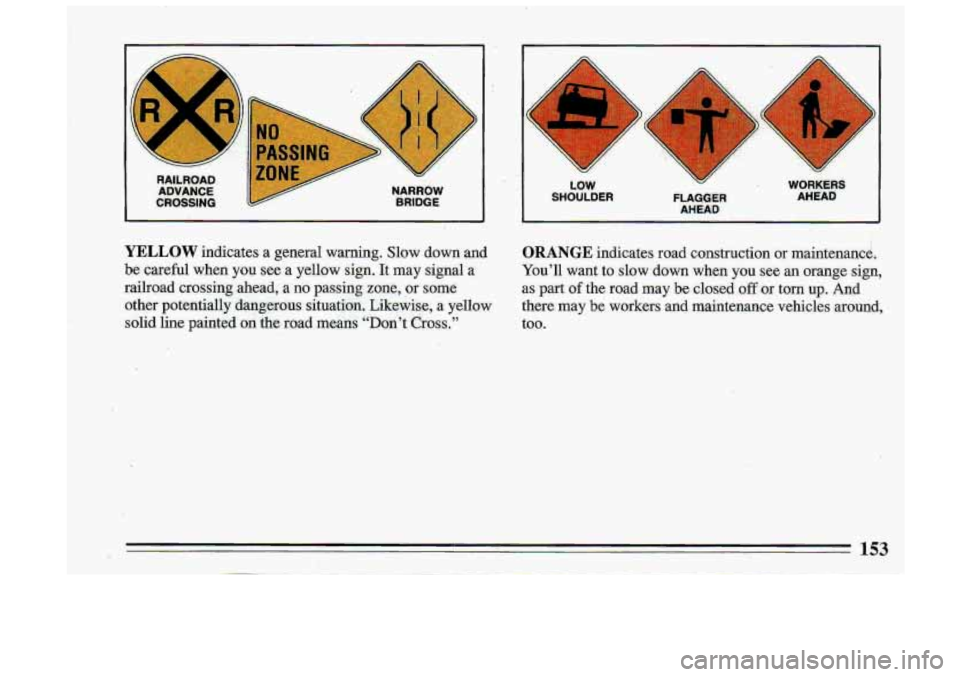
RAILROAD ADVANCE
CROSSING
NARROW
BRIDGE
x h
h
h
Y
I
LOW W WOBKE
SHOULDER FLAGGER AHEAD
AHEAD
YELLOW indicates a general warning. Slow down and
be careful when you see
a yellow sign. It may signal a
railroad crossing ahead, a no passing. zone, or somi
other potentially dangefous situation. Likewise, a yellow
.solid line painted on the road means “Don’t Cross.”
I
ORANGE indicates road construction or maintenance. I
You’ll want to slow down when you see an .orange sign,
as part of the road may be closed off .or torn up. And
there may be workers and maintenance vehicles -around,
too.
153
Page 244 of 340
Service Doing Your Own Service. Work
perform. see “Maintenance Record” in the Index.
Page 255 of 340
Air Cleaner
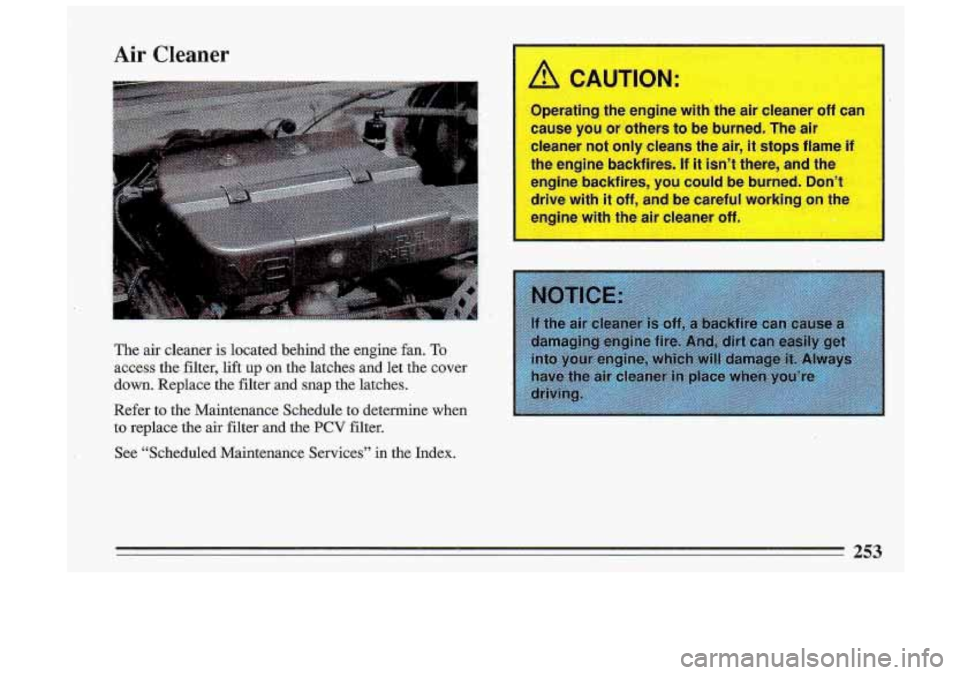
The air cleaner is located behind the engine fan. To
access the filter, lift up on the latches and let the cover
down. Replace the filter and snap the latches.
Refer
to the Maintenance Schedule to determine when
to replace-the air filter and the
PCV filter.
See “Scheduled .Maintenance Services”
in the Index.
Operath e engine wltn tne air cleaner off can
cause you or others to be burned. The air
cleaner not only cleans the air,
it stops flame i
the engine backfires. If it isn’t there, and the
engine backfires, you could be burned. Don’t
drive
with it off, and be careful working on tT
engine with t‘ air cf - - -- -8r om-
_.
I
253
Page 256 of 340
Automatic Transmission Fluid
When to Check and Change:
A good time to check your auiomatic transmission fluid
level is when the engine oil is changed. Refer to the
Maintenance Schedule to determine when to change
your fluid. See “Scheduled Maintenance Services” in
the Index.
How to Check:
Because this operation can be a little difficult, you may
choose to have this done at
a Buick,dealership Service
Department.
If
you do it yourself, be sure to follow all the
instructions here, or you could get a false reading on the
.
dipstick. Wait
at least
30 minutes before checking the
transmission fluid level
if you have been driving:
0 When outside temperatures are above. 90 F ‘(32 C);
0 At high speed for quite a while. I
In heavy traffic - &specially in hot weathEr.: . .
While pulling a trailer.
To get the right reading, the fluid should be at normal
operating temperature, which is
180 F to 200 *F (82 C
To check transmission fluid hot: Get the vehicle ‘warmed
up
by driving about 15 miles (24 krn) when outside
temperatures are above
50 F (1 0 C). If it’s colder than
50 F ( 10 C), drive the vehicle in “D” (3rd Gear) until
the engine temperature gage moves and then remains
steady for ten minutes. Then follow the hot check
procedures.
To check transmission fluid cold: A cold check is made
after the vehicle has been sitting for
8 hours or more
with the engine
off and is used only as a reference. Let
the engine run at idle for
5 minutes if outside
temperatures are
50 F (10 C) or more. If ‘it’s colder
than
50 OF (10 * C), you may have to idle the engine
longer.
A hot check must €0110~ when fluid is added
during
a cold check.
..
to 93 C).
254
Page 258 of 340
How to Add Fluid:
Refer to the Maintenance Schedule to determine what
kind
of transmission fluid to use. See “Recommended
Fluids and.lLubricants” in the Index.
If the fluid level is low, add only enough of the proper
fluid to bring the level up to the COLD area for a cold
check or the
HOT area fora hot check. It doesn’t take
much fluid, generally less than a pint. Don’t overfill.
we
recommend you use only fluid labeled DEXRONBIIE,
because fluids with that label are made-especially for
you automatic transmission. Damage caused by fluid
other than DEXRON@IIE
is not covered by your new
vehicle warranty.
0 After adding fluid, recheck the fluid level as
described under “How to Check.77
0 When the correct-fluid level is obtained, push the
dipstick back in all the way.
Rear Axle
When to Check and Change Lubricant:
Refer to the Maintenance Schedule to determine how
often to check the lubricant and when to change it. See
“Periodic Maintenance Inspections” in the Index.
How to Check Lubricant:
If the level is below the bottom of the filler plug hole,
you’ll need to add some lubricant. Add enough lubricant
to raise the level to the bottom
of the filler plug hole.
What
to Use:
Standard Differential
Use Axle Lubricant (GM Part
No. 1052271) or SAE
80W-90 GL-5 gear lubricant.
Limited-Slip Differential
To add lubricant when the level is low, use Axle
Lubricant (GM Part
No. 1052271) or SAE 8OW-90
GL-5 gear lubricant.
To completely refill after draining,
add
4 ounces (1 18 ml) of Limited-Slip Differential
Lubricant Additive (GM Part
No. 1052358). Then fill to
the bottom of the filler plug hole with Axle Lubricant
(GM Part
No. 1052271) or SAE 80W-90 GL-5 gear
lubricant.
Page 262 of 340
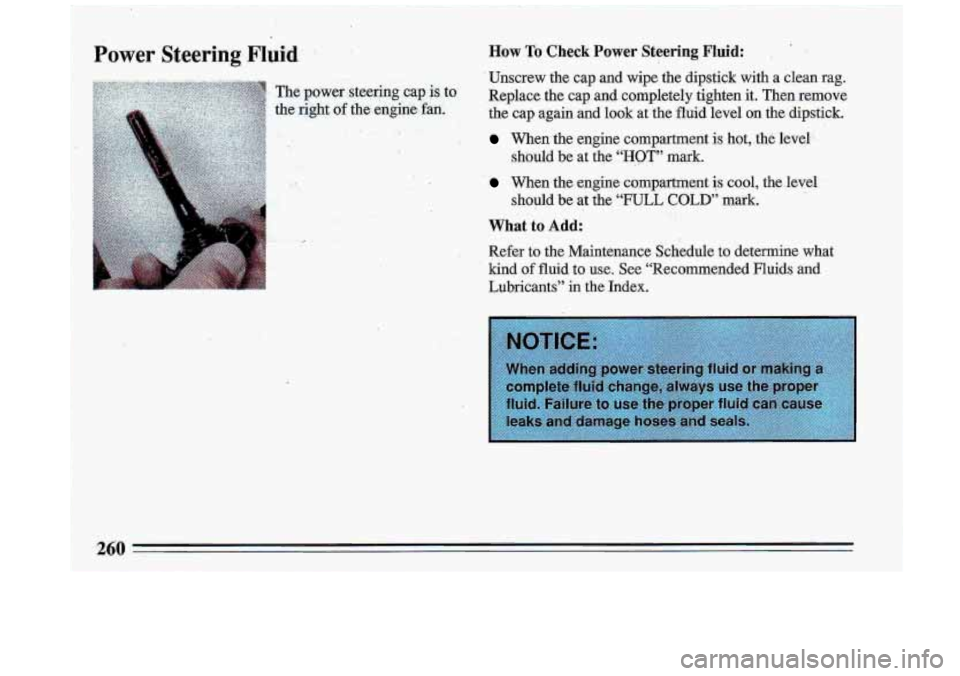
How To Check Power Steering Fluid: , ’ .
’ Unscrew the cap and wipe the dipstick with a clean rag.
Replace the cap and completely tighten it. Then remove
the cap again and look at the fluid level on the dipstick.
When the engine compartment is hot, the level %-‘- L
should be at the “HOT” mark. *. s
When the engine Compartment is cool, the level
should be at the “FULL
COLD’; mark.
What to Add:
Refer to the Maintenance Schedule to determine what
kind
of fluid to use. See (‘Recommended Fluids and
Lubricants” in the Index.
k‘ T, ’ . I
Page 275 of 340
When to Check: Check your tires once .a month or
more.
Don’t forget
your compact spare-tire (if SO equipped). It
should be at 60 psi (420 Pa).
How to Check: Use a good quality pocket-type gage to
check tire pressure. Simply looking at the tires will not
tell you the pressure, especially if
you have radial tires
- which may look properly inflated even if they’re
underinflated.
If your tires have valve caps, be sure to put them back
.on. They help prevent leaks by keeping
out dirt and
moisture.
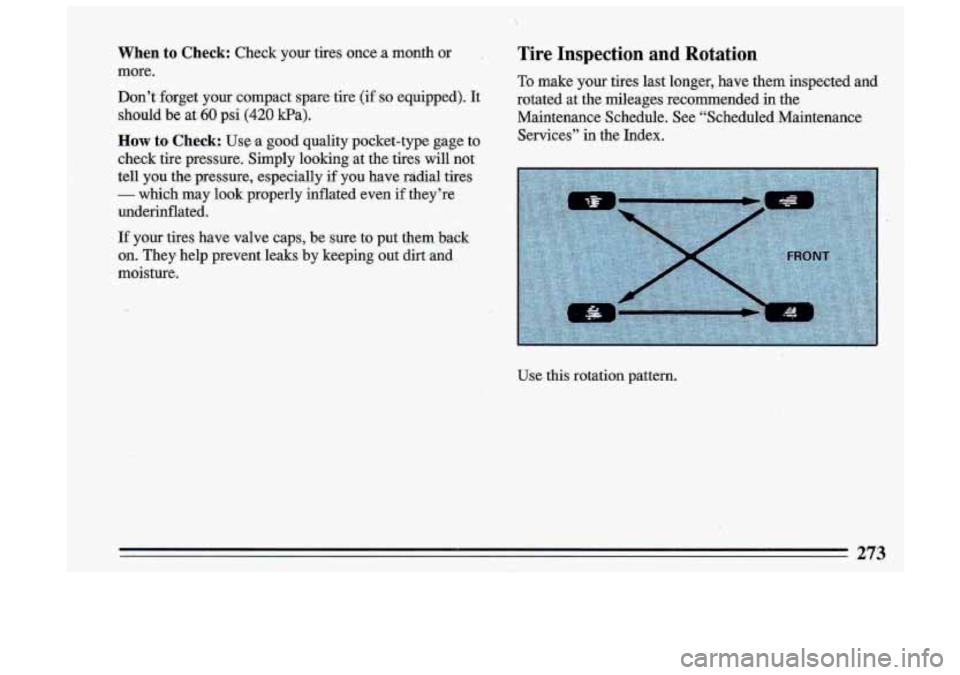
Tire Inspection and Rotation
To make your tires last longer, have them inspected and
rotated at the mileages recommended in the, Maintenance Schedule. See “Scheduled Maintenance Services”
in the Index.
Use this rotation pattern.
t
273
Page 287 of 340
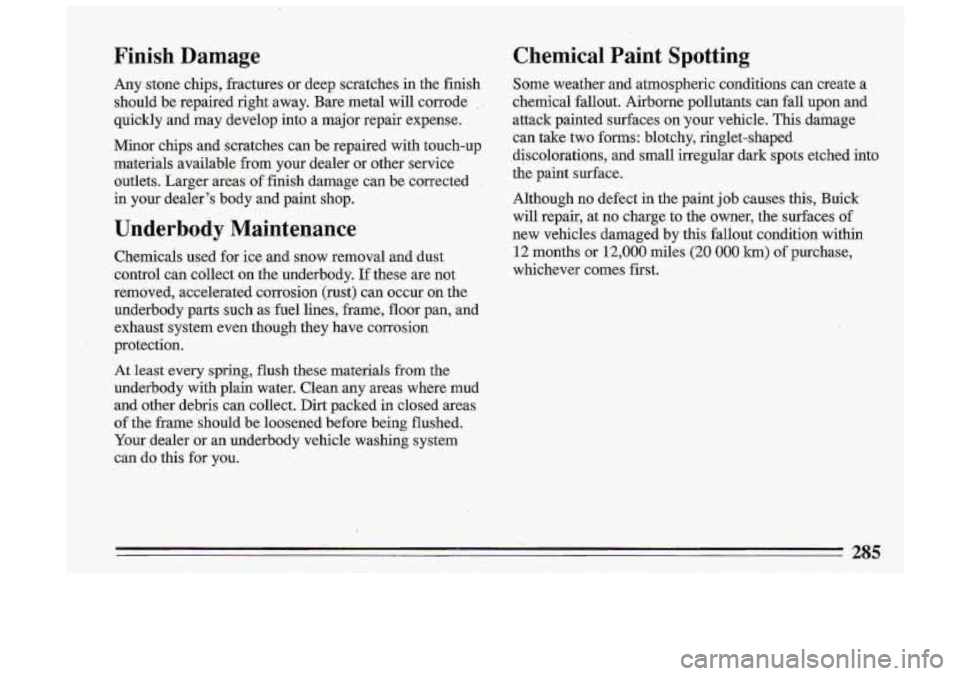
Finis,h Damage
Any stone chips, fractures or deep scratches in the fini.sh
should be repaired right away. Bare metal will corrode
quickly and may develop into a major repair expense.
Minor chips and scratches can be repaired with touch-up
materials available from your dealer .or other service outlets. Larger areas'of finish damage can be corrected
,
in your dealer's body and paint shop.
Un,derbody Maintenance
Chemicais used €or ice, and snow removal and-dust
control can collect
on the underbody. If these are not
removed, accelerated corrosion (rust) can occur .on. the
underbody.parts such as fuel lines, frame, floor pan, and
exhaust system even though they have corrosion
protection.
At least every spring, flush these materials from the
underbody with plain water. Clean any areas where mud
and other debris can collect. Dirt packed in closed areas
of the frame should be loosened before being flushed.
Your dealer or an underbody vehicle washing system
can do this for you.
Chemical Paint Spotting
Some weather and atmosphexic conditions can create a
chemical fallout. Airborne pollutants can fall upon and
attack painted surfaces
on your vehicle. This damage
can take
two forms: blotchy, ringlet-shaped
discolorations, and small irregular dark
spots etched into
the paint surface.
Although no defect in the paint job causes this, Buick
will repair, at no chaKge to the owner, the surfaces
of
new vehicles damaged by this fallout condition within
12 months or 12,000 miles.(20 000 km) of purchase,
whichever comes first.
9
t
285
Page 288 of 340
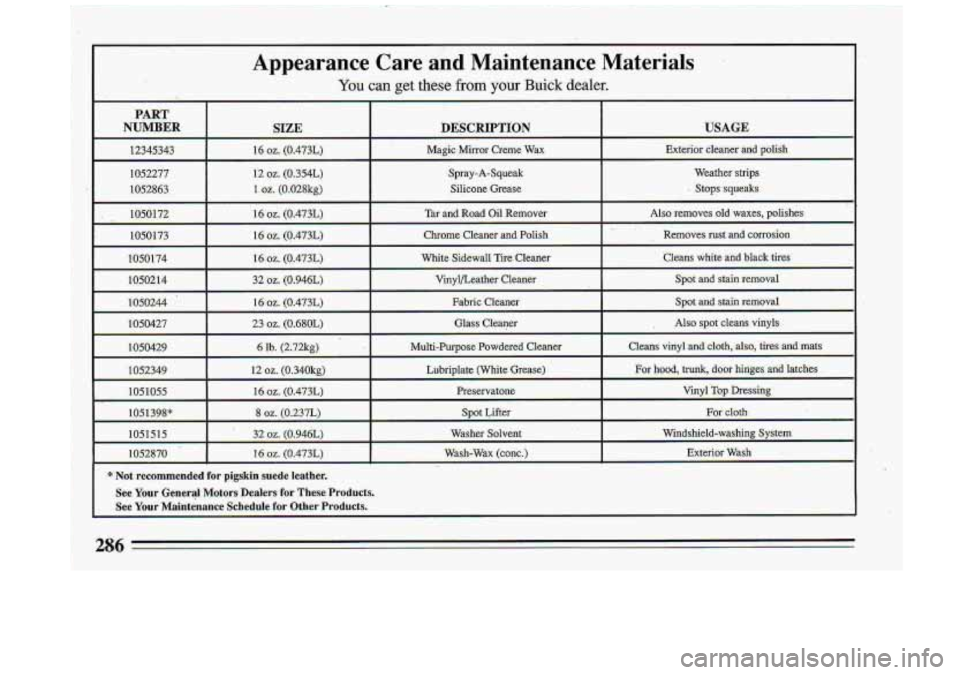
Appearance
You
PART
NUMBER SIZE
12345343 16 02. (0.473L
1052277 12
oz. (0.354L)
1052863
L.oz. (0.028kg)
1050172 16 oz. (0.473L)
1050173 16
oz. (0.473L)
1050174
16 oz. (0.473L)
1 0502 1 4 32
oz. (0.946L)
1050244
16 oz. (0.473L)
1050427 23
oz. (0.680L)
1050429 6 lb. (2.72kg)
1052349 12
oz. (0.340kg)
I05 1055 16 oz. (0.473L)
1051398"
8 02. (0.237L)
1051515 32
oz. (0.946L)
1052870
16 02. (0.473L)
* Not recommended for pigskin suede leather.
See Your General Motors Dealers for These Product
See Your Maintenance Schedule for Other Products.
Care and Maintenance Materials
:an get these from your Buick dealer.
DESCRIPTION USAGE
lgic Mirror Creme Wax Exterior cleaner and polish
Spray-A-Squeak Weather strips Silicone Grease
. Stops squeaks
Tar and Road Oil Remover Also removes old waxes, polishes
Chrome Cleaner and Polish Removes rust
and corrosion
White Sidewall Tire Cleaner Cleiins white and -black
tires
Vinylbeather Cleaner Spot and stain removal
Fabric Cleaner Spot and
stain removal
Glass Cleaner Also spot cleans vinyls
Multi-PurposkPowdered Cleaner Cleans vinyl
and cloth, ako,
tires andmats
Lubriplate (White Grease) For hood,
trunk,
door hiriges afid latches
Preservatone Vinyl Top Dressing
-
Spot Lifter For cloth
Washer Solvent Windshield-washing System
Wash-Wax (conc.) Exterior Wash
286