parking brake BUICK ROADMASTER 1993 Owners Manual
[x] Cancel search | Manufacturer: BUICK, Model Year: 1993, Model line: ROADMASTER, Model: BUICK ROADMASTER 1993Pages: 340, PDF Size: 18.34 MB
Page 14 of 340
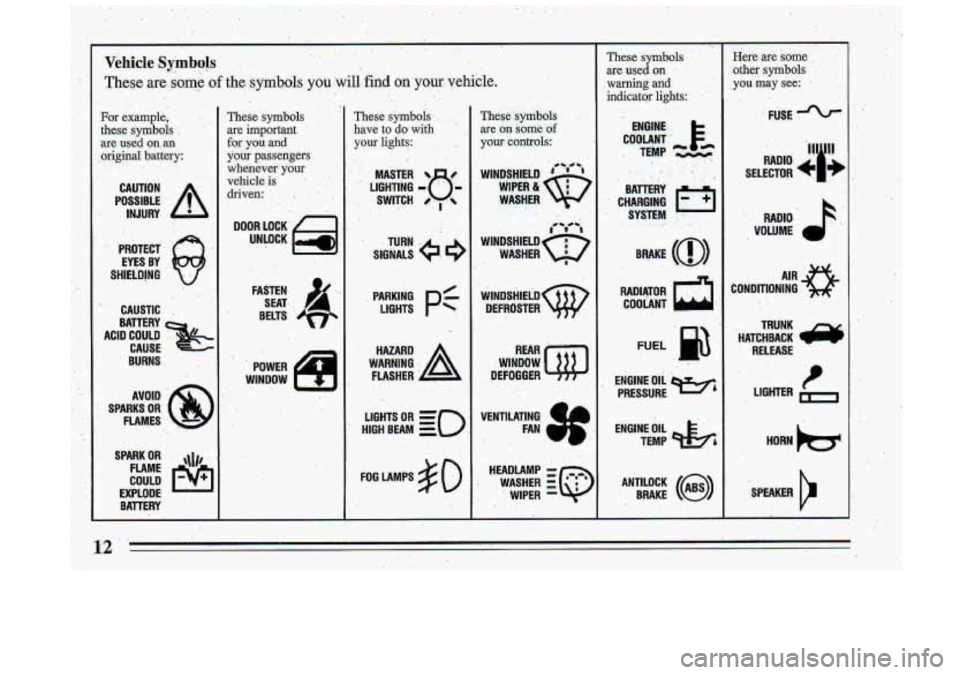
Vehicle Symbols . , . '
mcese are some .of the,symbols you will find on your vehicle. . ' . '".' . '*
I. .. . .- . .* . t . . :.
.. ... .. , I. .'
For example,
these symbols
'
are used on an
original battery:
CAUTION
INJURY
..
POSSIBLE: .' A
.' PR~TECT @
EYES BY
SHIELDING
CAUSTIC
ACID COULD
&
BATTERY CAUSE
BURNS
SPARKS AVOID
OR '"8
FLAMES
COULD
EXPLODE BATTERY
I,
These symbols
are
important
for you.and.
your passengers
whenever your
vehicle-is- ' .
driven: ~ , E , .. , .,
iI
..
DOOR LOCK,' f 1
UNLOCK e
SEAT,
BELTS
WlNDOW
f -1
POWER
These symbols, . _.
have to'do with , .
your lights: ' ,. , - .<
*_
' 'LIGHTING
-8-
MASTER %. . 8
. 'SWITCH /., .
PARKING pf
LIGHTS
HAZARD
WARNING
:A
FLASHER
HIGH
'IGHTS BEAM OR = =o
,. T.hese symbols ',
are on some bf
your controls.:
WIN'DSHIELD. ' ' ' 0- c,
WIPER a Q
WINDSHIELDQ WASHER
** ri I91
WASHER I
. WlNDSHlELD(fji)
DEFROSTER
,) .
WINDOW
DEFOGGER
' WASHER EG
HEADLAMP -
WIPER
These symbols
are used on '
,warning and
indicator lights:
RADIATOR COOLANT
FUEL
ENGINE OIL 'e,
PRESSURE
TEMP
Oli 4%
ANTILOCK. (a)
BRAKE
Bere are some
other symbols
,you may see:
FUSE
RADIO.
CONDITIONING ..
TRUNK
HATCHBACK
e
RELEASE --
LIGHTER e,
SPEAKER
b
?
Page 83 of 340
Limited-Slip Rear Axle
If you have this feature, your rear axle can give you
additional traction on snow,, mud, ice, sand or gravel. It
works like a standard axle most of the. time; but when
one of the rear wheels has
no traction and the other
does, the limited-slip feature will allow the wheel with
traction to move the vehicle.
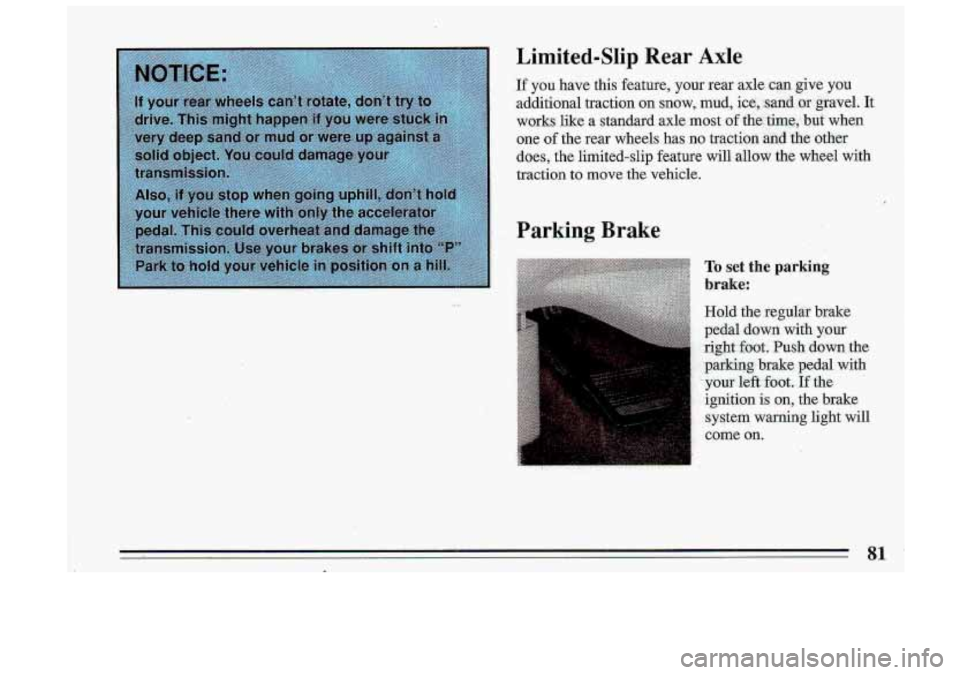
Parking Brake
To set the parking
brake:
Hold the regulaT brake
pedal down- with y,our
rightfoot. Push down the
1: parkng. brake pedal with
1;. -your lefi-foot.. rf the
1:. 'ignition is on, the brake
i~ ,system warning light will
come
on.
Page 84 of 340
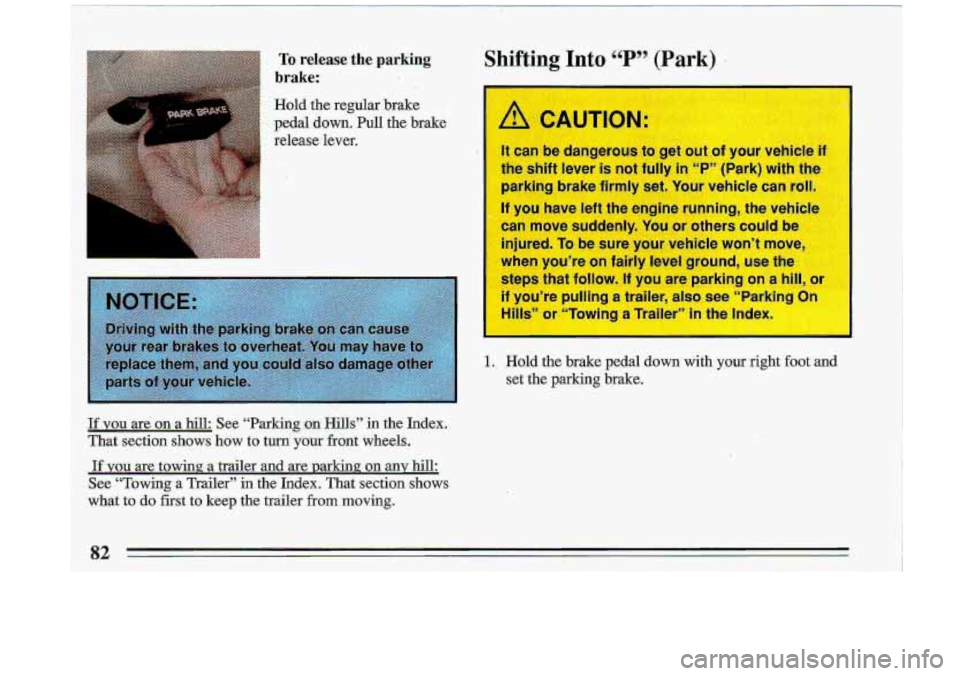
,. To release the parking
brake:
Hold the regular brake
pedal down. Pull the brake
release lever.
,.( r
Jf YOU are .on a hill: See “Parking on Hills” in the Index.
That section
shows how to turn’ yoax front wheels.
If you are towinp a trailer and are.parking’on any hin:
‘See
“Towing a Trailer” in the Index. That section shows
:what
to do first to keep the trailer from moving.
. .(*
Shifting Into P (Park)
ci 99
It can be dangerous to get out of your vehicle if
the shift lever is not fully in T” (Park) with the
parking brake firmly
set. Your vehicle can roll.
If you have left the engine running, the vehicle
can move suddenly. You or others could be
, injured. To be sure your vehicle won’t move,
when you’re
on fairly level ground, use the
steps that follow.
If you are parking on a hill, ~r . 11
if you’re pulling a trailer, also see “Parking Or-.
Hills” or “Tcl ..:nu a Trailer” in the Index.
I
1 .. Hold the brake pedal down with your right foot and
set the parking brake.
Page 122 of 340
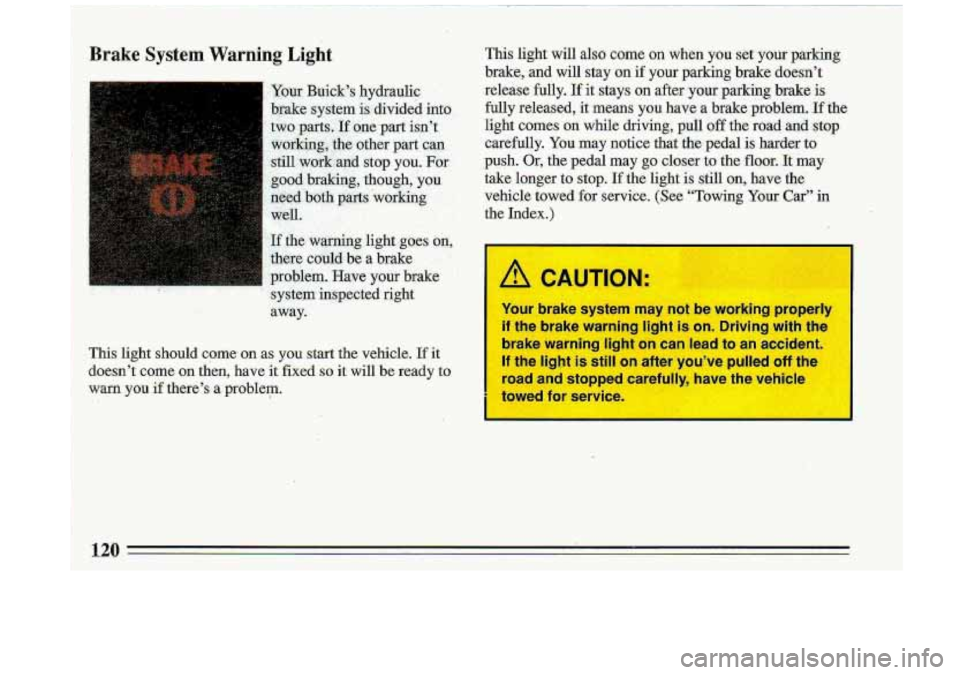
Brake System Warning Light
I Your Buick’s hydraulic .. . -
brake system is divided intd
two parts..If Qne-part isn’t
working, the other
part’ can
stil1,work:aT;lCl stop you. For
g,ood. braking, though, you.
need ‘both parts working,
.. ’.
well. - ’ . i; &. ..
If the. warning light goes an,
there -cbuld be a brake
.L_ ., . - , >.
problem. Have your brake ’
’ system inspected .. . right .. . ,
away.-
. . . , .I
This light should come’ on as you start the vehicle. If it
doesn’t corne on then, have it fixed
so it will be ready to
warn you
if there’s a problem.
This light will also come on when you set your parking
brake,
and will stay on if your parking brake doesn’t
release fully.
If it stays on after. your parking brake is
fully released,
it means you have a brake problem. If the
light comes on while driving, p.d off the- road and stop
carefully. You may notice that the pedal is harder
to
push. Or, the pedal may go closer to the floor. It may
take longer to stop.
If the light is still on, have the-
vehicle towed for service. (See “Towing Your Car” in
the Index.)
/! CAUTION.
Your brake system may not be working properly
if the brake warning light is on. Driving with the
brake warning light on can
lead to an accident.
If the light is still on after you’ve pulled off the
road and stopped carefully, have the vehicle
ta
?d for SE ice
Page 161 of 340
Your Own Signals Defensive Driving
Drivers signal
to others, too. It’s not only more polite,
it’s safer ‘to let other drivers know what you are doing.
And in some places the law requires driver signals.
Turn and lane change signals. Always signal when you
plan to turn or change lanes.
If necessary, you can
use hand signals out the window:
Left arm straight out for
a left turn, down- for slow or
about-to-stop, and up for a right turn.
Slowing. down. If time allows, tap the brake pedal once
or twice
in advance of slowing or stopping. This warns
the driver behind you.
Disabled. Your -four-way flashers signal that your
vehicle is disabled or is a hazard. See “Hazard Warning
Flasher” in the Index.
Traffic Officer
The traffic police officer is also a source of important
information.
The officer’s signals govern, no matter
what the traffic lights or other signs say.
The next section discusses some of the road conditions
you
may encounter. The
best advice anyone can give about driving is: Drive
i
defensively. !
Please start with a very important safety device in your
Buick: Buckle up. (See “Safety Belts” in the Index.) i
Defensive driving really means “be ready for anything.”
On city streets, rural roads, or freeways, it means
“always expect the unexpected.”
Assume that pedestrians or other drivers are going to be
careless and make mistakes. Anticipate what they might
do. Be ready for their mistakes.
Expect children to dash out from behind parked cas,
often-followed by other children. Expect occupants
in
parked cars to open doors into traffic., Watch for
movement
in parked cars - someone may be about to
open a door.
Expect other drivers to run stop signs when. you are on a
through street. Be ready to brake if necessary
as you go
through intersections. You may not have
to use the
brake, but if you do, you will be ready.
If you’re driving through a shopping center parking lot
where there are well-marked lanes, directional arrows,
and designated parking areas, expect.some drivers to
159
__
Page 209 of 340
I
I
You eou be injured ! V€ !s roll
parking brake firmly on each vehicle. Put an
automatic transmission
in ‘‘P” (Park) or a
manu nsl in 9
3. Twm off the ignition .on both vehicles. Turn ofr all
lights that aren’t needed, and radios. This will avoid
sparks- and help save both batteries. And
it could
save your radio!
4. Open the hoods and locate the batteries. Find the
positive (+) and negative (-) terminals on each
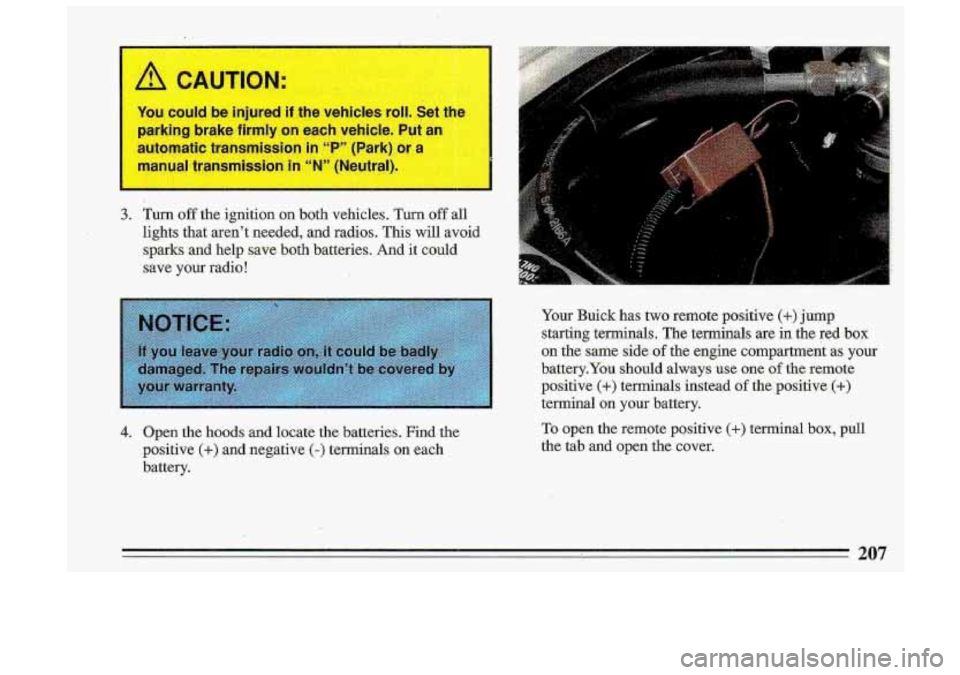
battery. Your Buick has two remote positive.
(+) jump
starting terminals.
The terminals are in the red box
on the. same side’of the engine compartment BS your
battery.You should always use one, of the remote
.positive
(+) terminals instead of the positive (+)
terminal on your battery.
To open the remote positive (+) terminal box, pull
the tab and open the cover.
Page 226 of 340
If a Tire Goes Flat Changing .a Flat Tire
I! CAUTIO1
can slip off the jack and roll over you or othe-
people. You and they could be badly injured.
Find a level place to change your
=
prevent the vehicle from moving:
1. Set the parking brake firmly.
2. Put the shift lever in
3. Turn off the engine. Park),
To be even
more certain the vehicle won't move.
you can put chocks at the front and rear of the
tire farthest away from the one being changed.
That would be the tire on the other side
of the
vehicle. at the otmosite end.
Page 257 of 340
To check the fluid hot or cold:
0 Park your vehicle on a level place.
Place the shift.lever in “P” (Park) with the parking
brake applied.
0 With your foot on the brake pedal, move the shift
lever through each gear range, pausing for about 3
seconds in each range. Then, position the shift lever
in
“P” (Park).
Let the engine run at idle for 3 minutes or more.
Then, without shutting
off the enpine, follow these
steps:
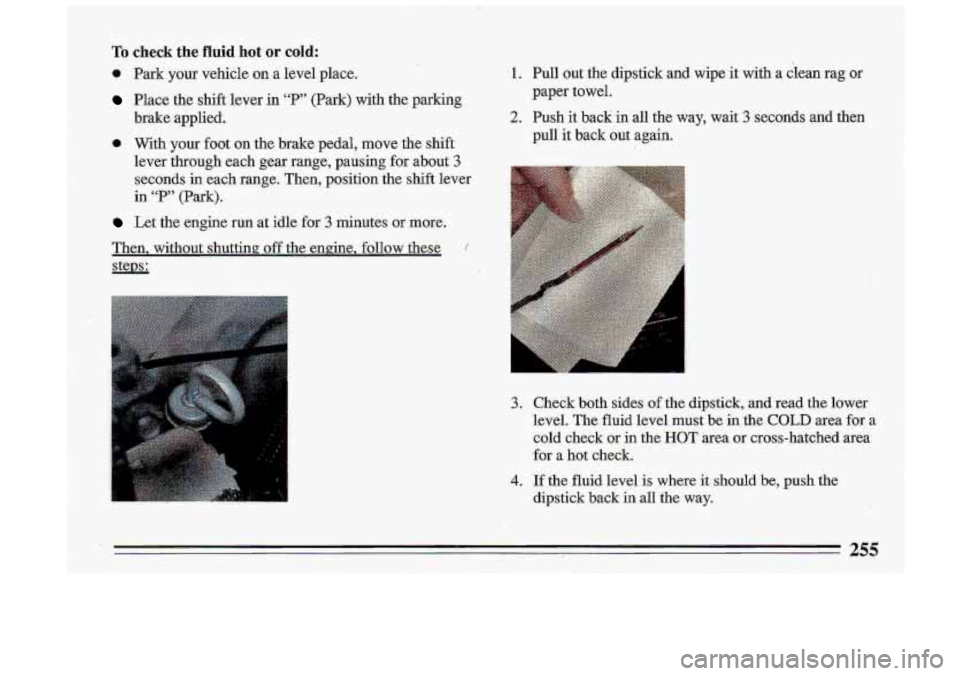
1. Pull out the dipstick and wipe it with a clean rag or
paper towel.
2. Push it back in all the way, wait 3 seconds and then
pull it back out again.
3. Check both sides of the dipstick, and read the lower
level. The fluid level must be in the
COLD area for st
cold check or in the HOT area or cross-hatched area
for
a hot check.
4. If the fluid level is where it should be, push the
dipstick back in all the way.
255
Page 333 of 340
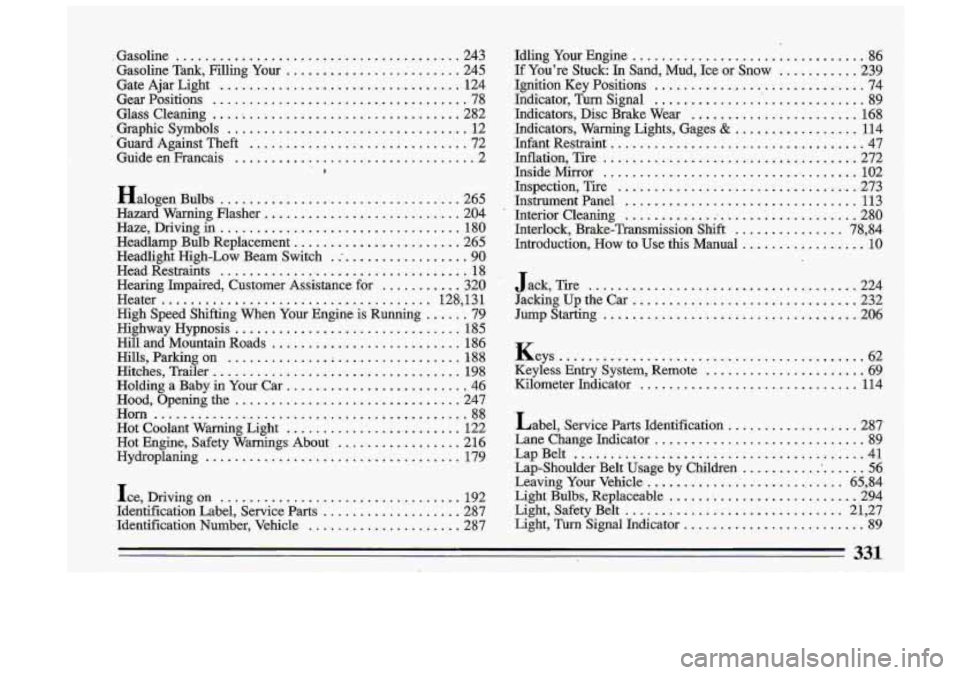
.Gasoline ....................................... 243
Gasoline Tank. Filling Your
........................ 245
Gate Ajar Light
................................. 124
Gear Positions
................................... 78
Glass Cleaning
.................................. 282
Graphic Symbols
................................. 12
Guard Against Theft
.............................. 72
Guide en Francais
................................. 2
Halogen
Bulbs ................................. 265
Hazard Warning Flasher ........................... 204
Haze. Driving in ................................. 180
Headlamp Bulb Replacement
....................... 265
Headlight High-Low Beam Switch
. : ................. 90
Head Restraints ................................... 18
Heater
..................................... 128.. '13 1
Highway Hypnosis ............................... 185
Hill and Mountain Roads
.......................... 186
Hills. Parking on
.............. : ................. 188
Hitches. Trailer
.................................. 198
Holding
a Baby in Your Car ......................... 46
Hood. Opening the
............................... 247
Horn
........................................... 88
Hot Coolant Warning Light
........................ 122
Hot Engine. Safety Warnings About
................. 216
Hydroplaning
................................... 179
Ice. Driving
on ................................. 192
Identification Label. Service Parts
................... 287
Identification Number. Vehicle
..................... 287
Hearing Impaired. Customer Assistance
for
........... 320
High Speed Shifting When Your Engine
is Running ...... 79 Idling
Your Engine
................................ 86
If You're Stack: In Sand. Mud. Ice or Snow ........... 239
Ignition Key Positions
............................. 74
Indicator. Turn Signal
.............................. 89
Indicators. Disc Brake Wear
....................... 168
Infant Restraint
.................................. -47
Inflation. Tire
................................... 272
Inside Mirror
.................................... 102
Inspection. Tire
................................. 273
Instrument Panel
................................ 113
Interior Cleaning
............ *- .................. -280
Interlock. Brake-Transmission
Shift ............... 78. 84
Introduction. How
to Use this Manual ................. 10
Jack. Tire ..................................... 224
Jacking Up the Car
............................... 232
Jump Starting
................................... 206
Keys
.......................................... 62
Keyless Entry System. Remote
...................... 69
Kilometer Indicator
.............................. 114
Label. Service Parts Identification
.................. 287'
Lane Change Indicator
............................. 89
Lap-Shoulder Belt Usage by Children
.................. 56
Leaving Your Vehicle ............................ 65. 84
Light Bulbs. Replaceable
........................... 294
Light. Safety Belt
.............................. 21. 27
Light. Turn Signal Indicator
......................... 89
Indicators. Warning Lights. Gages
& ................. 114
LapBelt
........................................ 41