wiring BUICK ROADMASTER 1993 Owners Manual
[x] Cancel search | Manufacturer: BUICK, Model Year: 1993, Model line: ROADMASTER, Model: BUICK ROADMASTER 1993Pages: 340, PDF Size: 18.34 MB
Page 92 of 340

As you signal a turn or a lane change, if the arrows don't
flash but just stay on, a signal bulb may be burned out
and other drivers won't see your turn signal.
If a bulb is burned out, replace it to help avoid an
accident. If the green arrows don't go on at all when you
signal a turn, check the fuse (see "Fuses" in the Index)
and for burned-out bulbs.
If you have a trailer towing option with added wiring for
the .trailer lights, a different
turn signal flasher is used.
With this flasher installed, the signal indicator will flash
even if
a turn signal bulb is burned out. Check the front
and rear turn signal lights regularly to make sure they
are working.
Turn Signal Reminder
A chime will sound if your turn signal remains on after
having driven
1/2 mile, to remind you to turn off your
signal.
Operation of Lights
Although your vehicle's lighting system (headlamps,
parking lamps, fog lamps, side marker lamps and tail
lamps) meet all applicable Federal lighting
requirements, certain States and Provinces may apply their own lighting regulations that may require special
attention before you operate these lamps. For.example,
some jurisdictions may require that you operate your
lower beam lamps with fog lamps at -all times, or that
headlamps. be turned
on whenever you.must use your
windshield wipers. In addition, most jurisdictions
prohibit driving solely with parking lamps, especially at
dawn or dusk. It is recommended that you check with
you own State or Provincial highway authority. for
applicable lighting regulations.
Headlight High-Low Beam
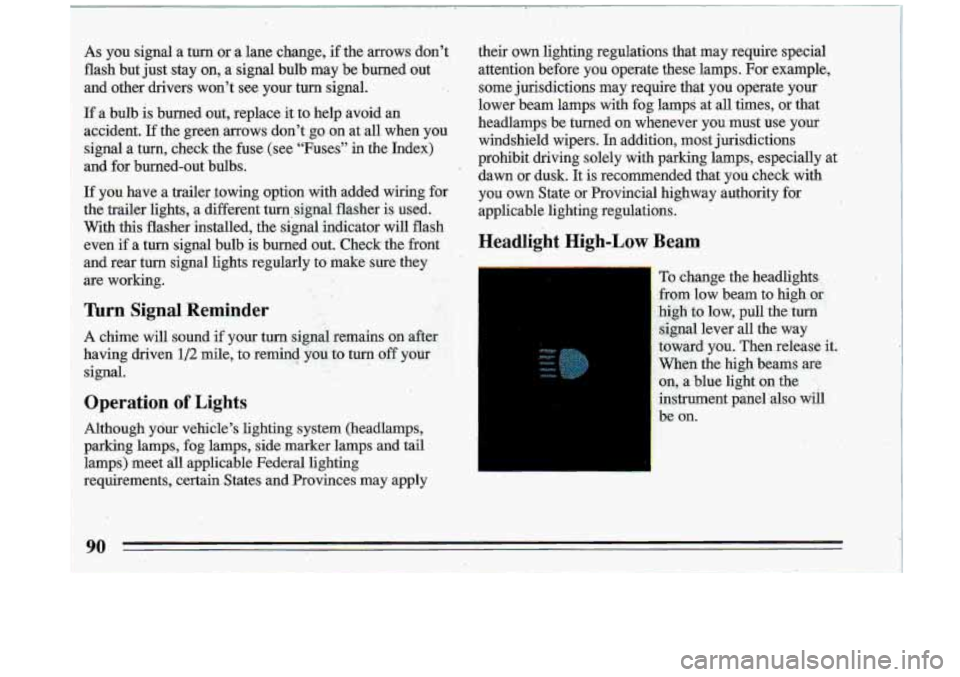
To change the headlights.
l .from low beam to high or..'
:hi:& -to low, pull the turn
signal lever all the way
'toward you. Then .release it.
When the high beams are
on, a blue light, on the
instrument panel -also will
be on.
90
Page 201 of 340

Driving with a Trailer
Towing a trailer requires a certain amount of experience. Before setting out for the open road, you’ll want to get
to
know your rig. Acquaint yourself with the feel of
handling and braking. with the added weight of the
trailer. And always keep in mind that the vehicle you are
driving is now
a good deal longer and not nearly so
responsive as your vehicle is by itself.
Before you start, check the trailer hitch and platform,
safety chains, electrical connector, lights, tires and
mirror adjustment.
If the trailer has electric biakes, start
your yehicle and trailer moving and then apply the
trailer brake controller by hand to be sure the- brakes are
working. This lets you check your electrical connection
at the same time.
During your trip, check occasionally to
be sure that the
load
is secure, and that the Lights.and any trailer brakes
are .still working.
Following Distance
Stay at least twice as far behind the vehicle ahead as you
would when driving your vehicle without a trailer. This
can help
you avoid situations that require heavy braking
and sudden turris.
.
Passing
You’ll need. more passing distance up ahead when
you’re towing a trailer. And, because you’re a good deal \
longer, you’ll need to go much farther beyond the
.
passed vehicle before you can return to your lane.
Backing Up
Hold the bottom of the steering wheel with one hand.
Then, to move the trailer
to the left, just move that hand
to the left.
To mo.ve the trailer to the right, move your
hand to the right. Always back up slowly and, if
possible, have someone guide
you.
Making Turns
When you’re turning with a trailer, make wider turns
than normal.
Do this so your trailer won’t strike soft
shoulders, curbs, road signs, trees, or other objects.
Avoid jerky or sudden maneuvers. Signal well in
advance.
Turn Signals When Towing a Trailer
When you tow a trailer, your vehicle has to have .a
different turn signal flasher and extra wiring. The green
arrows on your instrument panel will
flash whenever
you signal a
turn or lane change. Properly hooked up,
199
Page 290 of 340

Fuses and Circuit Breakers
The wiring circuits in your car are protected from short
circuits by a combination of fuses, circuit breakers, and
fusible thermal links in the wiring itself. This greatly
reduces the chance.
of fires caused by electrical
problems.
Be sure to use the correct fuse if you need to replace
one.
If you ever have a problem on the road and don’t
have a spare fuse, you can ‘‘borrow” one of the correct
value. Just pick some feature
of your car that you can
get along without
- like the radio or cigarette lighter -
and use its fuse, if it is of the value you need. Replace it
as soon as you can.
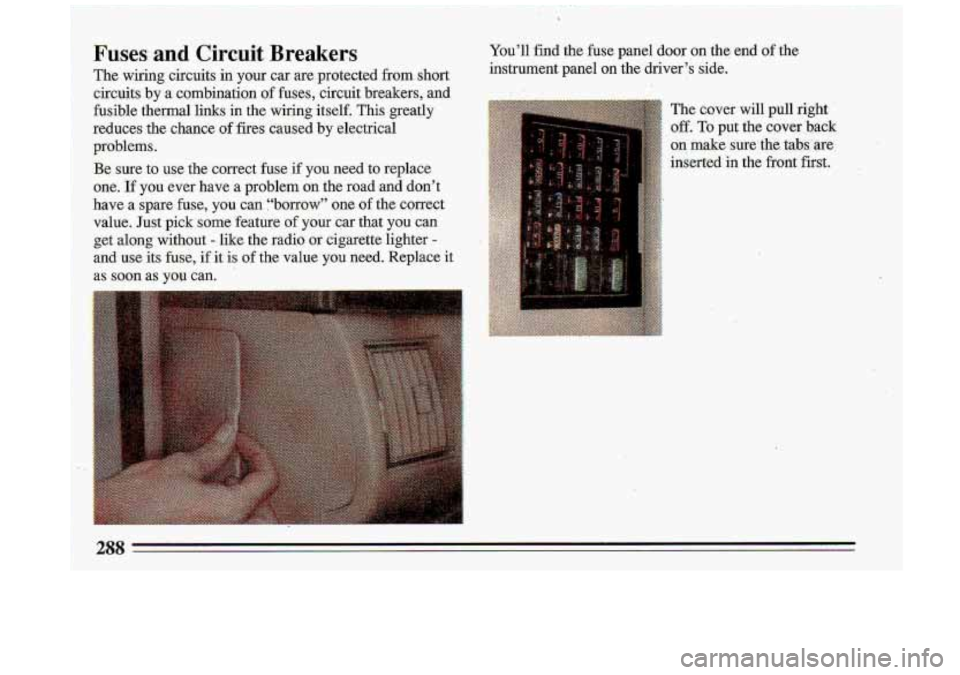
The cover will pull right
off. To put the cover ,hack
on make sure the tabs are
inserted in the front first.
Page 293 of 340

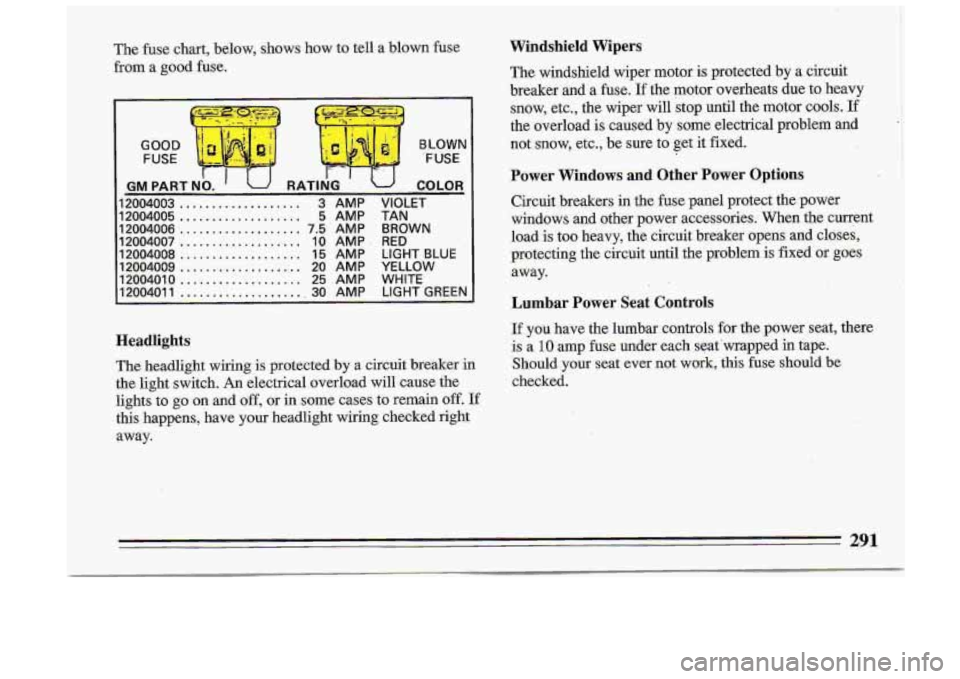
The fuse chart, below, shows how to tell a blown fuse
from a good fuse.
GOOD
FUSE
I
BLOWN
-FUSE
I
GM PARTNO.. ' RATING ' LJ COLOR
12004003 ................... 3 AMP VIOLET
I2004005 ................... 5 AMP TA-N- .
12004006 ................... 7.5 AMP BROWN
12004007 ................... IO AMP . RED
12004008 ................... 15 AMP LIGHT BLUE
12004009 ................... 20 AMP YELLOW
12004010 ................... 25 AMP WHITE
1200401 1 .................... 30 AMP LI'GHT GREEN
Headlights
The headlight wiring is protected by a circuit breaker in
the light switch. An electrical overload will cause the
lights to
go on and off, or in some cases to remain off. If
this happens, have your headlight wiring checked right
away.
Windshield Wipers.
The windsheld wiper motor is protected hy a circuit
breaker and a fuse.
If the motor overheats due to heavy
snow, etc., the wiper will stop until the motor cools.
If
the .overload is caused by some electrical problem and
not snow, etc., be sure to get it fixed.
Power Windows and Other Power Options
Circuit .breakers in the fuse panel protect the power
windows and other power accessories. When the current
load is too heavy, the circuit breaker opens. and closes,
protecting the circuit until the problem is fixed or goes
away.
Lumbar Power Seat Controls
If you have the lumbar controls for the power seat, there
is a
10 amp fuse under each seat 'wrapped in tape.
Should your
seat ever not work, this fuse should be
checked.