buttons BUICK VERANO 2015 Owner's Guide
[x] Cancel search | Manufacturer: BUICK, Model Year: 2015, Model line: VERANO, Model: BUICK VERANO 2015Pages: 393, PDF Size: 4.74 MB
Page 164 of 393
Black plate (7,1)Buick Verano Owner Manual (GMNA-Localizing-U.S./Canada/Mexico-
7707488) - 2015 - CRC - 10/31/14
Infotainment System 7-7
2. Select Radio Settings.
3. Select Radio Favorites.
4. Select the number of availablefavorite pages.
5. Press
/BACK to go back to the
System Configuration menu.
Auto Volume
The auto volume feature
automatically adjusts the radio
volume to compensate for road and
wind noise as the vehicle speeds up
or slows down, so that the volume
level is consistent.
The level of volume compensation
can be selected, or the auto volume
feature can be turned off.
1. Press the CONFIG button.
2. Select Radio Settings. 3. Select Auto Volume.
4. Select the setting.
5. Press
/BACK to go back to the
System Configuration menu.
Maximum Startup Volume
The maximum volume played when
the radio is first turned on can
be set.
1. Press the CONFIG button.
2. Select Radio Settings.
3. Select Maximum Startup Volume.
4. Select the setting.
5. Press
/BACK to go back to the
System Configuration menu.
Radio
AM-FM Radio
For radios with CD and touch
screen, see “AM-FM Radio” in the
infotainment manual.
Control Buttons
The buttons used to control the
radio are:
O/VOL (Power/Volume):
.Press to turn the radio on or off.
.Turn the knob to increase or
decrease the volume. The
volume is adjusted for the
current audio source or voice
prompts.
RADIO/BAND: Press to turn the
radio on and choose between AM,
FM, and SiriusXM
®, if equipped.
TUNE/MENU: Turn to navigate the
available menus and to search for
stations.
Page 165 of 393
Black plate (8,1)Buick Verano Owner Manual (GMNA-Localizing-U.S./Canada/Mexico-
7707488) - 2015 - CRC - 10/31/14
7-8 Infotainment System
INFO:Press to display additional
information that may be available for
the current song.
s ©or¨\: Press to search for
stations.
FAV 1-2-3: Press to open the
favorites list and select the
favorites page.
Buttons 1−6: Press to select
preset stations.
AS 1-2 (Autostore): Press to open
the autostore list.
Radio Menus
Radio menus are available for AM
and FM.
Turn the TUNE/MENU knob to open
the main radio menu for that band.
Selecting a Band
Press the RADIO/BAND button to
choose AM, FM, or SiriusXM,
if equipped. The last station that
was playing starts playing again. Selecting a Station
Seek Tuning
If the radio station is not known:
Briefly press
s
©or¨\to
automatically search for the next
available station. If a station is not
found, the radio switches to a more
sensitive search level. If a station
still is not found, the frequency that
was last active begins to play.
If the radio station is known:
Press and hold
s ©or¨\until
the station on the display is
reached, then release the button.
Manual Tuning
Turn the TUNE/MENU knob to
select the frequency on the display.
Favorites List
1. Turn the TUNE/MENU knob.
2. Select Favorites List.
3. Select the station. Station Lists
1. Turn the TUNE/MENU knob.
2. Select AM or FM Station List. All
receivable stations in the current
reception area are displayed. If a
station list has not been created,
an automatic station search
is done.
3. Select the station.
Category Lists
Most stations that broadcast an
RDS program type code specify the
type of programming transmitted.
Some stations change the program
type code depending on the
content. The system stores the RDS
stations sorted by program type in
the FM category list.
To search for a programming type
determined by station:
1. Turn the TUNE/MENU knob.
2. Select FM category list. A list of all programming types available
displays.
Page 167 of 393
Black plate (10,1)Buick Verano Owner Manual (GMNA-Localizing-U.S./Canada/Mexico-
7707488) - 2015 - CRC - 10/31/14
7-10 Infotainment System
To scroll through the pages, press
the FAV 1-2-3 (favorites) button. The
current page number displays above
the preset buttons. The stored
stations for each list display at the
bottom of the screen. The number of
preset FAV lists can be changed.
To store a radio station to a
favorites page:
1. Press the RADIO/BAND buttonuntil the desired band is
selected.
2. Turn the TUNE/MENU knob to the station.
3. Press the FAV 1-2-3 button to scroll the list.
4. Press and hold one of the preset buttons for more than
two seconds. The station
frequency appears on the preset
button at the bottom of the
display.
5. Repeat the steps for each preset in each page. To recall a preset station from a
favorites page:
1. Press the FAV 1-2-3 button to
scroll to the page.
2. Press the preset button. The stored preset station is recalled.
Autostore Stations
AS 1-2 (Autostore): Autostore
searches and stores six FM and
six AM stations with the strongest
signal. To use autostore:
1. Press RADIO/BAND to select FM or AM.
2. Press AS 1-2 for at least two seconds until a beep
sounds. SEARCH displays on
the radio, followed by the
number of stations found.
3. The radio will automatically store the six strongest stations found
as autostore presets.
Press the AS 1-2 button to alternate
between the autostore stations and
favorites. AS displays on the radio when using
autostore presets.
Autostore does not delete
previously stored favorite stations.
Autostore does not function with
SIriusXM radio stations.
Radio Data System (RDS)
The audio system has RDS. RDS
features are available for use only
on FM stations that broadcast RDS
information. With RDS, the
radio can:
.Seek to stations broadcasting
the selected type of
programming.
.Receive announcements
concerning local and national
emergencies.
.Display messages from radio
stations.
This system relies on receiving
specific information from these
stations and only works when the
information is available. In rare
cases, a radio station could
Page 168 of 393
Black plate (11,1)Buick Verano Owner Manual (GMNA-Localizing-U.S./Canada/Mexico-
7707488) - 2015 - CRC - 10/31/14
Infotainment System 7-11
broadcast incorrect information that
causes the radio features to work
improperly. If this happens, contact
the radio station.
The RDS system is always on.
When information is broadcast from
the current FM station, the station
name or call letters display on the
audio screen. RDS can provide a
program type (PTY) for current
programming and the name of the
program being broadcast.
Satellite Radio
For radios with CD and touch
screen, see“Satellite Radio” in the
infotainment manual.
Vehicles with a SiriusXM
®Satellite
Radio tuner and a valid SiriusXM
Satellite Radio subscription can
receive SiriusXM programming.
SiriusXM Satellite Radio
Service
SiriusXM is a satellite radio service
based in the 48 contiguous United
States and 10 Canadian provinces. SiriusXM Satellite Radio has a wide
variety of programming and
commercial-free music, coast to
coast, and in digital-quality sound.
A service fee is required to receive
the SiriusXM service. If SiriusXM
service needs to be reactivated, the
radio will display "No Subscription
Please Renew" on channel XM1.
For more information, contact
SiriusXM at www.siriusxm.com or
1-866-635-2349 (U.S.), and
www.xmradio.ca or 1-877-209-0079
(Canada).
Control Buttons
The buttons used to control the
SiriusXM radio are:
RADIO/BAND:
Press to turn the
radio on and choose between AM,
FM, and XM.
s ©or¨\: Press to go to the
previous or next channel.
FAV 1-2-3: Press to open the
favorites list.
Buttons 1−6: Press to select a
favorite. TUNE/MENU:
Turn to select a
channel.
INFO: Press to display additional
information that may be available
about the current song.
w/j(Play/Pause): Press to
pause time shifted content,
if equipped.
Selecting the SiriusXM Band
Press the RADIO/BAND button to
choose between AM, FM, and XM.
The last channel played in that band
begins to play when that band is
selected.
SiriusXM Categories
SiriusXM channels are organized in
categories.
Removing or Adding Categories
Channels in a category that have
been removed can still be accessed
by using the
s ©or¨\buttons,
or the TUNE/MENU knob.
Page 169 of 393
Black plate (12,1)Buick Verano Owner Manual (GMNA-Localizing-U.S./Canada/Mexico-
7707488) - 2015 - CRC - 10/31/14
7-12 Infotainment System
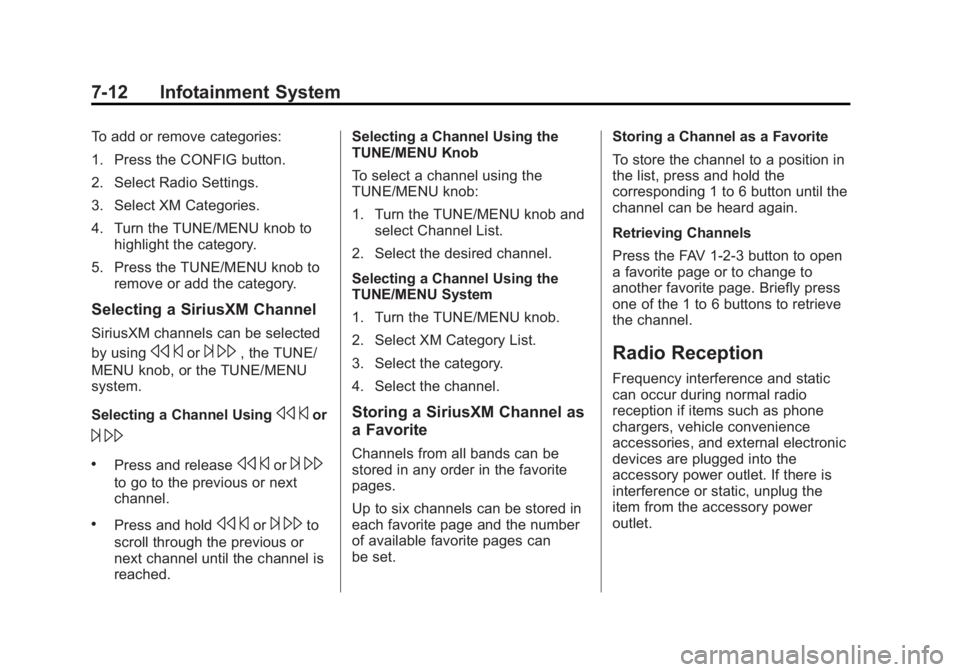
To add or remove categories:
1. Press the CONFIG button.
2. Select Radio Settings.
3. Select XM Categories.
4. Turn the TUNE/MENU knob tohighlight the category.
5. Press the TUNE/MENU knob to remove or add the category.
Selecting a SiriusXM Channel
SiriusXM channels can be selected
by using
s©or¨\, the TUNE/
MENU knob, or the TUNE/MENU
system.
Selecting a Channel Using
s ©or
¨\
.Press and releases ©or¨\
to go to the previous or next
channel.
.Press and holds ©or¨\to
scroll through the previous or
next channel until the channel is
reached. Selecting a Channel Using the
TUNE/MENU Knob
To select a channel using the
TUNE/MENU knob:
1. Turn the TUNE/MENU knob and
select Channel List.
2. Select the desired channel.
Selecting a Channel Using the
TUNE/MENU System
1. Turn the TUNE/MENU knob.
2. Select XM Category List.
3. Select the category.
4. Select the channel.
Storing a SiriusXM Channel as
a Favorite
Channels from all bands can be
stored in any order in the favorite
pages.
Up to six channels can be stored in
each favorite page and the number
of available favorite pages can
be set. Storing a Channel as a Favorite
To store the channel to a position in
the list, press and hold the
corresponding 1 to 6 button until the
channel can be heard again.
Retrieving Channels
Press the FAV 1-2-3 button to open
a favorite page or to change to
another favorite page. Briefly press
one of the 1 to 6 buttons to retrieve
the channel.
Radio Reception
Frequency interference and static
can occur during normal radio
reception if items such as phone
chargers, vehicle convenience
accessories, and external electronic
devices are plugged into the
accessory power outlet. If there is
interference or static, unplug the
item from the accessory power
outlet.
Page 171 of 393
Black plate (14,1)Buick Verano Owner Manual (GMNA-Localizing-U.S./Canada/Mexico-
7707488) - 2015 - CRC - 10/31/14
7-14 Infotainment System
Caution (Continued)
metallic tinting materials will not
be covered by the vehicle
warranty.
Multi-Band Antenna
The multi-band antenna is on the
roof of the vehicle. The antenna is
used for the AM-FM radio, OnStar,
the SiriusXM Satellite Radio Service
System, and GPS (Global
Positioning System), if the vehicle
has these features. Keep the
antenna clear of obstructions for
clear reception.
If the vehicle has a sunroof, and it is
open, reception can also be
affected.
Audio Players
CD Player
For radios with CD and touch
screen, see“CD Player” in the
infotainment manual.
The CD player can be used for CDs
and MP3s.
With the ignition on, insert a CD into
the slot, label side up. The player
pulls it in and begins playing.
The vehicle must be in P (Park) for
video to display.
The system is capable of playing:
.Most audio CDs
.CD-R
.CD-RW
.MP3 or unprotected WMA
formats
When playing any compatible
recordable disc, the sound quality
can be reduced due to disc quality,
the method of recording, the quality of the music or video that has been
recorded, or the way the disc has
been handled.
To avoid damage to the CD player:
.Do not use scratched or
damaged discs.
.Do not apply labels to discs. The
labels could get caught in the
player.
.Insert only one disc at a time.
.Keep the loading slot free of
foreign materials, liquids, and
debris.
If a description label is needed, try
labeling the top of the disc using a
marking pen.
Control Buttons
The buttons used to control the CD
player are:
CD: Press to select the CD player.
s©or¨\:Press to select
tracks or to rewind or fast forward
within a track.
Page 172 of 393
Black plate (15,1)Buick Verano Owner Manual (GMNA-Localizing-U.S./Canada/Mexico-
7707488) - 2015 - CRC - 10/31/14
Infotainment System 7-15
INFO (Information):Press to
display additional information about
the current track that may be
available.
TUNE/MENU: Turn this knob to
display the track list. Press to select
the track from the list. The system
plays the selected track and returns
to the CD screen.
Inserting a CD
With the printed side facing up,
insert a disc into the CD slot until it
is drawn in.
Removing a CD
PressZ.
The disc is pushed out of the
CD slot.
If the disc is not removed after it is
ejected, it is pulled back in after a
few seconds.
Playing a CD or MP3 CD
Press the CD button if there is a
disc in the player; it begins playing. Information about the disc and
current track is shown on the
display depending on the data
stored.
Selecting a CD Track
Using the control buttons:
.Presss
©or¨\to select the
previous or next track.
.Turn the TUNE/MENU knob.
Using the CD Menu:
1. Turn the TUNE/MENU knob.
2. Select Tracks list.
3. Select the track.
Playing Tracks in Random Order
Turn the TUNE/MENU knob and
then set Shuffle Songs to On.
Fast Forward and Rewind
Press and hold
s ©or¨\to
rewind or fast forward within the
current track. Selecting an MP3 Track
Using the control buttons:
.Presss
©or¨\to select the
previous or next track.
.Turn the TUNE/MENU knob.
Using the CD Menu:
1. Turn the TUNE/MENU knob.
2. Select Playlists/Folders.
3. Select the playlist or folder.
4. Select the track.
Searching for MP3 Tracks
The search feature may take some
time to display the information after
reading the disc due to the amount
of information stored on the disc.
FM automatically plays while the
disc is being read.
Tracks can be searched by:
.Playlists
.Artists
.Albums
.Song Titles
Page 177 of 393
Black plate (20,1)Buick Verano Owner Manual (GMNA-Localizing-U.S./Canada/Mexico-
7707488) - 2015 - CRC - 10/31/14
7-20 Infotainment System
Vehicles with a Bluetooth system
can use a Bluetooth-capable cell
phone with a Hands-Free Profile to
make and receive phone calls. The
infotainment system and voice
recognition are used to control the
system. The system can be used
while in ON/RUN or ACC/
ACCESSORY. The range of the
Bluetooth system can be up to 9.1 m
(30 ft). Not all phones support all
functions and not all phones work
with the Bluetooth system. See
www.gm.com/bluetooth for more
information about compatible
phones.
Bluetooth Controls
Use the buttons located on the
infotainment system and the
steering wheel to operate the
Bluetooth system.
Steering Wheel Controls
b/g(Push to Talk):Press to
answer incoming calls, confirm
system information, and start voice
recognition.
$/i(Mute/End Call): Press to
end a call, reject a call, or cancel an
operation.
Infotainment System Controls
If equipped, the infotainment system
allows certain controls to be
selected on the infotainment display.
For information about how to
navigate the menu system using the
infotainment controls, see Operation
on page 7-4.
V/8(Phone/Mute): Press to
enter the Phone main menu. Press
to mute the audio system.
Voice Recognition
The voice recognition system uses
commands to control the system
and dial phone numbers.
Noise: The system may not
recognize voice commands if there
is too much background noise.
When to Speak: A tone sounds to
indicate that the system is ready for
a voice command. Wait for the tone
and then speak. How to Speak:
Speak clearly in a
calm and natural voice.
Audio System
When using the Bluetooth system,
sound comes through the vehicle's
front audio system speakers and
overrides the audio system. Use the
O/VOL knob during a call to
change the volume level. The
adjusted volume level remains in
memory for later calls. The system
maintains a minimum volume level.
Other Information
The Bluetooth®word mark and
logos are owned by the Bluetooth®
SIG, Inc. and any use of such marks
by General Motors is under license.
Other trademarks and trade names
are those of their respective owners.
See Radio Frequency Statement on
page 13-12.
Page 372 of 393
Black plate (1,1)Buick Verano Owner Manual (GMNA-Localizing-U.S./Canada/Mexico-
7707488) - 2015 - CRC - 10/31/14
OnStar 14-1
OnStar
OnStar Overview
OnStar Overview . . . . . . . . . . . . 14-1
OnStar Services
Emergency . . . . . . . . . . . . . . . . . . 14-2
Security . . . . . . . . . . . . . . . . . . . . . . 14-3
Navigation . . . . . . . . . . . . . . . . . . . 14-3
Connections . . . . . . . . . . . . . . . . . 14-4
Vehicle Diagnostics . . . . . . . . . . 14-6
OnStar Additional Information
OnStar AdditionalInformation . . . . . . . . . . . . . . . . . 14-6
OnStar Overview
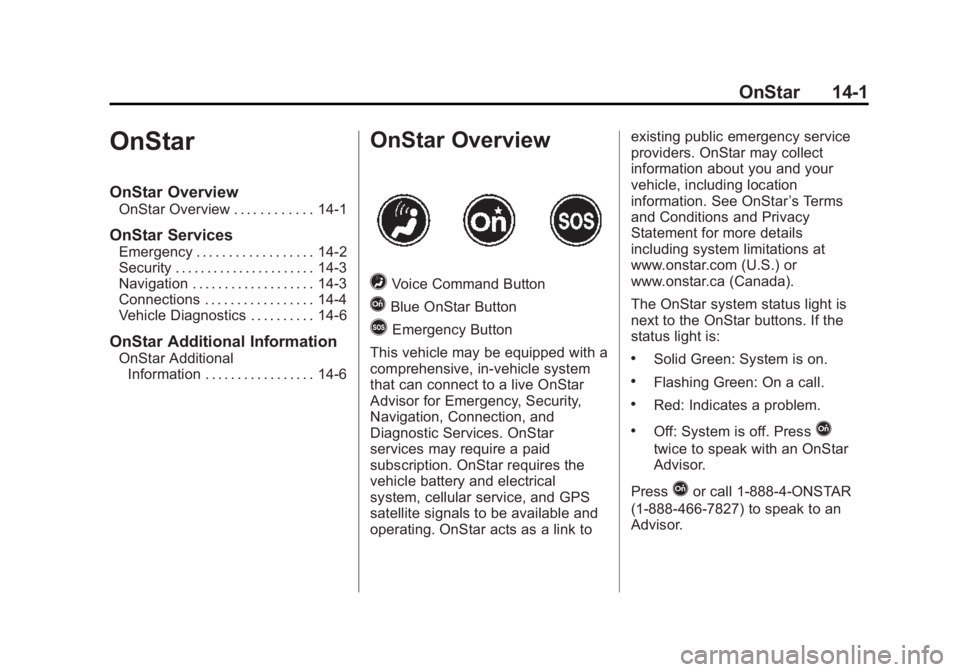
=Voice Command Button
QBlue OnStar Button
>Emergency Button
This vehicle may be equipped with a
comprehensive, in-vehicle system
that can connect to a live OnStar
Advisor for Emergency, Security,
Navigation, Connection, and
Diagnostic Services. OnStar
services may require a paid
subscription. OnStar requires the
vehicle battery and electrical
system, cellular service, and GPS
satellite signals to be available and
operating. OnStar acts as a link to existing public emergency service
providers. OnStar may collect
information about you and your
vehicle, including location
information. See OnStar
’s Terms
and Conditions and Privacy
Statement for more details
including system limitations at
www.onstar.com (U.S.) or
www.onstar.ca (Canada).
The OnStar system status light is
next to the OnStar buttons. If the
status light is:
.Solid Green: System is on.
.Flashing Green: On a call.
.Red: Indicates a problem.
.Off: System is off. PressQ
twice to speak with an OnStar
Advisor.
Press
Qor call 1-888-4-ONSTAR
(1-888-466-7827) to speak to an
Advisor.