CADILLAC CATERA 1997 1.G User Guide
Manufacturer: CADILLAC, Model Year: 1997, Model line: CATERA, Model: CADILLAC CATERA 1997 1.GPages: 338, PDF Size: 18.02 MB
Page 11 of 338
Downloaded from www.Manualslib.com manuals search engine Seats and Seat Controls
This section tells you about the seats -- how to adjust
them, and also about reclining front seatbacks, lumbar
adjustments, heated seats and head restraints.
Manual Front Passenger’s Seat
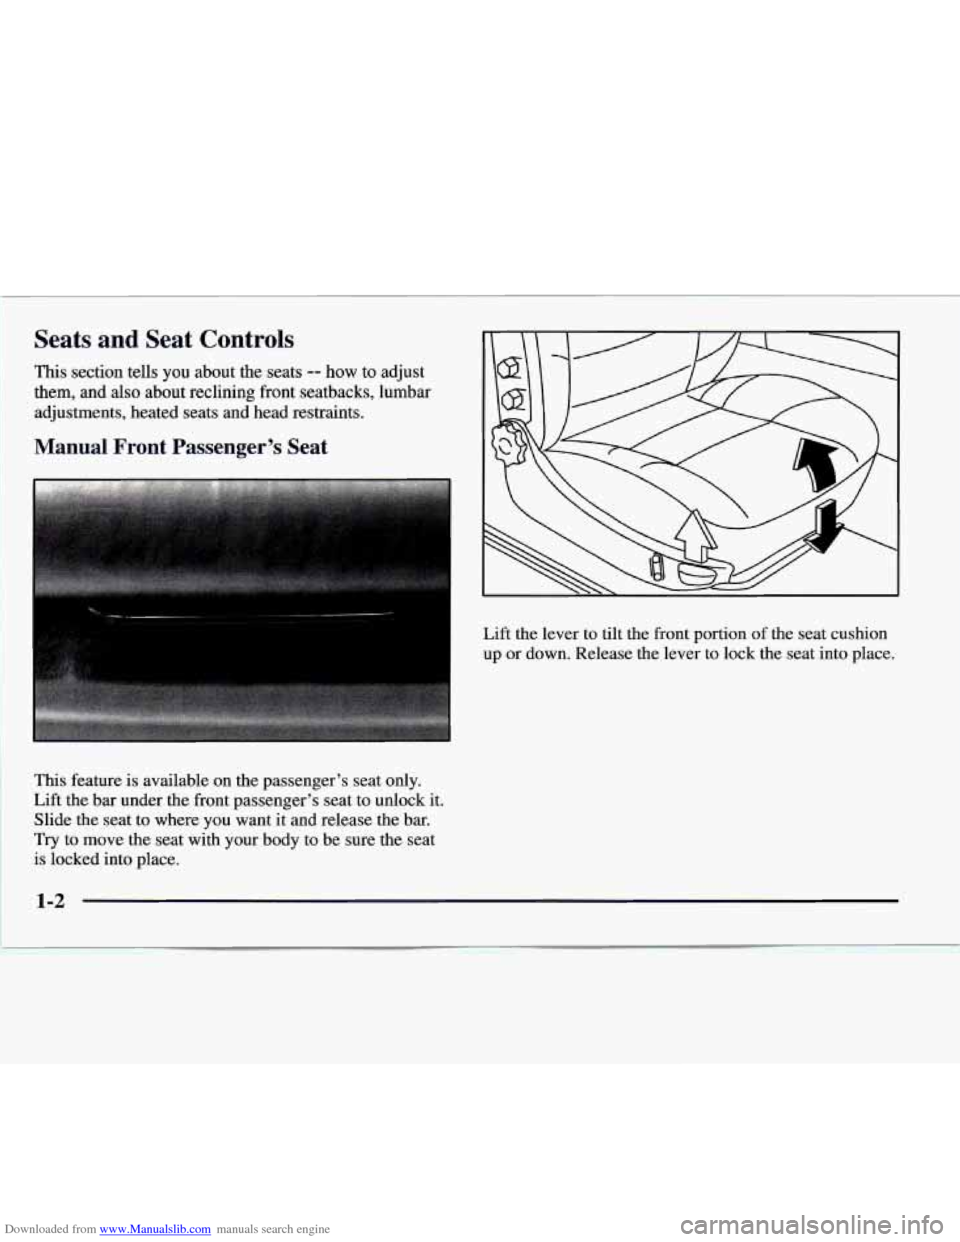
Lift the lever to tilt the front portion of the seat cushion
up or down. Release the lever to lock the seat into place.
This feature is available on the passenger’s seat only.
Lift the bar under
the front passenger’s seat to unlock it.
Slide the seat to where you want it and release the
bar.
Try to move the seat with your body to be sure the seat
is locked into place,
1-2
Page 12 of 338
Downloaded from www.Manualslib.com manuals search engine Manual Lumbar Support
The lumbar controls are
located on the outboard side
of each front seat. They
provide additional support
to your lower back and
work independently
of
other seat controls.
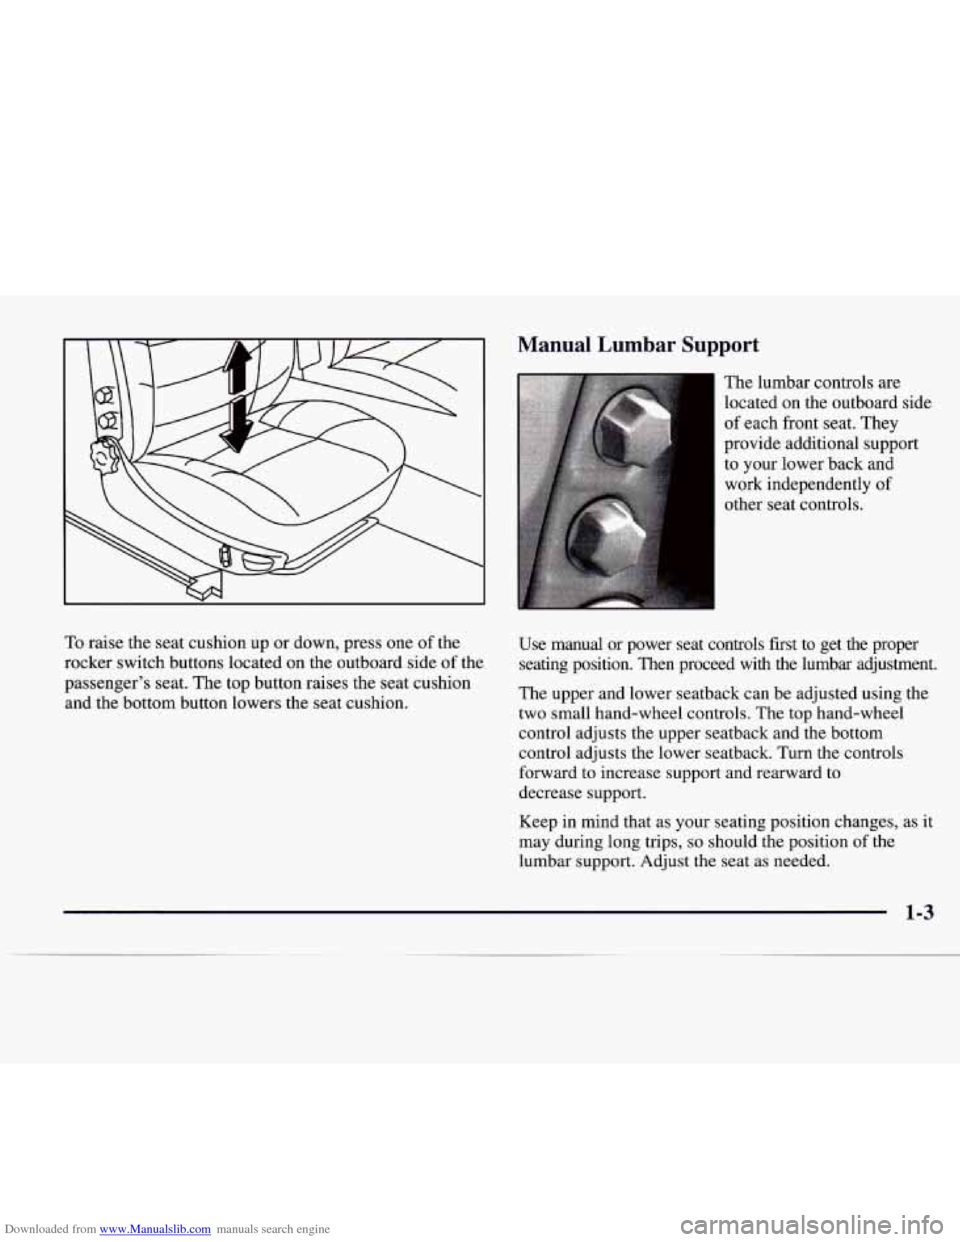
To raise the seat cushion up or down, press one of the
rocker switch buttons located on the outboard side
of the
passenger’s seat. The top button raises the seat cushion
and the bottom button lowers the seat cushion. Use manual
or power seat controls first to get the proper
seating position. Then proceed with the lumbar adjustment.
The upper and lower seatback can be adjusted using the
two small hand-wheel controls. The top hand-wheel
control adjusts the upper seatback and the bottom
control adjusts the lower seatback. Turn the controls
forward to increase support and rearward to
decrease support.
Keep in mind that as your seating position changes, as it
may during long trips,
so should the position of the
lumbar support. Adjust the seat as needed.
1-3
Page 13 of 338
Downloaded from www.Manualslib.com manuals search engine Power Seats
This feature is available on all driver’s seats and is
optional on passenger’s seats with leather interiors only. The
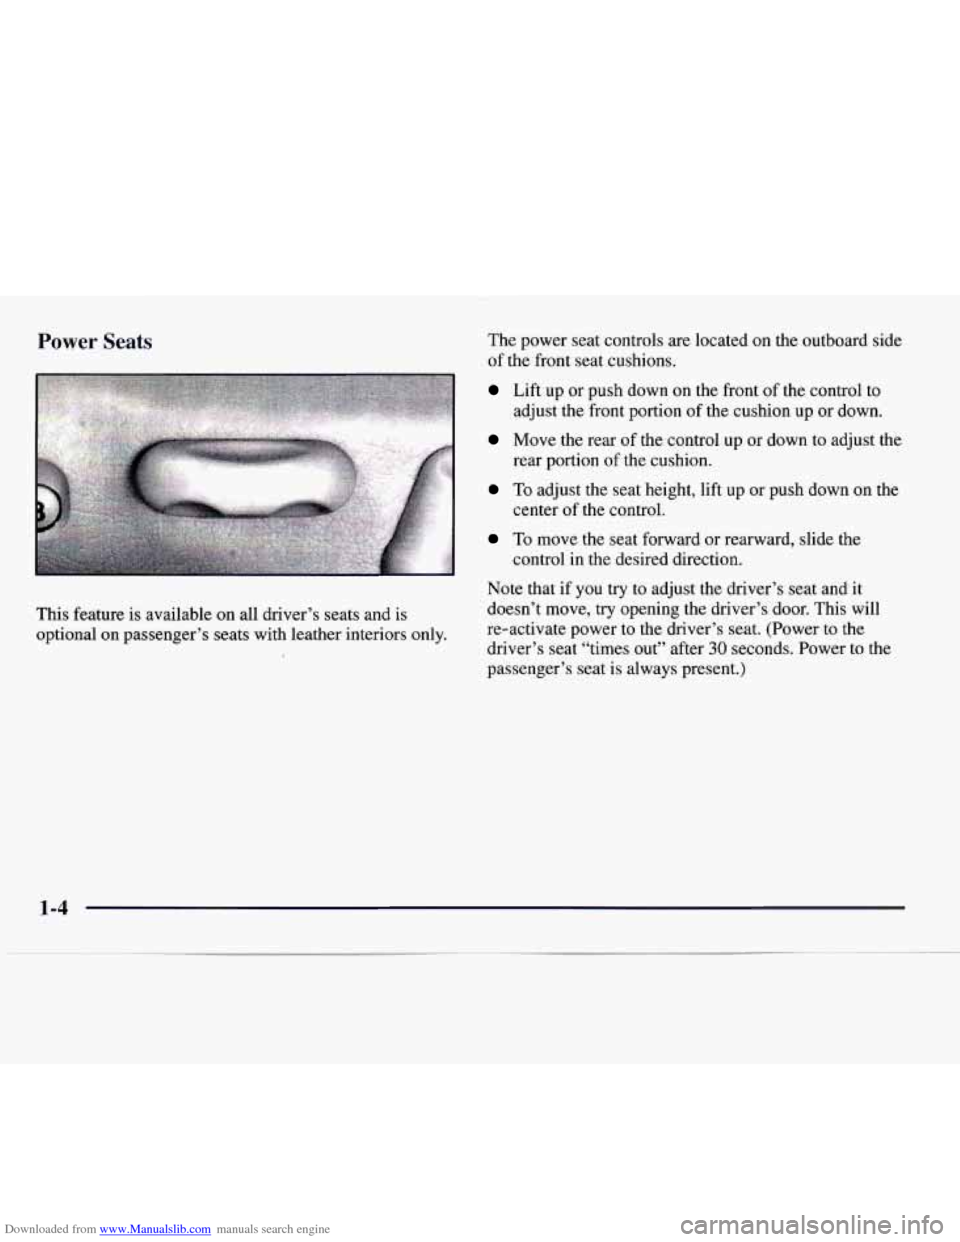
power seat controls are located on the outboard side
of the front seat cushions.
Lift up or push down on the front of the control to
adjust the front portion
of the cushion up or down.
Move the rear of the control up or down to adjust the
rear portion of the cushion.
To adjust the seat height, lift up or push down on the
center of the control.
To move the seat forward or rearward, slide the
control in the desired direction.
Note that if you
try to adjust the driver’s seat and it
doesn’t move, try opening the driver’s door. This will
re-activate power to the driver’s seat. (Power to the
driver’s seat “times out’’ after
30 seconds. Power to the
passenger’s seat is always present.)
1-4
Page 14 of 338
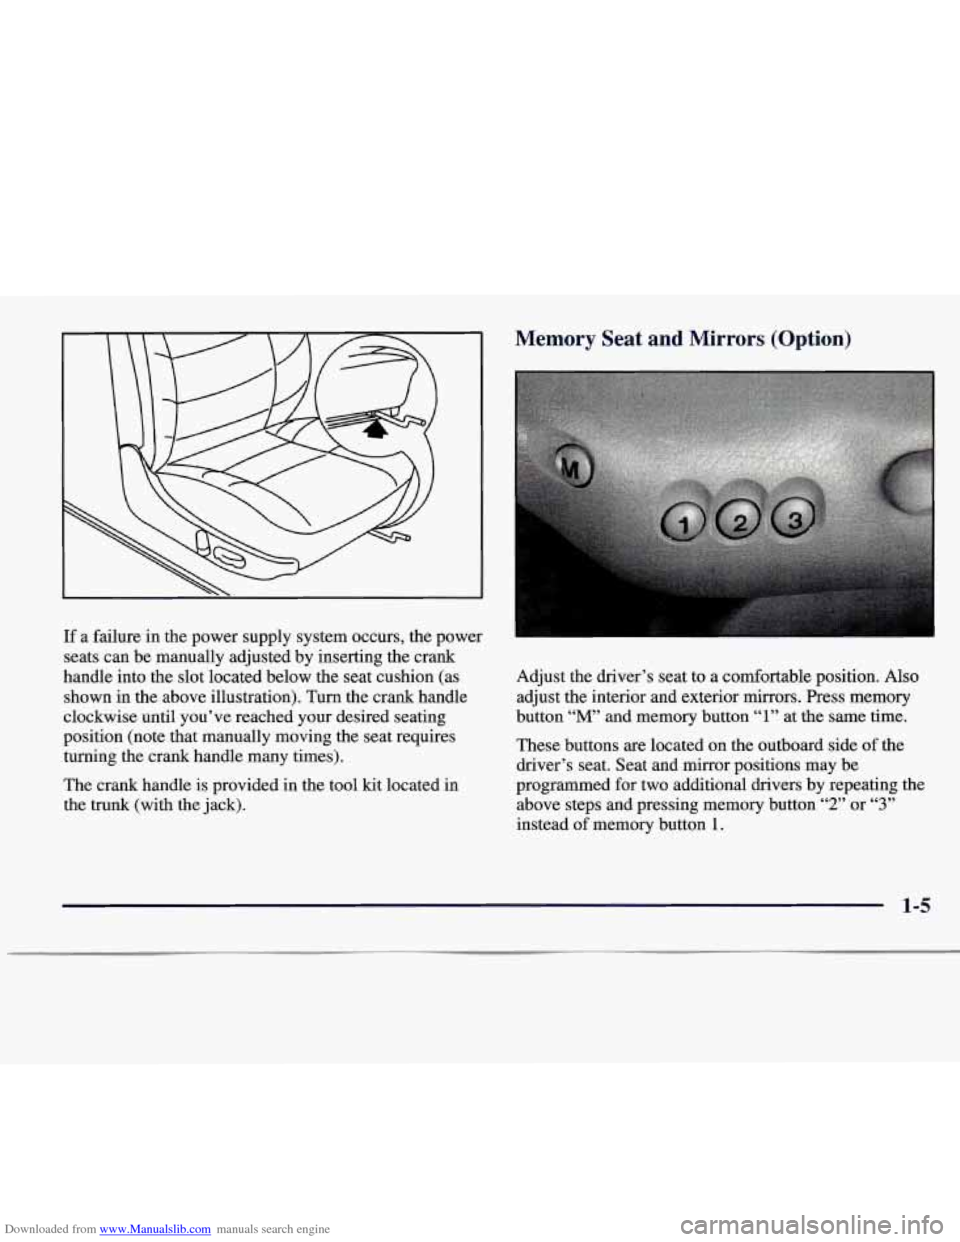
Downloaded from www.Manualslib.com manuals search engine If a failure in the power supply system occurs, the power
seats can be manually adjusted by inserting the crank
handle into the slot located below the seat cushion (as
shown in the above illustration). Turn the crank handle
clockwise until you’ve reached your desired seating
position (note that manually moving the seat requires
turning the crank handle many times).
The crank handle is provided in the tool kit located in
the trunk (with the jack).
Memory Seat and Mirrors (Option)
Adjust the driver’s seat to a comfortable position. Also
adjust the interior and exterior mirrors. Press memory
button
“M’ and memory button “1” at the same time.
These buttons are located on the outboard side
of the
driver’s seat. Seat and mirror positions may be
programmed for two additional drivers by repeating the
above steps and pressing memory button
“2” or “3”
instead of memory button 1.
1-5
Page 15 of 338
Downloaded from www.Manualslib.com manuals search engine If your vehicle is in PARK (P), you can recall mirror and
seating positions by pressing and holding one of the
three memory buttons. This will adjust the seat and
mirrors
to where you have previously programmed
them. Seat and mirror movement is immediately stopped
if the memory button is released or if a seat or mirror
control is moved.
Note that the exterior mirrors will only adjust when the
ignition is turned on.
Heated Front Seat (Option)
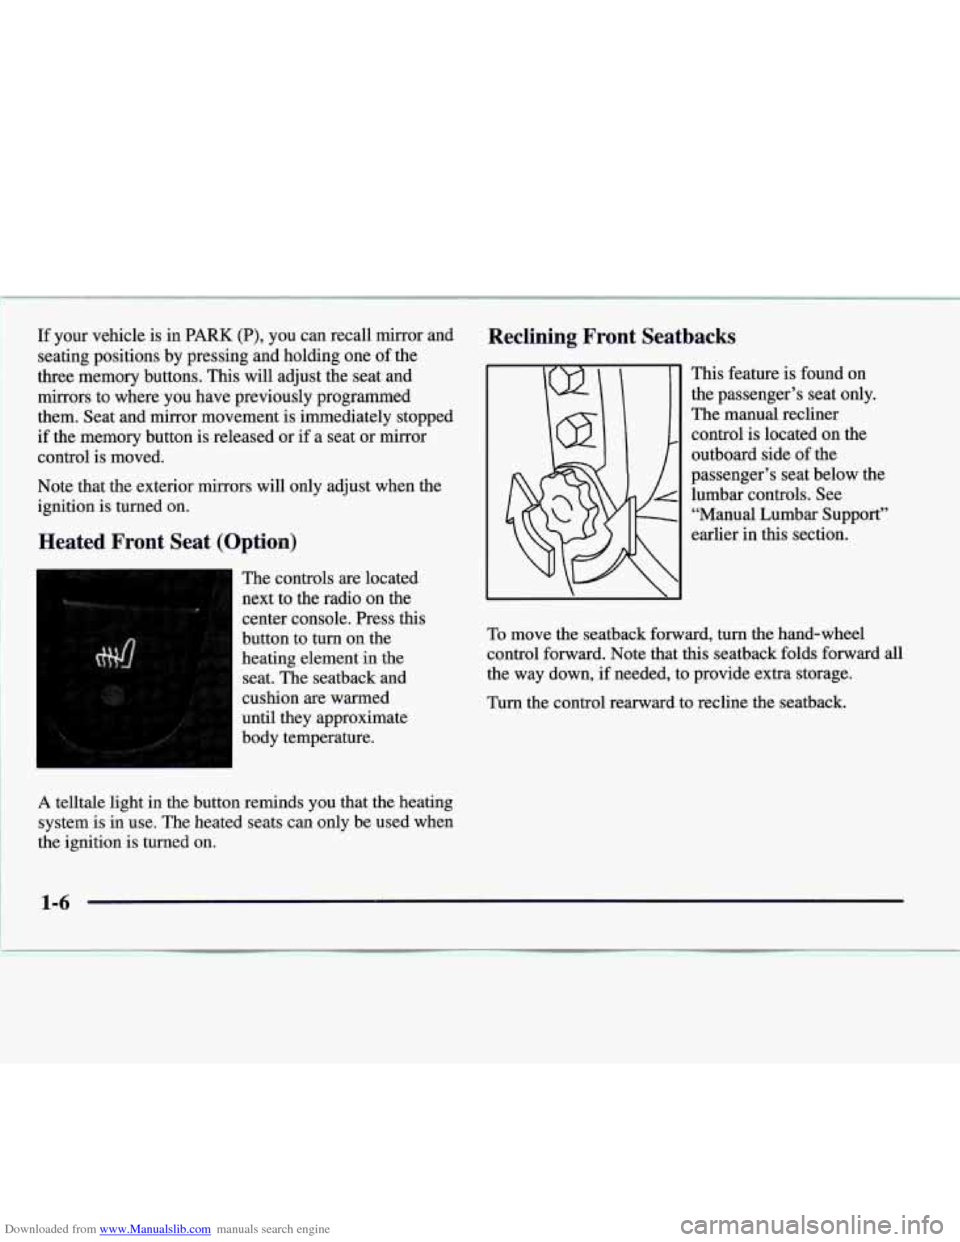
The controls are located
next to the radio on the
center console. Press this
button to
turn on the
heating element
in the
seat. The seatback and
cushion are warmed
until they approximate
body temperature.
A telltale light in the button reminds you that the heating
system is in use. The heated seats can only be used when
the ignition is turned on.
Reclining Front Seatbacks
This feature is found on
the passenger’s seat only.
The manual recliner
control is located on the
outboard side of the
passenger’s seat below the
lumbar controls. See “Manual Lumbar Support”
earlier in this section.
To move the seatback forward, turn the hand-wheel
control forward. Note that this seatback folds forward all
the way down,
if needed, to provide extra storage.
Turn the control rearward to recline the seatback.
Page 16 of 338
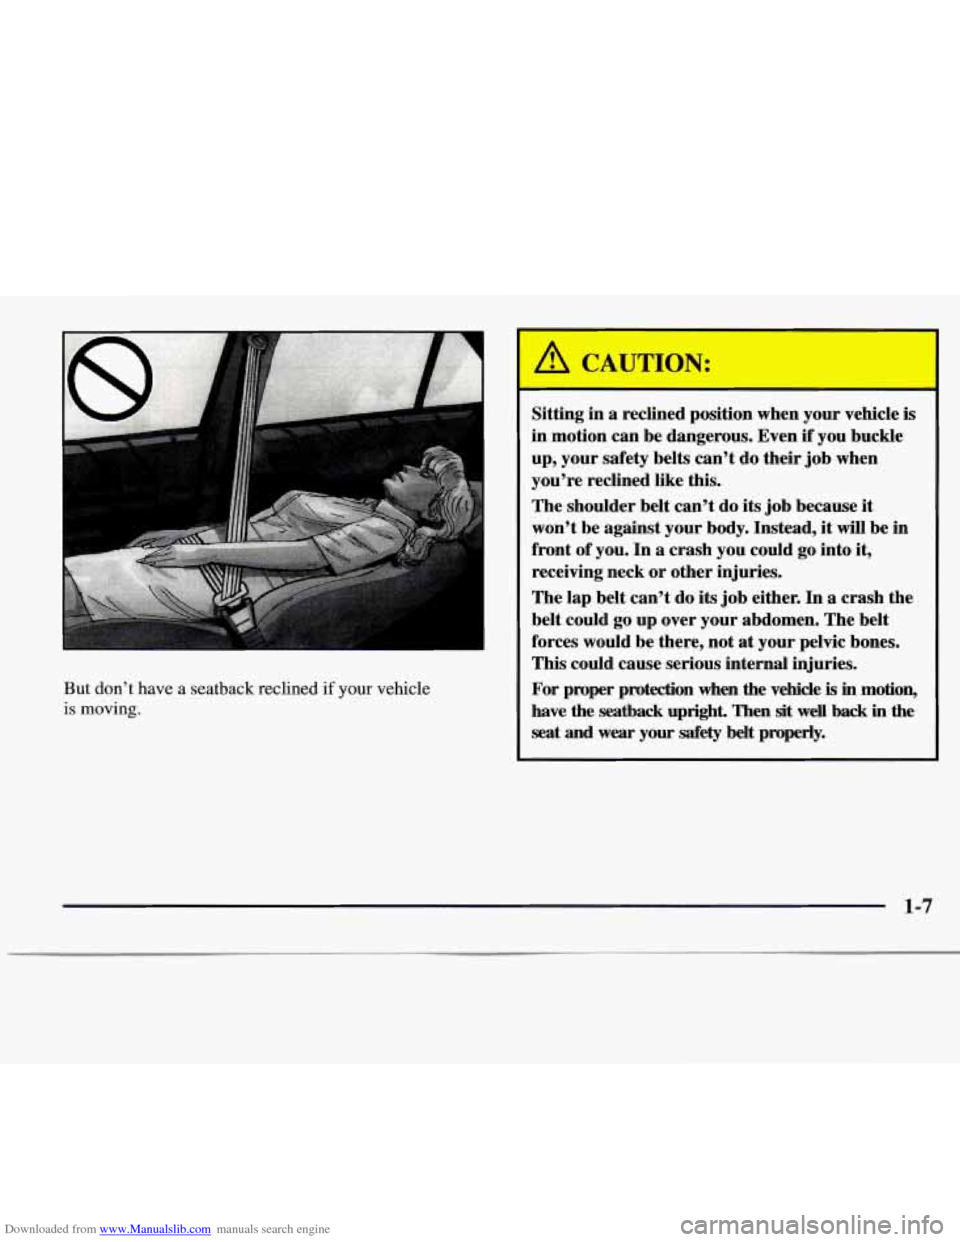
Downloaded from www.Manualslib.com manuals search engine But don’t have a seatback reclined if your vehicle
is moving.
Sitting in a reclined position when your vehicle is
in motion can be dangerous. Even if you buckle
up, your safety belts can’t
do their job when
you’re reclined like this.
The shoulder belt can’t do its job because it
won’t be against your body. Instead,
it will be in
front of you. In a crash you could
go into it,
receiving neck or other injuries.
The lap belt can’t do its job either. In a crash the
belt could
go up over your abdomen. The belt
forces would be there, not at your pelvic bones.
This could cause serious internal injuries.
For proper protection when the vehicle
is in motion,
have the seatback upright. Then sit
well back in the
seat and
wear your safety belt properly.
1-7
Page 17 of 338
Downloaded from www.Manualslib.com manuals search engine Power Recliner
This feature is available on all driver’s seats and is
optional on passenger’s seats with leather interiors only.
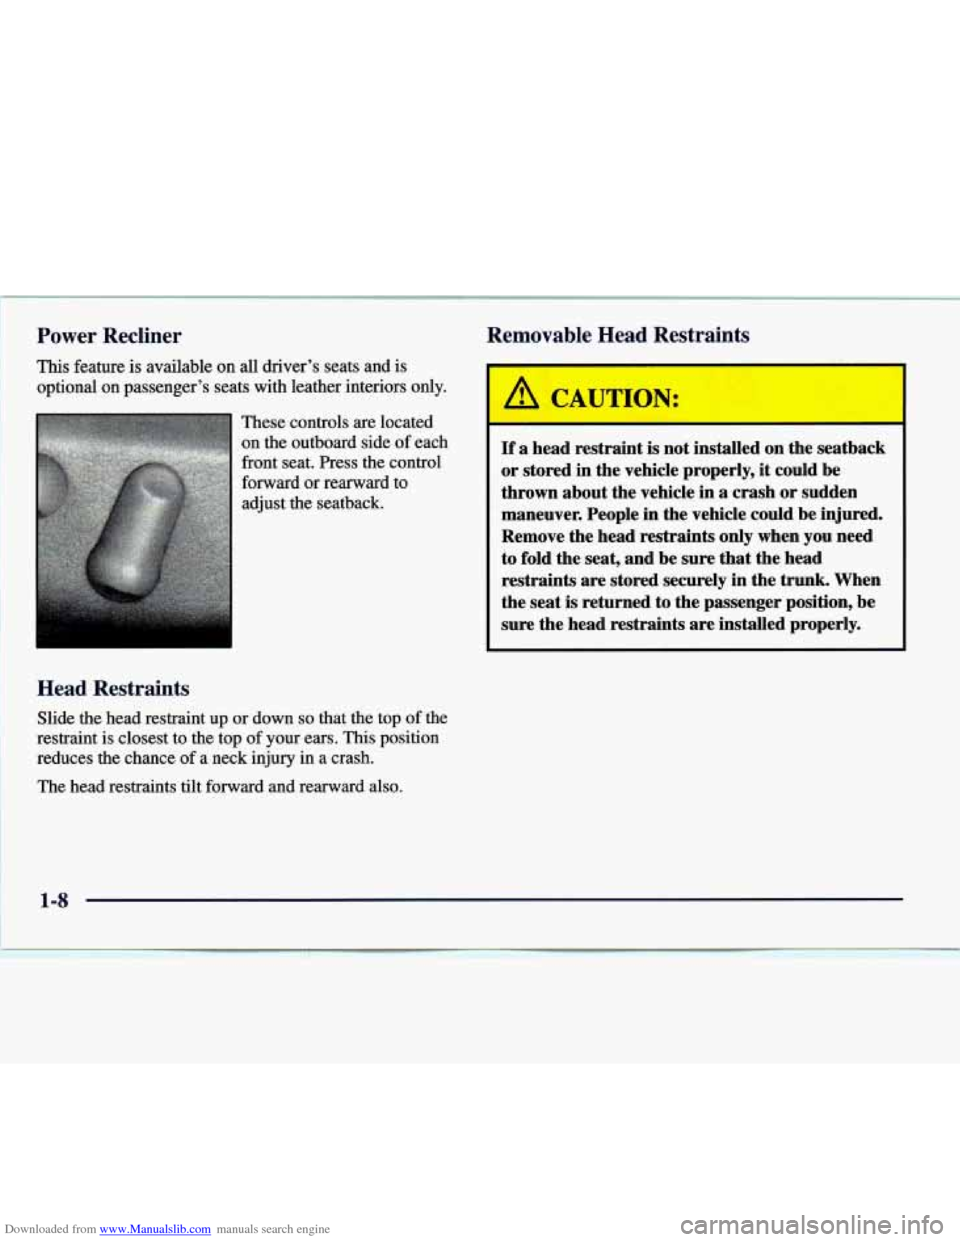
These controls are located
on the outboard side
of each
front seat. Press the control
forward
or rearward to
adjust the seatback.
Head Restraints
Slide the head restraint up or down so that the top of the
restraint is closest to the top of your ears.
This position
reduces the chance of a neck injury
in a crash.
The head restraints tilt forward and rearward also.
Removable Head Restraints
I
A CAUTION:
I
If a head restraint is not installed on the seatback
or stored in the vehicle properly,
it could be
thrown about the vehicle in
a crash or sudden
maneuver. People in the vehicle could be injured.
Remove the head restraints only when you need
to fold the seat, and be sure that the head
restraints are stored securely in the trunk. When
the seat is returned to the passenger position,
be
sure the head restraints are installed properly.
1-8
Page 18 of 338
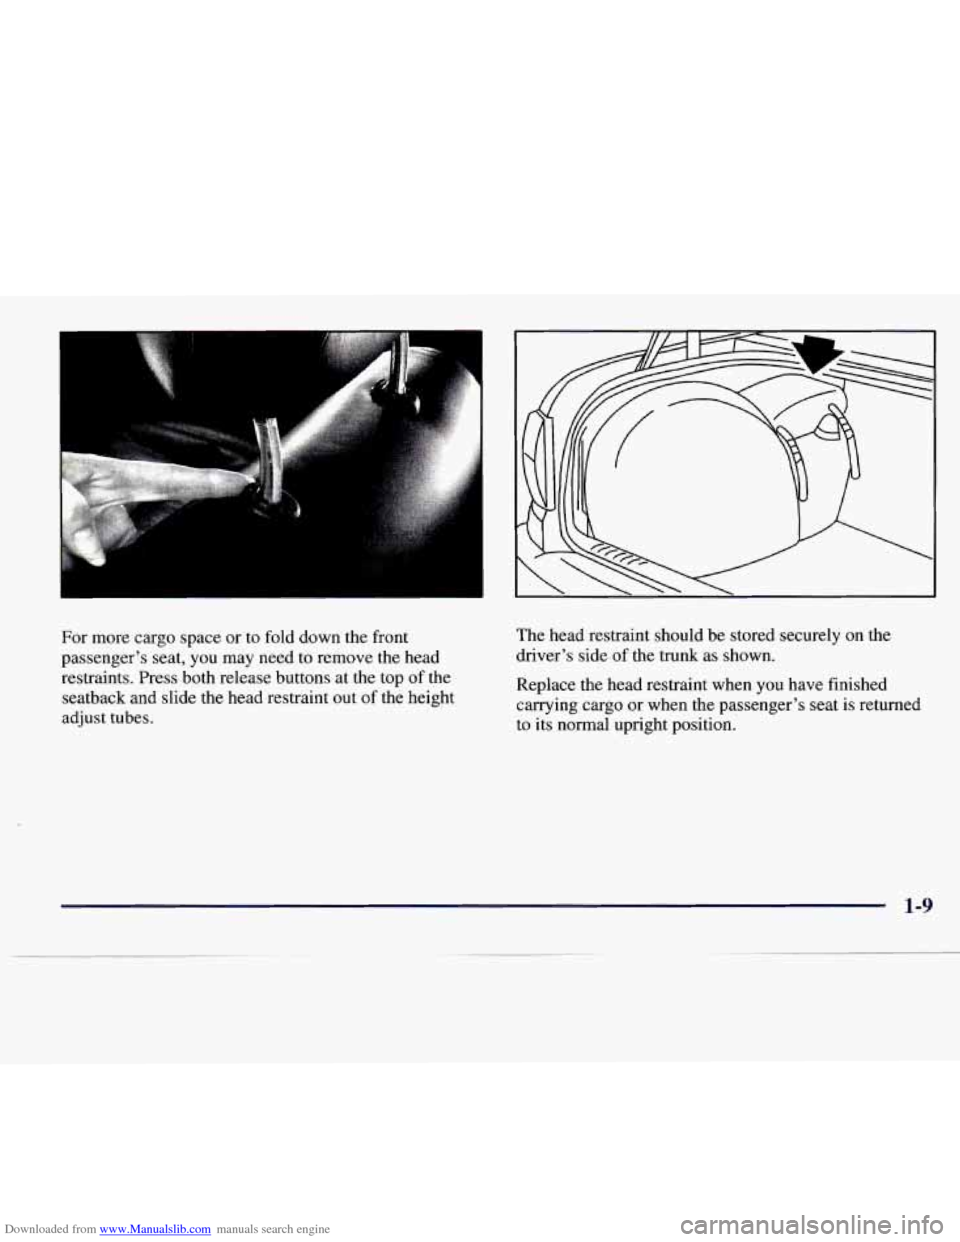
Downloaded from www.Manualslib.com manuals search engine For more cargo space or to fold down the front
passenger's seat, you may need to remove the head
restraints. Press both release buttons at the top
of the
seatback and slide the head restraint out
of the height
adjust tubes. The
head restraint should be stored securely on the
driver's side of the trunk as shown.
Replace the head restraint when
you have finished
carrying cargo or when the passenger's seat is returned
to its normal upright position.
1-9
Page 19 of 338
Downloaded from www.Manualslib.com manuals search engine Rear Seats
Folding the Rear Seat
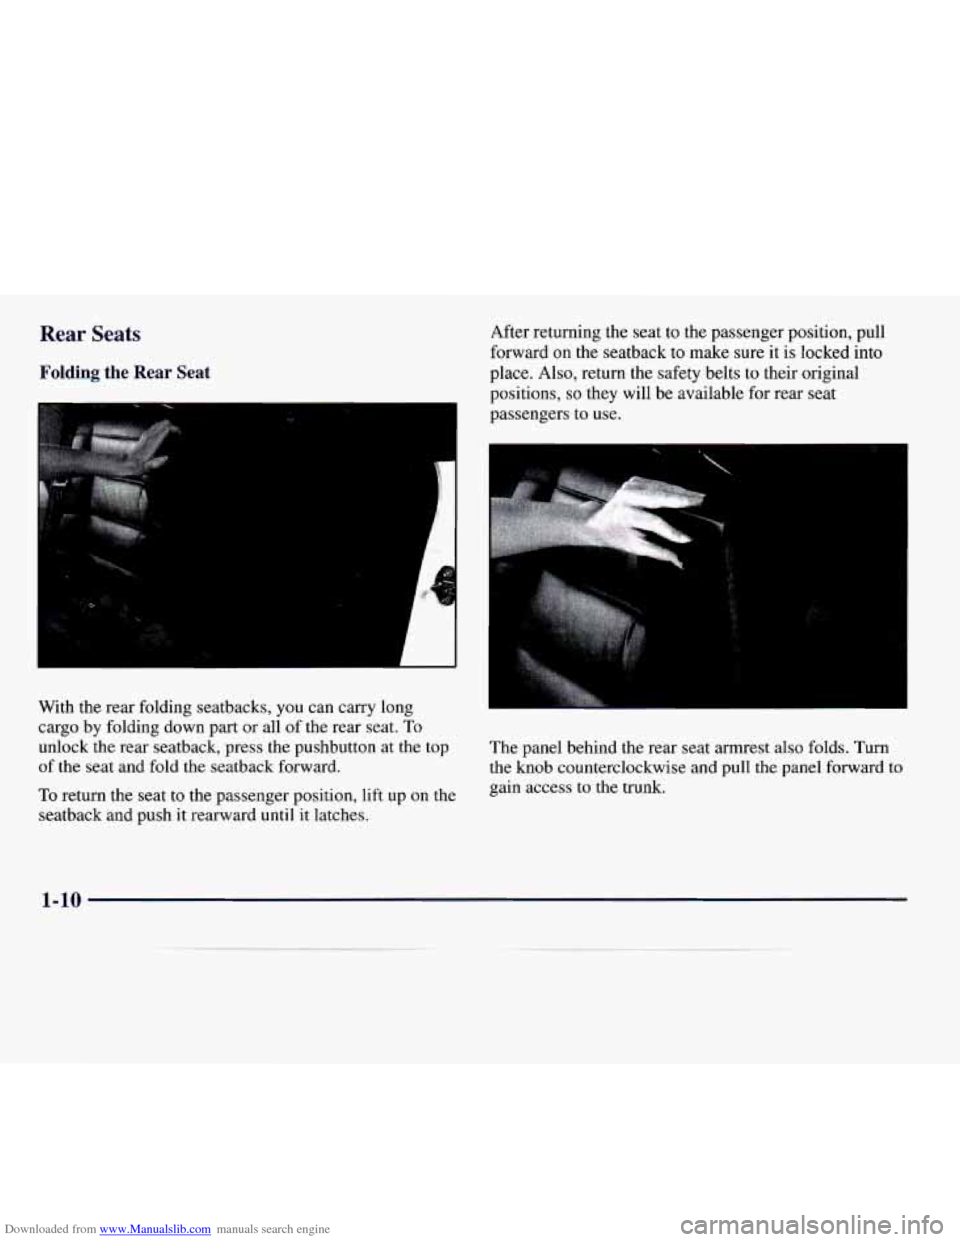
With the rear folding seatbacks, you can carry long
cargo by folding down part or all of the rear seat. To
unlock the rear seatback, press the pushbutton at the top
of the seat and fold the seatback forward.
To return the seat to the passenger position, lift up on the
seatback and push it rearward
until it latches. After returning the seat
to the passenger position, pull
forward on the seatback to make sure it is locked into
place. Also, return the safety belts to their original
positions,
so they will be available for rear seat
~ passengers to use.
The panel behind the rear seat armrest also folds. Turn
the knob counterclockwise and pull the panel forward to
gain access to the trunk.
1-10
Page 20 of 338
Downloaded from www.Manualslib.com manuals search engine Heated Rear Seat (Option)
The heated rear seat
controls are located at the
rear
of the center console
under the air outlets. Press
the button once to turn
on
the heating elements and
press the button again to
turn the system
off.
A telltale light in the button indicates the system is in
use. The heated seats can only be used when the ignition
is turned on. The heating elements shut
off
automatically when the ignition is turned off.
Safety Belts: They’re for Everyone
This part of the manual tells you how to use safety belts
properly.
It also tells you some things you should not do
with safety belts.
And it explains the air bag system.
A CAU-ION:
Don’t let anyone ride where he or she can’t wear
a safety belt properly. If you are in a crash and
you’re not wearing a safety belt, your injuries
can be much worse. You can hit things inside the
vehicle or be ejected from it. You can be seriously
injured or killed. In the same crash, you might
not be
if you are buckled up. Always fasten your
safety belt, and check that your passengers’ belts
are fastened properly too.
1-11