power steering fluid CADILLAC CATERA 1997 1.G Owners Manual
[x] Cancel search | Manufacturer: CADILLAC, Model Year: 1997, Model line: CATERA, Model: CADILLAC CATERA 1997 1.GPages: 338, PDF Size: 18.02 MB
Page 252 of 338

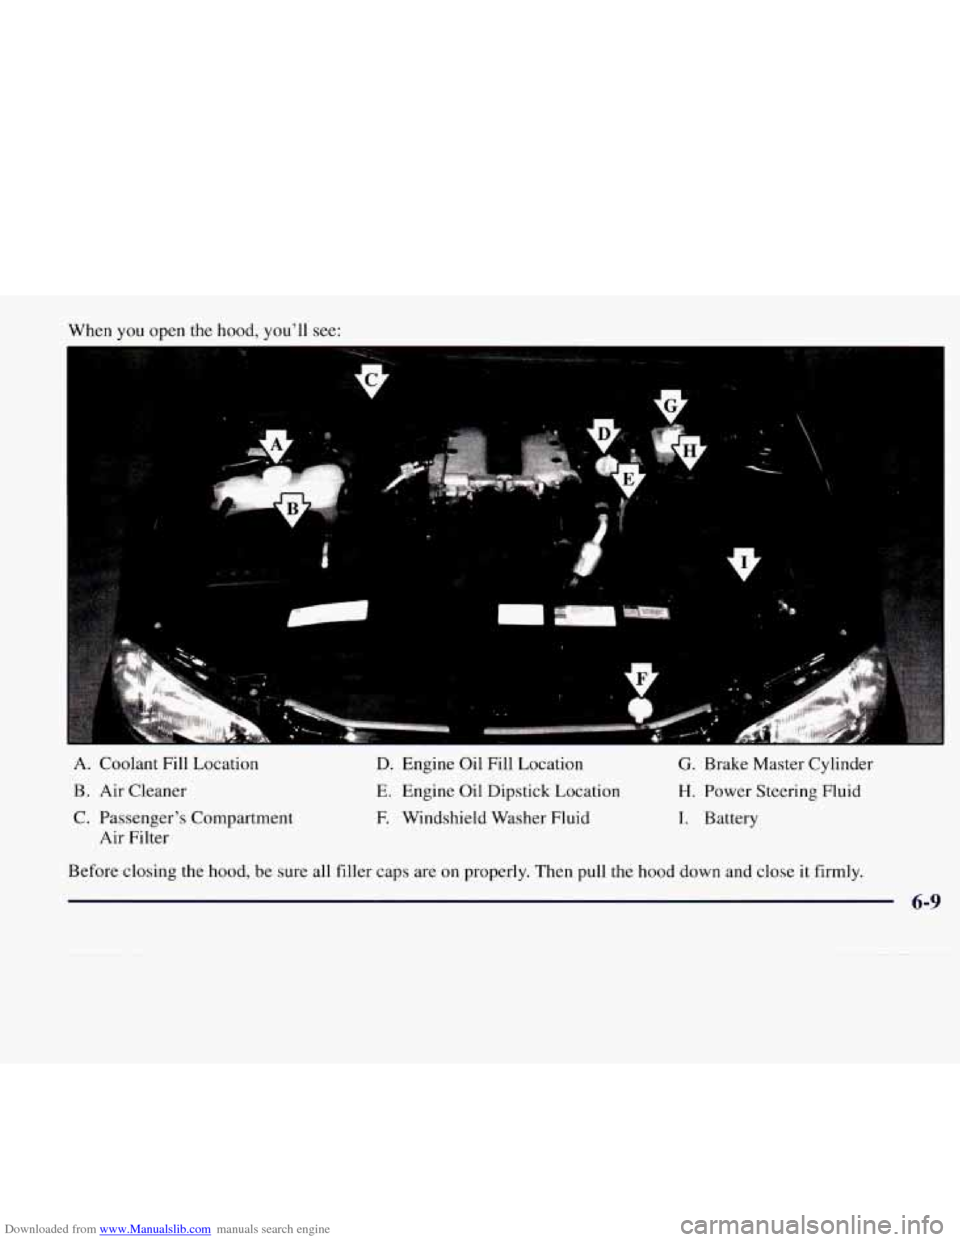
Downloaded from www.Manualslib.com manuals search engine When you open the hood, you’ll see:
1
H
A. Coolant Fill Location D. Engine Oil Fill Location G. Brake Master Cylinder
B. Air Cleaner E. Engine Oil Dipstick Location H. Power Steering Fluid
C. Passenger’s Compartment
F. Windshield Washer Fluid I. Battery
Air Filter
Before closing the hood,
be sure all filler caps are on properly. Then pull the hood down and close it firmly.
6-9
Page 266 of 338

Downloaded from www.Manualslib.com manuals search engine Surge Tank Pressure Cap Power Steering Fluid
NOTICE:
The surge tank cap is a 15 psi (105 kPa)
pressure-type cap and must be tightly installed to prevent coolant loss and possible engine
damage from overheating.
If the surge tank pressure cap needs to be replaced, a
GM cap is recommended.
Thermostat
Engine coolant temperature is controlled by a thermostat
in the engine coolant system. The thermostat stops the
flow
of coolant through the radiator until the coolant
reaches a preset temperature.
If the thermostat needs to be replaced, a GM thermostat
is recommended. The
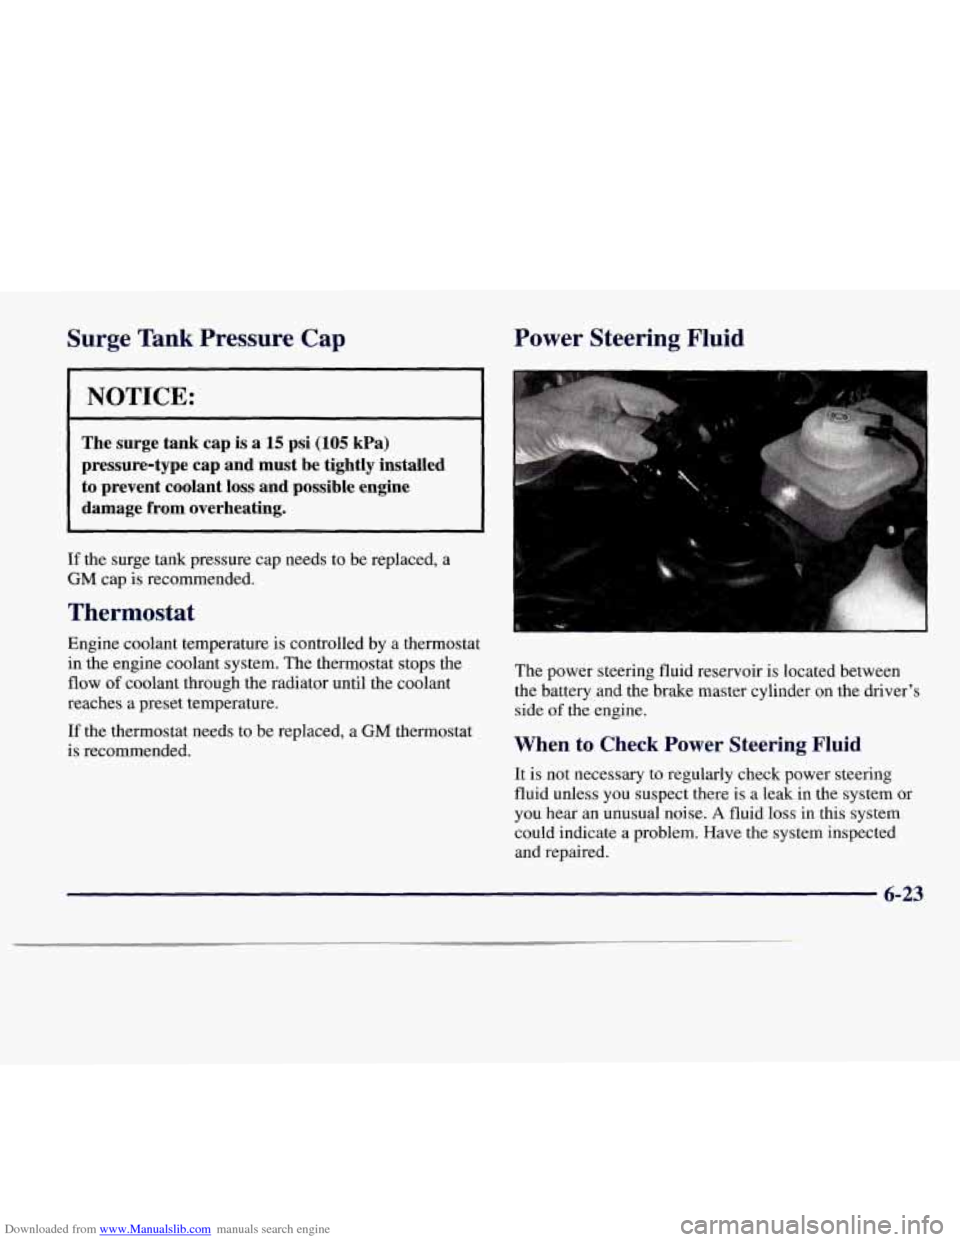
power steering fluid reservoir
is located between
the battery and the brake master cylinder on the driver’
side
of the engine.
When to Check Power Steering Fluid
It is not necessary to regularly check power steering
fluid unless you suspect there is a leak in the system or
you hear an unusual noise. A fluid loss in this system
could indicate a problem. Have the system inspected
and repaired.
6-23
Page 267 of 338

Downloaded from www.Manualslib.com manuals search engine Mow To Check Power Steering Fluid
When the engine compartment is cool, wipe the cap and
the top of the reservoir clean, then unscrew the cap and
wipe the dipstick with a clean rag. Replace the cap and
completely tighten it. Then remove the cap again and
look at the fluid level on the dipstick.
The level should be at the full mark. There are two lines
on the dipstick. The top line is the “full” mark and the
bottom
line is the “add” line (which means that fluid
should be added). If necessary, add only enough fluid
to bring the level up to the
full mark.
What to Use
To determine what kind of fluid to use, see
“Recommended Fluids and Lubricants” in the
Maintenance Schedule booklet. Always use the
proper fluid. Failure to use the proper fluid can
cause leaks and damage hoses and seals.
Windshield Washer Fluid
What to Use
When you need windshield washer fluid, be sure to read
the manufacturer’s instructions before use. If you will be
operating your vehicle
in an area where the temperature
may fall below freezing, use a fluid that has sufficient
protection against freezing.
Adding Washer Fluid
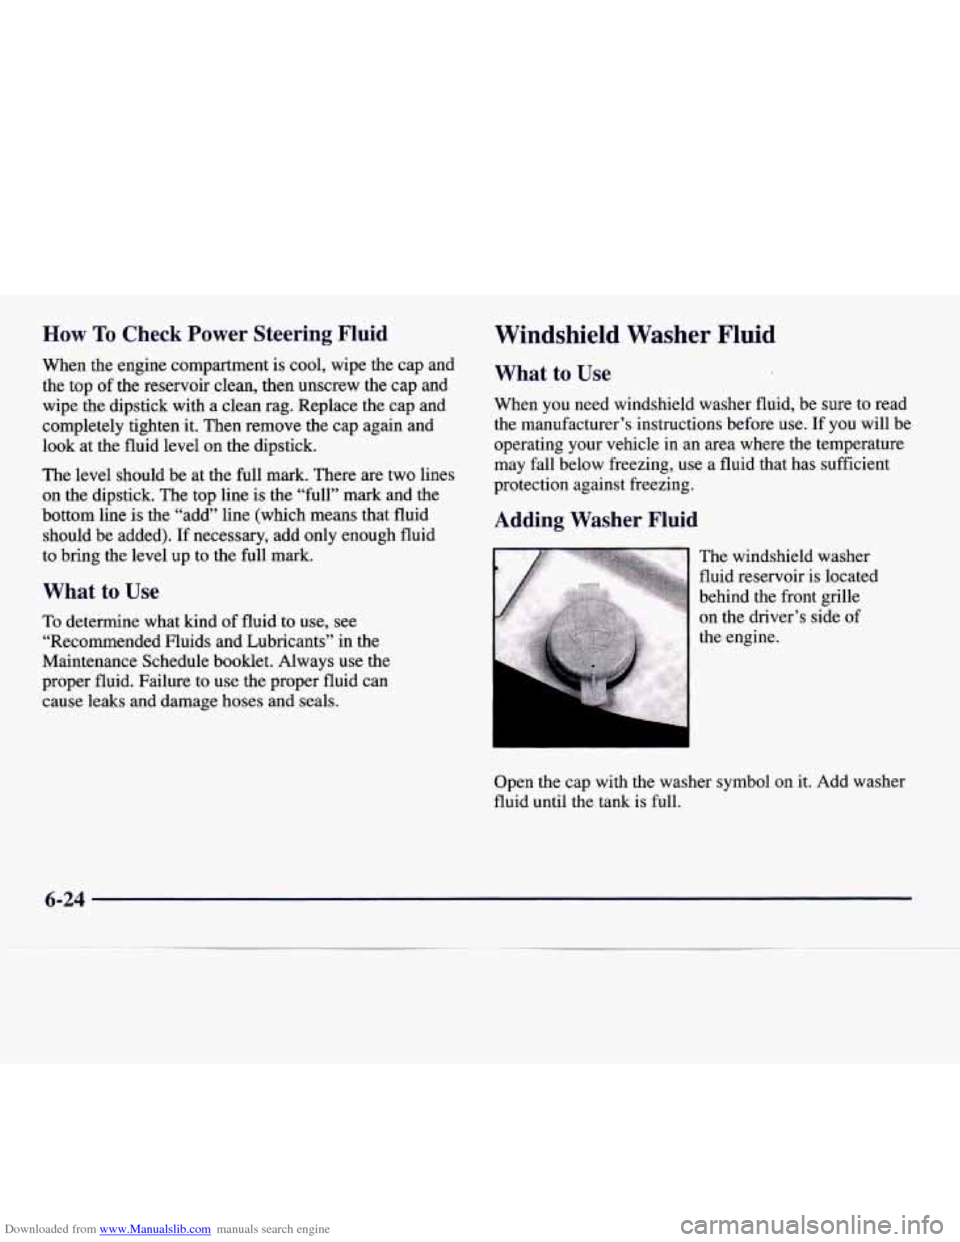
The windshield washer
fluid reservoir is located
behind the front grille
on the driver’s side
of
the engine.
Open the cap with the washer symbol on it. Add washer
fluid until
the tank is full.
6-24
Page 332 of 338

Downloaded from www.Manualslib.com manuals search engine Nightvision ................................... 4-16
Odometer
.................................... 2-6 1
Odometer. Trip
................................. 2-61
Off-Road Recovery
............................. 4- 12
Oil. Engine
.................................... 6-10
Oil Pressure LighVGage
.......................... 2-72
Outside Temperature Display
....................... 3-3
Overheating Engine
............................. 5- 14
Owner Publications. Ordering
................ 7- 13. 7- 14
Outside Rearview Mirror. Manual Folding
........... 2-47
Paint Spotting. Chemical
........................ 6-53
Park
Automatic Transmission
....................... 2- 19
Shifting Into
................................. 2-25
Shifting Out of
............................... 2-27
Parking AtNight
.................................... 2-11
Brake
...................................... 2-24
Lots
....................................... 2-11
Over Things That Burn
........................ 2-28
With a Trailer
................................ 4-38
Passenger Compartment Air Filter
................... 3-8
Passenger Compartment Air Filter Replacement
....... 6-17
Passenger’s Side Instrument Panel
Fuse Block ........ 6-60
Passenger’s Side Temperature Knob
................. 3-2
Passing
....................................... 4-13
Power DoorLocks
................................... 2-4
Option Fuses
................................ 6-56 Recliner
..................................... 1-8
Remote Control Mirror ........................ 2-47
Retained Accessory
........................... 2-16
Seats
........................................ 1-4
Steering
.................................... 4-10
Steering Fluid
................................ 6-23
Windows
................................... 2-30
Pregnancy. Use of Safety Belts
.................... 1-24
Problems
on the Road ............................ 5-1
Programmable Automatic Door Locks
............... 2-5
Publications. Service and Owner
.............. 7- 13. 7- 14
Radio Reception .............................. 3-21
Radios
.................................. 3.10. 3.13
Rain. Driving
In ................................ 4-17
RAP
......................................... 2-16
ReadingLamps
................................ 2-45
Rear Axle
....................................... 6-19
Door Security Lock
............................ 2-5
Outside Seat Position
.......................... 1-32
Seatpassengers
.............................. 1-32
Window Defogger
............................. 3-9
RearSeats ..................................... 1-10
Rear Turn Signal Lamp, Bulb Replacement
.......... 6-34
Rear Window Lockout
........................... 2-31
Recirculation
................................... 3-5
Reclining Front Seatbacks
......................... 1-6
Refrigerants, Air Conditioning
.................... 6-63
Rearview Mirror, Electrochromic
Daymight
......... 2-46
8-7