clock CADILLAC CTS 2003 1.G User Guide
[x] Cancel search | Manufacturer: CADILLAC, Model Year: 2003, Model line: CTS, Model: CADILLAC CTS 2003 1.GPages: 435, PDF Size: 2.71 MB
Page 315 of 435
5-20 Removing the Spare Tire and Tools
The equipment you'll need is in the trunk.
Instructions for changing your tires are on the inside of
the compact spare tire cover located in your trunk.
To gain access to the instructions, spare tire and jacking
equipment, do the following:
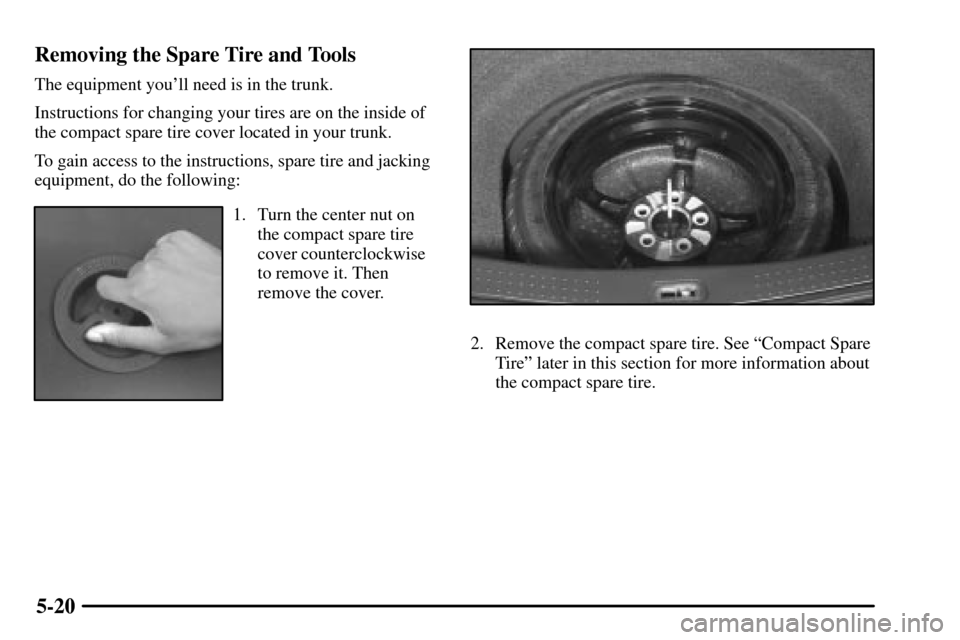
1. Turn the center nut on
the compact spare tire
cover counterclockwise
to remove it. Then
remove the cover.
2. Remove the compact spare tire. See ªCompact Spare
Tireº later in this section for more information about
the compact spare tire.
Page 316 of 435

5-21
3. Turn the nut holding the jack counterclockwise and
remove it. Then remove the jack and wheel wrench.The tools you'll be using include the jack (A) and the
wheel wrench (B).
Page 317 of 435

5-22 Removing Wheel Covers and Wheel Nut
Caps (If Equipped)
If your vehicle has wheel covers, use the flat end of the
wheel wrench to remove the covers. Turn the wheel
wrench clockwise to gently pry off the wheel cover.
Be careful not to scratch the aluminum wheel edge and
don't try to remove the wheel cover with your hands.
If your vehicle has wheel nut caps, turn the wheel
wrench counterclockwise to remove the caps.
If your vehicle has 17 inch (43.2 cm) wheels, there is a
center cap that does not need to be removed in order to
remove the wheel from the vehicle.
Page 318 of 435

5-23 Removing the Flat Tire and Installing the
Spare Tire
A. Wheel Wrench
B. Wheel Nut
1. Place the wheel wrench securely over the wheel nut.
Turn the wheel wrench counterclockwise to loosen
all the wheel nuts. Don't remove them yet.
A. Front Jacking Location
B. Rear Jacking Location
2. Find the jacking location using the diagram
above and corresponding hoisting notches located
in the plastic molding. The notches in the plastic
molding are marked with a triangle shape to help
you find them.
The front location is 14 inches (35.6 cm) from the
rear edge of the front wheel well, and the rear
location is 7 inches (17.8 cm) from the front edge of
the rear wheel well.
Page 319 of 435

5-24
CAUTION:
Getting under a vehicle when it is jacked up is
dangerous. If the vehicle slips off the jack, you
could be badly injured or killed. Never get under
a vehicle when it is supported only by a jack.
CAUTION:
Raising your vehicle with the jack improperly
positioned can damage the vehicle and even make
the vehicle fall. To help avoid personal injury and
vehicle damage, be sure to fit the jack lift head
into the proper location before raising the
vehicle.
3. Attach the wheel wrench to the jack.
4. Turn the wheel wrench counterclockwise to lower
the jack lift head until the jack fits under the vehicle.
A. Flat Tire
B. Compact Spare Tire
5. Raise the jack by turning the wheel wrench
clockwise until the metal flanges fit firmly into the
notches in the plastic molding.
6. Put the compact spare tire near you.
7. Raise the vehicle by turning the wheel wrench
clockwise. Raise the vehicle far enough off the
ground for the compact spare tire to fit under
the vehicle.
8. Remove all the wheel nuts and take off the flat tire.
Page 321 of 435

5-26
11. Put the wheel nuts back
on with the rounded end
of the nuts toward the
wheel. Tighten each
wheel nut by turning it
clockwise with your
hand until the wheel is
held against the hub.
12. Lower the vehicle by turning the wheel wrench
counterclockwise. Lower the jack completely.
Page 332 of 435
6-6
Filling Your Tank
CAUTION:
Fuel vapor is highly flammable. It burns
violently, and that can cause very bad injuries.
Don't smoke if you're near fuel or refueling your
vehicle. Keep sparks, flames and smoking
materials away from fuel.
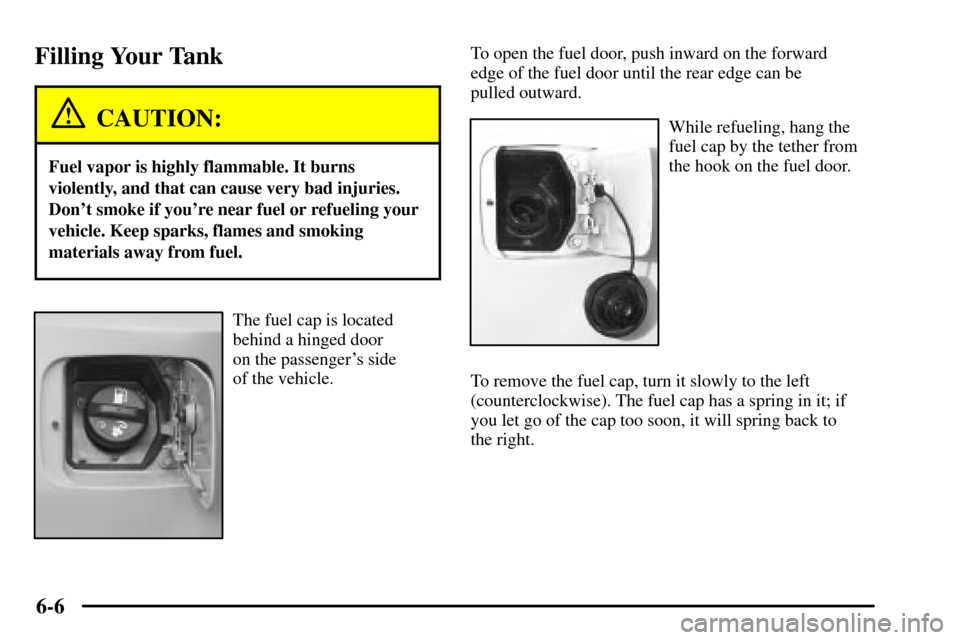
The fuel cap is located
behind a hinged door
on the passenger's side
of the vehicle.To open the fuel door, push inward on the forward
edge of the fuel door until the rear edge can be
pulled outward.
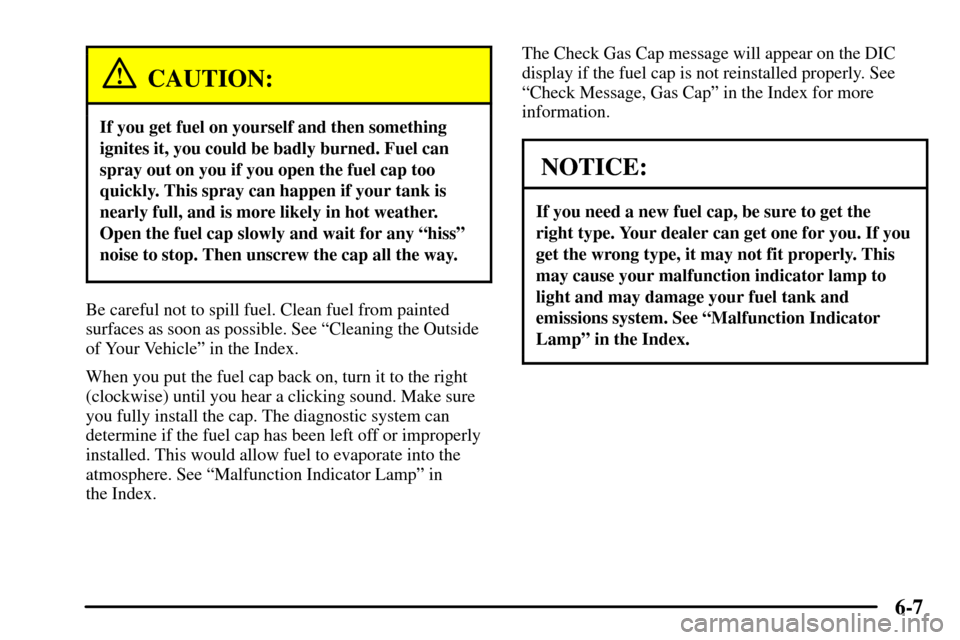
While refueling, hang the
fuel cap by the tether from
the hook on the fuel door.
To remove the fuel cap, turn it slowly to the left
(counterclockwise). The fuel cap has a spring in it; if
you let go of the cap too soon, it will spring back to
the right.
Page 333 of 435
6-7
CAUTION:
If you get fuel on yourself and then something
ignites it, you could be badly burned. Fuel can
spray out on you if you open the fuel cap too
quickly. This spray can happen if your tank is
nearly full, and is more likely in hot weather.
Open the fuel cap slowly and wait for any ªhissº
noise to stop. Then unscrew the cap all the way.
Be careful not to spill fuel. Clean fuel from painted
surfaces as soon as possible. See ªCleaning the Outside
of Your Vehicleº in the Index.
When you put the fuel cap back on, turn it to the right
(clockwise) until you hear a clicking sound. Make sure
you fully install the cap. The diagnostic system can
determine if the fuel cap has been left off or improperly
installed. This would allow fuel to evaporate into the
atmosphere. See ªMalfunction Indicator Lampº in
the Index.The Check Gas Cap message will appear on the DIC
display if the fuel cap is not reinstalled properly. See
ªCheck Message, Gas Capº in the Index for more
information.
NOTICE:
If you need a new fuel cap, be sure to get the
right type. Your dealer can get one for you. If you
get the wrong type, it may not fit properly. This
may cause your malfunction indicator lamp to
light and may damage your fuel tank and
emissions system. See ªMalfunction Indicator
Lampº in the Index.
Page 362 of 435
6-36 Front Turn Signal and Fog Lamps
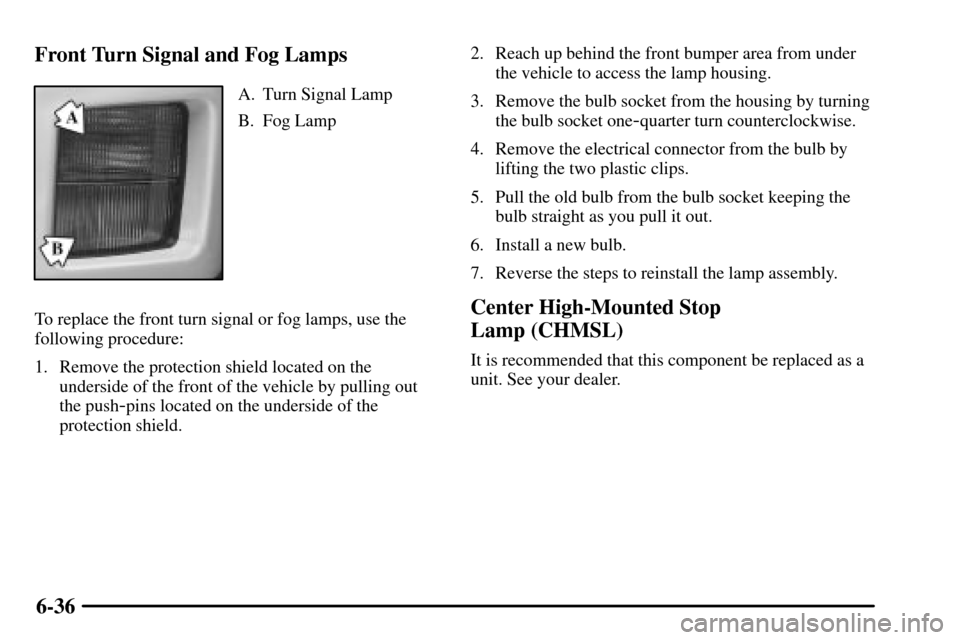
A. Turn Signal Lamp
B. Fog Lamp
To replace the front turn signal or fog lamps, use the
following procedure:
1. Remove the protection shield located on the
underside of the front of the vehicle by pulling out
the push
-pins located on the underside of the
protection shield.2. Reach up behind the front bumper area from under
the vehicle to access the lamp housing.
3. Remove the bulb socket from the housing by turning
the bulb socket one
-quarter turn counterclockwise.
4. Remove the electrical connector from the bulb by
lifting the two plastic clips.
5. Pull the old bulb from the bulb socket keeping the
bulb straight as you pull it out.
6. Install a new bulb.
7. Reverse the steps to reinstall the lamp assembly.
Center High-Mounted Stop
Lamp (CHMSL)
It is recommended that this component be replaced as a
unit. See your dealer.
Page 363 of 435
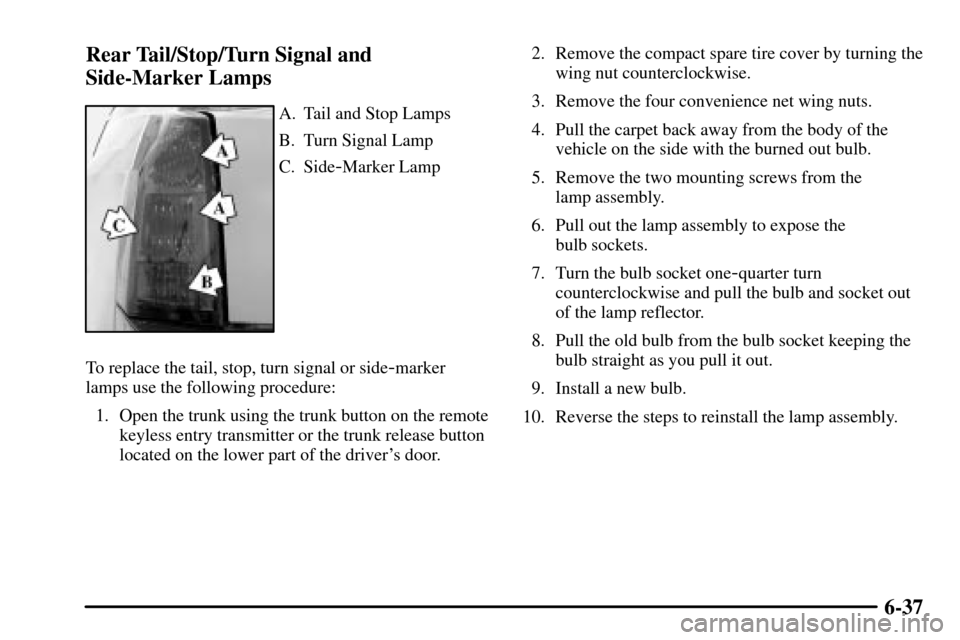
6-37 Rear Tail/Stop/Turn Signal and
Side-Marker Lamps
A. Tail and Stop Lamps
B. Turn Signal Lamp
C. Side
-Marker Lamp
To replace the tail, stop, turn signal or side
-marker
lamps use the following procedure:
1. Open the trunk using the trunk button on the remote
keyless entry transmitter or the trunk release button
located on the lower part of the driver's door.2. Remove the compact spare tire cover by turning the
wing nut counterclockwise.
3. Remove the four convenience net wing nuts.
4. Pull the carpet back away from the body of the
vehicle on the side with the burned out bulb.
5. Remove the two mounting screws from the
lamp assembly.
6. Pull out the lamp assembly to expose the
bulb sockets.
7. Turn the bulb socket one
-quarter turn
counterclockwise and pull the bulb and socket out
of the lamp reflector.
8. Pull the old bulb from the bulb socket keeping the
bulb straight as you pull it out.
9. Install a new bulb.
10. Reverse the steps to reinstall the lamp assembly.