5-18
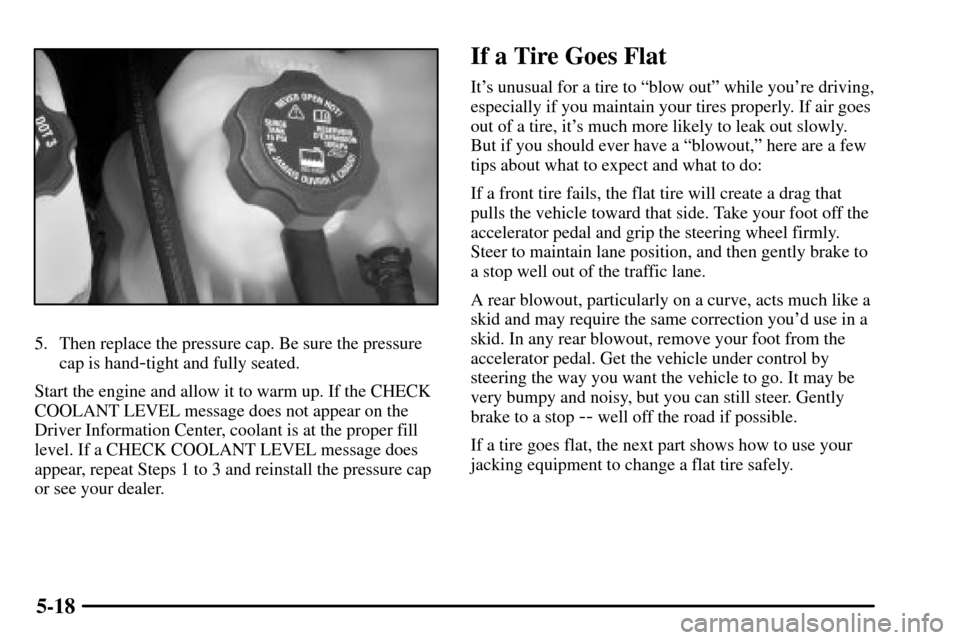
5. Then replace the pressure cap. Be sure the pressure
cap is hand
-tight and fully seated.
Start the engine and allow it to warm up. If the CHECK
COOLANT LEVEL message does not appear on the
Driver Information Center, coolant is at the proper fill
level. If a CHECK COOLANT LEVEL message does
appear, repeat Steps 1 to 3 and reinstall the pressure cap
or see your dealer.
If a Tire Goes Flat
It's unusual for a tire to ªblow outº while you're driving,
especially if you maintain your tires properly. If air goes
out of a tire, it's much more likely to leak out slowly.
But if you should ever have a ªblowout,º here are a few
tips about what to expect and what to do:
If a front tire fails, the flat tire will create a drag that
pulls the vehicle toward that side. Take your foot off the
accelerator pedal and grip the steering wheel firmly.
Steer to maintain lane position, and then gently brake to
a stop well out of the traffic lane.
A rear blowout, particularly on a curve, acts much like a
skid and may require the same correction you'd use in a
skid. In any rear blowout, remove your foot from the
accelerator pedal. Get the vehicle under control by
steering the way you want the vehicle to go. It may be
very bumpy and noisy, but you can still steer. Gently
brake to a stop
-- well off the road if possible.
If a tire goes flat, the next part shows how to use your
jacking equipment to change a flat tire safely.
5-20 Removing the Spare Tire and Tools
The equipment you'll need is in the trunk.
Instructions for changing your tires are on the inside of
the compact spare tire cover located in your trunk.
To gain access to the instructions, spare tire and jacking
equipment, do the following:
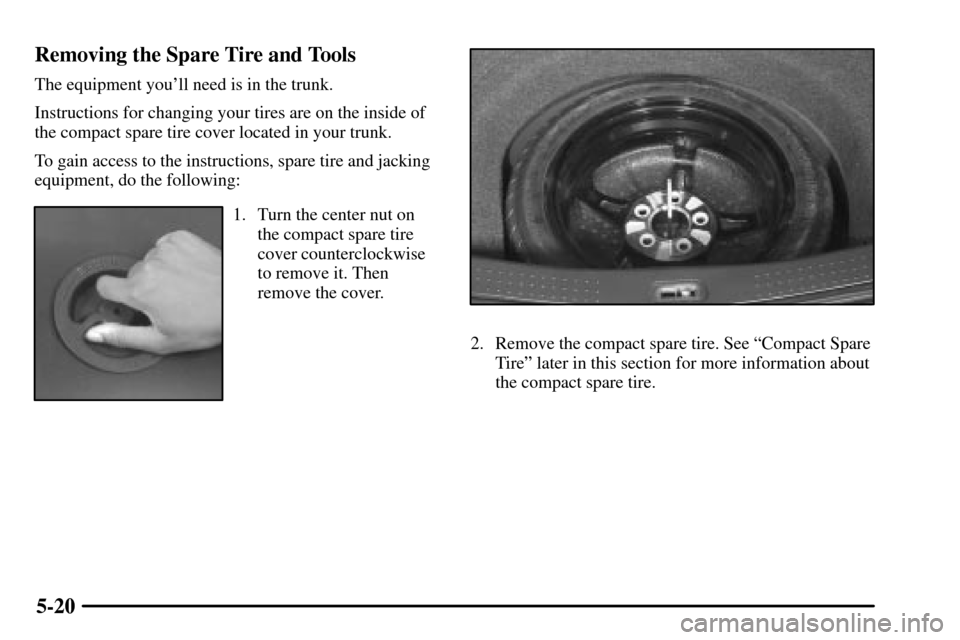
1. Turn the center nut on
the compact spare tire
cover counterclockwise
to remove it. Then
remove the cover.
2. Remove the compact spare tire. See ªCompact Spare
Tireº later in this section for more information about
the compact spare tire.
5-23 Removing the Flat Tire and Installing the
Spare Tire
A. Wheel Wrench
B. Wheel Nut
1. Place the wheel wrench securely over the wheel nut.
Turn the wheel wrench counterclockwise to loosen
all the wheel nuts. Don't remove them yet.
A. Front Jacking Location
B. Rear Jacking Location
2. Find the jacking location using the diagram
above and corresponding hoisting notches located
in the plastic molding. The notches in the plastic
molding are marked with a triangle shape to help
you find them.
The front location is 14 inches (35.6 cm) from the
rear edge of the front wheel well, and the rear
location is 7 inches (17.8 cm) from the front edge of
the rear wheel well.


