ignition CADILLAC CTS 2005 1.G User Guide
[x] Cancel search | Manufacturer: CADILLAC, Model Year: 2005, Model line: CTS, Model: CADILLAC CTS 2005 1.GPages: 432, PDF Size: 2.52 MB
Page 87 of 432
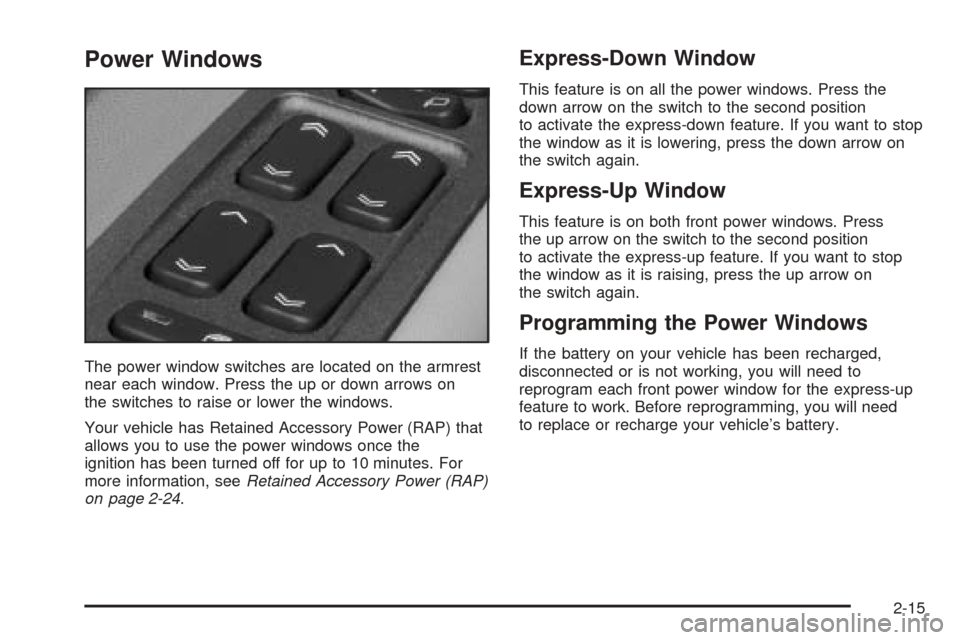
Power Windows
The power window switches are located on the armrest
near each window. Press the up or down arrows on
the switches to raise or lower the windows.
Your vehicle has Retained Accessory Power (RAP) that
allows you to use the power windows once the
ignition has been turned off for up to 10 minutes. For
more information, seeRetained Accessory Power (RAP)
on page 2-24.
Express-Down Window
This feature is on all the power windows. Press the
down arrow on the switch to the second position
to activate the express-down feature. If you want to stop
the window as it is lowering, press the down arrow on
the switch again.
Express-Up Window
This feature is on both front power windows. Press
the up arrow on the switch to the second position
to activate the express-up feature. If you want to stop
the window as it is raising, press the up arrow on
the switch again.
Programming the Power Windows
If the battery on your vehicle has been recharged,
disconnected or is not working, you will need to
reprogram each front power window for the express-up
feature to work. Before reprogramming, you will need
to replace or recharge your vehicle’s battery.
2-15
Page 88 of 432
To program each window, follow these steps:
1. With the ignition in ACCESSORY, ON or when
Retained Accessory Power (RAP) is active,
press and hold the down arrow on the power
window switch until the window has fully opened.
2. Press the up arrow on the power window switch
until the window is fully closed.
3. Continue holding up arrow on the switch for
approximately two seconds after the window
is completely closed.
The window is now reprogrammed. Repeat the process
for the other front window.
Express Window Anti-Pinch Feature
If any object is in the path of the window when
the express-up is active, the window will stop at the
obstruction and auto-reverse to a preset factory position.
Weather conditions such as severe icing may also
cause the window to auto-reverse. The window
will return to normal operation once the obstruction or
condition is removed.
{CAUTION:
If express override is activated, the window
will not reverse automatically. You or others
could be injured and the window could be
damaged. Before you use express override,
make sure that all people and obstructions are
clear of the window path.
Express Window Anti-Pinch Override
A condition may exist that causes auto-reversal of the
window due to weather or an obstruction. In an
emergency, the anti-pinch feature can be overridden in a
supervised mode. Hold the window switch all the way
down in the express position. The window will rise for as
long as the switch is held. Once the switch is released,
the express mode is re-activated.
In this mode, the window can still close on an object in
its path. Use care when using the override mode.
2-16
Page 90 of 432
Theft-Deterrent Systems
Vehicle theft is big business, especially in some cities.
Although your vehicle has a number of theft-deterrent
features, we know that nothing we put on it can make it
impossible to steal.
Theft-Deterrent System
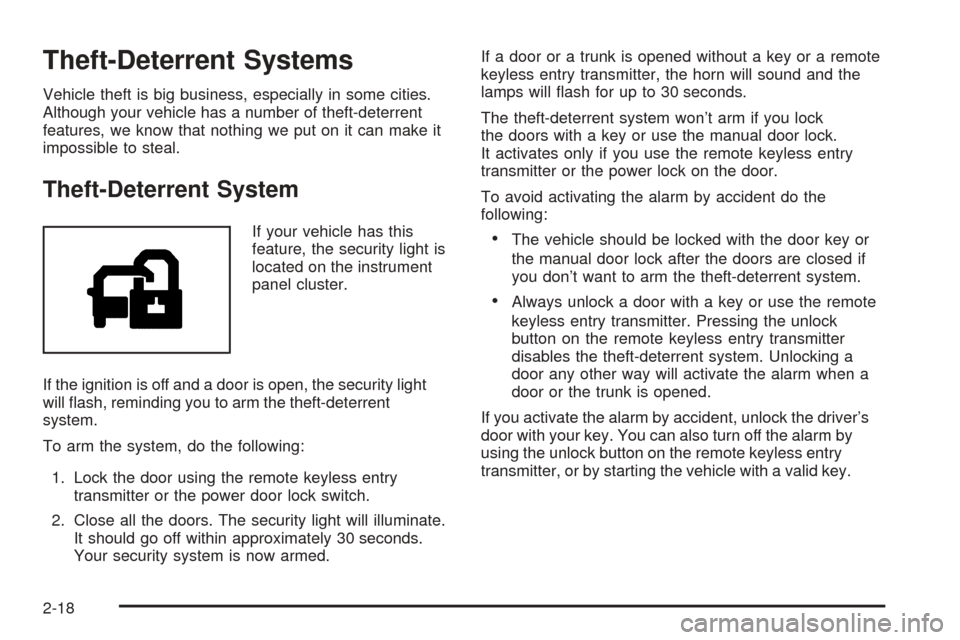
If your vehicle has this
feature, the security light is
located on the instrument
panel cluster.
If the ignition is off and a door is open, the security light
will �ash, reminding you to arm the theft-deterrent
system.
To arm the system, do the following:
1. Lock the door using the remote keyless entry
transmitter or the power door lock switch.
2. Close all the doors. The security light will illuminate.
It should go off within approximately 30 seconds.
Your security system is now armed.If a door or a trunk is opened without a key or a remote
keyless entry transmitter, the horn will sound and the
lamps will �ash for up to 30 seconds.
The theft-deterrent system won’t arm if you lock
the doors with a key or use the manual door lock.
It activates only if you use the remote keyless entry
transmitter or the power lock on the door.
To avoid activating the alarm by accident do the
following:The vehicle should be locked with the door key or
the manual door lock after the doors are closed if
you don’t want to arm the theft-deterrent system.
Always unlock a door with a key or use the remote
keyless entry transmitter. Pressing the unlock
button on the remote keyless entry transmitter
disables the theft-deterrent system. Unlocking a
door any other way will activate the alarm when a
door or the trunk is opened.
If you activate the alarm by accident, unlock the driver’s
door with your key. You can also turn off the alarm by
using the unlock button on the remote keyless entry
transmitter, or by starting the vehicle with a valid key.
2-18
Page 92 of 432

Immobilizer Operation
Your vehicle is equipped
with a passive
theft-deterrent system.
The system works when you turn the key to ON. The
key uses a transponder that matches an immobilizer
control unit in your vehicle. The correct key will start the
vehicle. If the key is ever damaged, you may not be
able to start your vehicle.
When trying to start the vehicle, if the engine does not
start and the security light comes on, the key may
have a damaged transponder. Turn the ignition off and
try again.If the engine still does not start, and the key appears to
be undamaged, try another ignition key. At this time,
you may also want to check the fuse. SeeFuses
and Circuit Breakers on page 5-96. If the engine still
does not start with the other key, your vehicle needs
service. If your vehicle does start, the �rst key may be
faulty. See your dealer who can service the
theft-deterrent system to have a new key made.
It is possible for the theft-deterrent system decoder to
learn the transponder value of a new or replacement
key. Up to 10 additional keys may be programmed for
the vehicle. This procedure is for learning additional
keys only.
Canadian Owners:If you lose or damage your keys,
only a GM dealer can service the theft-deterrent system
to have new keys made. To program additional keys
you will require two current driver’s keys. You must add
a step to the following procedure. After Step 2, repeat
Steps 1 and 2 with the second current driver’s key. Then
continue with Step 3.
To program a new key do the following:
1. Verify that the new key has PK3+ stamped on it.
2. Insert the current driver’s key in the ignition
and start the engine. If the engine will not start see
your dealer for service.
2-20
Page 94 of 432

Ignition Positions
With the key in the ignition switch, you can turn the key
to four different positions.
Notice:Using a tool to force the key from the
ignition switch could cause damage or break the key.
Use the correct key and turn the key only with your
hand. Make sure the key is all the way in. If it is, turn
the steering wheel left and right while you turn the
key hard. If none of this works, then your vehicle
needs service.A (OFF):This is the only position in which you can
insert or remove the key. This position locks the ignition,
steering wheel and transmission. It is a theft-deterrent
feature.
B (ACCESSORY):This position allows you to use
things like the radio and the windshield wipers when the
engine is off. This position will allow you to turn off
the engine, but still turn the steering wheel.
C (ON):This position is for driving. If your vehicle has
an automatic transmission and you turn off the
engine, the transmission will lock. If you need to shift
the transmission out of PARK (P), the ignition key has to
be in ON.
D (START):This position starts the engine.
2-22
Page 95 of 432
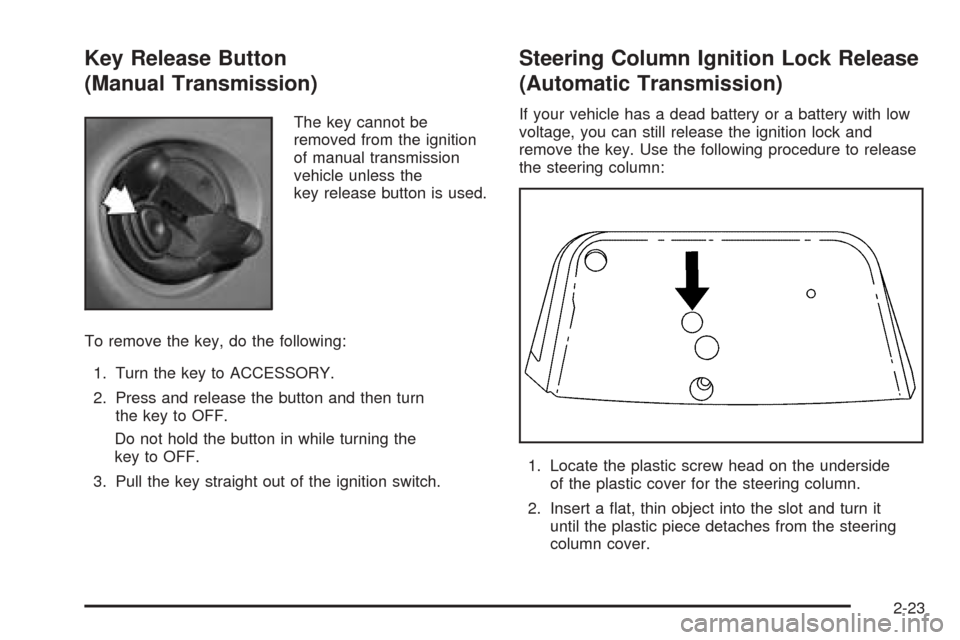
Key Release Button
(Manual Transmission)
The key cannot be
removed from the ignition
of manual transmission
vehicle unless the
key release button is used.
To remove the key, do the following:
1. Turn the key to ACCESSORY.
2. Press and release the button and then turn
the key to OFF.
Do not hold the button in while turning the
key to OFF.
3. Pull the key straight out of the ignition switch.
Steering Column Ignition Lock Release
(Automatic Transmission)
If your vehicle has a dead battery or a battery with low
voltage, you can still release the ignition lock and
remove the key. Use the following procedure to release
the steering column:
1. Locate the plastic screw head on the underside
of the plastic cover for the steering column.
2. Insert a �at, thin object into the slot and turn it
until the plastic piece detaches from the steering
column cover.
2-23
Page 96 of 432
3. Insert a narrow, pointed object into the hole in the
steering column cover and press the spring.
4. Then, turn the ignition switch to OFF and remove
the key.
Retained Accessory Power (RAP)
The following accessories on your vehicle may be used
for up to 10 minutes after the ignition key is turned
from ON to OFF:
Radio
Power Windows
Audio Steering Wheel Controls (if programmed)
Sunroof
Power to these accessories stops after 10 minutes
or if a door is opened. If you want power for another
10 minutes, close all the doors and turn the
ignition key to ON and then back to OFF.
Starting the Engine
Automatic Transmission
Move your shift lever to PARK (P) or NEUTRAL (N).
Your engine will not start in any other position — that is
a safety feature. To restart when you are already
moving, use NEUTRAL (N) only.
Notice:Do not try to shift to PARK (P) if your
vehicle is moving. If you do, you could damage the
transmission. Shift to PARK (P) only when your
vehicle is stopped.
Manual Transmission
The shift lever should be in NEUTRAL and the parking
brake engaged. Hold the clutch pedal to the �oor
and start the engine. Your vehicle will not start if the
clutch pedal is not all the way down — that is a safety
feature.
1. With your foot off the accelerator pedal, turn your
ignition key to START. Then, let go of the key; the
engine will start automatically. The idle speed
will go down as your engine gets warm.
2-24
Page 99 of 432

Ensure the shift lever is fully in PARK (P) before starting
the engine. Your vehicle has an automatic transmission
shift lock control system. You must fully apply your
regular brakes before you can shift from PARK (P) when
the ignition key is in ON. If you cannot shift out of
PARK (P), ease pressure on the shift lever. Push the
shift lever all the way into PARK (P) while pressing the
button on the shift lever as you maintain brake
application. Then move the shift lever into the gear you
wish. SeeShifting Out of Park (P) on page 2-35.
Notice:Shifting to REVERSE (R) while your vehicle
is moving forward could damage the transmission.
The repairs would not be covered by your warranty.
Shift to REVERSE (R) only after your vehicle is
stopped.
REVERSE (R):Use this gear to back up.
At low vehicle speeds, you can also use REVERSE (R)
to rock your vehicle back and forth to get out of
snow, ice or sand without damaging your transmission.
SeeIf Your Vehicle is Stuck in Sand, Mud, Ice or
Snow on page 4-32for additional information.NEUTRAL (N):In this position, the engine does not
connect with the wheels. To restart when you are
already moving, use NEUTRAL (N) only. You can also
use NEUTRAL (N) when your vehicle is being towed.
{CAUTION:
Shifting into a drive gear while your engine is
running at high speed is dangerous. Unless
your foot is �rmly on the brake pedal, your
vehicle could move very rapidly. You could
lose control and hit people or objects. Do not
shift into a drive gear while your engine is
running at high speed.
Notice:Shifting out of PARK (P) or NEUTRAL (N)
with the engine running at high speed may damage
the transmission. The repairs would not be
covered by your warranty. Be sure the engine is not
running at high speed when shifting your vehicle.
2-27
Page 101 of 432
Sport Mode Button
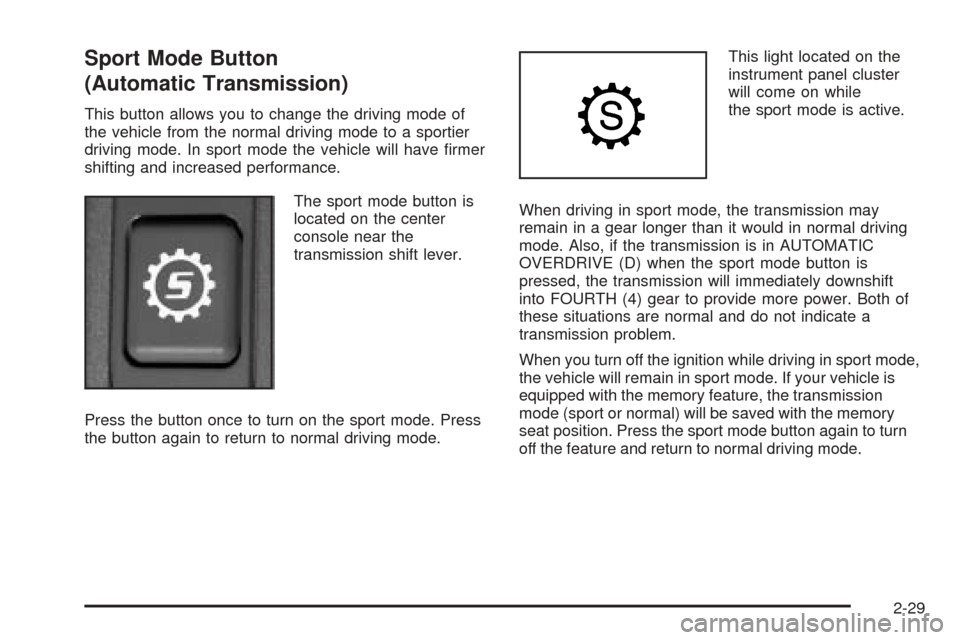
(Automatic Transmission)
This button allows you to change the driving mode of
the vehicle from the normal driving mode to a sportier
driving mode. In sport mode the vehicle will have �rmer
shifting and increased performance.
The sport mode button is
located on the center
console near the
transmission shift lever.
Press the button once to turn on the sport mode. Press
the button again to return to normal driving mode.This light located on the
instrument panel cluster
will come on while
the sport mode is active.
When driving in sport mode, the transmission may
remain in a gear longer than it would in normal driving
mode. Also, if the transmission is in AUTOMATIC
OVERDRIVE (D) when the sport mode button is
pressed, the transmission will immediately downshift
into FOURTH (4) gear to provide more power. Both of
these situations are normal and do not indicate a
transmission problem.
When you turn off the ignition while driving in sport mode,
the vehicle will remain in sport mode. If your vehicle is
equipped with the memory feature, the transmission
mode (sport or normal) will be saved with the memory
seat position. Press the sport mode button again to turn
off the feature and return to normal driving mode.
2-29
Page 102 of 432
Winter Driving Mode Button
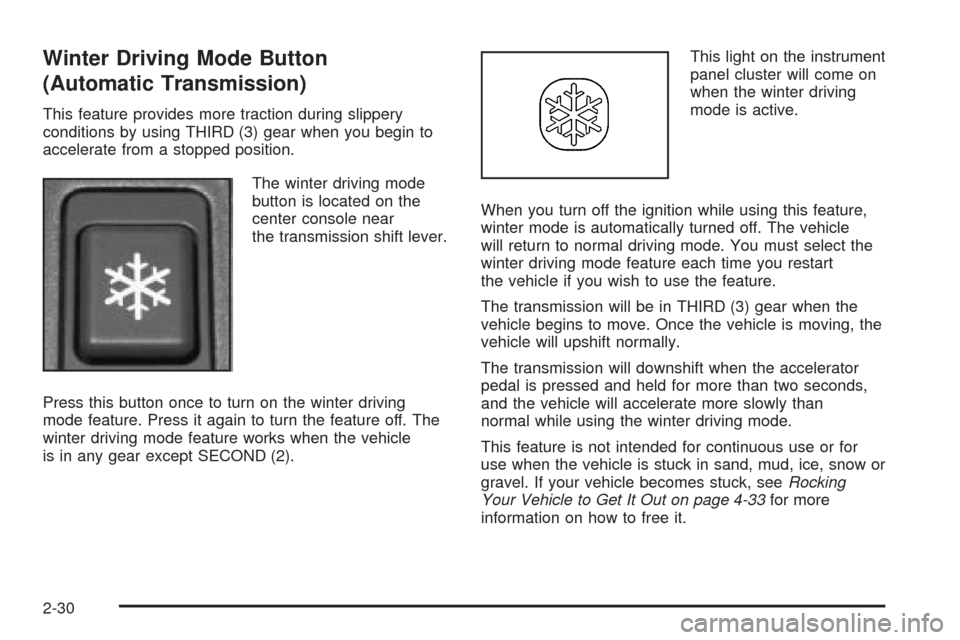
(Automatic Transmission)
This feature provides more traction during slippery
conditions by using THIRD (3) gear when you begin to
accelerate from a stopped position.
The winter driving mode
button is located on the
center console near
the transmission shift lever.
Press this button once to turn on the winter driving
mode feature. Press it again to turn the feature off. The
winter driving mode feature works when the vehicle
is in any gear except SECOND (2).This light on the instrument
panel cluster will come on
when the winter driving
mode is active.
When you turn off the ignition while using this feature,
winter mode is automatically turned off. The vehicle
will return to normal driving mode. You must select the
winter driving mode feature each time you restart
the vehicle if you wish to use the feature.
The transmission will be in THIRD (3) gear when the
vehicle begins to move. Once the vehicle is moving, the
vehicle will upshift normally.
The transmission will downshift when the accelerator
pedal is pressed and held for more than two seconds,
and the vehicle will accelerate more slowly than
normal while using the winter driving mode.
This feature is not intended for continuous use or for
use when the vehicle is stuck in sand, mud, ice, snow or
gravel. If your vehicle becomes stuck, seeRocking
Your Vehicle to Get It Out on page 4-33for more
information on how to free it.
2-30