display CADILLAC DEVILLE 1994 7.G Owners Manual
[x] Cancel search | Manufacturer: CADILLAC, Model Year: 1994, Model line: DEVILLE, Model: CADILLAC DEVILLE 1994 7.GPages: 399, PDF Size: 20.97 MB
Page 97 of 399
Downloaded from www.Manualslib.com manuals search engine PASS-KEY’II
Your vehicle is equipped with the PASS-Key’II (Personalized
Automotive Security System) theft deterrent system. PASS-Key% is a
passive theft deterrent system. This means you don’t have to do anything
different to arm or disarm the system. It works when you insert or remove
the key from the ignition. PASS-Key’II uses a resistor pellet in the
ignition key that matches a decoder in your vehicle.
When the PASS-Key% system senses that someone is using the wrong
key, it shuts down the vehicle’s starter and fuel systems. For about three
minutes, the starter won’t work and fuel won’t go to the engine.
If
someone tries to start your vehicle again or uses another key during this
time, the vehicle
will not start. This discourages someone from randomly
trying different keys with different resistor pellets
in an attempt to make a
match.
The ignition key must be clean and dry before it’s inserted in the ignition
or the engine may not start.
If the engine does not start and the -
STARTING DISABLED DUE TO THEFT SYSTEM REMOVE L1
IGNITION KEY messgge is displayed the key may be dirty or wet. Turn
the ignition
off.
Clean and dry the key. Wait about three minutes and try again. The
SECURITY light
will remain on during this time. If the starter still won’t
work, and the key appears to be clean and dry, wait about three minutes
and try the other ignition key. At this time, you may also want to check
the fuses (see “Fuses and Circuit Breakers” in the Index). If the starter
won’t work with the other key, your vehicle needs service.
If your vehicle
does start, the first ignition key may be faulty. See your Cadillac dealer or
a locksmith who can service the PASS-K@II.
If you accidentally use a key that has a damaged or missing resistor pellet,
the starter won’t work, you don’t have to wait three minutes before trying
one
of the other ignition keys.
See your Cadillac dealer
or a locksmith who can service the PASS-Key@II
to have
a new key made.
Page 119 of 399
Downloaded from www.Manualslib.com manuals search engine To signal a lane change, just raise or lower the lever until the green arrow
starts to flash. Hold it there until you complete your lane change. The
lever will return by itself when
you release it.
If for some reason your turn signal is left on, the Driver Information
Center
will display “TURN SIGNAL ON” (after driving about a mile) to
remind you to turn
it off.
As you signal a turn or a lane change, if the arrows don’t flash but just
stay on,
a signal bulb may be burned out and other drivers won’t see your
turn signal.
If
a bulb is burned out, replace it to help avoid an accident. If the green
arrows don’t
go on at all when you signal a turn, check the fuse (see
“Fuses”
in the Index) and for burned-out bulbs.
Headlight High-Low Beam
I
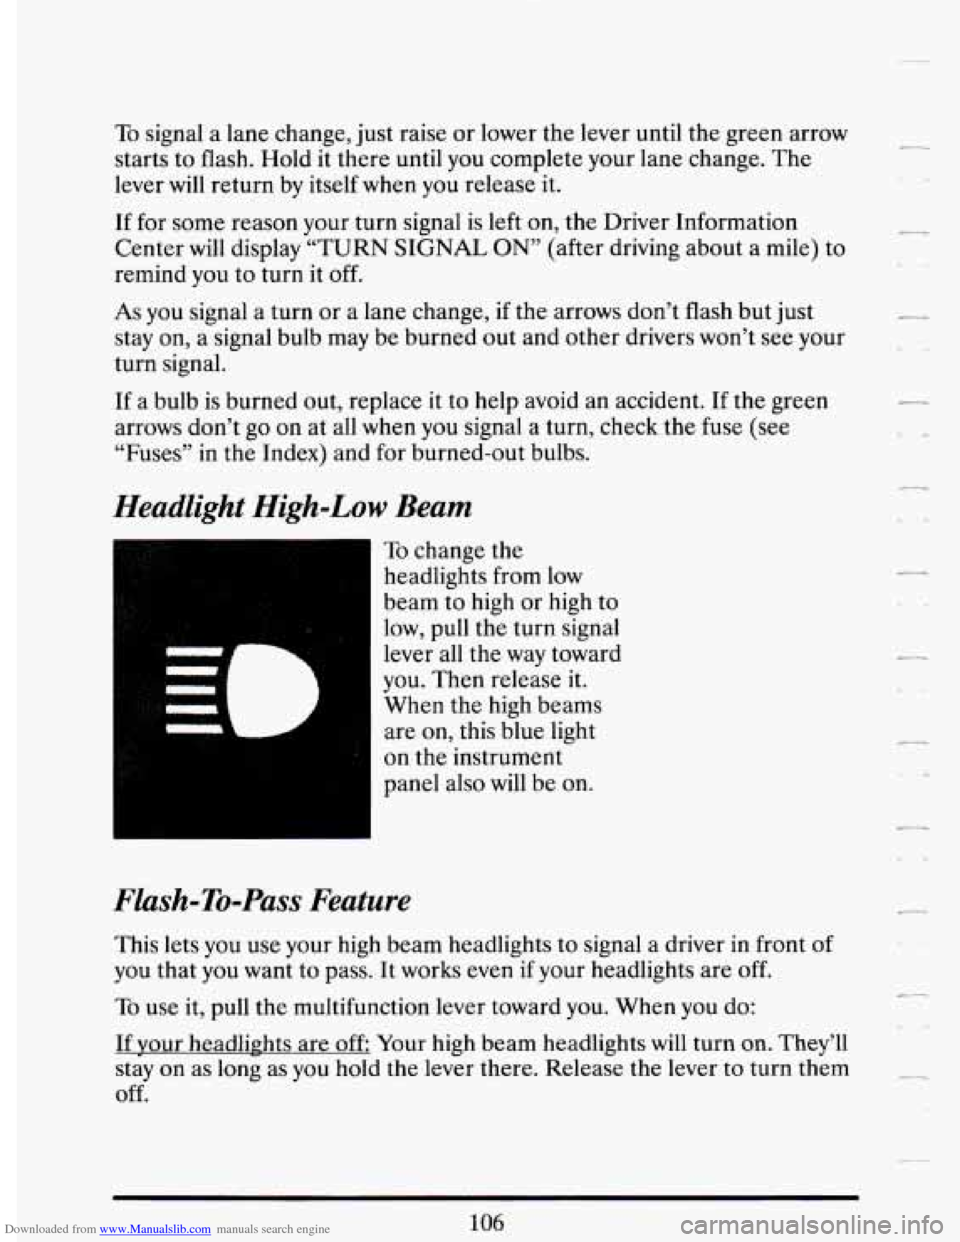
To change the
headlights from
low
beam to high or high to
low, pull the turn signal
lever all the way toward
you. Then release it.
When the high beams
are on, this blue light
on the instrument
panel also will be
on.
Flash-To-Pass Feature
This lets you use your high beam headlights to signal a driver in front of
you that you want to pass. It works even if your headlights are
off.
To use it, pull the multifunction lever toward you. When you do:
If vour headlights are
off Your high beam headlights will turn on. They’ll
stay on as long as you hold the lever there. Release the lever to turn them
off.
106
Page 121 of 399
Downloaded from www.Manualslib.com manuals search engine Damaged wiper blades may prevent you from seeing well enough to drive
safely.
To avoid damage, be sure to clear ice and snow from the wiper
blades before using them. If they’re frozen to the windshield, carefully
loosen
or thaw them. If your blades do become damaged, get new blades
or blade inserts.
Heavy snow or ice can overload your wiper motor. A circuit breaker will
stop the motor until it cools. Clear away snow or ice to prevent an
overload.
Windshield Washer
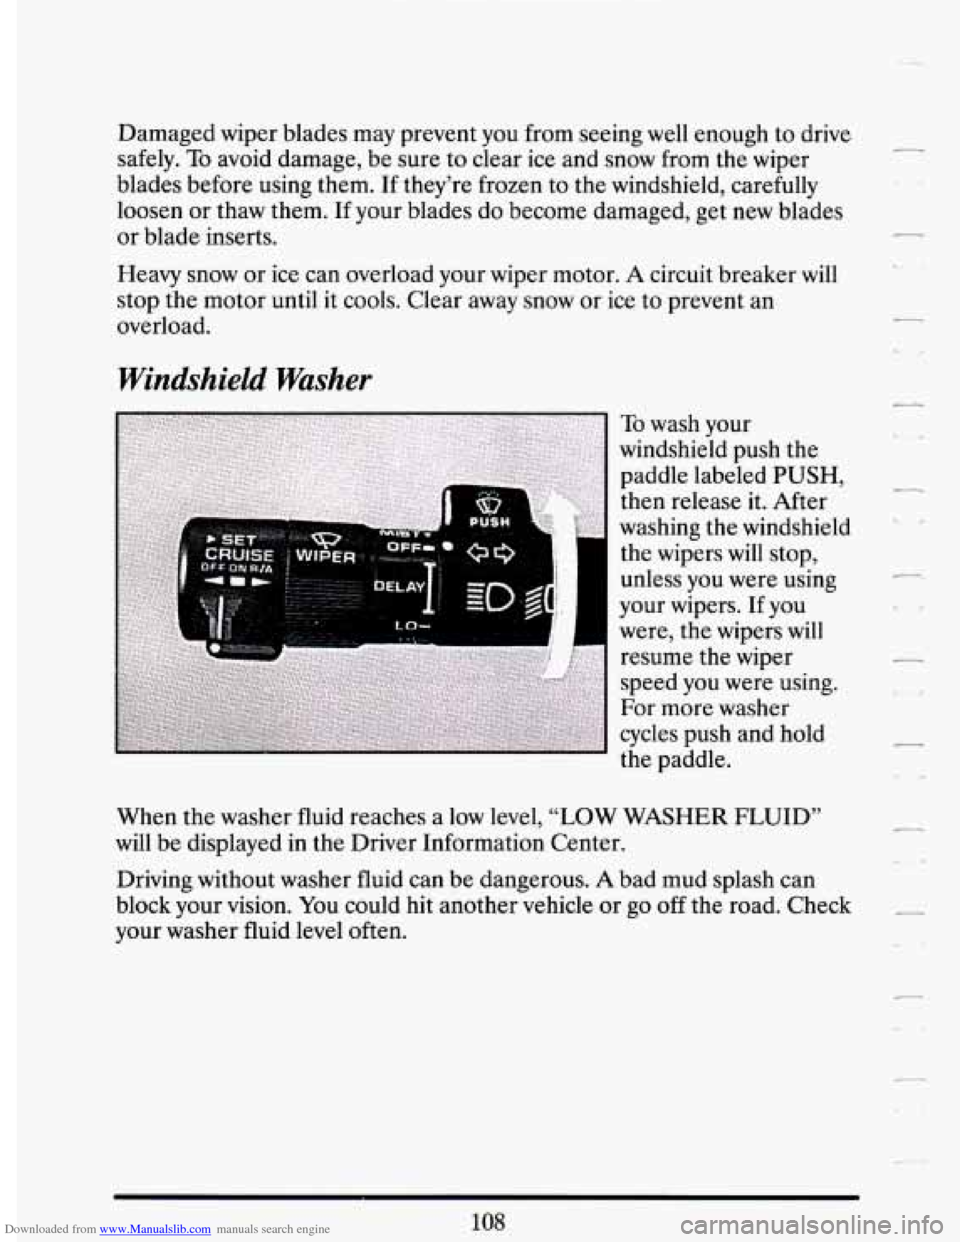
To wash your
windshield push the
paddle labeled PUSH,
then release it. After
washing the windshield
the wipers will stop,
unless you were using
your wipers. If you
were, the wipers
will
resume the wiper
speed
you were using.
For more washer
cycles push and hold
the paddle.
When
me washer fluid reacnes a low level, “LOW WASHER FLUID”
will be displayed in the Driver Information Center.
Driving without washer fluid can be dangerous.
A bad mud splash can
block your vision. You could hit another vehicle or
go off the road. Check
your washer fluid
level often.
108
Page 124 of 399
Downloaded from www.Manualslib.com manuals search engine r
7 2. Get up to the speed you want.
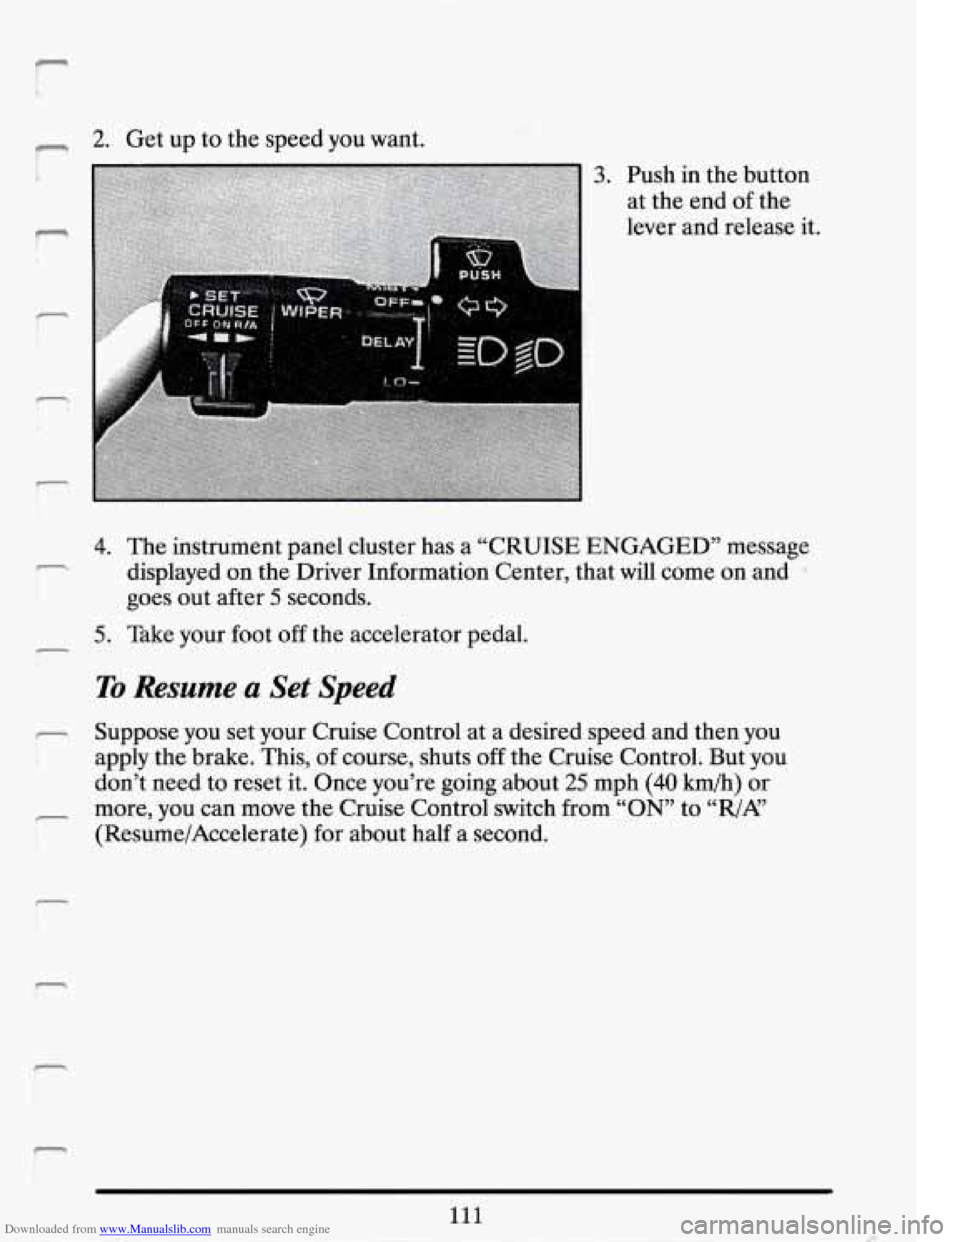
3. Push in the button
at the end of.the
lever and release it.
4. The instrument panel cluster has a “CRUISE ENGAGED” message
displayed on the Driver Information-Center, that will come on and
goes out after
5 seconds.
r
5. Take your foot off the accelerator pedal. c
To Resume a Set Speed
- Suppose you set your Cruise Control at a desired speed and then you
apply the brake. This, of course, shuts off the Cruise Control. But you
don’t need to reset it. Once you’re going about
25 mph (40 h/h) or
(Resume/Accelerate) for about half a second.
r more, you can move the Cruise Control switch from “ON” to “R/A’
111
F
Page 151 of 399

Downloaded from www.Manualslib.com manuals search engine If the fuel level is between 1 and 2 gallons (3.9 and 7.6 liters) from being
empty the letter
“E” is shown. If the fuel supply gets down to
approximately
1. gallon (3.9 liter) the “E” will flash, and the “ FUEL
LEVEL VERY LOW” message will appear in the Driver Information
Center (DIC).
Here are a few concerns some owners have had about the fuel gage. All
these situations are normal and indicate nothing wrong with the fuel
gage-
@ At the gas station, the gas pump shuts off before the gage reads “F”.
It takes more (or less) gas to fill up than the gage said. For example,
the gage said
“8 Gallons”, but it took more -- or less -- than the tank’s
remaining capacity to
fill it.
The gage may change when you turn, stop, or speed up is normal.
Fuel Data Panel
Your Fuel Data Panel tells you all you want to know about your fuel
economy and
how far you can travel with the fuel remaining. Here’s how
it works.
AVG Button Push this button to display the “AVG MPG” (average mile
per gallon).
You can also display it in metric units by pressing the “ENG
MET” button.
Page 152 of 399

Downloaded from www.Manualslib.com manuals search engine When “AVG MPG” (average mile per gallon) is selected, the total
- distance is divided by the total fuel used.
INST Button When “INST MPG”(1nstantaneous Fuel Economy) is
selected, you will see what your fuel economy is at that instant. The
computer takes
a new reading twice every second. It will show economy
up to
70 miles per gallon (or 2 liters per 100 Kilometers).
AVG MPG Reset Press the INFORMATION button until the AVG MPG
is displayed on the Driver Information Center. Press and hold the
RESET button until both the Fuel Data Center and Driver Information
Center display reads
0.0 Another method to reset the AVG MPG is to
press the AVG button on the Fuel Data Panel.
--
-
--
RANGE Display This display shows how far the computer thinks you can
go with the fuel that is in your tank. The computer does not know what
driving conditions will be like for the rest
of your trip, so the range is
estimated based on your recent fuel economy. Therefore, your range
reading may change
as your driving habits change (going from city to
If the range display shows “Lo”, you should stop for fuel as soon as
possible.
Your computer needs enough data for the “RANGE” reading to work. It
will read
“Lo” for a while when your vehicle is brand new (under 25
miles). Also, it may show “Lo” for a while if your battery has been
disconnected.
__
-- highway driving may increase the range reading).
--
139
Page 153 of 399

Downloaded from www.Manualslib.com manuals search engine Driver Information Center
rour Driver Information Center (DIC) display gives you the status of
many of your vehicle systems. The DIC is used to display driver selectable
information and warning/status messages.
If more than one problem is detected, The Driver Information Center
will automatically display all current messages.
140
Page 154 of 399
Downloaded from www.Manualslib.com manuals search engine L
Driver Information Center Control Buttons
INFORMATION Button
Pressing this button successively will display the AVG MPH, MPG AVG,
FUEL USED, OIL LIFE LEFT, and TIMER.
RESET Button
Pressing this button will reset the AVG MPH, MPG AVG, FUEL USED,
OIL LIFE LEFT, and TIMER when each function is displayed
TIMER Button
The TIMER feature is like a stop watch, in that you can clock the time it
takes to get from one point to another.
To operate, press either the TIMER button or successively press the
INFORMATION button until “TIMER
0O:OO:OO” is displayed on the
Driver Information Center. Each of the fields for the HOURS,
MINUTES, and SECONDS are
two numeric digits.
Once the “TIMER
0O:OO:OO:” is displayed, press the TIMER button to start
the timing feature. Press the TIMER button again to stop it. To reset it, press
and hold the RESET button until
the display reads “TIMER OO:OO:OO:”.
Press the INFORMATION button to exit from the TIMER function.
AVG MPH (Average Speed) Reset
Press successively the INFORMATION button to display the “AVG MPH”,
then press and hold the RESET button
until “0.0 AVG MPH” is displayed.
MPG AVG (Average Fuel Economy) Reset
Press successively the INFORMATION button to display the “MPG AVG ”,
then press and hold the RESET button until “0.0 AVG MPG” is displayed.
If the “AVG MPG” is displayed on the fuel Data Panel, another method
to reset both AVG MPG
is to press the AVG button on the Fuel Data
Panel
until 0.0 AVG MPG is shown in both displays.
Fuel Used Reset
Press successively the INFORMATION button to display the “FUEL
USED”on the Driver Information Center, then press and hold the
RESET button until “FUEL USED
8.0” is displayed.
Page 155 of 399
Downloaded from www.Manualslib.com manuals search engine Oil Life Left Reset
Press successively the INFORMATION button to display the “OIL LIFE
LEFT ”) then press and hold the RESET button until “100 OIL LIFE
LEFT ” is displayed.
DISPLAY ON/OFF Button
Pressing this button will turn off the Driver Information Center, Trip and
Odometer, Electronic Climate Control and Fuel Data Center displays.
While displays are off, pressing the INFORMATION button will turn on
only the Driver Information Center. If any other button is pressed or a
driving warning message needs to be displayed, or
fuel level falls below
4 gallons, all the displays will come back on.
TRIP SET Button
Press and hold this button to set the Trip Odometer back to zero.
ENG/MET (English/Metric Button)
Press this button to switch from English (miles) and Degrees
(Fahrenheit), to Metric (kilometers) and Degrees (Celsius).
Driver Information Center Messages
These messages will appear if there is a problem sensed in one of your
vehicle’s systems. Vehicles that are first sold
in Canada or are export
vehicles will have a number after each message. This number helps to
identify that message, which is only displayed in English.
APPLY BRAKE TO SHIFT - 46
This message will appear if your vehicle is in “P” (Park) for about 15 seconds
and the brake
is not depressed. If you do not want this message to appear,
you
can cancel this message by holding the “OFF” and the Blue (cooler)
button on the Electronic Climate
Control panel for about 5 seconds. Hold the
same
two buttons again to have this message displayed again.
BATTERY NO CHARGE - 07
This message will appear
if your battery is not being charged. Have your
electrical system checked
by your Cadillac dealership at your earliest
convenience.
142
I
1
Page 156 of 399

Downloaded from www.Manualslib.com manuals search engine BATTERY VOLTS HIGH - 08
This message shows that the electrical charging system is overcharging,
(more than 16 volts).
To avoid being stranded have the electrical system
checked by your Cadillac dealership at your earliest convenience.
You can
reduce the charging overload by using the accessories. Turn on the lights,
radio, set the Climate Control
on “AUTO” and the fan speed on “HI”
and turn the rear window defogger on.
You can monitor battery voltage
on the Driver Information Center by toggling the “INFORMATION’’
button. When the engine is running, the normal range is 11.5 to 15.5
volts.
BATTERY VOLTS LOW - 06
This message will appear when the electrical system is charging less than
10 volts, or
if the battery has been drained. If this message appears
immediately after starting it is possible that the generator can still
recharge the battery.
The battery should recharge after driving a few
miles and the message should go out. If this message appears while
driving or after starting your vehicle and stays on, have
it checked
immediately to determinethe cause of this problem. To help the
generator recharge the battery quickly,
you can reduce the load on the
electrical system by turning
off your accessories. You can monitor battery
voltage on the Driver Information Center by toggling
the
“INFORMXTION” button. The normal range is 11.5 to 15.5 volts.
CHECK BRAKE FLUID - 37
This message is displayed to inform the driver that the brake reservoir
fluid level is low. Check the brake reservoir
level and add as needed.
Have the brake system serviced by a Cadillac technician as soon as
possible. If the brake warning light is on, follow the directions in that
section.
CHECK FUEL GAGE,- 39
This message will appear when your fuel supply is less than 4 gallons and
your display is turned off.
143