tow CADILLAC DEVILLE 1994 7.G User Guide
[x] Cancel search | Manufacturer: CADILLAC, Model Year: 1994, Model line: DEVILLE, Model: CADILLAC DEVILLE 1994 7.GPages: 399, PDF Size: 20.97 MB
Page 119 of 399
Downloaded from www.Manualslib.com manuals search engine To signal a lane change, just raise or lower the lever until the green arrow
starts to flash. Hold it there until you complete your lane change. The
lever will return by itself when
you release it.
If for some reason your turn signal is left on, the Driver Information
Center
will display “TURN SIGNAL ON” (after driving about a mile) to
remind you to turn
it off.
As you signal a turn or a lane change, if the arrows don’t flash but just
stay on,
a signal bulb may be burned out and other drivers won’t see your
turn signal.
If
a bulb is burned out, replace it to help avoid an accident. If the green
arrows don’t
go on at all when you signal a turn, check the fuse (see
“Fuses”
in the Index) and for burned-out bulbs.
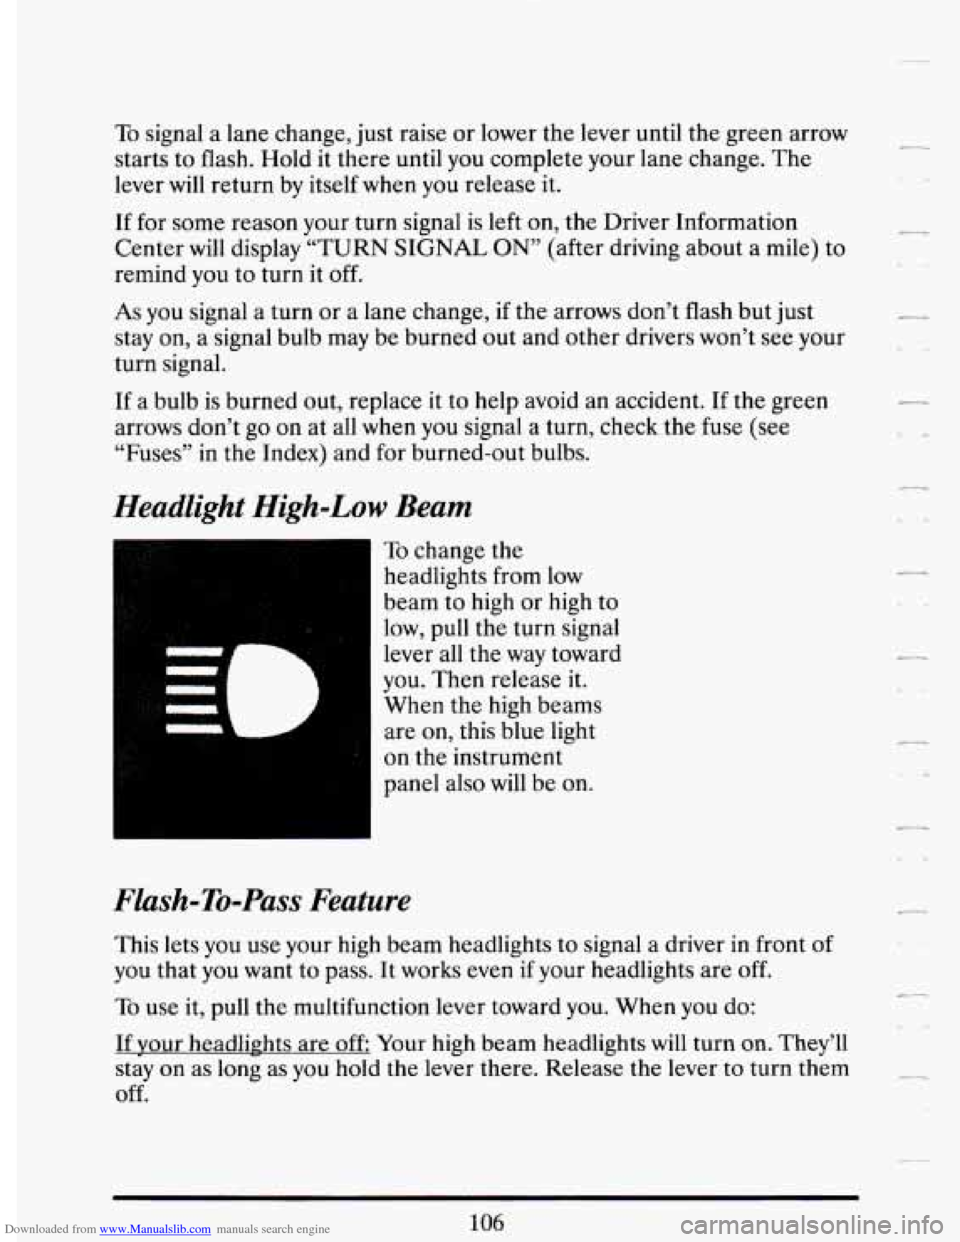
Headlight High-Low Beam
I
To change the
headlights from
low
beam to high or high to
low, pull the turn signal
lever all the way toward
you. Then release it.
When the high beams
are on, this blue light
on the instrument
panel also will be
on.
Flash-To-Pass Feature
This lets you use your high beam headlights to signal a driver in front of
you that you want to pass. It works even if your headlights are
off.
To use it, pull the multifunction lever toward you. When you do:
If vour headlights are
off Your high beam headlights will turn on. They’ll
stay on as long as you hold the lever there. Release the lever to turn them
off.
106
Page 120 of 399

Downloaded from www.Manualslib.com manuals search engine If your headlights are on, but on low beam: The system works normally.
Just pull the lever. Your headlights will shift to high beam and stay there.
To return to low beam, just pull the lever toward you.
If your headlights are on? and on high beam: Your headlights will switch
to
low beam. To get back to high beam, pull the lever toward you.
Windshield Wipers
WIPER To control the wipers, turn the band on the multifuction lever.
MIST: Turn the band away from you and then release it for a single wipe
cycle. For more cycles,
hold the band on MIST longer.
LO or HI: Turn the band toward you to either LO (low speed) or to
HI (high speed), depending on the wiper speed you want.
DELAY: With this you can set the wiper speed for a long or short delay
between wipes. Move the band
to ON for long delays and the closer you
get to LO the shorter the delay.
OFF: To turn the wipers off, turn the band to OFF
107
Page 146 of 399
Downloaded from www.Manualslib.com manuals search engine If the warning light comes on, there could be a brake problem. Have your
brake system inspected right away.
If the light comes on while you are driving, pull off the road and stop carefully.
You may notice that the pedal is harder to push. Or, the pedal may go closer
to
the floor. It may take longer to stop. If the light is still on, have the vehicle
towed for service. (See “Towing Your Cadillac” in the Index.)
A CAUTIEON
Your brake system may not be working properly if the brake
system warning li’ght is on. Driving with the brake system
warning light
on can lead to an accident. If the light-is still on
after you’ve pulled off the road and stopped carefully, have the
vehicle
towed for service.
The brake system warning light will also come on when you set your
parking brake, and it
will stay on if your parking brake doesn’t release
fully.
If it stays on after your parking brake is fully released, it means you
have a brake problem.
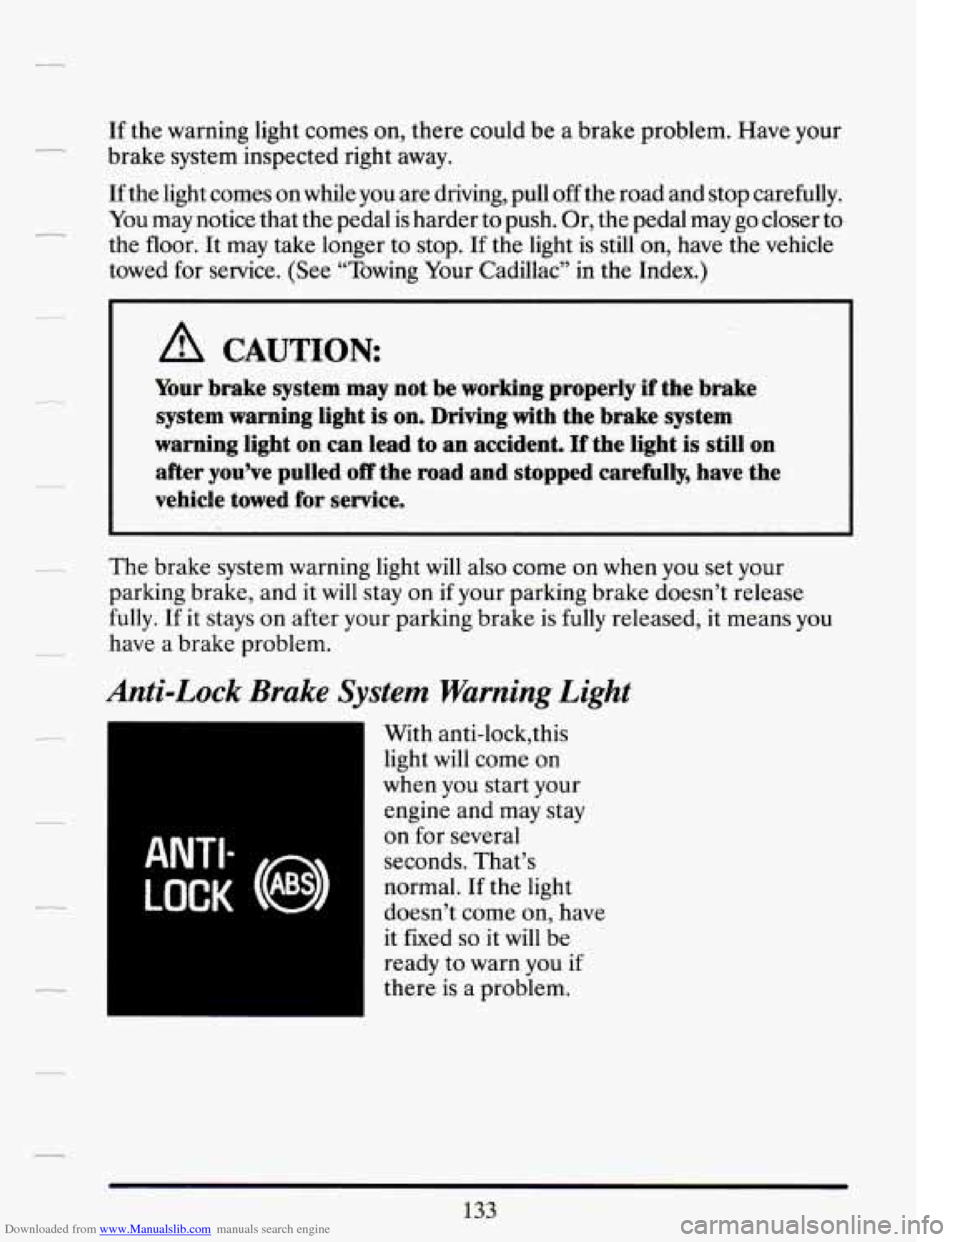
Anti-Lock Brake System Warning Light
ANTI-
LOCK (@)
With anti-lock,this
light will come on
when you start your
engine and may stay
on for several
seconds. That’s
normal.
If the light
doesn’t come on, have
it fixed
so it will be
ready to warn you if
there is a problem.
133
Page 177 of 399

Downloaded from www.Manualslib.com manuals search engine The Upper Knob r-
The upper knob does these five things:
It turns the radio on and off.
It controls the volume.
It lets you see what station you have. (When the radio is on, push the
It tells you the time. (When the ignition is off, push the RCWPROG
RCL/PROG
knob to display the station.)
knob to display the time.)
0 It allows you to hear the other side of tape play. (When a cassette is
inserted in the player, push the knob to change sides.)
The Lower Knob
Turn the lower knob to choose radio stations. Push the knob to switch
from
AM or FM.
Behind the lower knob is the fade control. It fades the sound between the
front and rear speakers.
BASS
The slide control increases or decreases the bass response tone. Moving
the control toward the
(+) increases bass while moving toward the (-)
decreases it.
TREBLE
The slide control increases or decreases the treble response tone. Moving
the control toward the
(+) increases treble while moving toward the (-)
decreases it.
SCAN
When you press the SCAN button either up or down, the SCAN indicator
in the display will light and the radio will find the next station and stay
there about
5 seconds. Then it will go to the next station and pause, and
keep doing that until you push either the
SCAN or upper knob.
,-
.-
1
I
c
164
Page 181 of 399

Downloaded from www.Manualslib.com manuals search engine eleven Delco@ custom designed speakers with very specific frequency
ranges. It also includes a digital clock.
The Upper Knob
The upper knob does these five things:
It turns the radio on and off.
It controls the volume.
It lets you see what station you have. (When the radio is on, push the
0 It tells you the time. (When the ignition is off, push the RCL/PROl
RCWPROG
knob
to display the station).
knob to display the time.)
It allows you to hear the other side of tape play. (When a cassette is
inserted
in the player, push the knob to change sides.)
The Lower Knob
7
Turn the lower knob to choose radio stations. Push the knob to switch
from
AM or FM.
Behind the lower knob is the Fade control. It fades the sound between
the front and rear speakers.
BASS
The slide control increases or decreases the bass response tone. Moving
the the control toward the
(+) increases bass while moving toward the (-)
decreases it.
TREBLE
The slide control increases or decreases the treble response tone. Moving
the control toward the
(+) increases treble while moving toward the (-)
decreases it.
SCAN
When you press the SCAN button either up or down, the SCAN indicator
in the display
will light and the radio will find the next station and stay
168
Page 220 of 399
Downloaded from www.Manualslib.com manuals search engine of the vehicle and do some fairly vigorous exercises every half hour or so
until help comes.
TO'WING A ERiULER
NOTICE:
Pulling a trailer improperly can damage your vehicle and result
in costly repairs not covered by your warranty.
To pull a trailer
correctly, follow the advice in this section.
Your Cadillac is a passenger vehicle. It was not designed for many of the
demands that trailer towing can add. Trailer towing can change the way
your vehicle performs on the road. It brings new forces into play and can
add plenty
of strain and stress to your vehicle.
Load pulling components such as the engine, transaxle, wheel assemblies,
and tires
are forced to work harder against the drag of the added weight.
The engine is required to operate at relatively higher speeds and under
greater loads, generating extra heat. Trailer towing adds considerably to
wind resistance increasing the pulling requirements.
All of that means changes in:
Handling
0 Durability
Fuel Economy
You may decide not to pull
a trailer but meet your load carrying needs in
some other way.
207
Page 221 of 399
Downloaded from www.Manualslib.com manuals search engine If You Do Decide To Pull A Trailer
If you do, here are some important points.
0
0
There are many different laws having to do with trailering. Make sure
your rig will be legal, not only where you live but also where you’ll be
driving. A good source for this information can be state or provincial
police.
You can ask a hitch dealer about sway controls.
Don’t tow a trailer at all during the first
500 miles (800 km) your new
vehicle is driven. Your engine, transaxle or other parts could be
damaged.
Then, during the first
500 miles (800 km) that you tow a trailer, don’t
drive over
50 mph (80 km/h) and don’t make starts at full throttle.
This helps your engine and other parts of your vehicle wear in at the
heavier loads.
When towing a trailer, close all windows and set the Electronic
Climate Control System to “ECON’, “AUTO”, “DEFOG” or
Defroster to assure that the fan is running.
Three important considerations have to do with weight:
1. Weight of the nailer
How heavy can a trailer safely be?
It should never weigh more than
1,000 pounds (450 kg) total,
including the load.
It depends on how you plan to use your rig. For example, speed,
altitude, road grades, outside temperature and how much your
vehicle is used
to pull a trailer are all important. And, it can also
depend on any special equipment that you have on your vehicle.
You can ask your dealer for information or advice, or you can call
us at Cadillac (1-800-43 FLEET).
In Canada, write to General Motors of Canada Limited, Customer
Assistance Center,
1908 Colonel Sam Drive, Oshawa, Ontario LlH
8P7.
208
Page 223 of 399
Downloaded from www.Manualslib.com manuals search engine when you remove the hitch. If you don’t seal them, deadly carbon
monoxide
(CO) from your exhaust can get into your vehicle (see
Index under “Carbon Monoxide”). Dirt and water can, too.
attach rental hitches or other bumper-type hitches to them.
The bumpers on your vehicle are not intended for hitches. Do not
Safety Chains
You should always attach chains between your vehicle and your trailer.
Cross the safety chains under the tongue of the trailer so that the tongue
will not drop to the road
if it becomes separated from the hitch. Follow
the manufacturer’s recommendation for attaching safety chains. Always
leave just enough slack
so you can turn with your rig. And, never allow
safety chains to drag
on the ground.
Trailer Brakes
Be sure to read and follow the instructions for the trailer brakes so you’ll
be able to install, adjust and maintain them properly.
Driving with a Trailer
Towing a trailer requires a certain amount of experience. Before setting
out for the open road, you’ll want to get to
know your rig. Acquaint
yourself with the
feel of handling and braking with the added weight of
the trailer. And always keep
in mind that the vehicle you are driving is
now a good deal longer and not nearly
so responsive as your vehicle is by
itself.
Before you start, check the trailer hitch and platform, safety chains,
electrical connector, lights, tires and mirror adjustment. If the trailer has
electric brakes, start your vehicle and trailer moving and then apply the
trailer brake controller by hand to be sure the brakes are working. This
lets you check your electrical connection at the same time.
During your trip, check occasionally to be sure that the load is secure,
and that the lights and any trailer brakes are still working.
r
c.
.-
r.
Page 224 of 399
Downloaded from www.Manualslib.com manuals search engine Following Distance
--
>-
Stay at least twice as far behind the vehicle ahead as you would when
driving your vehicle without
a trailer. This can help you avoid situations
that require heavy braking and sudden turns.
Passing
You’ll need more passing distance up ahead when you’re towing a trailer.
And, because you’re a good deal longer, you’ll need to go much farther
beyond the passed vehicle before you can return to your lane.
Bucking Up
Hold the bottom of the steering wheel with one hand. Then, to move the
trailer
to the left, just move that hand to the left. To move the trailer to
the right, move your hand to the right. Always back up slowly and,
if
possible, have someone guide you.
Making Turns
When you’re turning with a trailer, make wider turns than normal. Do
this so your trailer won’t strike soft shoulders, curbs, road signs, trees, or
other objects. Avoid jerky or sudden maneuvers. Signal
well in advance.
Turn Signals When Towing a Trailer
When you tow a trailer, your vehicle has to have a different turn signal
flasher and extra wiring. The green arrows on your instrument panel
will
flash whenever you signal a turn or lane change. Properly hooked up, the
trailer lights will also flash, telling other drivers you’re about to turn,
change lanes or stop.
When towing a trailer, the green arrows on your instrument panel
will
flash for turns even if the bulbs on the trailer are burned out. Thus, you
may think drivers behind you are seeing your signal when they are not.
It’s important to check occasionally to be sure the trailer bulbs are still
working. -
21 1
Page 226 of 399
Downloaded from www.Manualslib.com manuals search engine 3. Drive slowly until the trailer is clear of the chocks.
4. Stop and have someone pick up and store the chocks.
Engine Cooling When Trailering
Your cooling system may temporarily overheat during severe operating
conditions such as;
Climbing grades steeper than 4% at ambient temperatures above
90” Fahrenheit (32’Celsius) with a loaded vehicle and trailer.
Stopping after high-speed driving.
Idling for long periods in stop and go traffic.
If “ENGINE
HOT A/C COMPRESSOR OFF” message appears on the
Driver Information Center, do not be alarmed. This is a normal function
designed to reduce the load on the engine and cooling system you can
continue to drive your vehicle.
If “ENGINE COOLANT
HOT” message appears on the Driver
Information Center, pull off to the side of
the road as soon as it is safe to
do so. When the vehicle is at a complete stop, shift the transmission
selector to
P (Park) and allow the engine to idle. Do not turn off the
engine or increase engine speed above a normal idle. Within
two or three
minutes the system should cool sufficiently to allow
A/C operation to
resume. At that
time resume driving at a reduced speed. Return to
normal driving after
10 minutes if the “ENGINE COOLANT HOT”
message
is not displayed.
Maintenance when Trailer Towing
Your vehicle will need service more often when you’re pulling a trailer.
See
the Maintenance Schedule for more on this. Things that are
especially important
in trailer operation are automatic transaxle fluid
(don’t overfill), engine oil, belts, cooling system, and brake wear. Each of
these is covered
in this manual, and the Index will help you find them
quickly. If you’re trailering, it’s a good idea to review these sections
before
you start your trip.
Check periodically
to see that all hitch nuts and bolts are tight.
213