start stop button CADILLAC DEVILLE 1995 7.G Owners Manual
[x] Cancel search | Manufacturer: CADILLAC, Model Year: 1995, Model line: DEVILLE, Model: CADILLAC DEVILLE 1995 7.GPages: 403, PDF Size: 20.69 MB
Page 182 of 403

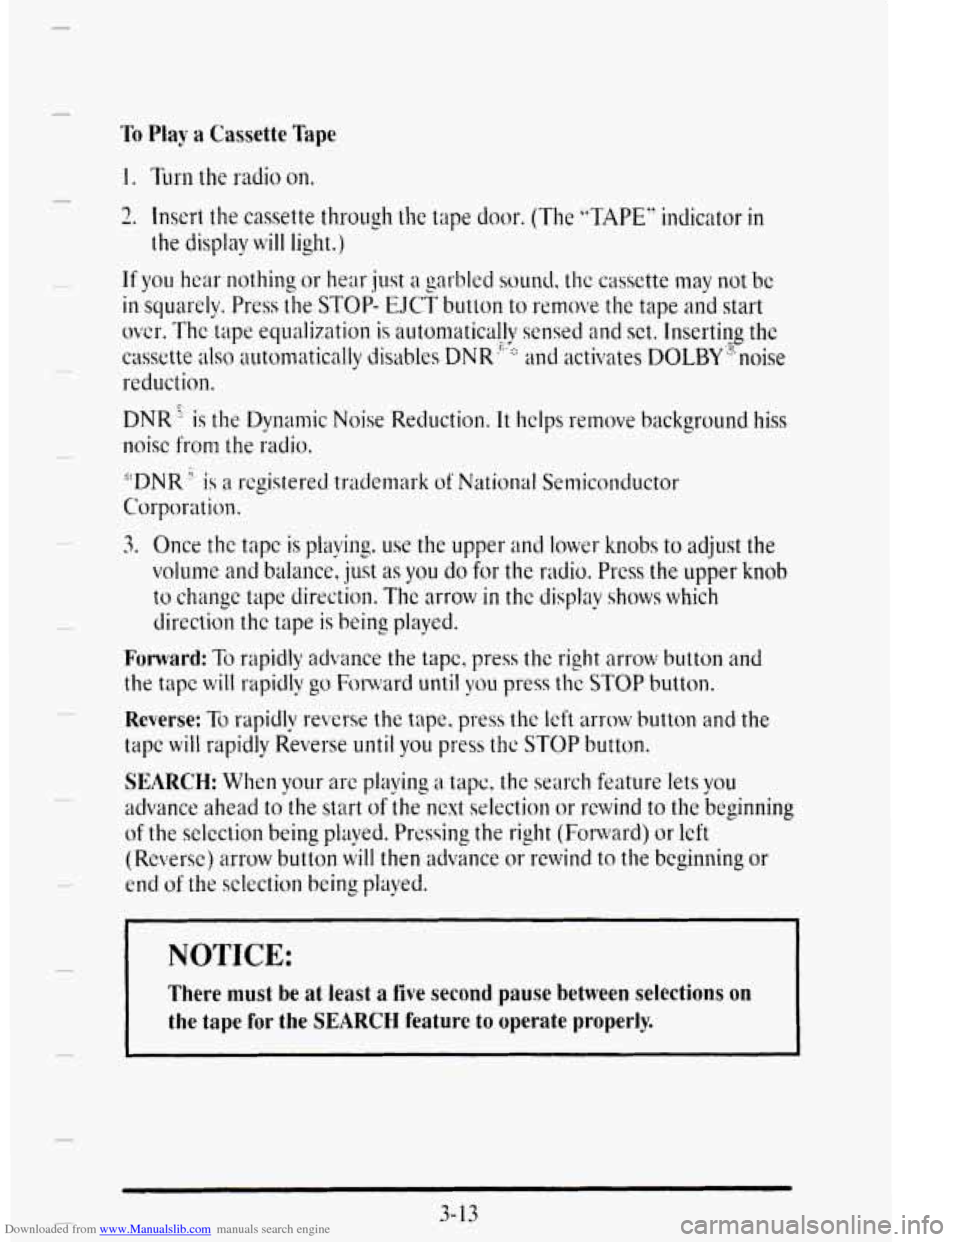
Downloaded from www.Manualslib.com manuals search engine To Play a Cassette Tape
1. T&-n the radio on.
c
2. Insert the cassette through the tape door. (The "TAPE" indicator in
If you hear nothing or hear just a garbled sound. thc cassette may not be
in sc~uarely. Press the STOP- EJC? butron to remove the tape and start
over. The tape equalization is automatically sensed
and set. Inserting the
cassette also automatically disables DNR"::: and activates DOLBY ',noise
reduction.
DNR' is the Dynmic Noise Reduction. It hclps remove background hiss
noisc
from the radio.
the display will light.)
:i:DNR !!. is a rcgistered tr;tdetnark of National Semiconductor
Corporation.
3. Once the tapc is piaving. -c use the upper and lower knobs to adjust the
volunle and balance, just as you do for the radio. Prcss the upper knob
to changc tape direction. The arrow in thc display shows which
direction thc tape is being played.
Forward: To rapidly advance the tapc, press the right arrow button and
the. tape
will rapidly go Fo1uw-d until you press the STOP button.
Reverse: To rapidlv reverse the tape, press the left arrow button and the
tapc
will rapidly Reverse until you press thc STOP button.
SEARCH: When your are plaving a tapc, the se;lrch feature lets you
advance ahead tohe start of ;he next selection or rewind to the beginning
of the sclection being plaved. Prcssing the right (Forward) or left
(Reverse) arrow button
iill then advance or rewind to the bcginlling or
end of the selection being played.
.
NOTICE:
There must be at least a five second pause between selections on
the tape for the SEARCH feature to operate properly.
3- 13
Page 185 of 403

Downloaded from www.Manualslib.com manuals search engine Your Cassette Tape Player
Your cassette tape player works best with tapes that are 30 to 45 minutes
long on each side.
%pes Longer than that are so thin that they may not
work well in this player.
If you look at the tape. or on its label or box, it should say whether its bias,
“equalization,”
is 70 rnicrosoconds (70 p) or 120 microseconds (120 It,:).
Chrome and metal tapes are 70 p, sec and standard iron tapes are 120 11
sec. Your tape player will adjust automatically for either type of cassette
tape.
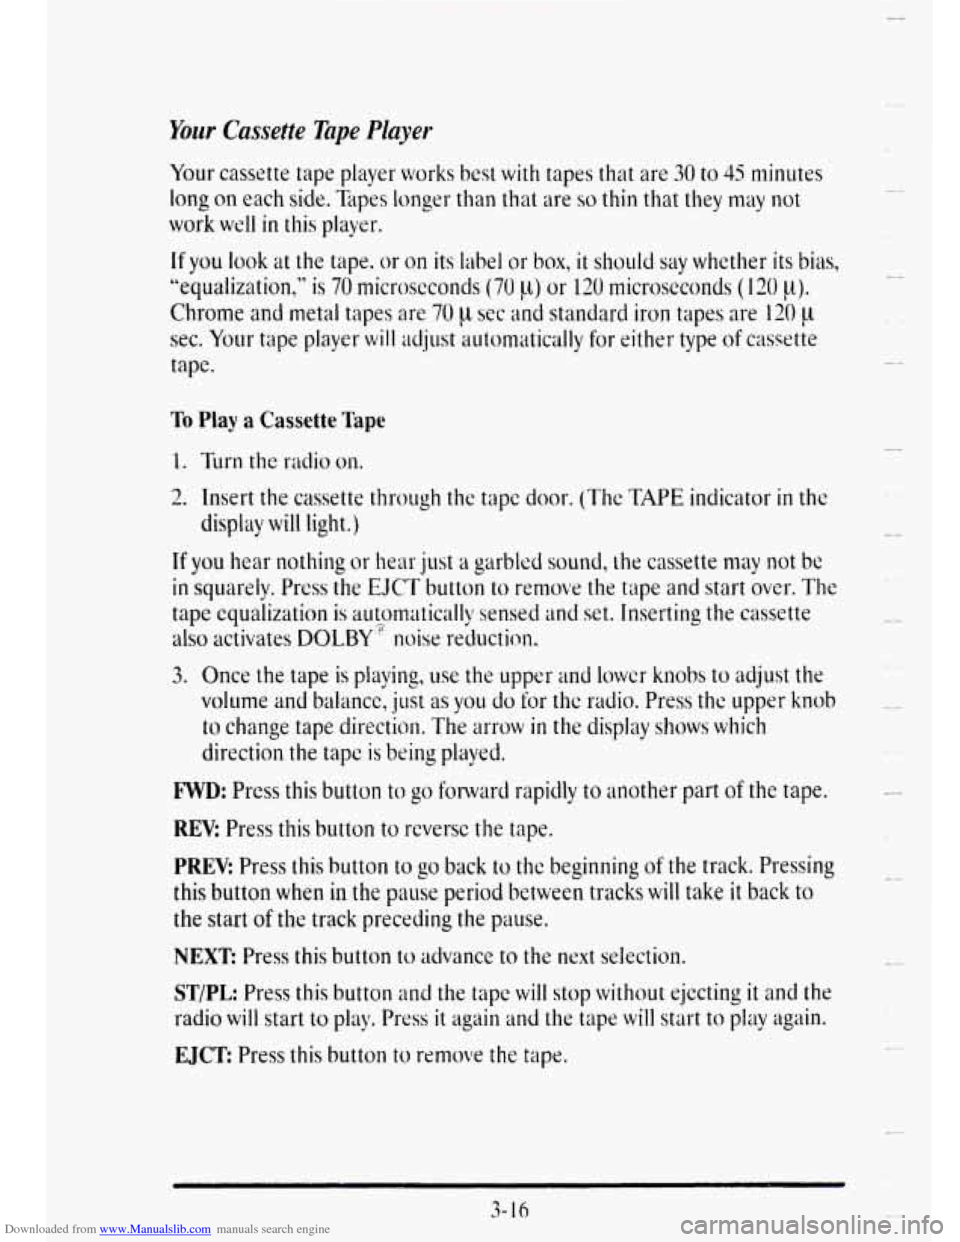
To Play a Cassette Tape
2. Insert the cassette through the tape door. (The TAPE indicator in the
display
will light.)
If you hear nothing or I~ear just a garbled sound, the cassette may not be
in squarely. Press the EJCT button to remove the tape and start over. The
tape equalization is automatically sensed and set. Inserting the cassette
also activates DOLBY’? noise reduction.
3. Once the tape is playing, use the upper and lower knobs to adjust the
volume and balance, just as
you do for the radio. Press thc upper knob
to change tape direction. The arrow in the display shows which
direction
the tape is being played.
FWD: Press this button to go fonvard rapidly to another part of the tape.
REV: Press this button to reverse the tape.
PREV: Press this button to go back to the beginning of the track. Pressing
this button
when in the pause period between tracks will take it back to
the start of the track preceding the pause.
NEXT Press this button to advance to the next selection.
ST/PL Press this button and the tape will stop without ejecting it and the
radio will start to play. Press it again and the tape will start to play again.
EJCE Press this button to remove the tape.
c.
3
L-
u
Page 188 of 403

Downloaded from www.Manualslib.com manuals search engine Your Cassette Tape Player
c
Your cassette tape player works best with tapes that are 30 to 15 minutes
long
on cach side. Thpes longer than that are so thin that they may not
work
well in this player.
If vou look at the tape, or on its label or box. it should say whether its bias,
b’~qualization,” is
70 microseconds (70 p.) or 120 microseconds ( 120 p).
Chrome and metal tapes arc 70 It ssc and standard iron tapes are 120 p.
sec. Your tapc player will adjust automatically for either type of cassette
kIPC.
To Play a Cassette Tape
2. Insert thc cassetle through the tape door. (Thc TAPE indicator in the
display
will light.)
If vou hcar nothing or 11c;lr just a garbled sound, the cassette may not
beh squarely. PI-& the
EJCT button to removc the tape and start
over. Thc tape equalization is automaticallv sensed and set. Inserting
the cassette also activates
DOLBY,?, noise ;*eduction.
3. Use the upper and lower knobs to adjust the volume and balance, once
the tape
is playing, just as you do for the radio. Press the upper knob
to change tape direction. The arrow in the display shows which
dircction the tape is being
played.
FWD and REV: Press the FWD button to go fonvard rapidly to another
part
of the tape. Press the REV button to rcverse the tape.
ST/PL: Press this button in either SEEK, SCAN, FWD or REV to stop
tape movement and switch
to radio without ejecting the tape. (In ST/PL
the radio may be tuned by the tuner knob only.)
EJCT Press this button to remove the tape. EJCT is operational even
when
the ignition or the radio is off.
3- 19
Page 190 of 403

Downloaded from www.Manualslib.com manuals search engine LI
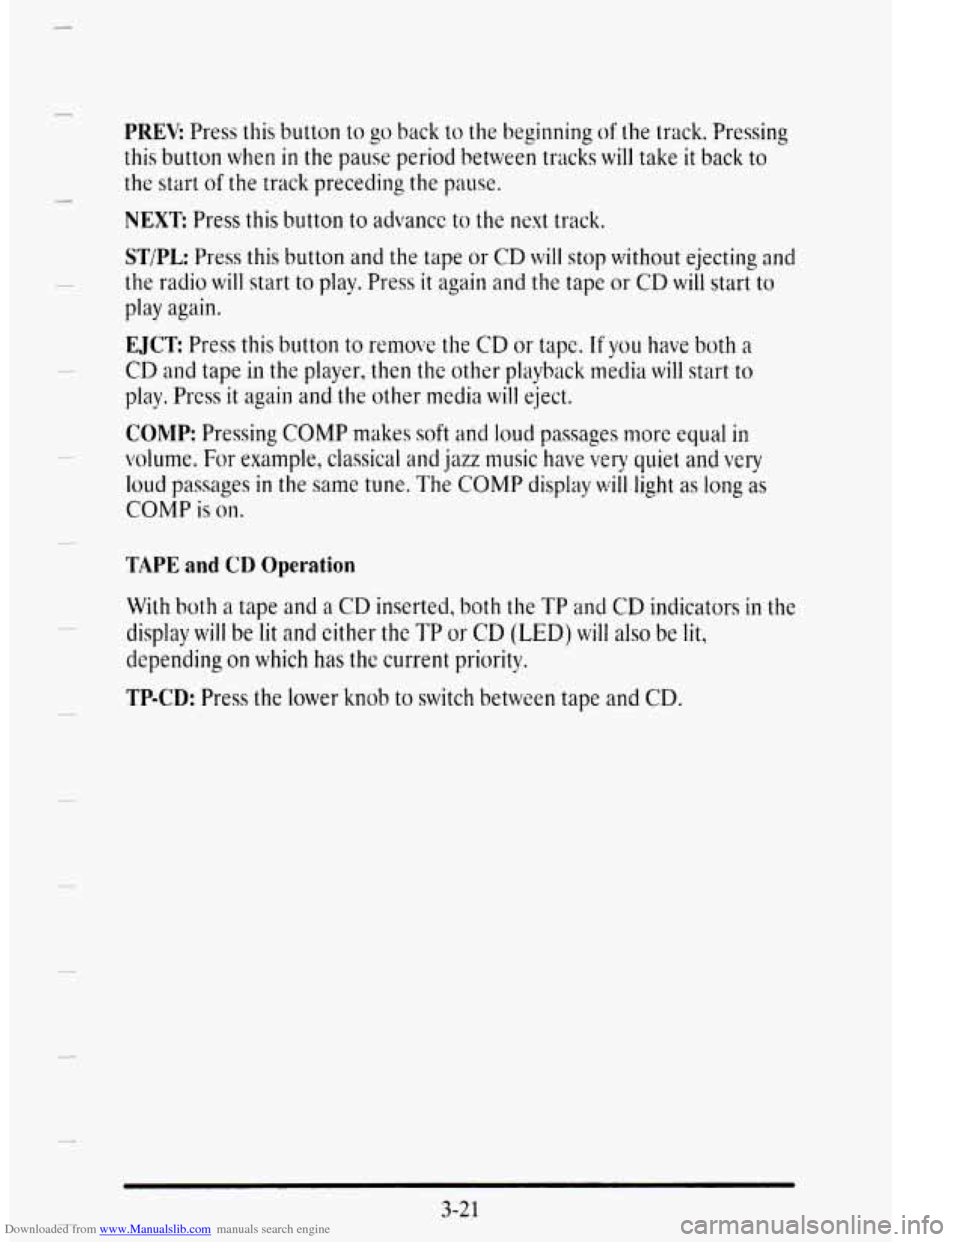
PREY Press this button to go back to the beginning of the track. Pressing
this button
when in the pause period between tracks will take it back to
the start of the track preceding the pause.
NEXT: Press this button to advance to the next track.
ST/PL: Press this button and the tape or CD will stop without ejecting and
the radio will start to play. Press it again and the tape or CD will start to
play again.
EJCT Press this button to remove the CD or tapc. If you nave both a
CD and tape in the player, then the other playback media will start to
play. Press
it again and the other media will eject.
COILIP: Pressing COMP makes soft and loud passages more equal in
volume. For example, classical and jazz music have vety quiet and very
loud passages in the same tune. The COMP display will light as long as
COMP is on.
TAPE and CD Operation
With both a tape and a CD inserted, both the TP and CD indicators in the
display will be lit and either the TP or CD (LED) wjll also be lit,
depending on which has the current priority.
TP-CD: Press the lower knob to switch between tape and CD.
3-21
Page 398 of 403

Downloaded from www.Manualslib.com manuals search engine F I i i
r
P
Starting Disabled Message ........................... 2-90
Starting Your Engine ............................... 2-22
Steam. If Coming From Your Engine .................. 5-12
Steering .......................................... 4-10
Column Shift Lever .............................. 2-31
In Emergencies .................................. 4-12
Power .......................................... 4-10
Speed Sensitive .................................. 2-93
Tips ........................................... 4-11
Wheel. Tilts ..................................... 2-38
Stop Engine Engine Overheated Message .............. 2-91
Stop Engine Low Oil Pressure Message ................ 2-91
Storage. Of Your Vehicle ............................ 6-30
Stuck. If You Are ................................... 5-34
Supplemental Inflatable Restraint (SIR) ............... 1-21
Suspension. Speed Sensitive .......................... 2-93
Symbols. Vehicle ...................................... v
T
I
I
r L .
r
r
P t.
Taillamps. Bulb Replacement ......................... 6-35
Taillamps Monitor. Rear ............................. 2-56
Tape Player Care ................................... 3-23
Temperature ........................................ 3-3
Theft ............................................. 2-16
Theft Deterrent Alarm System ....................... 2-17
Theft System Problem/Car May Not Restart Message .... 2-91
Thermostat ........................................ 6-23
Third (3) Position. Automatic Transaxle ................ 2-28
Tighten Torque Chart ............................... 6-74
Tilt Steering Wheel ................................. 2-38
Time. Setting the .................................... 3-9
Timer Button. Driver Information Center .............. 2-85
Tire Chains ........................................ 6-47
Tire Loading ...................................... 4-32
Tires ............................................. 6-38
Alignment and Balance ........................... 6-45
Buying New ..................................... 6-43
Changing a Flat ................................. 5-24
Inflation ....................................... 6-39
Inspection and Rotation .......................... 6-41
Spare. Compact ................................. 5-33
Temperature .................................... 6-44
Traction ........................................ 6-44
Treadwear ...................................... 6-44
I 13