display CADILLAC DEVILLE 1996 7.G Owner's Manual
[x] Cancel search | Manufacturer: CADILLAC, Model Year: 1996, Model line: DEVILLE, Model: CADILLAC DEVILLE 1996 7.GPages: 354, PDF Size: 20.32 MB
Page 149 of 354
Downloaded from www.Manualslib.com manuals search engine Fan Button
The button with the fan symbol adjusts the fan speed. Press the up
arrow to increase fan speed and the down
arrow to decrease fan speed.
Temperature Button
The red and blue temperature buttons adjust the air
temperature coming through the system. Press the blue
button for a eooler setting or the red button for a warmer setting. The outside temperature is always displayed
when your vehicle is running.
You can change it from
Fahrenheit to Celsius by pressing the
ENGNET
(English/metric) button on the DIC.
Mode Controls
The AUTO/ECON button automatically controls the
direction
of air delivery for air conditioning and non-air
conditioning modes.
Automatic Operation
When the system is set for AUTO, sensors will control
the air delivery mode.
Air will come from the floor,
middle or windshield outlets. The fan speed will vary as
the system maintains the selected temperature setting. Be
careful not to put anything over the solar sensor
located in the middle of the instrument panel near the
windshield. This sensor
is used by the automatic system
to regulate temperature.
To find your comfort zone, start with 75°F (24°C)
setting, allow about 20 minutes for the system to
regulate. Press the red or blue temperature buttons to
adjust the temperature if necessary. If you choose
60°F
(1 6" C), the system will remain at that maximum cooling
setting
and will not regulate fan speed. If you choose the
temperature of
90°F (32"C), the system will remain at
that maximum heating setting and will not regulate
fan
speed. Choosing either maximum setting will not cause
the system to heat or cool any faster.
With this setting,
the air conditioning compressor
automatically cycles when needed to cool the air. In cold
weather, when the system senses the need for heat, the
airflow will be directed
out the floor outlets. As. the
interior temperature approaches a desired setting, the
blower speed will decrease.
To maintain interior
comfort, the airflow may move to the instrument panel
air outlets and floor outlets
(BI-LEVEL mode). On
bright, sunny days in cold weather, the airflow may
come
out of the A/C outlets (A/C mode) to maintain
comfort and prevent stuffiness.
Page 150 of 354
Downloaded from www.Manualslib.com manuals search engine P
c
c
If your vehicle is sitting out on a hot day and you have
it set -on
AUTO, the air will first flow out the floor air
outlets for a
few seconds. That is normal. This is to
expel hot air in the air outlets.
As the air is cooled, the
aifflow will move through the
A/C outlets. If you start
your vehicle with the fan setting on
HI, it will skip the
A/C Purge.
To avoid blowing cold air in cold weather, the system
will delay turning on the fan until warm air is available.
The length of delay depends on the outside air
temperature, engine coolant temperature or the time
since the engine was last started.
As the coolant warms
up, the blower fan speed will gradually increase
and air
will flow from the heater outlets, with some aifflow to
the windshield to prevent fogging under most nonnal
conditions.
If you leave your vehicle, the system will remember the
control setting
the next time you start your engine,
except for recirculation and defrost. Each ignition cycle
cancels recirculation, whereas,
DEFROST will change
to
AUTO when the ignition is shut off and then turned
back on.
Manual Operation
RECIRCULATION: Press this button to limit the
amount of fresh air entering your vehicle. This is helpful
when you are trying to cool the air quickly or limit odors
entering your vehicle. In the
AUTO mode, the system
will use recirculation as necessary to cool the air.
Pressing the recirculation button will change the
operation to a manual mode and the air will recirculate
non-stop. Press this button again to
turn off the
recirculation feature.
If you notice
the windows fogging, press the
recirculation button
to exit the recirculation mode.
OFF: Press this button to turn the system off.
Fresh air will continue to flow through the vehicle,
and the system will try
to maintain the previously set
temperature. The outside temperature will show in
the display when the system is off.
@ DE-ICE (Option): Pressing this button helps to
remove ice or frost from the windshield. See "Heated Windshield" later in this section.
Page 151 of 354
Downloaded from www.Manualslib.com manuals search engine DEFOG: Press thl's button to divide the air between the
windshield and
the heater outlets. This is useful when
fog appears on the windshield or side glass due to
sudden rain or snowy conditions. This feature is not
available with the heated windshield option.
AUTO/ECON: Press this button to switch between
AUTO and ECON. The ECON setting attempts to keep
air at a selected temperature, however, it does not
remove humidity from the air. Use this setting in cold
or
cool weather to save fuel. The AUTO setting is used
when it's warm outside and you need
to cool the air in
order to maintain a selected temperature and blower
speed.
FAN SPEEDS: Press the button with the fan
symbol until AUTO is displayed on the screen. At this
setting, the fan speed
is automatically controlled. If it is
cold outside, the blower may not
run in the maximum
high
fan speed right away. The system checks the temperature of the engine
coolant to assure it is warm
enough to provide heat. When
the engine coolant is
wm, the controller allows the fan to gradually increase
to a higher speed. This prevents cold air from blowing
into the passenger compartment.
If you want the blower
fan at a high speed, press the up arrow button until you
see HI
on the display. If you want the fan speed to be
automatic, but
you like the fan speed to be higher than
the
AUTO setting, press the fan symbol button until HI
AUTO
is shown on the display. If you want the blower
fan at a
low speed, press the down mow button until
LO is shown on the display. If you want the fan speed to
run lower than the
AUTO setting, press the button until
AUTO LO is shown on the display.
9 DEFROST: Press this button to quickly remove
fog or frost from the windshield.
This setting sends most
of the airflow to the windshield with only a small
amount to the floor outlets.
Page 157 of 354
Downloaded from www.Manualslib.com manuals search engine Audio Systems
Your Cadillac audio system has been designed to operate
easily and give years
of listening pleasure. You will get
the most enjoyment out
of it if you acquaint yourself
with it first. Find out what your Cadillac system can
do
and how to operate all its controls, to be sure you’re
getting the most out of the advanced engineering that
went into
it.
Setting the Clock
Press and hold HR or MN until the time display begins
to change. Release the button as you get close
to the
correct time. The time may be set anytime the clock
is
displayed. There is a two-second delay before the clock
goes into time-set mode.
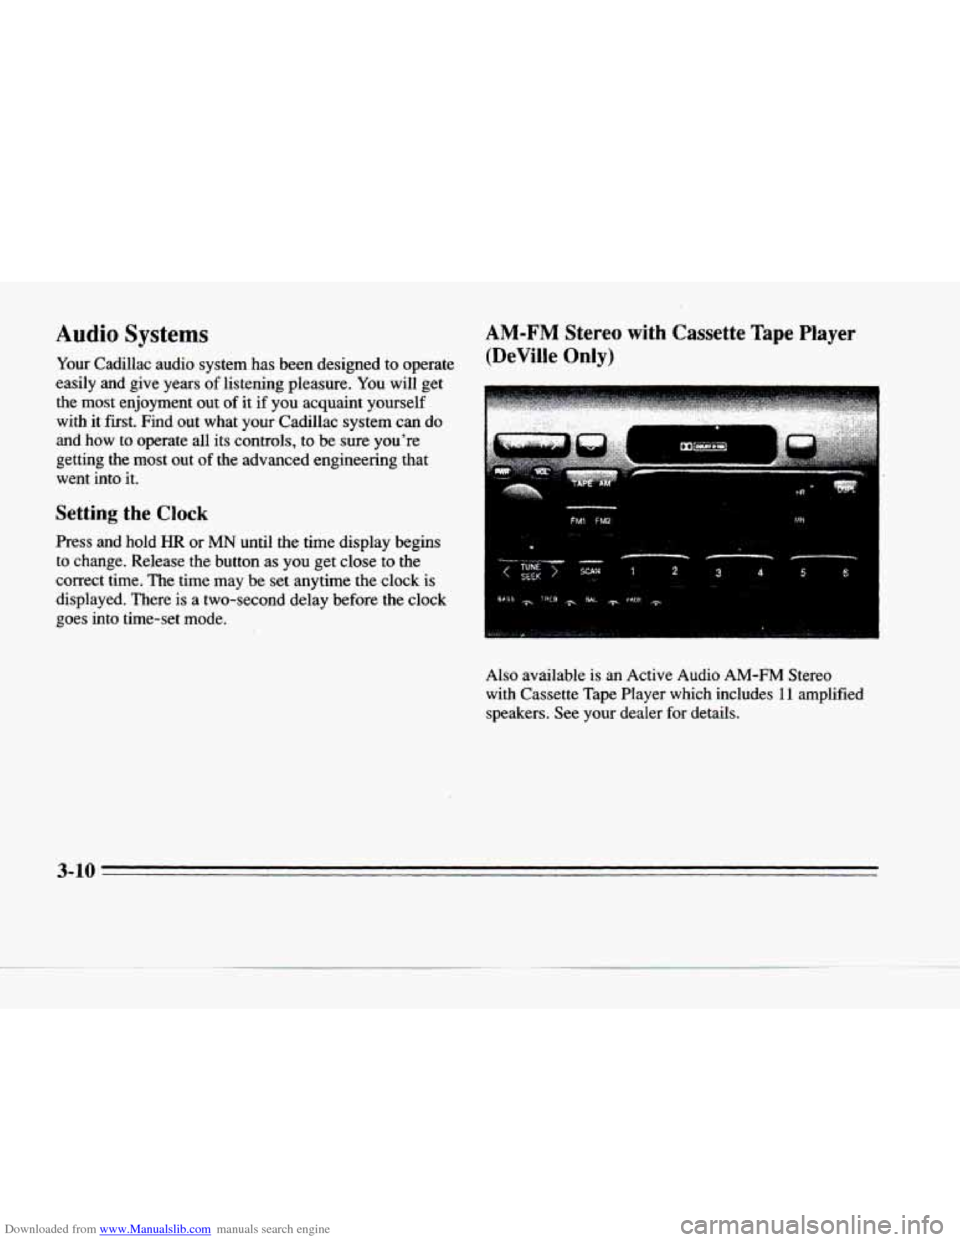
AM-FM Stereo with Cassette Tape Player
(DeVille Only)
FMI FW MN
Also available is an Active Audio AM-FM Stereo
with Cassette Tape Player which includes
11 amplified
speakers. See your dealer
for details. c
3-10
Page 158 of 354
Downloaded from www.Manualslib.com manuals search engine P-
L
c
c
c
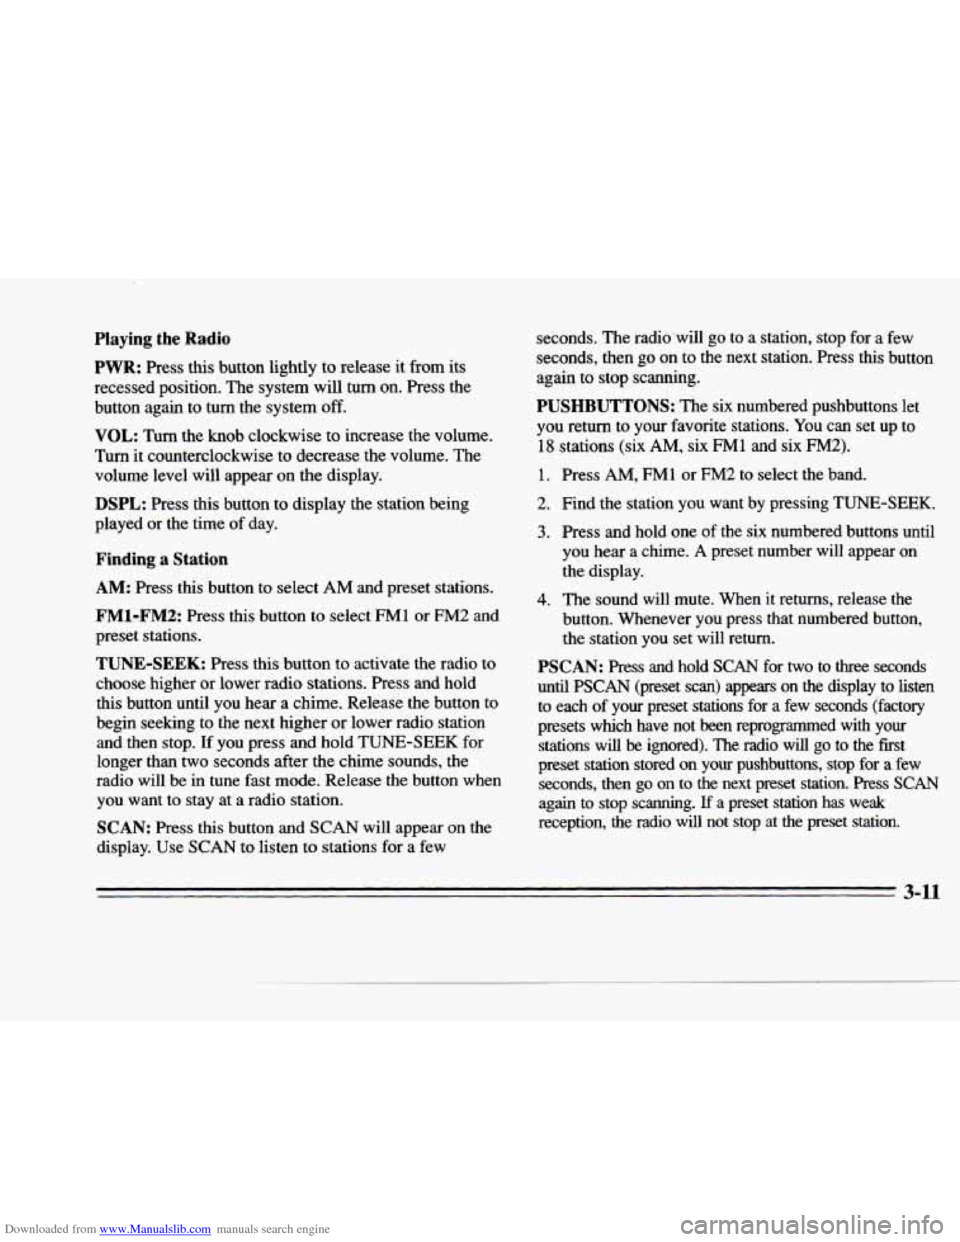
Playing the Radio
PWR: Press this button lightly to release it from its
recessed position. The system will
turn on. Press the
button again to
turn the system off.
VOL: Turn the knob clockwise to increase the volume.
Turn
it counterclockwise to decrease the volume. The
volume level will appear on
the display.
DSPL: Press this button to display the station being
played or the time of day.
Finding a Station
AM: Press this button to select AM and preset stations.
FM1-FM2: Press this button to select FM1 or FM2 and
preset stations.
TUNE-SEEK: Press this button to activate the radio to
choose higher or lower radio stations. Press and hold
this button until you hear a chime. Release the button to
begin seeking to the next higher
or lower radio station
and then stop.
If you press and hold TUNE-SEEK for
longer than two seconds after the chime sounds, the
radio
will be in tune fast mode. Release the button when
you want
to stay at a radio station.
SCAN: Press this button and SCAN will appear on the
display. Use
SCAN to listen to stations for a few seconds.
The radio.wil1 go to a station, stop f0r.a few
seconds, then go on
to the next station. Press this button
again to stop scanning.
PUSHBUTTONS: The six numbered pushbuttons let
you return to your favorite stations. You can set up to
18 stations (six AM, six FM1 and six FM2).
1. Press AM, FM1 or FM2 to select the band.
2. Find the station you want by pressing TUNE-SEEK.
3. Press and hold one of the six numbered buttons until
you hear a chime. A preset number will appear on
the display.
4. The sound will mute. When it returns, release the
button. Whenever you press that numbered button,
the station
you set will return.
PSCAN: Press and hold SCAN for two to three seconds
until PSCAN (preset scan) appears on the display to listen
to each
of your preset stations for a few seconds (factory
presets which have not been reprogrammed
with your
stations
will be ignored). The radio will go to the first
preset station stored
on your pushbuttons, stop for a few
seconds, then go on to the next preset station. Press SCAN
again to stop scanning. If a preset station has weak
reception, the radio
will not stop at the preset station.
2 11
Page 159 of 354
Downloaded from www.Manualslib.com manuals search engine Setting the Tone
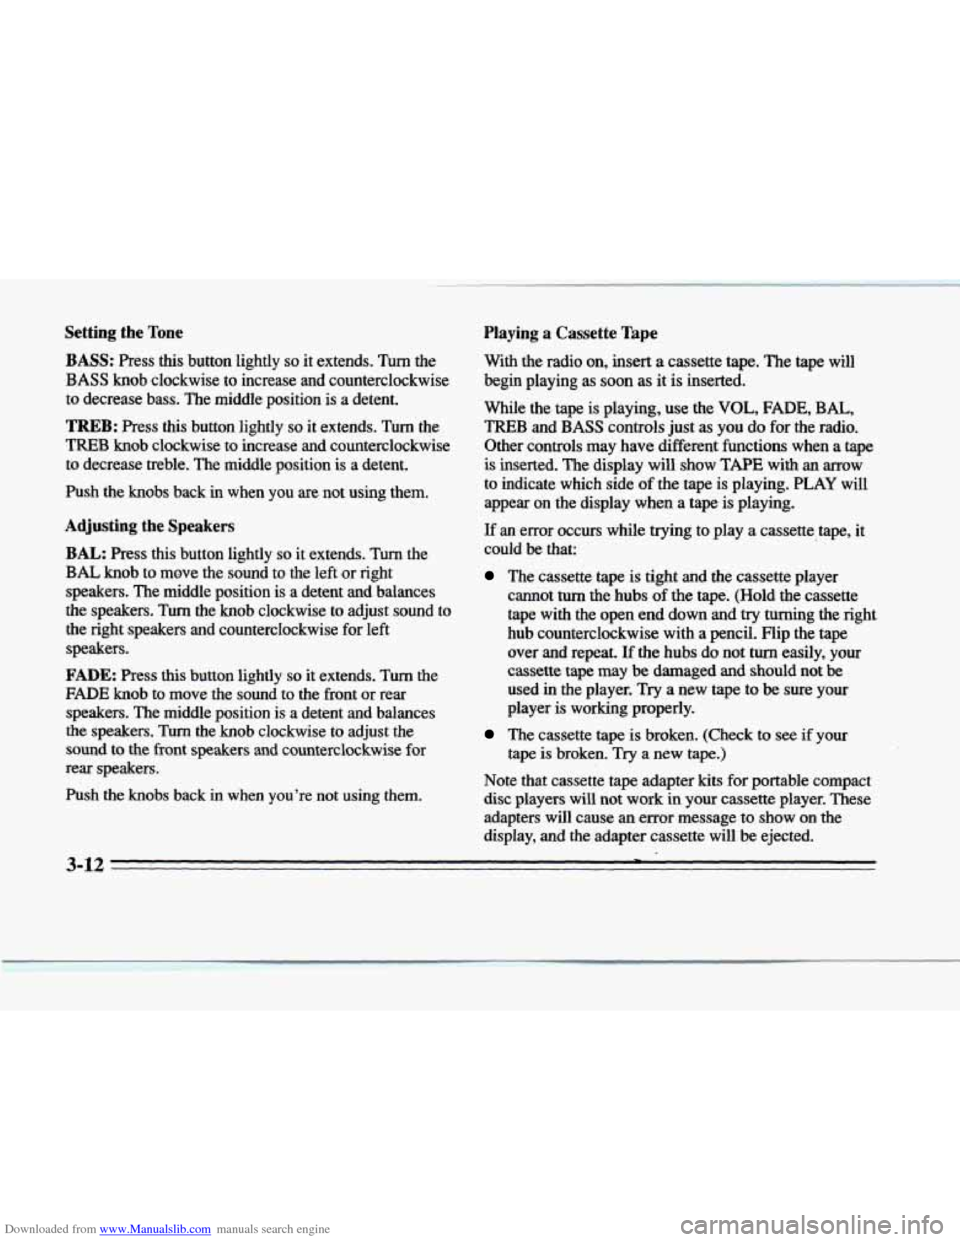
BASS: Press this button lightly so it extends. Turn the
BASS knob clockwise to increase and counterclockwise
to decrease bass. The middle position is a detent.
TREB: Press this button lightly so it extends. Turn the
TREB knob clockwise to increase and counterclockwise
to decrease treble. The middle position
is a detent.
Push the knobs back
in when you are not using them.
Adjusting the Speakers
BAL: Press this button lightly so it extends. Turn the
BAL knob to move the sound to the left or right
speakers. The middle position
is a detent and balances
the speakers, Turn the knob clockwise to adjust sound to
the right speakers and counterclockwise for left speakers.
FADE: Press this button lightly so it extends. Turn the
FADE knob to move the sound to the front or rear
speakers. The middle position
is a detent and balances
the speakers. Turn the
knob clockwise to adjust the
sound to the
front speakers and counterclockwise for
rear speakers.
Push the knobs back in when you’re not using them.
Playing a Cassette Tape
With the radio on, insert a cassette tape. The tape will
begin playing
as soon as it is inserted.
While the tape is playing, use the
VOL; FADE, BAL,
TREB and BASS controls just as you do for the radio.
Other controls may have different functions when a tape
is inserted. The display
will show TAPE with an arrow
to indicate which side of
the tape is playing. PLAY will
appear on the display when a tape
is playing.
If
an error occurs while trying to play a cassette tape, it
could
be that:
The cassette tape is tight and the cassette player
cannot
turn the hubs of the tape. (Wold the cassette
tape with the open end down and
try turning the right
hub counterclockwise with a pencil.
Flip the tape
over and repeat.
If the hubs do not tun easily, your
cassette tape may
be damaged and should not be
used in the player.
Try a new tape to be sure your
player is
working properly.
The cassette tape is broken. (Check to see if your
tape is broken.
Try a new tape.)
Note that cassette tape adapter
kits for portable compact
disc players
will not work in your cassette player. These
adapters will cause
an error message to show on the
display, and the adapter cassette will be ejected.
3-12 -
D
1
I
I
Page 160 of 354
Downloaded from www.Manualslib.com manuals search engine c
c
c
c
c
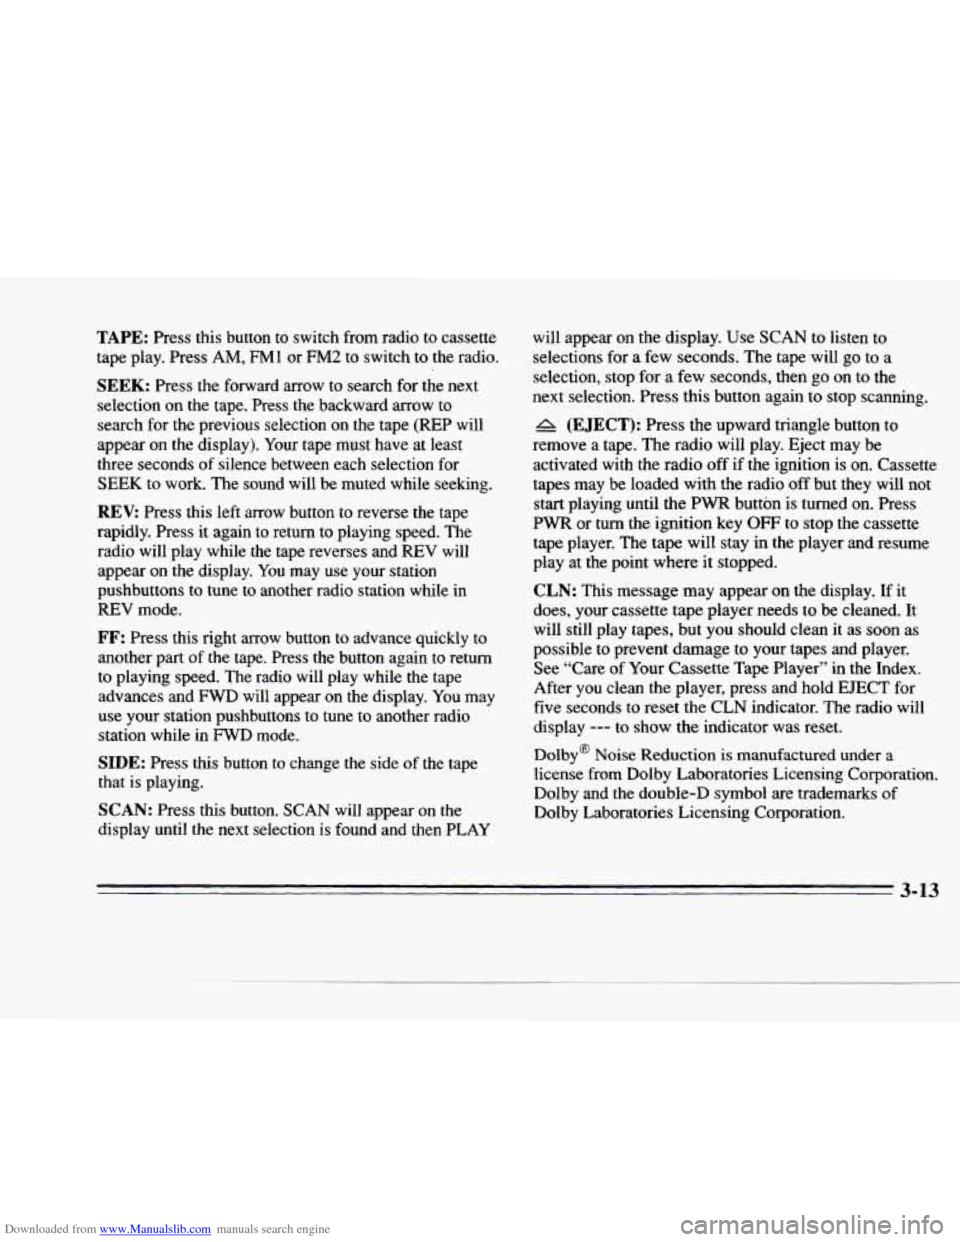
TAPE: Press this button to switch from radio to cassette
tape play. Press
AM, FM1 or FM2 to switch to the radio.
SEEK: Press the forward arrow to search for the next
selection on
the tape. Press the backward arrow to
search for the previous selection on the tape (REP will
appear on the display). Your tape must have at least
three seconds
of silence between each selection for
SEEK to work. The sound will be muted while seeking.
REV: Press this left arrow button to reverse the tape
rapidly. Press
it again to return to playing speed. The
radio will play while the tape reverses and
REV will
appear on the display.
You may use your station
pushbuttons to tune to another radio station while in
REV mode.
FF: Press this right arrow button to advance quickly to
another part of the tape. Press the button again
to return
to playing speed. The radio will play while the tape
advances and
FWD will appear on the display. You may
use your station pushbuttons to tune to another radio
station while in
FWD mode.
SIDE: Press this button to change the side of the tape
that is playing.
SCAN: Press this button. SCAN will appear on the
display until the next selection is found and then PLAY will appear on the display. Use
SCAN to listen to
selections
for a few seconds. The tape will go to a
selection, stop for
a few seconds, then go on to the
next selection. Press this button again to stop scanning.
A (EJECT): Press the upward triangle button to
remove a tape. The radio will play. Eject may be
activated with the radio off if the ignition is
on. Cassette
tapes may be loaded with the radio off but they
will not
start playing until the PWR button is turned on. Press
PWR or
turn the ignition key OFF to stop the cassette
tape player. The tape will stay in the player and resume
play at the point where it stopped.
CLN: This message may appear on the display. If it
does, your cassette tape player needs
to be cleaned. It
will still play tapes, but you should clean it as soon as
possible to prevent damage to your tapes and player.
See “Care of
Your Cassette Tape Player” in the Index.
After you clean the player, press and hold
EJECT for
five seconds to reset the
CLN indicator. The radio will
display
--- to show the indicator was reset.
Dolby@ Noise Reduction is manufactured under a
license from Dolby Laboratories Licensing Corporation.
Dolby and the double-D symbol are trademarks
of
Dolby Laboratories Licensing Corporation.
3-13
Page 161 of 354
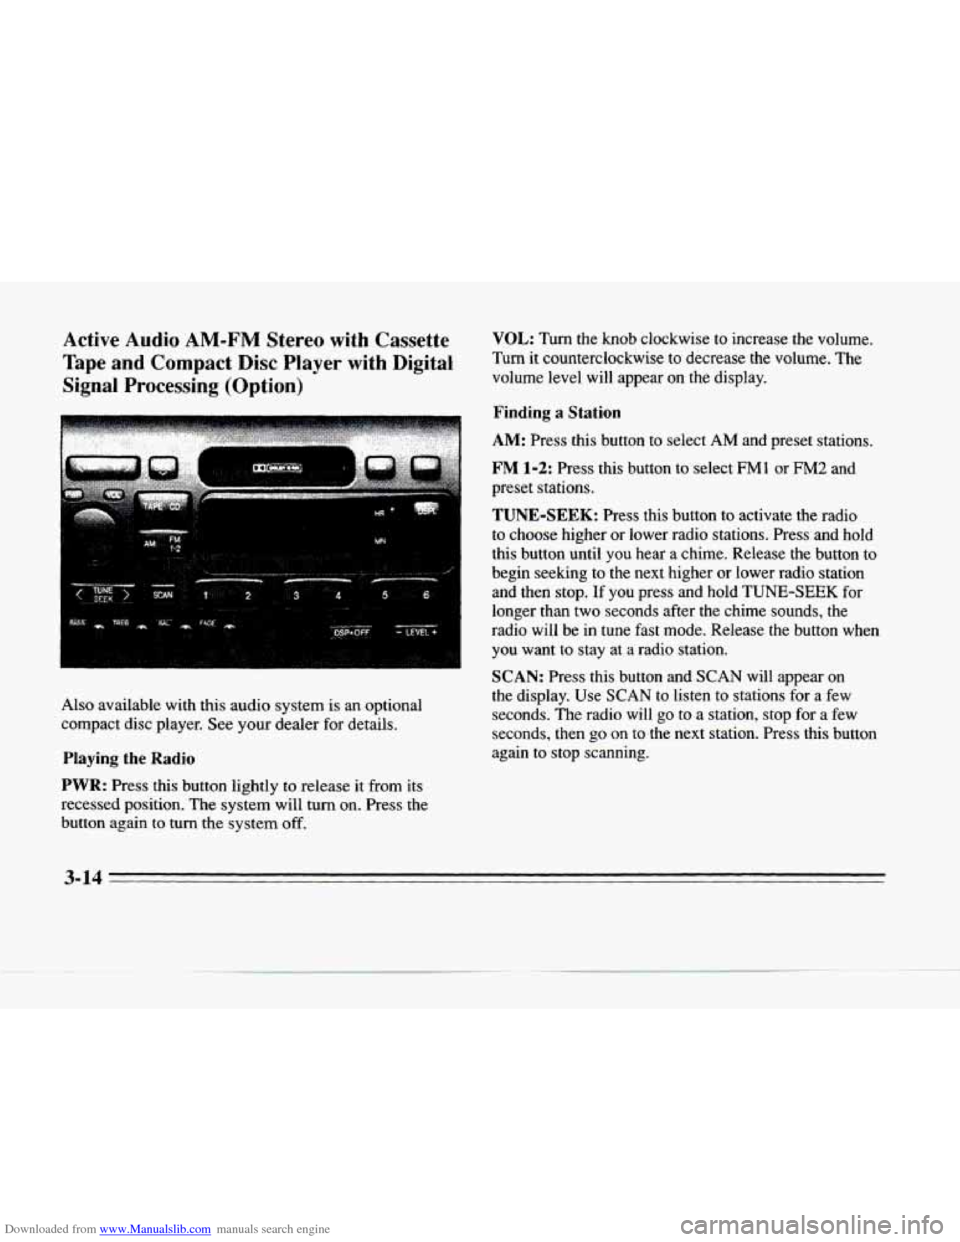
Downloaded from www.Manualslib.com manuals search engine Active Audio AM-FM Stereo with Cassette
Tape
and Compact Disc Player with Digital
Signal Processing (Option)
Also available with this audio system is an optional
compact disc player. See your dealer for details.
PIaying the Radio
PWR: Press this button lightly to release it from its
recessed position. The system will turn on. Press the
button again to turn the system off.
VOL: Turn the knob clockwise to increase the volume.
Turn it counterclockwise to decrease the
volume. The
volume level will appear on the display.
Finding a Station
AM: Press this button to select AM and preset stations.
FM 1-2: Press this button to select FM1 or FM2 and
preset stations.
TUNE-SEEK: Press this button to activate the radio
to choose higher or lower radio stations. Press and hold
this button until you hear a chime. Release the button to
begin seeking
to the next higher or lower radio station
and then stop.
If you press and hold TUNE-SEEK for
longer than two seconds after the chime sounds, the
radio will be
in tune fast mode. Release the button when
you want to stay at
a radio station.
SCAN: Press this button and SCAN will appear on
the display. Use SCAN to listen to stations for a few
seconds. The radio will
go to a station, stop for a few
seconds, then go
on to the next station. Press this button
again to stop scanning.
3-14
Page 162 of 354
Downloaded from www.Manualslib.com manuals search engine LI PUSHBUTTONS: The six numbered pushbuttons let
you return
to your favorite stations. You can set up to
18 stations (six AM, six FM1 and six FM2).
1.
2.
3.
4.
c
c
Press AM or FM 1-2 to select the band.
Find the station you want by pressing TUNE-SEEK. Press and hold one
of the six numbered buttons until
you hear a chime. A preset number will appear on
the display.
The sound will mute. When it returns, release the button. Whenever you press that numbered button,
the station you set will return.
PSCAN: Press and hold SCAN for two to three seconds
until
PSCAN (preset scan) appears on the display to
listen to each of
your preset stations for a few seconds
(factory presets which have
not been reprogrammed with
your stations will be ignored). The radio will go to the
fKst preset station stored on your pushbuttons, stop for a
few seconds, then go on to the next preset station. Press
SCAN again to stop scanning. If a preset station has weak
reception, the radio will not stop at the preset station.
Setting the Tone
BASS: Press this button lightly so it extends. Turn the
BASS knob clockwise to increase and counterclockwise
to decrease bass. The middle position is a detent.
TREB: Press this button lightly so it extends. Turn the
TREB knob clockwise to increase and counterclockwise to decrease treble. The middle position is a detent.
Push the
knobs back in when you are not using them.
DSP: The Digital Signal Processing (DSP) feature is
used to produce four audio effects. These include
TALK, DRIVER SEAT, LIVE and AUDITORIUM.
DSP can be used while listening to the radio, the
cassette tape player or the
CD player. To activate DSP,
press the DSP button. Press this button again to go
through the four effects.
To turn the DSP feature off,
press OFF.
TALK: This setting is used when listening to
non-musical material such as baseball games, talk shows or news.
TALK gives the best clarity of
spoken words. The high and low frequencies are
lowered, the mid-range is increased and the audio
is moved to the front speakers.
3-15
Page 164 of 354
Downloaded from www.Manualslib.com manuals search engine c
P
c
While the tape is playing, use the VOL, FADE, BAL,
TREB and BASS controls just as you do for the radio.
Other controls may have different functions when a tape is inserted. The display
will show TAPE with an arrow
to indicate which side of the tape is playing. PLAY will
appear
on the display when a tape is playing.
If
an error occurs while trying to play a cassette tape, it
could be that:
0 The cassette tape is tight and the cassette player
cannot turn the hubs of the tape. (Hold the cassette
tape with the open end down and
try turning the right
hub counterclockwise with a pencil. Flip the tape
over and repeat.
If the hubs do not turn easily, your
cassette tape may be damaged and should not be
used
in the player. Try a new tape to be sure your
player
is working properly.
The cassette tape is broken. (Check to see if your
tape is broken.
Try a new tape.)
Note that cassette tape adapter
kits for portable compact
disc players will not work in your cassette player. These adapters will cause
an error message to show on the
display,
and the adapter cassette will be ejected.
TAPE: Press this button to switch from radio
(or optional
CD) to cassette tape play. Press AM or
FM 1-2 to switch to the radio.
SEEK: Press the forward arrow to search for the next
selection on the tape. Press the backward arrow to
search for the previous selection on the tape
(REP will
appear on the display).
Your tape must have at least
three seconds
of silence between each selection for
SEEK to work. The sound will be muted while seeking.
REV: Press this left arrow button to reverse the tape
rapidly. Press it again to return to playing speed. The
radio will play while the tape reverses and
REV will
appear on the display.
You may use your station
pushbuttons to tune
to another radio station while in
REV mode.
FF: Press this right arrow button to advance quickly to
another part of the tape. Press the button again to return
to playing speed. The radio will play while the tape advances and
FWD will appear on the display. You may
use your station pushbuttons to tune to another radio
station while in FWD mode.
SIDE: Press this button to change the side of the tape
that is playing.
3-17