window CADILLAC DEVILLE 1998 7.G User Guide
[x] Cancel search | Manufacturer: CADILLAC, Model Year: 1998, Model line: DEVILLE, Model: CADILLAC DEVILLE 1998 7.GPages: 386, PDF Size: 22.36 MB
Page 90 of 386
Downloaded from www.Manualslib.com manuals search engine LOCK (B): Before you put the key in, the ignition will
be in LOCK. This is the only position in which you can
remove the key. This position locks the ignition, steering
wheel and transaxle. It’s a theft-deterrent feature.
NOTICE:
If your key seems stuck in LOCK and you can’t
turn
it, be sure you are using the correct key; if
so, is it all the way in? If it is, then turn the
steering wheel left and right while you turn the
key hard. But turn the key only with your hand.
Using
a tool to force it could break the key or the
ignition switch.
If none of this works, then your
vehicle needs service.
Retained Accessory Power (RAP)
The following accessories on your vehicle may be used
for up to
10 minutes after the ignition key is turned from
RUN to OFF:
Radio
Power Windows
Astroroof
Power to these accessories stops after
10 minutes or
if any door is opened. If you want power for another
10 minutes, turn the ignition key to RUN, then back
to
OFF, then to LOCK. Always leave your key in
LOCK when using RAP.
If you leave your key in
any other position than LOCK, your battery will
discharge prematurely.
OFF (C): This position lets you turn off the engine but
still turn the steering wheel. It doesn’t lock the steering
wheel like LOCK does. Use
OFF if you must have your
vehicle in motion while the engine is off (for example, if
your vehicle is being pushed).
RUN (D): This is the position for driving.
START (E): This position starts the engine.
2-19
Page 103 of 386
Downloaded from www.Manualslib.com manuals search engine Engine Exhaust
A CAUTION:
Engine exhaust can kill. It contains the gas
carbon monoxide
(CO), which you can’t see or
smell. It can cause unconsciousness and death.
You might have exhaust coming
in if:
Your exhaust system sounds strange or
Your vehicle gets rusty underneath.
Your vehicle was damaged in a collision.
Your vehicle was damaged when driving over
high
points on the road or over road debris.
Repairs weren’t done correctly.
Your vehicle or exhaust system had been
If you ever suspect exhaust is coming into
your vehicle:
Drive it only with all the windows down to
Have your vehicle fixed immediately.
different.
modified improperly.
blow out any
CO; and
Running Your Engine While
You’re Parked
It’s better not to park with the engine running. But if you
ever have to, here are some things to know.
A CAUTION:
Idling the engine with the climate control
system off could allow dangerous exhaust into
your vehicle (see the earlier Caution under
“Engine Exhaust”).
Also, idling in
a closed-in place can let deadly
carbon monoxide
(CO) into your vehicle even if
the fan switch is at the highest setting. One place
this can happen
is a garage. Exhaust -- with
CO -- can come in easily. NEVER park in a
garage with the engine running.
Another closed-in place can be
a blizzard.
(See “Blizzard” in the Index.)
2-32
Page 104 of 386
Downloaded from www.Manualslib.com manuals search engine It can be dangerous to get out of your vehicle if
the shift lever is not fully in
PARK (P) with the
parking brake firmly set. Your vehicle can roll.
Don’t leave your vehicle when the engine
is
running unless you have to. If you’ve left the
engine running, the vehicle can move suddenly.
You or others could be injured.
To be sure your
vehicle won’t move, even when you’re on fairly
level ground, always set your parking brake after
you move the shift lever to
PARK (P).
Follow the proper steps to be sure your vehicle won’t
move.
See “Shifting Into PARK (P)” in the Index.
If you are parking on a hill and if you’re pulling a
trailer, also see “Towing a Trailer” in the Index.
Windows
Power Windows
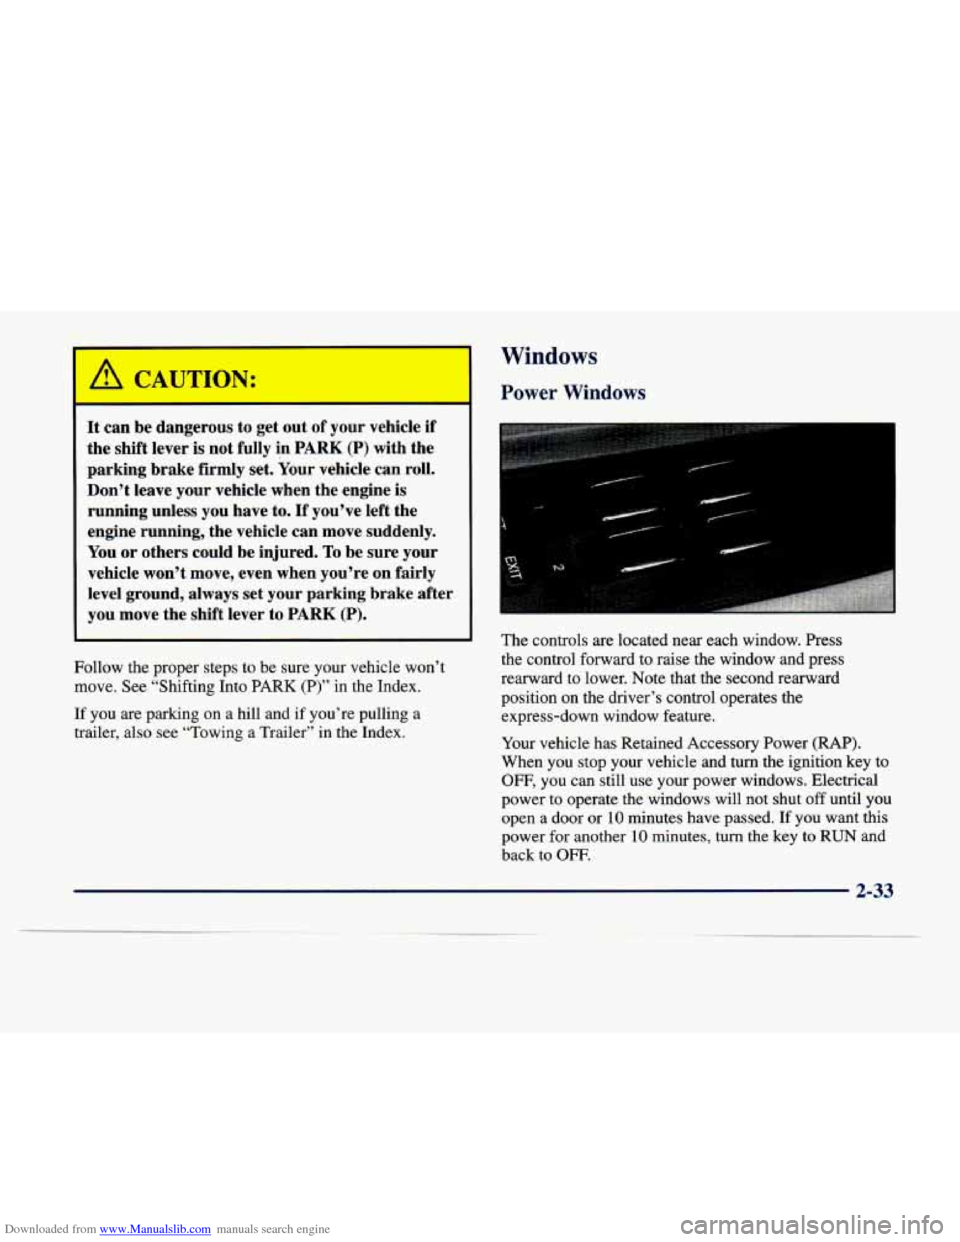
The controls are located near each window. Press
the control forward to raise the window and press
rearward to lower. Note that the second rearward
position on the driver’s control operates the
express-down window feature.
Your vehicle has Retained Accessory Power
(RAP).
When you stop your vehicle and turn the ignition key to
OFF, you can still use your power windows. Electrical
power to operate the windows will not shut
off until you
open a door or
10 minutes have passed. If you want this
power for another
10 minutes, turn the key to RUN and
back to
OFF.
2-33
Page 105 of 386
Downloaded from www.Manualslib.com manuals search engine Express-Down Window Tilt Wheel
This feature is present on the driver’s power window.
Pressing the control rearward into the second position
then releasing it will lower the window completely.
If
you want to stop the window as it is lowering, press
the control forward. Press the control forward to raise
the window.
Note that the first position on the control operates the driver’s power window
in the non-express mode.
Rear Window Lockout
Pressing the button down
will disable the rear window
controls. This is a useful
feature if you have children
. . -:
as passengers. Press the
button again to allow your
passengers to reuse their window controls.
Horn
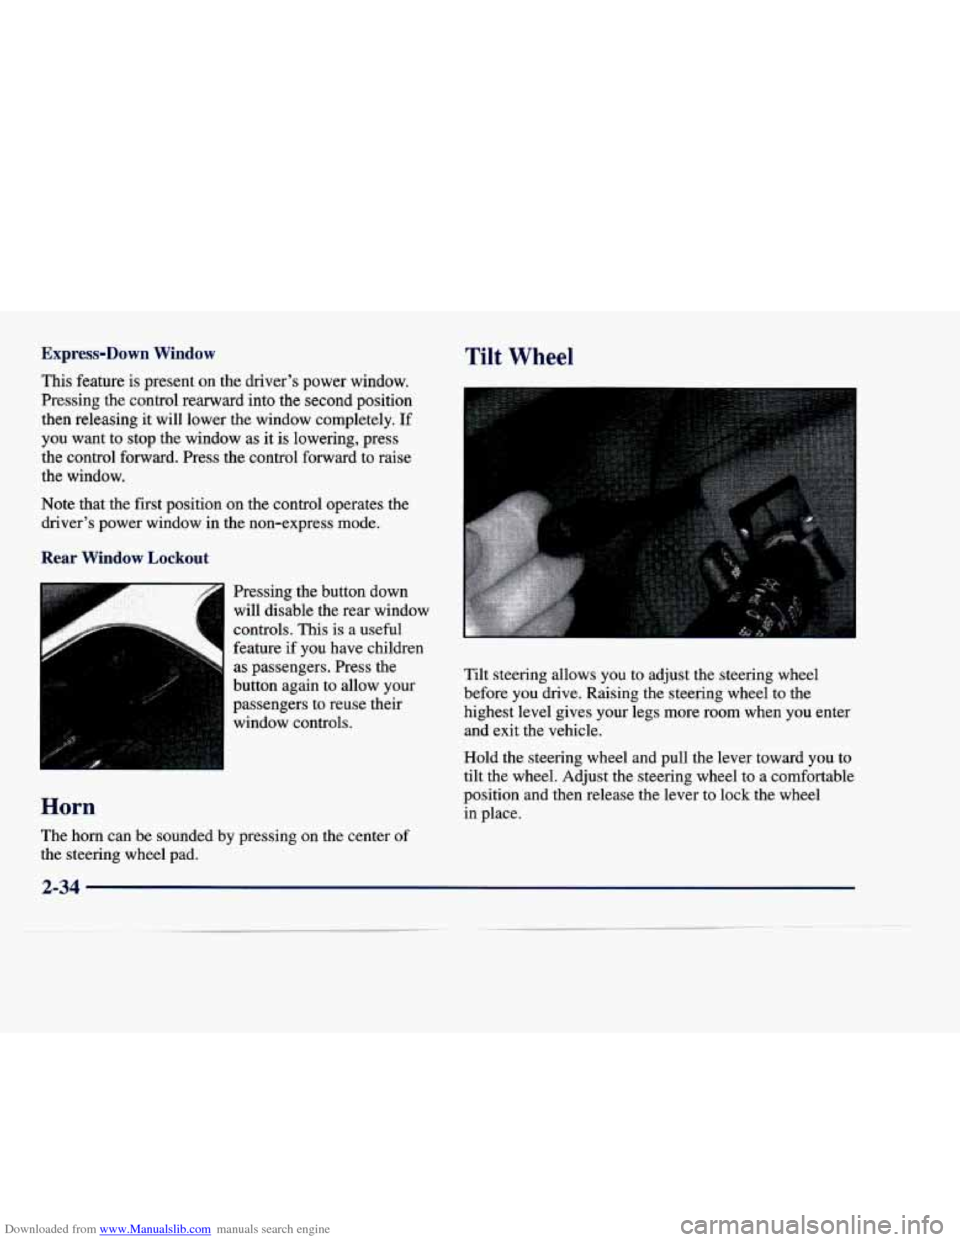
Tilt steering allows you to adjust the steering wheel
before you drive. Raising
the steering wheel to the
highest level gives your legs more room when you enter and exit the vehicle.
Hold the steering wheel and pull the lever toward you to
tilt the wheel. Adjust the steering wheel to a comfortablc
position and then release the lever to lock the wheel in place.
The horn can be sounded by pressing
on the center of
the steering wheel pad.
2-34
Page 123 of 386
Downloaded from www.Manualslib.com manuals search engine Compass Calibration
If the letter “C” appears in the compass display, the
mirror may need calibration.
The mirror can be calibrated in one
of two ways:
0 Drive the vehicle in circles at 5 mph (8 km/h) or less
0 Drive the vehicle on’your everyday routine.
until the display reads a direction, or
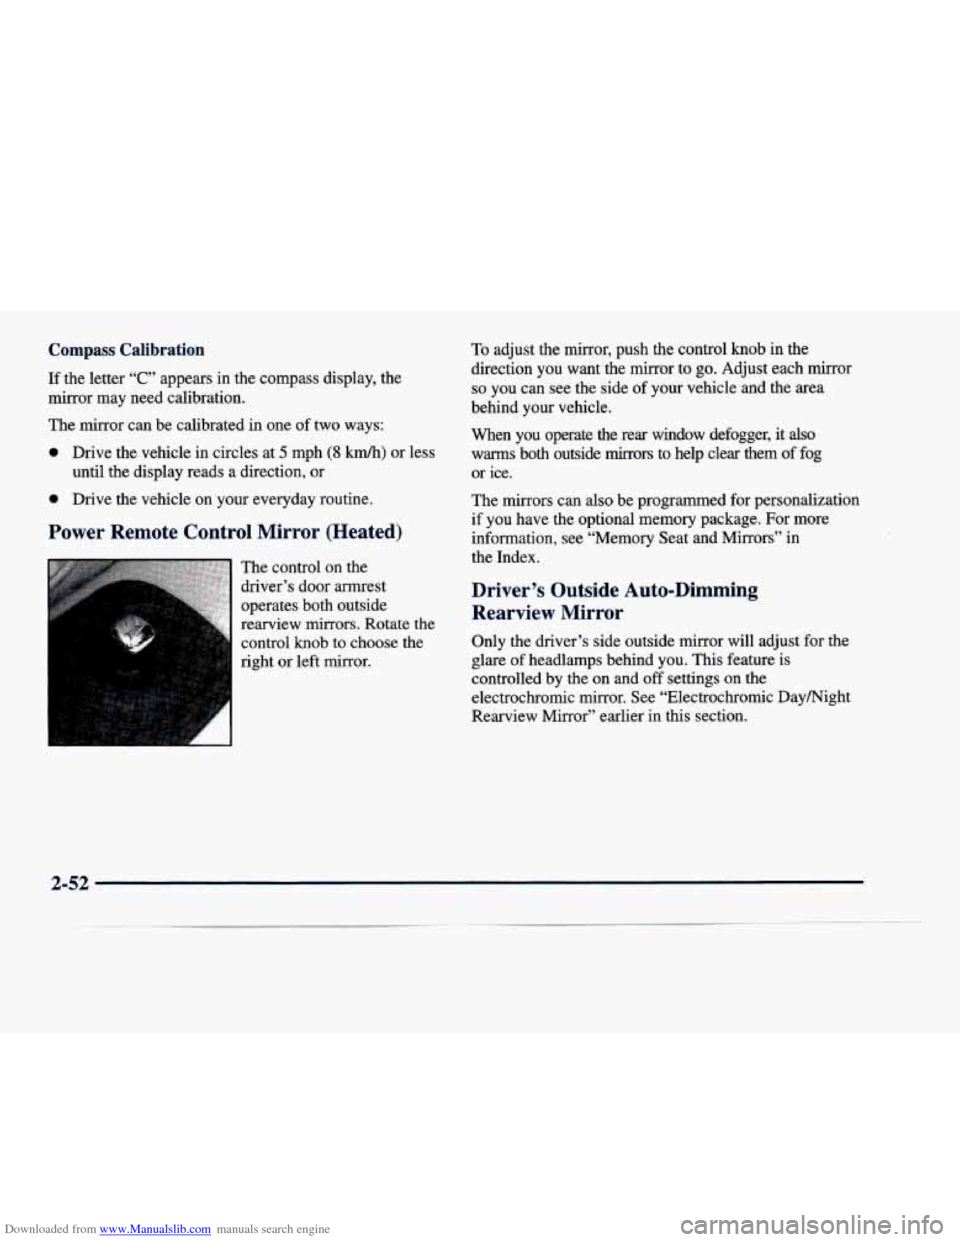
The control on the
driver’s door armrest
operates both outside
rearview
mirrors. Rotate the
control knob to choose the
right or left mirror.
To adjust the mirror, push the control knob in the
direction you want the mirror to
go. Adjust each mirror
so you can see the side of your vehicle and the area
behind your vehicle.
When you operate the rear window defogger, it
also
warms both outside mirrors to help clear them of fog
or ice.
The mirrors can also be programmed for personalization
if you have the optional memory package. For more
information, see “Memory Seat and Mirrors” in
the Index.
Driver’s Outside Auto-Dimming Rearview Mirror
Only the driver’s side outside mirror will adjust for the
glare
of headlamps behind you. This feature is
controlled by the on and
off settings on the
electrochromic mirror. See “Electrochromic Daymight
Rearview Mirror” earlier in this section.
2-52
Page 154 of 386
Downloaded from www.Manualslib.com manuals search engine BATTERY VOLTAGE HIGH -’ 8: This message
shows that the electrical charging system is
overcharging (more than 16 volts). To avoid being
stranded, have the electrical system checked by your
dealership. You can reduce the charging overload by
using the accessories. Turn on the lamps and radio, set
the climate control on AUTO and the fan speed on HI,
and turn the rear window defogger on.
You can monitor
battery voltage on the Driver Information Center (DIC)
by pressing the
INFO button. The normal range is
11.5 to 15.5 volts when the engine is running.
BATTERY VOLTAGE LOW - 6: This message will
appear when the electrical system is charging less than
10 volts or if the battery has been drained. If this
message appears immediately after starting,
it is possible
that the generator can still recharge the battery. The
battery should recharge and may take a few hours to do
so. Consider using an auxiliary charger to boost the
battery after returning home or to a final destination.
(Be sure to follow the manufacturer’s instructions when
recharging the battery.)
If this message appears while driving or after starting
your vehicle and stays on, have it checked immediately
to determine the cause of this problem.
To help the
generator recharge the battery quickly, you can reduce
the load on the electrical system by turning
off the
accessories. You can monitor battery voltage on the Driver Information Center (DIC) by pressing the
INFORMATION
(INFO) button. The normal range is
11.5 to 15.5 volts.
BRAKE VACUUM PROBLEM -108: The circuit in
the brake booster vacuum has shorted or is loose when
this message appears. Your vehicle may lose power
brakes but you will still have the use of manual brakes.
The power brakes will not be affected if the problem
is
caused by a failed sensor. Have your vehicle serviced
immediately at your dealership.
CHANGE ENGINE OIL - 82: This means that the life
of the engine oil has expired and it should be changed
within
200 miles (322 km). See “Engine Oil” and “Filter
Recommendations’’ in the Maintenance Schedule
booklet. After an oil change, the Oil Life Indicator must be reset. For more information, see “How to Reset the
Oil Life Indicator” in the Index.
CHANGE TRANS FLUID - 47: This message will
appear when it is time to replace the transaxle fluid. See
the Maintenance Schedule booklet for the proper fluid
and change intervals.
CHECK BRAKE FLUID - 37: This message will
display if the ignition is in RUN to inform the driver that
the brake fluid level is low. Check the brake reservoir
level and add fluid as needed. Have the brake system
2-83
__
Page 168 of 386
Downloaded from www.Manualslib.com manuals search engine Section 3 Comfort Controls and Audio Systems
In this section, you’ll find out how to operate the comfort control and audio systems offered with your vehicle. Be
sure to read about the particular systems supplied
with your vehicle.
3-2 Comfort Controls 3-22
AM-FM Stereo with Cassette Tape and
3-2 Digital
Cluster Climate Control.Pane1
Systems
(RDS) and Digital Signal Processing
(DeWlle and DeVille d’Elegance Only) Compact Disc Player with Radio Data
. .
3-6 Analog Cluster Climate Control Panel
(DSP) (If Equipped)
. (DeVille Concours Only) 3-3 1 Radio Data Systems (RDS) Program Type
3-
10 Air Conditioning. 3-32 Trunk Mounted CD Changer (If Equipped)
3-10
’ Heating
3- 11 Ventilation System
3-4
1 Power Antenna Mast Care 3- 18 AM-FM Stereo with Cassette Tape and 3-41 Care
of Your Compact Disc Player
3-14 AM-FM Stereo with Cassette Tape Player 3-40 Care
of Your
Compact Discs
3-14 Setting the Clock 3-39 Care
of Your
Cassette Tape Player
3-14 Audio Systems 3-38 Tips
About Your
Audio System
3-13 Climate Control Personalization If (Equipped) 3-38 Understanding Radio Reception
3-13 HVAC Steering Whed Controls 3-37 Audio Steering Wheel Controls
(If Equipped) 3-12 Rear Window Defogger 3-36 Theft-Deterrent Feature
3- 12 Defogging and Defrosting 3-36 Radio Personalization (If Equipped)
319
Electronic Solar Sensor
(PTY) Selections
.-- 3-35 CD Adapter Kits
Compact Disc Player
(If Equipped)
3-1
Page 172 of 386
Downloaded from www.Manualslib.com manuals search engine Manual Operation
0 RECIRCULATION: Press this button to limit the
amount of fresh
air entering your vehicle. This is helpful
when you
are trying to cool the air quickly or limit
odors entering your vehicle. In the AUTO mode, the
system will use recirculation as necessary to cool the
air. Pressing the recirculation button will change the
operation to a manual mode and the
air will recirculate
non-stop. Press this button again to turn off the
recirculation feature.
If you notice the windows fogging, press the
recirculation button to exit the recirculation mode.
OFF: Press this button to turn the system off. Fresh
air will continue to flow through the vehicle, and
the system will try to maintain the previously set
temperature. The outside temperature will show in
the display when the system
is off.
DEFOG: Press this button to divide the air between the
windshield and the heater outlets. This is useful when
fog appears on the windshield or side glass due to
sudden rain or snowy conditions.
AUTOECON: Press this button to switch between
AUTO and
ECON. The ECON setting attempts to keep
air at a selected temperature, however, it does not remove
humidity from the
air. Use this setting in cold or cool weather to save fuel. The AUTO setting is used when
it’s warm outside and you need
to cool the air in order to
maintain
a selected temperature and blower speed.
FAN SPEEDS: Press the button with the fan symbol
on it until AUTO is displayed on the screen. At this
setting, the fan speed is automatically controlled. If
it is
cold outside, the blower may not run in the maximum
high fan speed right away. The system checks the
temperature of the engine coolant to assure it is warm
enough to provide heat. When the engine coolant is
warm, the controller allows the fan to gradually increase
.
to a higher speed. This prevents cold air from blowing
into the passenger compartment.
If you want the blower
fan at a high speed, press the up arrow button until you
see HI on the display. If you want the fan speed to be
automatic, but you like the
fan speed to be higher than
the AUTO setting, press the fan symbol button until
HI
AUTO is shown on the display. If you want the blower
fan at a low speed, press the down arrow button until LO
is shown on the display. If you want the fan speed to run
lower than the AUTO setting, press the button until
AUTO
LO is shown on the display.
DEFROST Press this button to quickly remove
fog or frost from the windshield. This setting sends
most of the airflow to the windshield with only a
small amount to the floor outlets.
3-5
Page 176 of 386
Downloaded from www.Manualslib.com manuals search engine OFF: Press this button to turn the system off. Fresh
air will continue to flow through the vehicle, and the
system will try
to maintain the previously set
temperature. The outside temperature will show on
the display when the system is
OFF.
AC: Press this button to turn the air conditioning on and
off. The system will cool and dehumidify the air inside
the vehicle. In the
AUTO mode, the display will show
that
AC is active, but the air conditioning compressor
only operates when the system determines it is needed.
0 RECIRCULATION: Press this button to limit the
amount of fresh air entering your vehicle. This is helpful
when you are trying to cool the air quickly or limit odors
entering your vehicle. In the
AUTO mode, the system
will use recirculation as necessary to cool the air.
Pressing the recirculation button will change the
operation to a manual mode and the air will recirculate
non-stop. Press this button again to turn off the
recirculation feature.
If you notice the windows fogging, press the recirculation button to exit the recirculation mode.
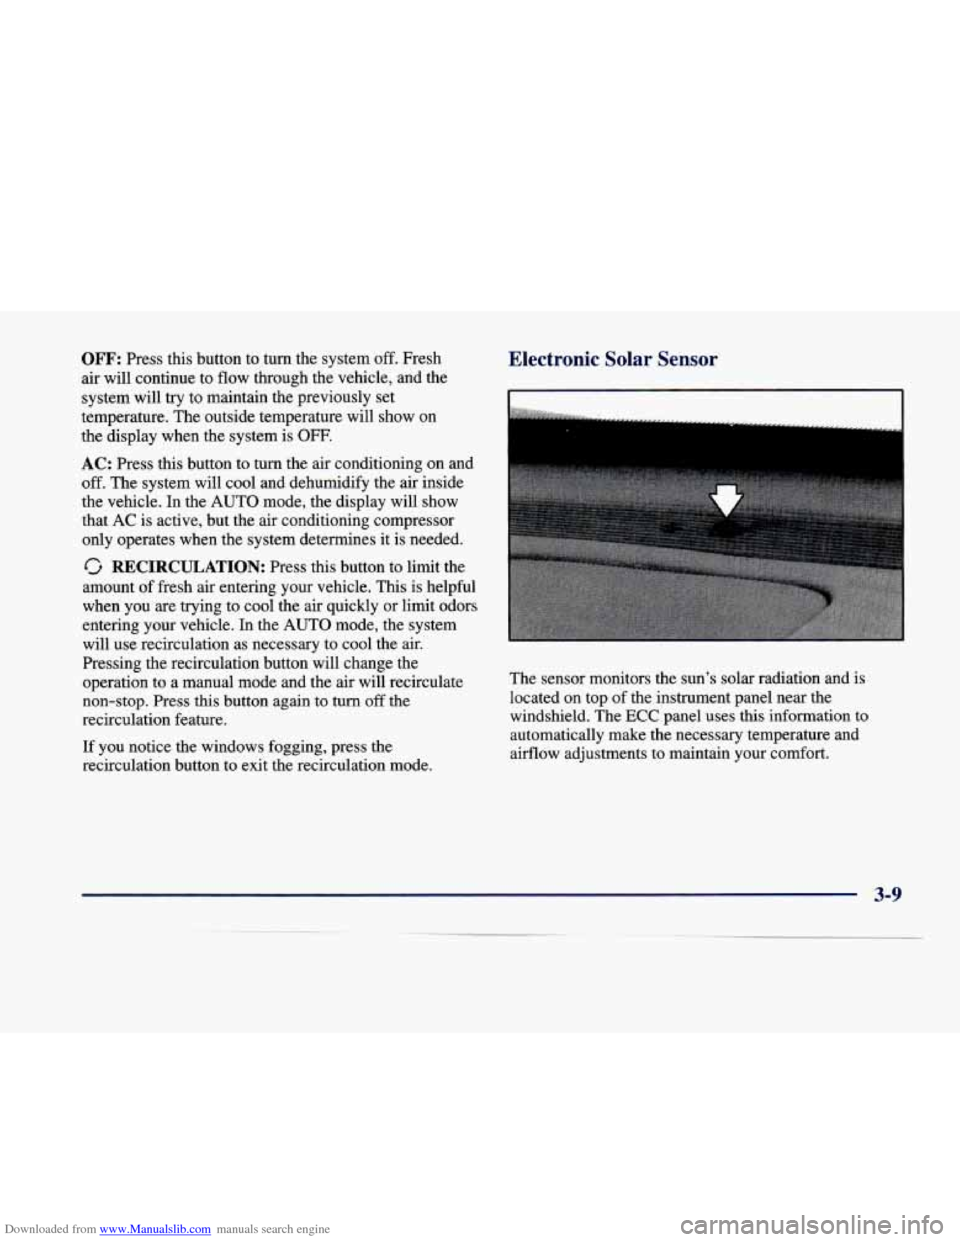
Electronic Solar Sensor
The sensor monitors the sun's solar radiation and is
located on top of the instrument panel near the
windshield. The
ECC panel uses this information to
automatically make the necessary temperature and
airflow adjustments to maintain your comfort.
3-9
Page 177 of 386
Downloaded from www.Manualslib.com manuals search engine . 3.
Air Conditioning
.On hot days, open the windows long enough to let hot
inside
air escape. This reduces the time it takes for your
vehicle to cool down. Then keep your windows closed
for the
air conditioner to work its best. I ,
With the digital cluster climate control panel, press the
AUTOLECON button to assist 'in cooling air and in
maintaining proper airflow. Adjust the temperature to a
comfortable setting by pressing the blue,button to cool
your vehicle and pressing the red button to warm your
vehicle. Press the fan button
arrows up or down to
,adjust the fan speed.
If your vehicle has a climate control panel (which is
standard with the analog cluster), press the AC button
or
the TEMPLAUTO knob to turn the system on. The
system'will cool and dehumidify the
air inside the
vehicle. Also while in the AUTO mode, the system will
use recirculation as necessary
to cool the air. You may
also need to adjust- the interior temperature and the fan
speed as needed.
When'the
air conditioner is on, you may sometimes
notice slight changes
in your vehicle's engine speed
and power. This is normal because the system is
designed to cycle the compressor
on and off to keep
the desiied temperature.
Heating
With the digital cluster climate control panel, press the
AUTOECON button to direct airflow and to help save
fuel. Adjust the temperature, if necessary, by pressing
the blue button to decrease temperature and pressing the
red button to increase temperature.
Also remember to
adjust the fan speed by pressing the up or downarrow.
If your vehicle has a climate control panel (which is
standard with the analog cluster), press the
MODE
button to select heater. Adjust the interior temperature to a comfortable level and if the fan speed needs adjusting,
press the up
or down arrow.
With each system, outside
air will be brought in and sent
through the floor, air conditioning or bi-level outlets
(depending on the condition). The heater works best
if
you keep your windows closed whiIe using it.
3-10 1 _--- -