horn CADILLAC DEVILLE 1998 7.G Owners Manual
[x] Cancel search | Manufacturer: CADILLAC, Model Year: 1998, Model line: DEVILLE, Model: CADILLAC DEVILLE 1998 7.GPages: 386, PDF Size: 22.36 MB
Page 14 of 386
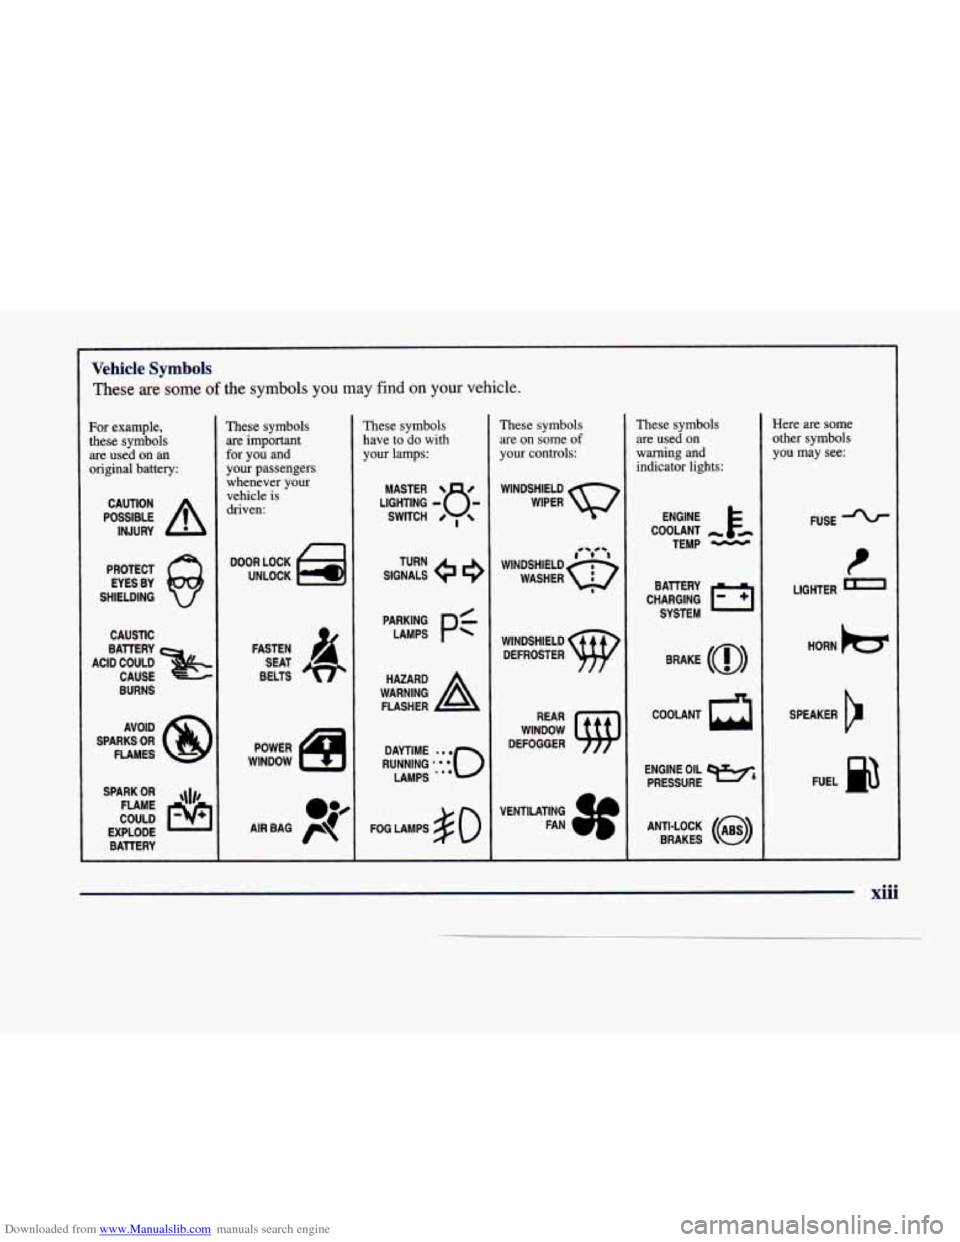
Downloaded from www.Manualslib.com manuals search engine Vehicle Symbols
These are some of the symbols you may find on your vehicle.
For example,
these symbols
are used on
an
original battery:
POSSIBLE A
CAUTION
INJURY
PROTECT EYES BY
SHIELDING
CAUSTIC
ACID COULD BATTERY
CAUSE
BURNS
AVOID
SPARKS
OR
FLAMES
, SPARK OR ,\I/,
COULD FLAME
EXPLODE
~ BAllERY
These symbols
are important
for you and
your passengers
whenever your
vehicle
is
driven:
rl DOOR LOCK
UNLOCK
POWER
WINDOW
These symbols
have to do with
your lamps:
FOG LAMPS $0
These symbols
are on some
of
your controls:
WINDSHIELD
WIPER
WINDSHIELD DEFROSTER
WINDOW
DEFOGGER
These symbols are used
on
warning and
indicator lights:
COOLANT
TEMP
-
CHARGING I-1
BATTERY
SYSTEM
BRAKE
(0)
ENGINE OIL e,
PRESSURE
ANTI-LOCK
(@)
BRAKES
Here are some other symbols
you may see:
FUSE
LIGHTER
m
HORN )tT
SPEAKER
b
FUEL p3
xiii
Page 81 of 386
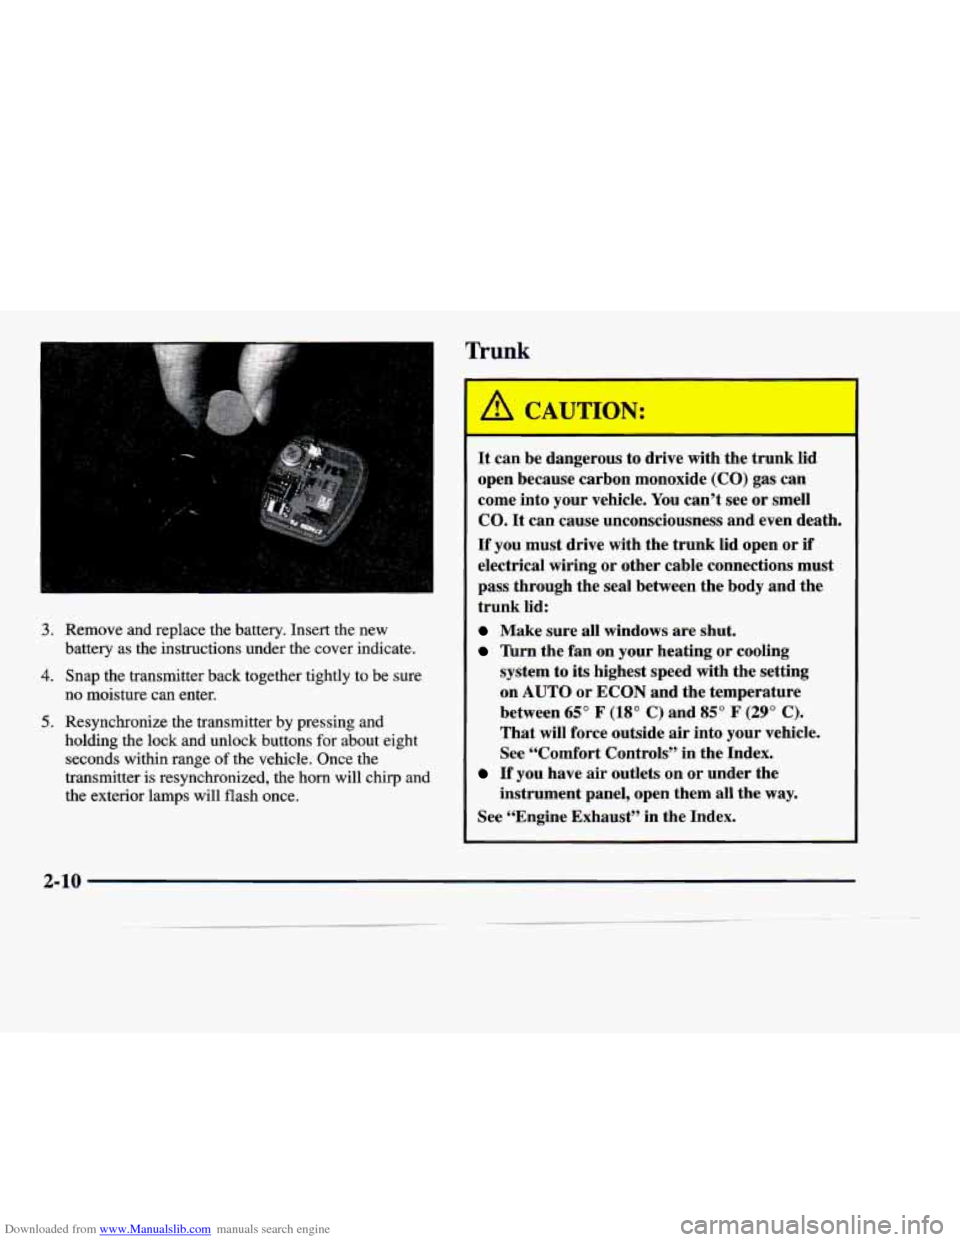
Downloaded from www.Manualslib.com manuals search engine 3. Remove and replace the battery. Insert the new
4. Snap the transmitter back together tightly to be sure
battery as the instructions under the cover indicate.
no moisture can enter.
5. Resynchronize the transmitter by pressing and
holding the lock and unlock buttons for
about eight
seconds within range of the vehicle. Once the
transmitter is resynchronized, the horn will chirp and
the exterior lamps will flash once.
Trunk
It can be dangerous to drive with the trunk lid
open because carbon monoxide
(CO) gas can
come into your vehicle. You can’t see or smell
CO. It can cause unconsciousness and even death.
If you must drive with the trunk lid open or if
electrical wiring or other cable connections must
pass through the seal between the body and the
trunk lid:
Make sure all windows are shut.
Turn the fan on your heating or cooling
system to its highest speed with the setting
on
AUTO or ECON and the temperature
between
65” F (18” C) and 85” F (29” C).
That will force outside air into your vehicle.
See “Comfort Controls” in the Index.
If you have air outlets on or under the
instrument panel, open them all the
way.
See “Engine Exhaust’’ in the Index.
2-10
Page 86 of 386
Downloaded from www.Manualslib.com manuals search engine Theft-Deterrent System (If Equipped) Remember, the theft-deterrent system won’t activate if
you lock the doors with a key or use the manual door
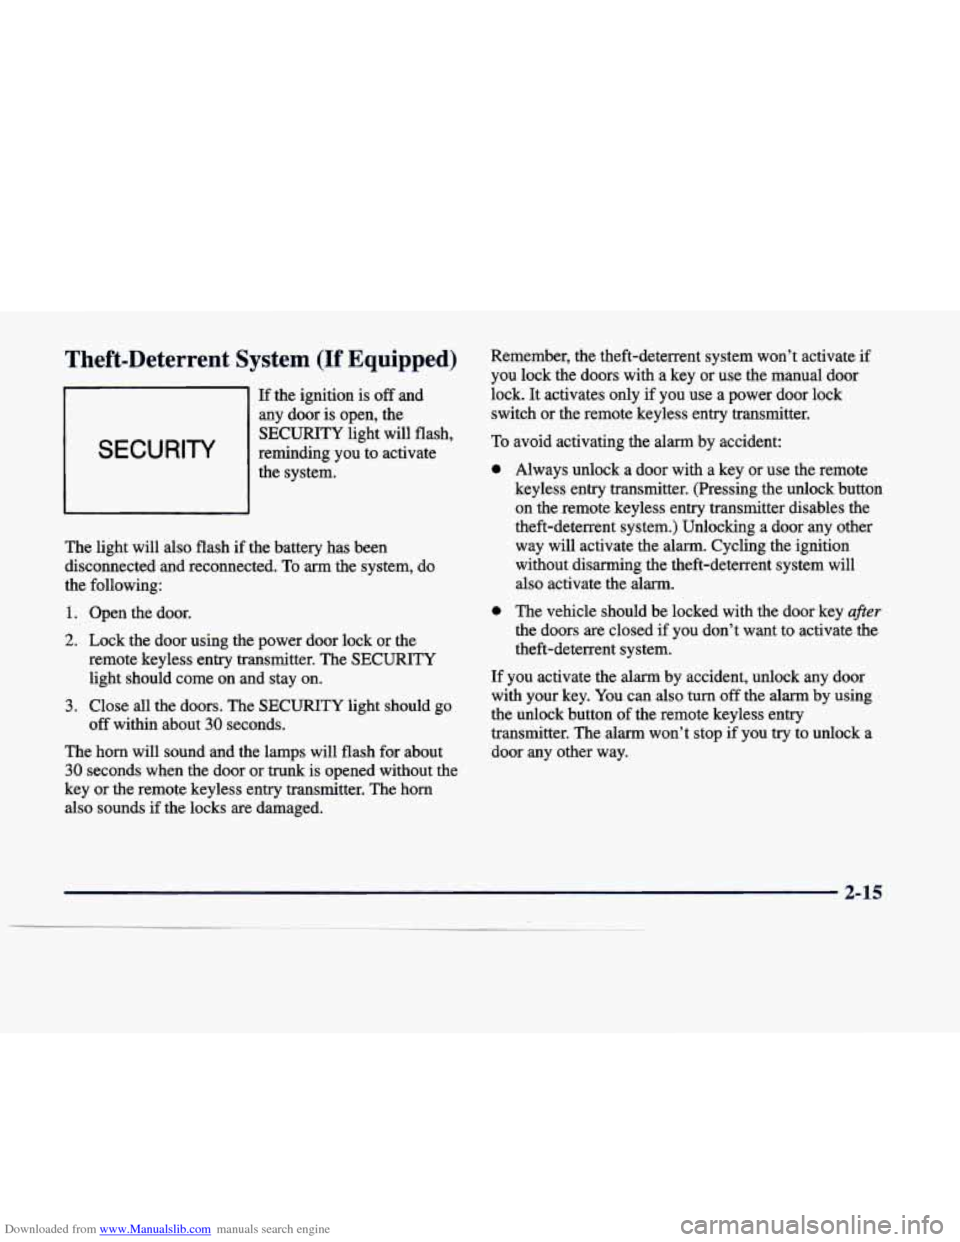
If the ignition
is off and lock.
It activates only if you use a power door lock
any door
is open, the switch or the remote keyless entry transmitter.
SECURITY
SECURITY
light will flash,
reminding you to activate
the system. To
0
The light will also flash if the battery has been
disconnected and reconnected. To arm the system, do
the following:
1. Open the door.
2. Lock the door using the power door lock or the
remote keyless entry transmitter. The SECURITY
light should come on and stay on.
3. Close all the doors. The SECURITY light should go
The horn will sound and the lamps will flash for about
30 seconds when the door or trunk is opened without the
key or the remote keyless entry transmitter. The horn
also sounds if the locks
are damaged.
off within about
30 seconds. avoid activating
the alarm by accident:
Always unlock a door with a key or use the remote
keyless entry transmitter. (Pressing the unlock button
on the remote keyless entry transmitter disables the
theft-deterrent system.) Unlocking a door any other
way will activate the alarm. Cycling the ignition
without disarming the theft-deterrent system will
also activate the alarm.
The vehicle should be locked with the door key
after
the doors are closed if you don’t want to activate the
theft-deterrent system.
If you activate the alarm by accident, unlock any door with your key. You can also
turn off the alarm by using
the unlock button of the remote keyless entry
transmitter. The alarm won’t stop if you try to unlock a
door any other way.
2-15
Page 87 of 386
Downloaded from www.Manualslib.com manuals search engine Testing the Alarm
1. From inside the vehicle, roll down the window, then get out of the vehicle, keeping the door open.
2. From outside of the vehicle, with the door open, lock
the vehicle using the power door lock or the remote
keyless entry transmitter and close the door. Wait
30
seconds until the SECURITY light goes off.
3. Reach in and unlock the door using the manual lock
and open the door. The horn
will sound and the
headlamps will flash.
If the alarm does not sound when it should, check to see
if the horn works. The horn fuse may be blown. To
replace the fuse, see “Fuses and Circuit Breakers” in the
Index.
If the fuse does not need to be replaced, you may
need to have your vehicle serviced.
To reduce the possibility of theft, always activate the
theft-deterrent system when leaving your vehicle.
Valet Lockout Button
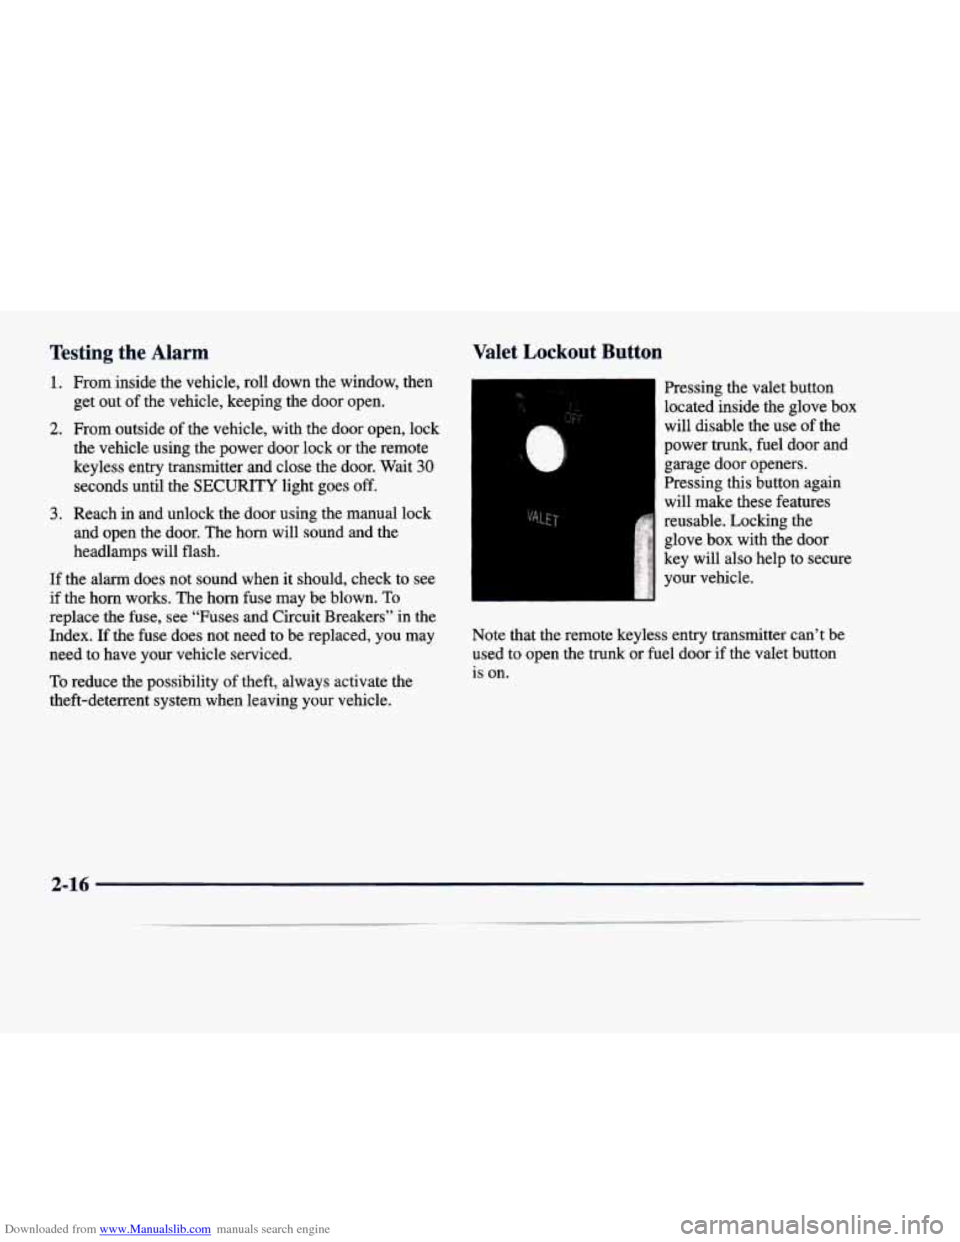
Pressing the valet button
located inside the glove box
will disable the use of the
power trunk, fuel door and
garage door openers.
Pressing this button again
will make these features
reusable. Locking the
glove box with the door
key will also help to secure
your vehicle.
Note that the remote keyless entry transmitter can’t be used to open the
trunk or fuel door if the valet button
is on.
2-16
Page 105 of 386
Downloaded from www.Manualslib.com manuals search engine Express-Down Window Tilt Wheel
This feature is present on the driver’s power window.
Pressing the control rearward into the second position
then releasing it will lower the window completely.
If
you want to stop the window as it is lowering, press
the control forward. Press the control forward to raise
the window.
Note that the first position on the control operates the driver’s power window
in the non-express mode.
Rear Window Lockout
Pressing the button down
will disable the rear window
controls. This is a useful
feature if you have children
. . -:
as passengers. Press the
button again to allow your
passengers to reuse their window controls.
Horn
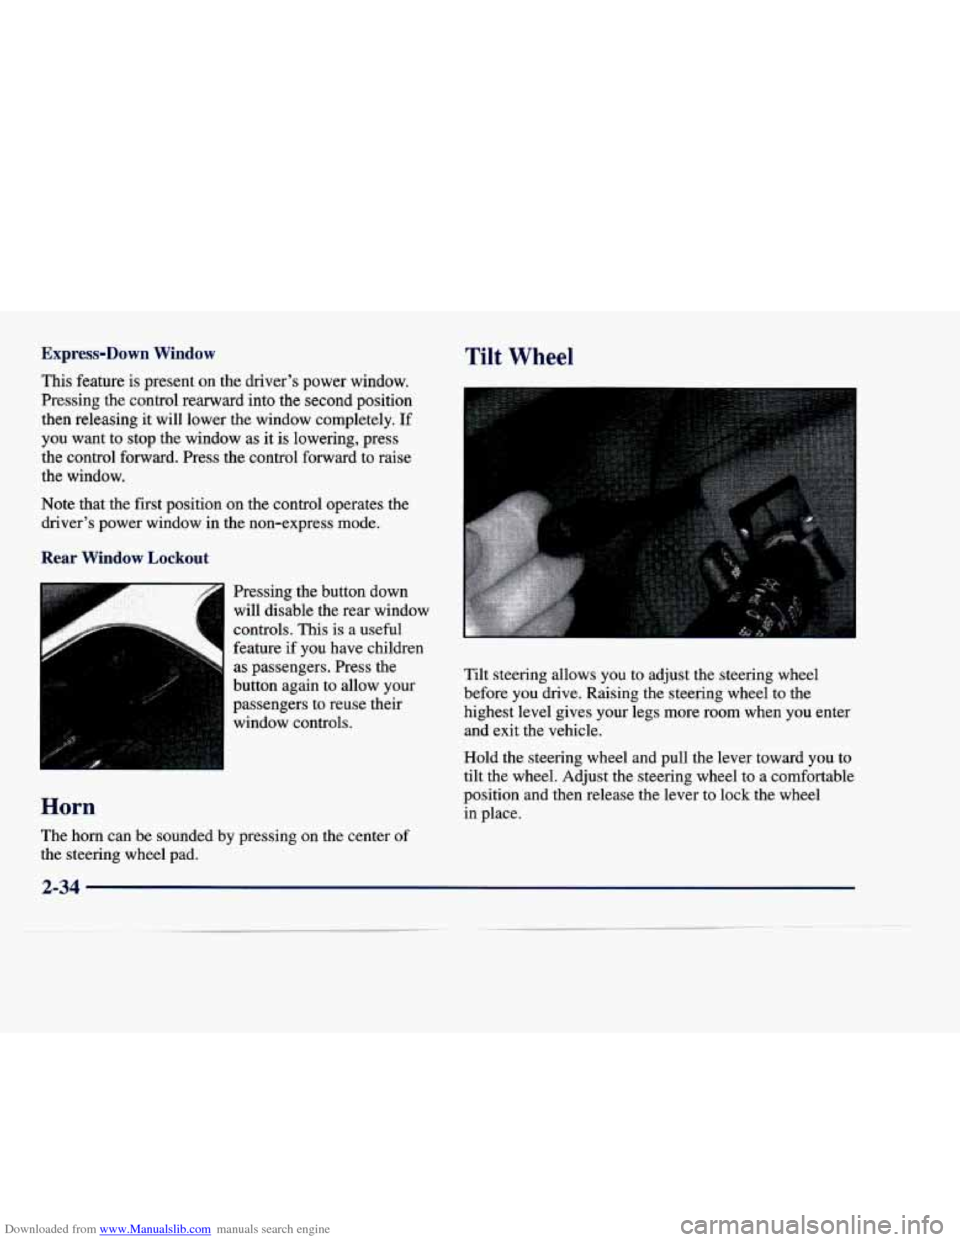
Tilt steering allows you to adjust the steering wheel
before you drive. Raising
the steering wheel to the
highest level gives your legs more room when you enter and exit the vehicle.
Hold the steering wheel and pull the lever toward you to
tilt the wheel. Adjust the steering wheel to a comfortablc
position and then release the lever to lock the wheel in place.
The horn can be sounded by pressing
on the center of
the steering wheel pad.
2-34
Page 134 of 386
Downloaded from www.Manualslib.com manuals search engine The instrument panel is designed to let you know at a
glance
how your vehicle is running. You’ll know how
fast you’re going, how much fuel you’re using and
many of the other things you’ll need
to know to drive
safely and economically. The main components
of the
instrument panel
are:
A. Air Outlets
B . Turn SignaYMultif’unction Lever
, C. Driver Information Center Control Buttons
D. Cluster
E. Steering Column Shift Lever (DeVille and DeVille
d’Elegance only)
E Electronic Climate Controls
G. Radio
H. Lamp Controls
I. HVAC Steering Wheel Controls (or Cellular
’ , Telephone Controls, If Equipped)
J. Hood Release
K. Horn
L. Audio Steering Wheel Controls
M. Ashtray and Cigarette Lighter
N. Glove Box
2-63
Page 163 of 386
Downloaded from www.Manualslib.com manuals search engine FEATURE OFF appears as well as the next
prompt
-- DOORS UNLOCK IN PARK. If this
prompt is chosen, FEATURE ON appears. If a no
response was made, DOORS UNLOCK
KEY OFF will
appear. At this point, a yes or no response automatically
brings up the LGHTS
FLSH AT UNLOCK feature.
LocWnlock Confirmation
This personalization feature allows the driver to
program the parking lamps to blink when the lock or
unlock buttons on the remote keyless entry transmitter
are pressed, to program the horn to sound when the lock
button is pressed. and/or to program the exterior lamps to
turn on when the unlock button is pressed. Press the
TRIP (TRIP RESET) button to answer “yes,” press the
RESET (INFO RESET) button to indicate “no” or press
the INFORMATION (INFO) button to “skip” to the next
personalization feature.
To begin programming, your vehicle’s ignition must be
in RUN. Press and hold the INFORMATION (INFO)
and RESET (INFO RESET) buttons at the same time to display the following prompts. LOCKNNLOCK
confirmation is the second feature to appear. To “skip”
past the first personalization feature, press the
INFORMATION
(INFO) button.
LGHTS FLSH AT UNLOCK: Parking lamps blink
twice when the unlock button on the remote keyless
entry transmitter is pressed.
LIGHTS FLASH AT LOCK: Parking lamps blink
once when
the lock button on the remote keyless entry
transmitter
is pressed.
HORN SOUNDS AT LOCK: Horn sounds when
the lock button on the remote keyless entry transmitter
is pressed.
EXT LIGHTS AT UNLOCK: Exterior lamps (parking
lamps, taillamps, sidemarker lamps, license plate lamps, low-beafn headlamps, etc.)
turn on when the unlock
button on the remote keyless entry transmitter is pressed, and
it is dark outside. These lamps stay on for
about
20 seconds or when the key is turned out of OFF.
The prompts listed here appear in the same order as
displayed on the Driver Information Center (DIC).
FEATURE ON appears when a yes response is made
and FEATURE
OFF appears with a no response. To skip
to the next personalization feature (REMOTE RECALL
MEMORY), press the INFORMATION (INFO) button.
2-92
Page 347 of 386
Downloaded from www.Manualslib.com manuals search engine Fuse Usage
WINDOWS Delayed Accessory Bus (DAB) Relay
SEATS
Horn Relay, Driver and Passenger
Lumbar IdOut Relays, Driver and
Passenger Upmown Relays
BATT
3
BATT 2
IGN 1”
BATT 1
BRAKES Steering Column Ignition Switch
Steering Column Ignition Switch
Front and Rear Ignition-
1 Relay,
Oxygen Sensor
1 and 2 Fuse, Fuel
Fuse, Cruise Fuse, DRL Relay, Front
and Rear Fog Lamp Relay (DeVille
Concours Only), Control Power
Back-up Relay, Ignition-1 Fuse, Fuel
Pump Relay
Starter Relay and Solenoid, Park/Rev
Fuse, Park Relay, PCM Fuse,
AC Compressor Fuse and Relay,
Fan Relay
ABS Brake Modulator
COOL FNS Cooling Fan Relays 1 and 3
* Do not alter OBD 11 related fuses or circuit breakers.
Fuses and Circuit Breakers
The wiring circuits in your vehicle are protected from
short circuits by a combination of fuses and circuit
breakers. This greatly reduces the chance of fires
caused by electrical problems.
Look at the silver-colored band inside the fuse. If the
band
is broken or melted, replace the fuse. Be sure you
replace a bad fuse with a new one
of the identical size
and rating.
If you ever have a problem on the road and don’t
have a spare fuse, you can “borrow” one that has the same amperage. Pick some feature
of your vehicle that
you can get along without
-- like the radio or cigarette
lighter
-- and use its fuse, if it is the correct amperage.
Replace it as soon as you can.
There are two fuse blocks in your vehicle: the engine
compartment fuse block and the rear compartment
fuse block.
6-60