turn signal CADILLAC DEVILLE 1998 7.G Owners Manual
[x] Cancel search | Manufacturer: CADILLAC, Model Year: 1998, Model line: DEVILLE, Model: CADILLAC DEVILLE 1998 7.GPages: 386, PDF Size: 22.36 MB
Page 78 of 386
Downloaded from www.Manualslib.com manuals search engine Leaving Your Vehicle
If you are leaving the vehicle, open the door, set the
locks from the inside, get out and close the door.
Remote Keyless Entry (RKE) System
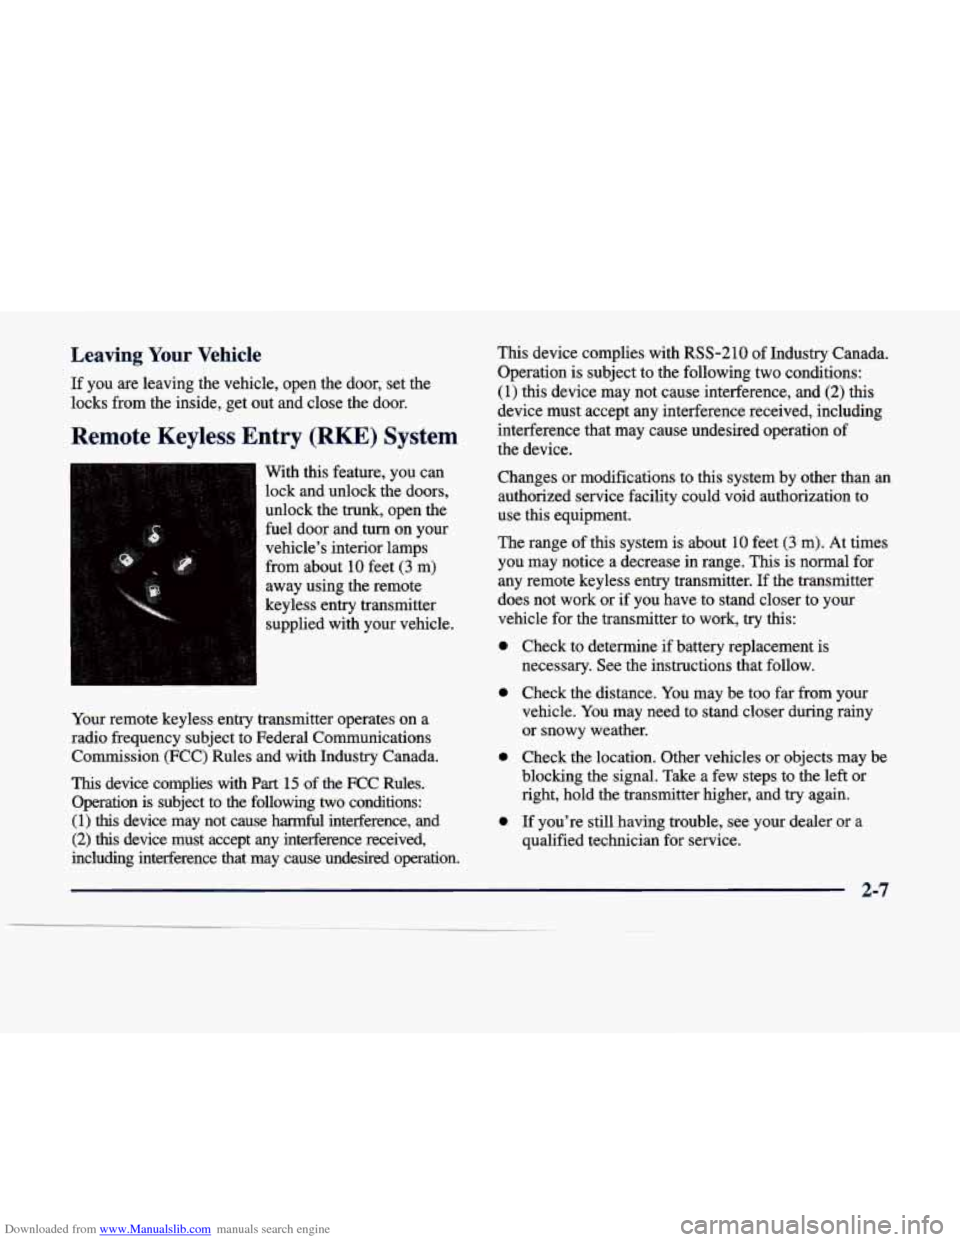
With this feature, you can
lock and unlock the doors,
unlock the trunk, open the
fuel door and
turn on your
vehicle’s interior lamps
from about
10 feet (3 m)
away using the remote
keyless entry transmitter supplied with your vehicle.
Your remote keyless entry transmitter operates on a
radio frequency subject to Federal Communications Commission (FCC) Rules and with Industry Canada.
This device complies with Part 15 of the FCC Rules.
Operation
is subject to the following two conditions:
(1) this device may not cause harmful interference, and
(2) this device must accept any interference received,
including interference that may cause undesired operation. This device complies with RSS-210
of Industry Canada.
Operation is subject to the following two conditions:
(1) this device may not cause interference, and (2) this
device must accept any interference received, including
interference that may cause undesired operation of
the device.
Changes or modifications to this system by other than an
authorized service facility could void authorization to
use this equipment.
The range of this system is about
10 feet (3 m). At times
you may notice a decrease
in range. This is normal for
any remote keyless entry transmitter. If the transmitter
does not work or
if you have to stand closer to your
vehicle for the transmitter to work, try this:
0
0
0
0
Check to determine if battery replacement is
necessary. See the instructions that follow.
Check the distance.
You may be too far from your
vehicle. You may need to stand closer during rainy
or snowy weather.
Check the location. Other vehicles or objects may be
blocking the signal. Take a few steps to the left or
right, hold the transmitter higher,
and try again.
If you’re still having trouble, see your dealer or a
qualified technician for service.
Page 106 of 386
Downloaded from www.Manualslib.com manuals search engine Turn SignaVMultifunction Lever
Tbrn and Lane Change Signals
To signal a turn, move the lever all the way up or down.
The lever returns automatically when the
turn is complete.
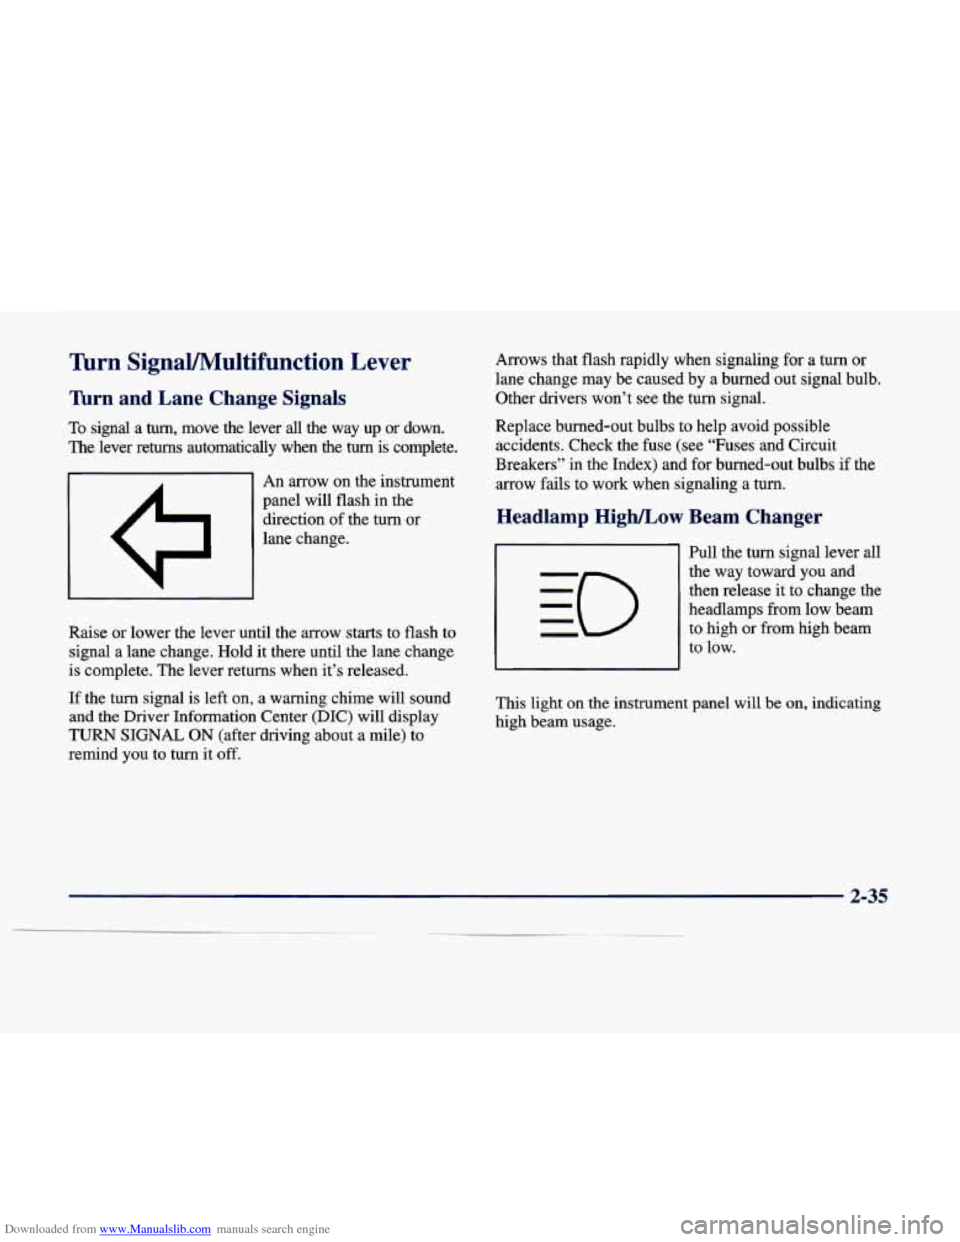
I A I An arrow on the instrument
panel will flash in the
direction of the turn or
lane change.
Raise or lower the lever until the arrow starts
to flash to
signal a lane change. Hold it there until the lane change
is complete. The lever returns when it’s released.
If the turn signal
is left on, a warning chime will sound
and the Driver Information Center (DIC) will display
TURN SIGNAL ON (after driving about a mile) to
remind you to turn it off. Arrows that
flash rapidly when signaling for a turn or
lane change may be caused by a burned out signal bulb.
Other drivers won’t see the turn signal.
Replace burned-out bulbs to help avoid possible accidents. Check the fuse (see “Fuses and Circuit
Breakers” in the Index) and for burned-out bulbs if the
arrow fails
to work when signaling a turn.
Headlamp High/Low Beam Changer
Pull the turn signal lever all
the way toward you and
then release it to change the
headlamps from low beam
to high or from high beam
to low.
This light on the instr..__lent panel will
be on, indicating
high beam usage.
Page 107 of 386
Downloaded from www.Manualslib.com manuals search engine Flash-To-Pass Windshield Wipers
This lets you use the high-beam headlamps to signal the
driver in front
of you that you want to pass.
Pull the turn signal lever toward you to use. When
you do:
If the headlamps are either off or in the DRL mode,
the high-beam headlamps will turn on. They'll stay
on as long as you hold the lever there. Release the
lever to turn them
off.
If the headlamps are on low beam, they will shift to
high beam and stay there. Pull the lever toward you
to return to low beam.
a If the headlamps are on high beam, they will switch
to low beam. To return to high beam, pull the lever
toward you.
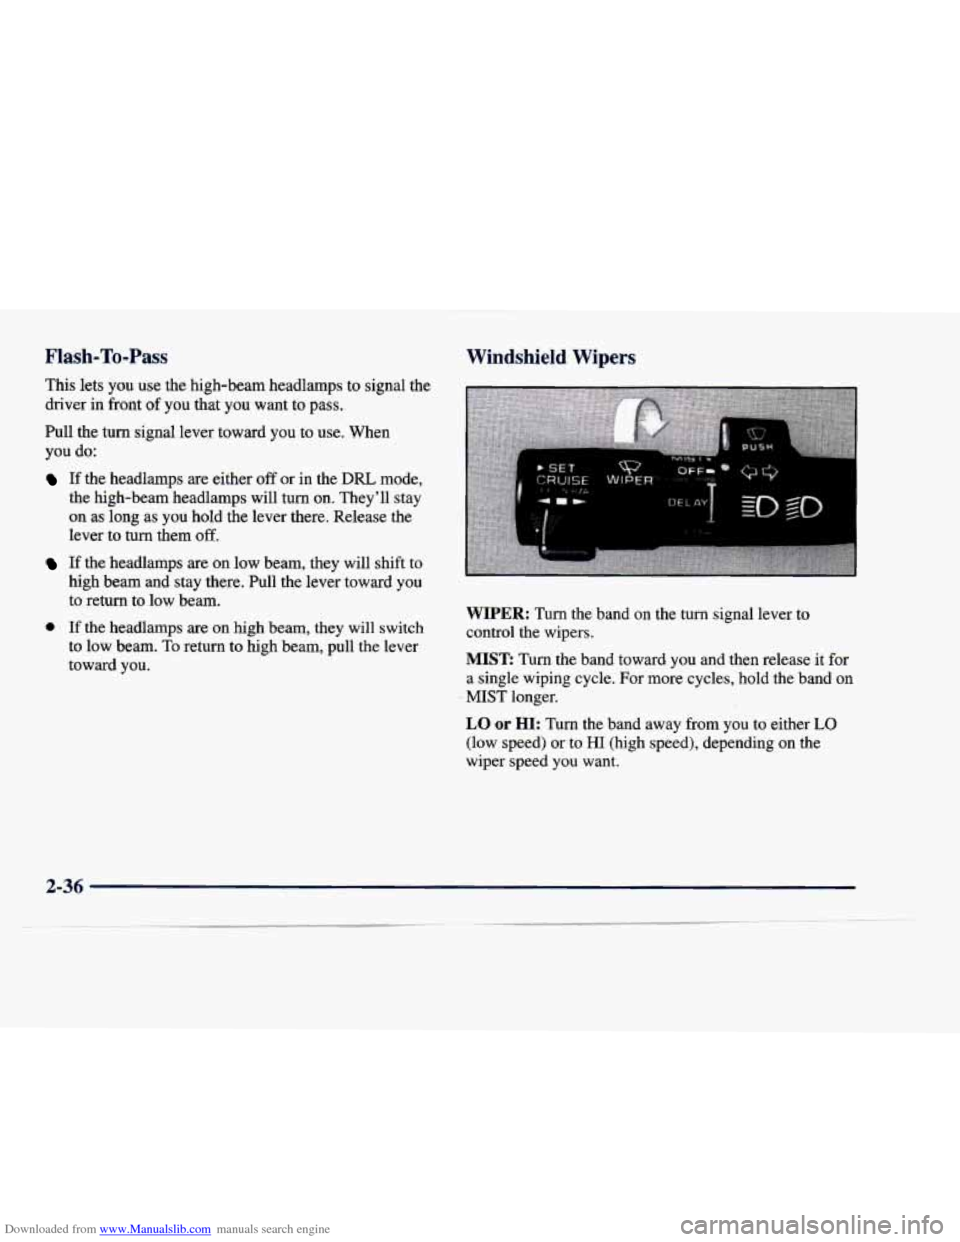
WIPER: Turn the band on the turn signal lever to
control
the wipers.
MIST: Turn the band toward you and then release it for
a single wiping cycle. For more cycles, hold the band
on
- MIST longer.
LO or HI: Turn the band away from you to either LO
(low speed) or to HI (high speed), depending on the
wiper speed you want.
Page 115 of 386
Downloaded from www.Manualslib.com manuals search engine Fog Lamps (DeVille Concours Only)
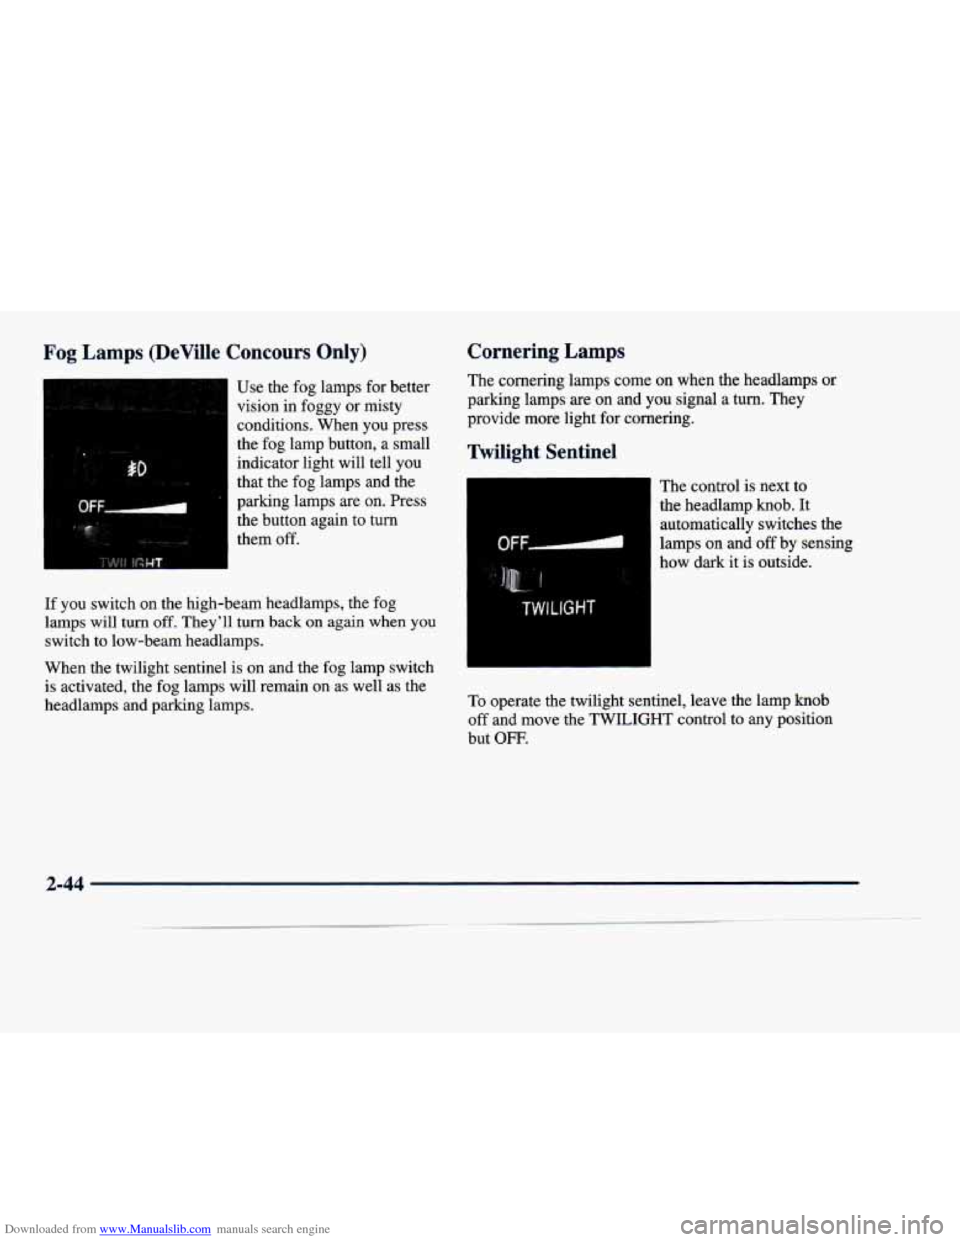
Use the fog lamps for better
vision in foggy or misty
conditions. When you press
the fog lamp button, a small
indicator light will tell you
that the fog lamps and the
parking lamps are on. Press
the button again to turn
them off.
If you switch
on the high-beam headlamps, the fog
lamps will
turn off. They'll turn back on again when you
switch to low-beam headlamps.
When the twilight sentinel is
on and the fog lamp switch
is activated, the fog lamps will remain on as well as the
headlamps and parking lamps.
Cornering Lamps
The cornering lamps come on when the headlamps or
parking lamps are on and you signal a turn. They
provide more light for cornering.
Twilight Sentinel
f
TWILIGHT
The control is next to
the headlamp knob. It
automatically switches the
lamps on and
off by sensing
how dark it
is outside.
To operate the twilight sentinel, leave the lamp knob
off and move the TWILIGHT control to any position
but
OFF.
2-44
Page 155 of 386
Downloaded from www.Manualslib.com manuals search engine serviced by a technician as soon as possible. If the brake
warning light is on, follow the directions in that part.
CHECK COOLANT LEVEL - 2: This message
will appear when there is a low level of engine coolant.
Have the cooling system serviced by a technician as
soon as possible.
CHECK FUEL GAUGE - 39: This message will
appear when the
fuel supply is less than 4 gallons
(15.2 L) and the display is turned off (digital clusters
only).
A single chime will also sound when this message
is displayed.
CHECK GAS CAP - 61: This message will appear if
the gas cap has not been fully tightened.
You should
recheck your gas cap to ensure that it’s fully tightened.
CHECK OIL LEVEL - 36: For correct operation of
the low oil sensing system, your vehicle should be on a
level surface. A false
CHECK OIL LEVEL message
may appear if the vehicle is parked on grades. The oil
level sensing system does not check for actual oil level
if the engine has been off for a short period of time, and
the oil level is never sensed while the engine is running.
If the
CHECK OIL LEVEL message appears, and your
vehicle has been parked on level ground with the engine
off for at least 30 minutes, the oil level should be
checked by observing the oil dipstick. Prior to checking
the oil level, be sure the engine has been
off for five minutes and your vehicle is on a level surface. Then
check the dipstick and add oil if necessary. See “Engine
Oil’’
in the Index.
CHECK WASHER FLUID - 25: This message will
appear for several seconds indicating that
you need
washer solvent.
CRUISE ENGAGED - 43: This message will
appear for a few seconds when you select a speed at
which to cruise.
DOOR A JAR - 141: A door other than the driver’s
door is open or ajar when this message appears. The
vehicle’s engine must be running and the transaxle not
in PARK (P) for this message to display. A chime will
also sound when the vehicle’s speed
is greater than
5 mph (8 km/h).
DRIVER DOOR A JAR - 140: This message will
display when the vehicle is being shifted out of
PARK (P) with the engine running to signal that the
driver’s door is open or ajar.
A chime will also sound
when the vehicle’s speed is greater than
5 mph (8 km/h).
ENGINE COOLANT HOT, IDLE ENGINE - 44:
This message will appear when the engine coolant
temperature is over
248 “F (1 26 O C). To avoid added
strain on a hot engine, turn off the climate control
system. Stop and allow your vehicle to idle until it cools
2-84
Page 160 of 386
Downloaded from www.Manualslib.com manuals search engine TRACTION ENGAGED - 91: When your traction
control system is limiting wheel spin, the TRACTION
ENGAGED message will be displayed. Slippery road conditions may exist if this message is displayed,
so
adjust your driving accordingly. This message will stay
on for a few seconds after the traction control system
stops limiting wheel spin.
TRACTION OFF - 89: This message will be displayed
after the traction control has been turned off.
TRACTION READY - 90: This message informs the
driver that the traction control system
is available. This
occurs when the traction
ordoff button in the glove box
has been returned to an on position (pressing the button
once turns the traction control system off pressing the
button again turns the system back on). This message
also self-cancels after five seconds.
TRACTION SUSPENDED - 56: This message
displays when the traction control system has been
temporarily shut
off because your vehicle’s brakes have
overheated. This message does not indicate a problem
with your vehicle’s traction control system. After a few
minutes, the traction control system will be available
again and the TRACTION READY message
will appear.
TRANS FLUID RESET - 48: With the engine not
running and the ignition on, press and hold the
OFF and
rear defog buttons until the TRANS FLUID RESET message appears on the Driver Information Center
(DIC) (between
five and 20 seconds).
TRANS HOT IDLE ENG - 112: This messages
indicates that the transaxle fluid in your vehicle is too
hot. Stop and allow your vehicle to idle until it cools
down or until this message is removed.
TRUNK OPEN - 24: This message indicates that the
trunk is open when your vehicle’s ignition is in
RUN.
TURN SIGNAL ON - 20: This message is a reminder,
after driving about
1 mile (1.6 km/h), that you have the
turn signal on. A multiple chime will also sound when
this message is displayed.
VEHICLE OVERSPEED - 52: A failure in the
suspension control system has occurred when this
message appears. The PCM determines the speed your
vehicle is limited to. Have your vehicle serviced if this
message appears.
VEHICLE SPEED LIMITED TO XXX MPH
(KM/H) - 113: A failure in the suspension control
system has occurred when this message appears. The
PCM determines the speed your vehicle is limited to.
Have your vehicle serviced if this message appears.
Page 189 of 386

Downloaded from www.Manualslib.com manuals search engine RW Press and hold the left arrow to reverse the
compact disc. Release it to return to playing speed.
FF: Press and hold the right arrow to fast forward to
another part of the compact disc. Release it to return to
playing speed.
TUNE-SEEK: When this button is pressed, it has
two positions. This button works the same, whether
it is pressed to the first or second position. Press this
button to
seek to the next or previous selection on the
compact disc.
SCAN: Press this button to listen to selections for a few
seconds. The compact disc will go to a selection, stop
for a
few seconds, then go on to the next selection. Press
this button again to stop scanning.
RDM: Press this button to hear the tracks in random,
rather than sequential, order. Press
RDM again to turn
off random play.
EJECT: Press the upward triangle button to remove a
compact disc. The radio will play. Eject
may be activated with the radio
off and/or the vehicle
ignition
off.
AM-FM Stereo with Cassette Tape and
Compact
Disc Player with Radio Data
Systems
(RDS) and Digital Signal
Processing
(DSP) (If Equipped)
Playing the Radio
PWRNOL:
Press this knob lightly to turn the system
on. Press the knob again to
turn the system off. To
increase volume, turn the
knob to the right. Turn it to the
left to decrease volume.
3-22
Page 194 of 386
Downloaded from www.Manualslib.com manuals search engine current displayed station time, press and hold HR or MN
until TIME UPDATED is displayed. There is a two
second delay before the time is updated.
RDS mode
does not have to be on to use this function, but you must
be tuned to an
FM RDS station.
ALERT: This type of announcement warns of national
or local emergencies. You will not be able to turn off
alert announcements. Alert announcements will come on
even if
RDS mode is turned off. ALERT appears on the
display when an alert announcement plays. The radio
uses TA volume during these announcements. To
increase volume, turn the
PWRNOL knob to the right.
Turn it to the left to decrease volume. TA VOLUME
will appear on the display while the volume is being
adjusted. When an alert announcehent comes on the
tuned radio station or a related network station, you will
hear it, even if the volume is muted or a cassette tape or
compact disc is playing. If the radio tunes to a related
network station
for an alert announcement, it will return
to the original station when the announcement is
finished. If the cassette tape or compact disc player, play
will stop for the announcement and resume when the
announcement is finished.
Setting the Tone
TONE: Press and release this button until the desired
tone control (BASS or TREBLE) is found.
LEVEL: After selecting the desired tone control, press
the plus
(+) or minus (-) symbol on this button to select
the desired level.
DSP: The Digital Signal Processing (DSP) feature is
used to provide a choice of four different listening
experiences: TALK, DRIVER SEAT, LIVE and
AUDITORIUM. DSP can be used while listening to the
radio, the cassette tape player or the CD player. Press
this button to turn DSP on. Press and release this button
until you reach the desired selection.
To turn DSP off,
press and hold this button until DSP
OFF appears on
the display.
0 TALK: This setting is used when listening to
non-musical material such as news, talk shows, sports broadcasts and books on tape. TALK
makes
spoken words sound very clear.
0 DlUVER SEAT: This setting adjusts the audio to
give the driver the best possible sound qualities.
DRIVER SEAT can be used at any time for any
material. Rear seat passengers
in the vehicle may not
get the same effect.
LIVE: This setting is used to enhance the stereo effect.
3-27
Page 207 of 386

Downloaded from www.Manualslib.com manuals search engine When using a scrubbing action, non-abrasive cleaning
cassette, it is normal for the cassette to eject because
your unit is equipped with a cut tape detection feature
and
a cleaning cassette may appear as a broken tape. To
prevent the cleaning cassette from being ejected, use the following steps.
Turn the ignition to RUN or ACCESSORY
Turn the radio off.
Press and hold the SOURCE button for two seconds.
The tape symbol on the display will flash three
times.
Turn the radio on and insert the scrubbing action
cleaning cassette.
Eject the cleaning cassette after the manufacturer’s
recommended cleaning time.
When the cleaning cassette has been ejected, the cut tape
detection feature is active again.
You may also choose a non-scrubbing action, wet-type
cleaner which uses a cassette with a fabric belt to clean
the tape head.
This type of cleaning cassette will not
eject on its own.
A non-scrubbing action cleaner may
not clean as thoroughly as the scrubbing type cleaner.
The use
of a non-scrubbing action, dry-type cleaning
cassette is not recommended.
If your vehicle is equipped with the AM-FM Stereo with
Cassette Tape Player, press and hold EJECT for five
seconds
to reset the CLN indicator after you clean the
player. The radio will display
--- to show the indicator
was reset.
If your vehicle is equipped with any other radio, press
and hold EJECT for three seconds to reset the CLEAN
TAPE indicator after you clean the player. The radio will
display CLEAN TAPE
MSG CLEARED to show the
indicator was reset.
Cassettes are subject to wear and the sound quality
may degrade over time. Always make sure the cassette
tape is
in good condition before you have your tape
player serviced.
Care of Your Compact Discs
Handle discs carefully. Store them in their original cases
or other protective cases and away from direct sunlight
and dust. If the surface of a disc is soiled, dampen a
clean, soft cloth in a mild, neutral detergent solution and
clean
it, wiping from the center to the edge.
Be sure never to touch the signal surface when handling discs. Pick up discs by grasping the outer edges or the
edge
of the hole and the outer edge.
3-40
Page 225 of 386
Downloaded from www.Manualslib.com manuals search engine Check your mirrors, glance over your shoulder, and start your left lane change signal before moving out
of the right
lane to pass. When you are far enough
ahead of the passed vehicle to see its front in your
inside mirror, activate your right lane change signal and move back into the right lane. (Remember that
your right outside mirror is convex. The vehicle you
just passed may seem to be farther away from you
than it really is.)
Try not to pass more than one vehicle at a time
on two-lane roads. Reconsider before passing the
next vehicle.
Don’t overtake a slowly moving vehicle too rapidly.
Even though the brake lamps are not flashing, it may
be slowing down or starting to turn.
following driver to get ahead of you. Perhaps you
can ease a little to the right.
If you’re being passed, make it easy for the
Loss of Control
Let’s review what driving experts say about what
happens when the three control systems (brakes, steering
and acceleration) don’t have enough friction where
the
tires meet the road to do what the driver has asked.
In any emergency, don’t give up. Keep trying to steer and
constantly seek an escape route or area of less danger.
Skidding
In a skid, a driver can lose control of the vehicle. Defensive
drivers avoid most
skids by taking reasonable care suited to
existing conditions, and by not “overdriving” those
conditions. But
skids are always possible.
The three types of skids correspond to your vehicle’s
three control systems. In the braking skid, your wheels aren’t rolling. In the steering or cornering skid, too
much speed or steering in a curve causes tires to slip and
lose cornering force. And in the acceleration skid, too
much throttle causes the driving wheels to spin.
A cornering skid is best handled by easing your foot off
the accelerator pedal.
Remember: Any traction control system helps avoid
only the acceleration skid.
If your traction control system is
off, then an
acceleration skid is
also best handled by easing your
foot
off the accelerator pedal.
4-14