warning CADILLAC DEVILLE 2003 8.G Owners Manual
[x] Cancel search | Manufacturer: CADILLAC, Model Year: 2003, Model line: DEVILLE, Model: CADILLAC DEVILLE 2003 8.GPages: 423, PDF Size: 2.91 MB
Page 1 of 423

Seats and Restraint Systems........................... 1-1
Front Seats
............................................... 1-2
Rear Seats
............................................... 1-8
Safety Belts
.............................................. 1-9
Child Restraints
.......................................1-29
Air Bag Systems
......................................1-49
Restraint System Check
............................1-60
Features and Controls..................................... 2-1
Keys
........................................................ 2-3
Doors and Locks
....................................... 2-8
Windows
.................................................2-15
Theft-Deterrent Systems
............................2-19
Starting and Operating Your Vehicle
...........2-23
Mirrors
....................................................2-40
OnStar
žSystem
......................................2-45
HomeLinkžTransmitter
.............................2-47
Storage Areas
.........................................2-51
Sunroof
..................................................2-54
Vehicle Personalization
.............................2-55
Instrument Panel............................................. 3-1
Instrument Panel Overview
.......................... 3-4
Climate Controls
......................................3-29
Warning Lights, Gages and Indicators
.........3-40
Driver Information Center (DIC)
..................3-57
Trip Computer
.........................................3-79Audio System(s)
.......................................3-80
Driving Your Vehicle....................................... 4-1
Your Driving, the Road, and Your Vehicle
..... 4-2
Towing
...................................................4-31
Service and Appearance Care.......................... 5-1
Service
..................................................... 5-3
Fuel
......................................................... 5-4
Checking Things Under
the Hood
.............................................5-10
Headlamp Aiming
.....................................5-49
Bulb Replacement
....................................5-53
Windshield Wiper Blade Replacement
.........5-59
Tires
......................................................5-60
Appearance Care
.....................................5-84
Vehicle Identi®cation
.................................5-92
Electrical System
......................................5-93
Capacities and Speci®cations
...................5-101
Normal Maintenance Replacement Parts
....5-103
Maintenance Schedule..................................... 6-1
Maintenance Schedule
................................ 6-2
Customer Assistance Information.................... 7-1
Customer Assistance Information
.................. 7-2
Reporting Safety Defects
...........................7-10
Index................................................................ 1
2003 Cadillac DeVille Owner ManualM
Page 3 of 423

Safety Warnings and Symbols
You will ®nd a number of safety cautions in this book.
We use a box and the word CAUTION to tell you about
things that could hurt you if you were to ignore the
warning.
{CAUTION:
These mean there is something that could hurt
you or other people.
In the caution area, we tell you what the hazard is.
Then we tell you what to do to help avoid or reduce the
hazard. Please read these cautions. If you don't, you
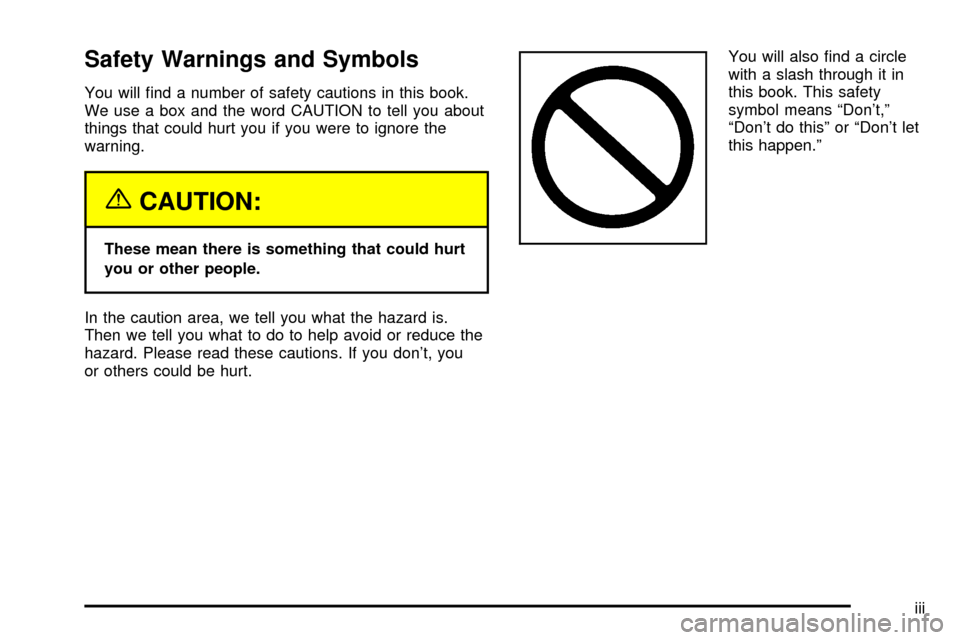
or others could be hurt.You will also ®nd a circle
with a slash through it in
this book. This safety
symbol means ªDon't,º
ªDon't do thisº or ªDon't let
this happen.º
iii
Page 4 of 423

Vehicle Damage Warnings
Also, in this book you will ®nd these notices:
Notice:These mean there is something that could
damage your vehicle.
A notice will tell you about something that can damage
your vehicle. Many times, this damage would not be
covered by your warranty, and it could be costly. But the
notice will tell you what to do to help avoid the damage.
When you read other manuals, you might see CAUTION
and NOTICE warnings in different colors or in different
words.
You'll also see warning labels on your vehicle. They use
the same words, CAUTION or NOTICE.
Vehicle Symbols
Your vehicle has components and labels that use
symbols instead of text. Symbols, used on your vehicle,
are shown along with the text describing the operation
or information relating to a speci®c component, control,
message, gage or indicator.
If you need help ®guring out a speci®c name of a
component, gage or indicator, reference the following
topics:
·Seats and Restraint Systems in Section 1
·Features and Controls in Section 2
·Instrument Panel Overview in Section 3
·Climate Controls in Section 3
·Warning Lights, Gages and Indicators in Section 3
·Audio System(s) in Section 3
·Engine Compartment Overview in Section 5
iv
Page 101 of 423

If the ignition is on, the brake system warning and
parking brake indicator light on the instrument panel
cluster should come on. If it doesn't, you need to have
your vehicle serviced.
When you move out of PARK (P) or NEUTRAL (N) and
the engine is running, the parking brake should
release. If the parking brake has not been fully released
and you try to drive off with the parking brake on, the
brake system warning and parking brake indicator
light will come on and stay on and a multiple chime will
sound. See
Brake System Warning and Parking
Brake Indicator Light on page 3-47for more information.If the parking brake doesn't fully release, you can
manually release the pedal. However, be sure to read
the following paragraphs:
{CAUTION:
Always shift to PARK (P) before pulling the
manual release lever. If your hand or arm is in
the way of the pedal you could be hurt. The
pedal springs back quickly. Keep your hand
and arm away when you use the manual
release lever.
2-33
Page 125 of 423

Instrument Panel Overview...............................3-4
Hazard Warning Flashers................................3-6
Other Warning Devices...................................3-7
Horn.............................................................3-7
Tilt Wheel.....................................................3-7
Turn Signal/Multifunction Lever.........................3-8
Exterior Lamps.............................................3-15
Interior Lamps..............................................3-19
Night Vision System......................................3-22
Ultrasonic Rear Parking Assist (URPA)............3-25
Accessory Power Outlets...............................3-27
Ashtrays and Cigarette Lighter........................3-28
Climate Controls............................................3-29
Dual Climate Control System..........................3-29
Outlet Adjustment.........................................3-33
Rear Climate Control System.........................3-34
Passenger Compartment Air Filter...................3-36
Steering Wheel Climate Controls.....................3-38
Climate Controls Personalization.....................3-39
Warning Lights, Gages and Indicators.............3-40
Instrument Panel Cluster................................3-40
Speedometer and Odometer...........................3-43
Trip Odometer..............................................3-43
Tachometer (Analog Cluster Only)...................3-44Safety Belt Reminder Light.............................3-45
Air Bag Readiness Light................................3-45
Charging System Light..................................3-46
Brake System Warning and Parking Brake
Indicator Light...........................................3-47
Anti-Lock Brake System Warning Light.............3-48
Traction Control System (TCS) Warning Light . . .3-48
Engine Coolant Temperature Warning Light......3-49
Engine Coolant Temperature Gage..................3-50
Malfunction Indicator Lamp.............................3-50
Oil Pressure Light.........................................3-53
Security Light...............................................3-54
Fog Lamp Light............................................3-54
Lights On Reminder......................................3-54
Cruise Control Light......................................3-55
Fuel Gage...................................................3-55
Fuel Data Display
(Digital Cluster Only)..................................3-56
Driver Information Center (DIC).......................3-57
DIC Controls and Displays.............................3-57
DIC Warnings and Messages.........................3-60
Climate Controls and Radio System
Personalization..........................................3-67
DIC Vehicle Personalization............................3-67
Section 3 Instrument Panel
3-1
Page 129 of 423

Hazard Warning Flashers
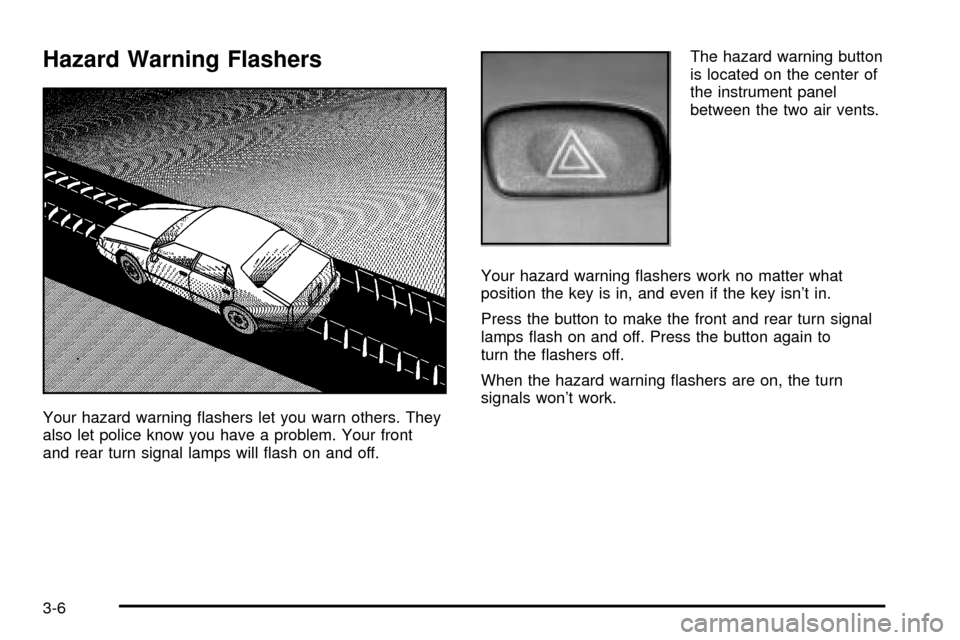
Your hazard warning ¯ashers let you warn others. They
also let police know you have a problem. Your front
and rear turn signal lamps will ¯ash on and off.The hazard warning button
is located on the center of
the instrument panel
between the two air vents.
Your hazard warning ¯ashers work no matter what
position the key is in, and even if the key isn't in.
Press the button to make the front and rear turn signal
lamps ¯ash on and off. Press the button again to
turn the ¯ashers off.
When the hazard warning ¯ashers are on, the turn
signals won't work.
3-6
Page 130 of 423

Other Warning Devices
If you carry re¯ective triangles, you can set one up at
the side of the road about 300 feet (100 m) behind your
vehicle.
Horn
The horn can be sounded by pressing on the center of
the steering wheel pad.
Tilt Wheel
A tilt wheel allows you to adjust the steering wheel
before you drive. You can raise the steering wheel to
the highest level to give your legs more room when you
enter and exit the vehicle.
The lever that allows you to tilt the steering wheel is
located on the left side of the steering column.
To tilt the wheel, hold the
wheel and pull the lever.
Then move the wheel
to a comfortable position
and release the lever
to lock the wheel in place.
3-7
Page 132 of 423

Turn and Lane-Change Signals
To signal a turn, move the lever all the way up or down.
The lever returns automatically when the turn is
complete.
An arrow on the instrument
panel cluster and in the
outside rearview mirror will
¯ash in the direction of
the turn or lane change.
Raise or lower the lever until the arrow starts to ¯ash to
signal a lane change. Hold it there until the lane change is
complete. The lever returns when it's released.
If the turn signal is left on, a warning chime will sound and
the Driver Information Center (DIC) will display TURN
SIGNAL ON after driving about a mile to remind you to
turn it off.
Arrows that ¯ash rapidly when signaling for a turn or lane
change may be caused by a burned out signal bulb.
Other drivers won't see the turn signal.
Replace burned-out bulbs to help avoid possible
accidents. Check the fuse and for burned-out bulbs if the
arrow fails to work when signaling a turn. See
Fuses and
Circuit Breakers on page 5-94.
Headlamp High/Low-Beam Changer
Push forward to change the headlamps from low beam
to high. Pull the lever back and then release it to
change from high beam to low.
This light on the instrument
panel cluster will be on,
indicating high-beam
usage.
Flash-To-Pass
This feature lets you use the high-beam headlamps to
signal the driver in front of you that you want to pass.
Pull and hold the turn signal lever toward you
to use. When you do, the following will occur:
·If the headlamps are either off or in the Daytime
Running Lamps (DRL) mode, the high-beam
headlamps will turn on. They'll stay on as long as
you hold the lever there. Release the lever to
turn them off.
·If the headlamps are on high beam, they will switch
to low beam. To return to high beam, push the
lever away from you.
3-9
Page 139 of 423

Lamps on Reminder
A warning chime will sound if the exterior lamp control
is left on in either the headlamp or parking lamp position
and the driver's door is opened with the ignition off.
Daytime Running Lamps
Daytime Running Lamps (DRL) can make it easier for
others to see the front of your vehicle during the day. DRL
can be helpful in many different driving conditions, but
they can be especially helpful in the short periods after
dawn and before sunset. Fully functional daytime running
lamps are required on all vehicles ®rst sold in Canada.
The DRL system will make the low-beam headlamps
come on at reduced intensity when the following
conditions are met:
·It is still daylight and the ignition is on,
·the exterior lamp control is in the off position and
·the transaxle is not in PARK (P).
When DRL are on, only your high-beam headlamps at
reduced brightness will be on. No other exterior lamps
such as the parking lamps, taillamps, etc. will be on when
the DRL are being used. Your instrument panel won't be
lit up either.
When the Twilight Sentinel
žlever is on and it's dark
enough outside, the high-beam headlamps at reduced
intensity will turn off and normal low-beam headlamp
operation will occur.When the Twilight Sentinel
žlever is on and it's bright
enough outside, the regular lamps will go off, and
the high-beam headlamps at reduced brightness will
take over. If you start your vehicle in a dark garage, the
automatic headlamp system will come on immediately.
Once you leave the garage, it will take approximately
one minute for the automatic headlamp system to
change to DRL if it is light outside. During that delay,
your instrument panel cluster may not be as bright
as usual. Make sure your instrument panel brightness
knob is in the full bright position. See ªInstrument Panel
Brightnessº under
Interior Lamps on page 3-19.
If it's dark enough outside and the Twilight
Sentinel
žlever is off, a HEADLAMPS SUGGESTED
message will display on the Driver's Information Center
(DIC). This message informs the driver that turning
on the exterior lamps is recommended even though the
DRL are still illuminated.
Turning on the Twilight Sentinel
žor the headlamps will
deactivate the DRL and remove the HEADLAMPS
SUGGESTED message. If the parking lamps or the fog
lamps were turned on instead, the DRL will still deactivate
and the HEADLAMPS SUGGESTED message will
continue to be displayed.
To idle your vehicle with the DRL off at night, turn off the
Twilight Sentinel
žand shift the transaxle into PARK (P).
Placing your vehicle in PARK (P) disables the DRL.
The DRL will stay off until you shift out of PARK (P).
3-16
Page 144 of 423

Reading Lamps
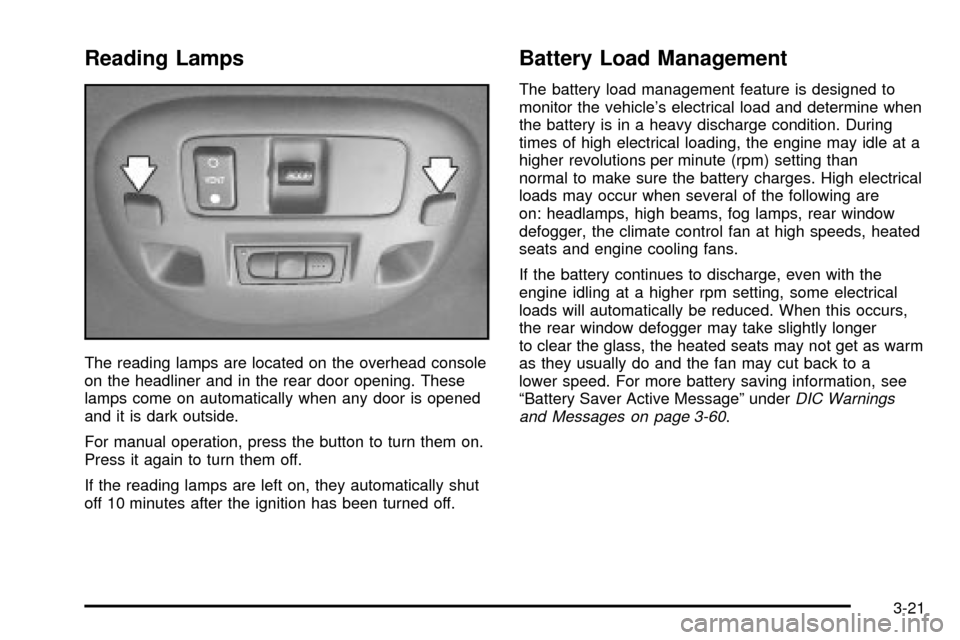
The reading lamps are located on the overhead console
on the headliner and in the rear door opening. These
lamps come on automatically when any door is opened
and it is dark outside.
For manual operation, press the button to turn them on.
Press it again to turn them off.
If the reading lamps are left on, they automatically shut
off 10 minutes after the ignition has been turned off.
Battery Load Management
The battery load management feature is designed to
monitor the vehicle's electrical load and determine when
the battery is in a heavy discharge condition. During
times of high electrical loading, the engine may idle at a
higher revolutions per minute (rpm) setting than
normal to make sure the battery charges. High electrical
loads may occur when several of the following are
on: headlamps, high beams, fog lamps, rear window
defogger, the climate control fan at high speeds, heated
seats and engine cooling fans.
If the battery continues to discharge, even with the
engine idling at a higher rpm setting, some electrical
loads will automatically be reduced. When this occurs,
the rear window defogger may take slightly longer
to clear the glass, the heated seats may not get as warm
as they usually do and the fan may cut back to a
lower speed. For more battery saving information, see
ªBattery Saver Active Messageº under
DIC Warnings
and Messages on page 3-60.
3-21