mirror CADILLAC DEVILLE 2004 8.G User Guide
[x] Cancel search | Manufacturer: CADILLAC, Model Year: 2004, Model line: DEVILLE, Model: CADILLAC DEVILLE 2004 8.GPages: 460, PDF Size: 2.88 MB
Page 123 of 460
Vehicle Personalization
Memory Seat, Mirrors and Steering
Wheel
Your vehicle may be equipped with the memory
package.
Four-Button Control
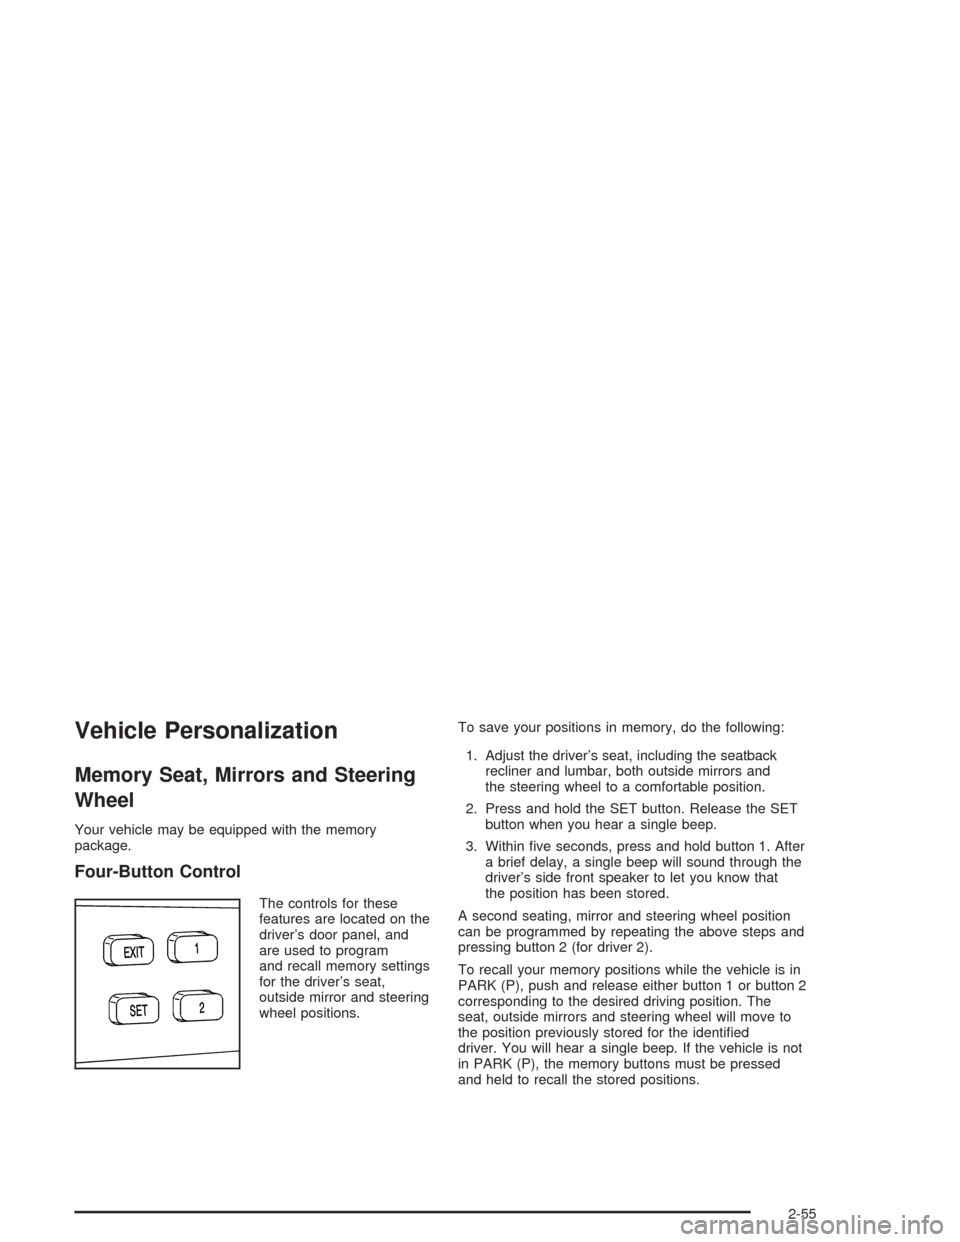
The controls for these
features are located on the
driver’s door panel, and
are used to program
and recall memory settings
for the driver’s seat,
outside mirror and steering
wheel positions.To save your positions in memory, do the following:
1. Adjust the driver’s seat, including the seatback
recliner and lumbar, both outside mirrors and
the steering wheel to a comfortable position.
2. Press and hold the SET button. Release the SET
button when you hear a single beep.
3. Within �ve seconds, press and hold button 1. After
a brief delay, a single beep will sound through the
driver’s side front speaker to let you know that
the position has been stored.
A second seating, mirror and steering wheel position
can be programmed by repeating the above steps and
pressing button 2 (for driver 2).
To recall your memory positions while the vehicle is in
PARK (P), push and release either button 1 or button 2
corresponding to the desired driving position. The
seat, outside mirrors and steering wheel will move to
the position previously stored for the identi�ed
driver. You will hear a single beep. If the vehicle is not
in PARK (P), the memory buttons must be pressed
and held to recall the stored positions.
2-55
Page 124 of 460
If you use the remote keyless entry transmitter to enter
your vehicle and the remote recall memory feature
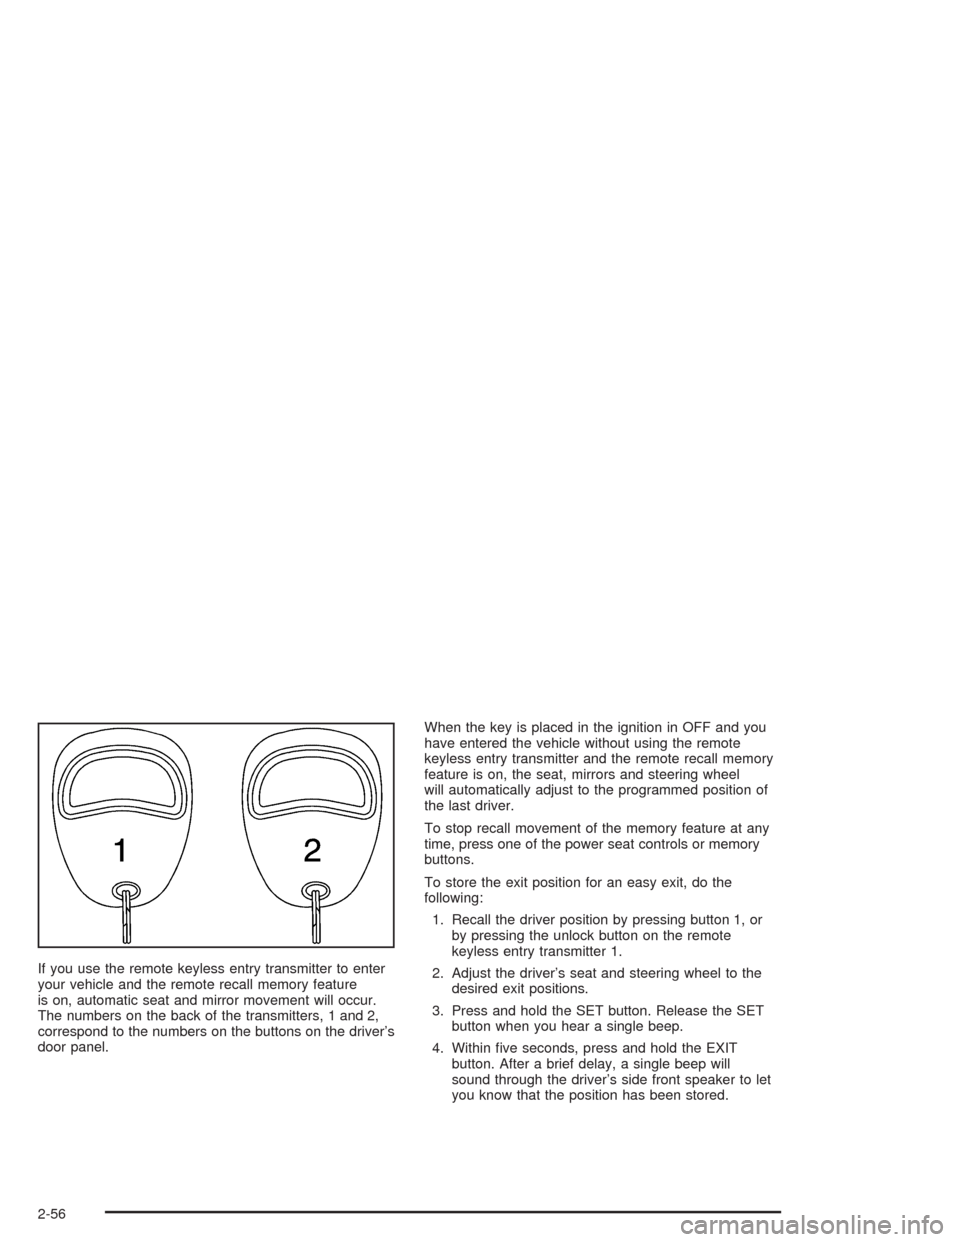
is on, automatic seat and mirror movement will occur.
The numbers on the back of the transmitters, 1 and 2,
correspond to the numbers on the buttons on the driver’s
door panel.When the key is placed in the ignition in OFF and you
have entered the vehicle without using the remote
keyless entry transmitter and the remote recall memory
feature is on, the seat, mirrors and steering wheel
will automatically adjust to the programmed position of
the last driver.
To stop recall movement of the memory feature at any
time, press one of the power seat controls or memory
buttons.
To store the exit position for an easy exit, do the
following:
1. Recall the driver position by pressing button 1, or
by pressing the unlock button on the remote
keyless entry transmitter 1.
2. Adjust the driver’s seat and steering wheel to the
desired exit positions.
3. Press and hold the SET button. Release the SET
button when you hear a single beep.
4. Within �ve seconds, press and hold the EXIT
button. After a brief delay, a single beep will
sound through the driver’s side front speaker to let
you know that the position has been stored.
2-56
Page 125 of 460

An exit position for driver position 2 can be programmed
by repeating the above steps, pressing button 2 (for
driver 2) and using remote keyless entry transmitter
number 2.
With the vehicle in PARK (P), the exit position for the
previously set driver can be recalled by pressing
the EXIT button. The mirrors and power lumbar positions
will not be stored or recalled.
Further programming for automatic seat and steering
wheel movement can be done using the Driver
Information Center (DIC). You can select or not select
the following:
Automatic seat and steering wheel movement when
the vehicle is unlocked with the remote keyless
entry transmitter, or
automatic seat and steering wheel movement when
a key is placed in the ignition.
For programming information, seeDIC Vehicle
Personalization on page 3-74.
Three-Button Control
The controls for these
features are located on the
driver’s door panel, and
are used to program
and recall memory settings
for the driver’s seat,
outside mirror and steering
wheel positions.
2-57
Page 126 of 460
To save your positions in memory, do the following:
1. Adjust the driver’s seat, including the seatback
recliner and lumbar, both outside mirrors and
the steering wheel to a comfortable position.
2. Press and hold button 1. After a brief delay, two
beeps will sound through the driver’s side front
speaker to let you know that the position has been
stored.
A second seating, mirror and steering wheel position
can be programmed by repeating the above steps and
pressing button 2 (for driver 2).
To recall your memory positions while the vehicle is in
PARK (P), push and release either button 1 or button 2
corresponding to the desired driving position. The
seat, outside mirrors and steering wheel will move to
the position previously stored for the identi�ed
driver. You will hear a single beep. If the vehicle is not
in PARK (P), the memory buttons must be pressed
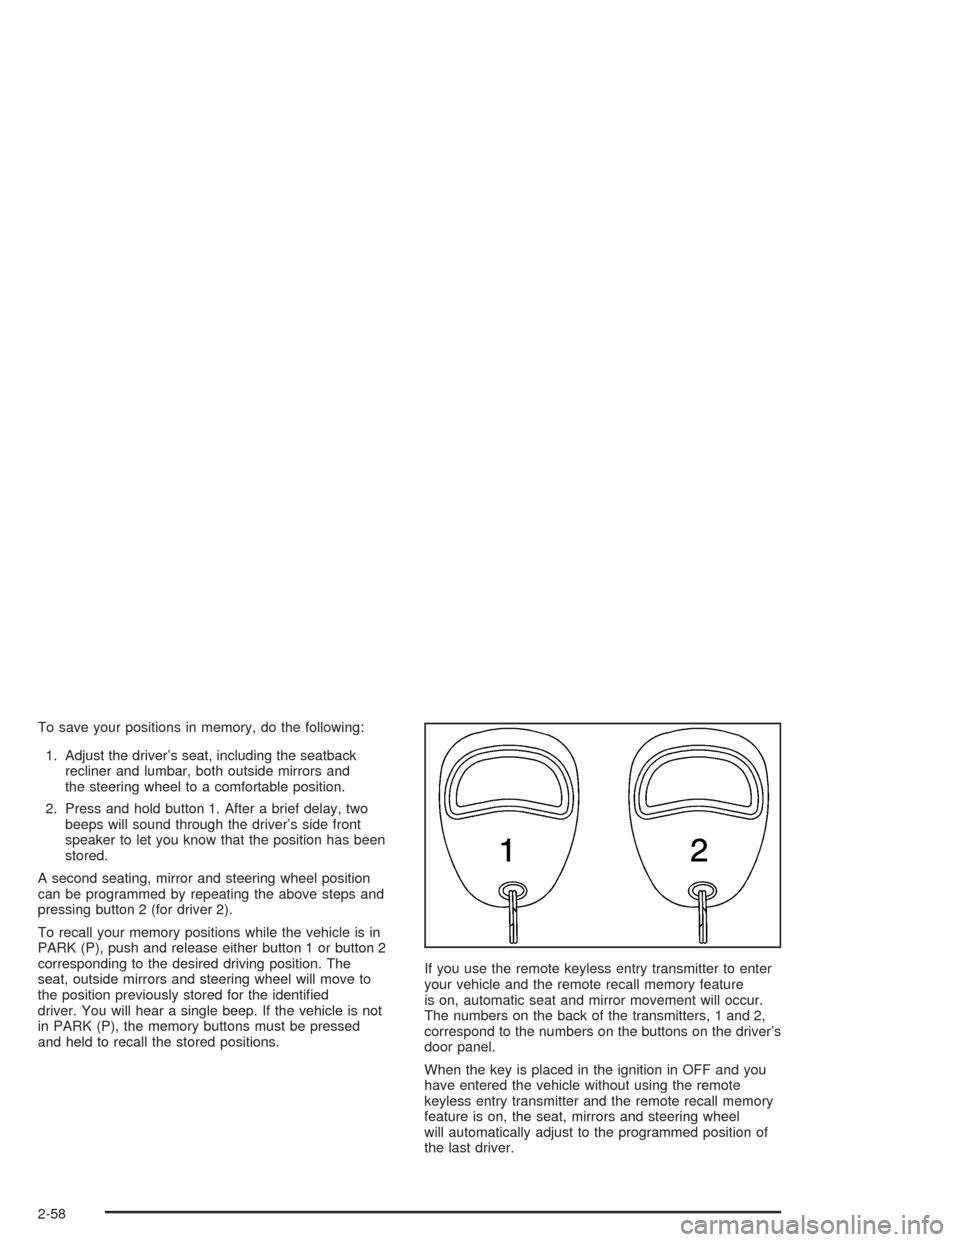
and held to recall the stored positions.If you use the remote keyless entry transmitter to enter
your vehicle and the remote recall memory feature
is on, automatic seat and mirror movement will occur.
The numbers on the back of the transmitters, 1 and 2,
correspond to the numbers on the buttons on the driver’s
door panel.
When the key is placed in the ignition in OFF and you
have entered the vehicle without using the remote
keyless entry transmitter and the remote recall memory
feature is on, the seat, mirrors and steering wheel
will automatically adjust to the programmed position of
the last driver.
2-58
Page 127 of 460

To stop recall movement of the memory feature at any
time, press one of the power seat controls or memory
buttons.
To store the exit position for an easy exit, do the
following:
1. Recall the driver position by pressing button 1, or
by pressing the unlock button on the remote
keyless entry transmitter 1.
2. Adjust the driver’s seat and steering wheel to the
desired exit positions.
3. Press and hold the EXIT button. After a brief delay,
two beeps will sound through the driver’s side front
speaker to let you know that the position has
been stored.
An exit position for driver position 2 can be programmed
by repeating the above steps, pressing button 2 (for
driver 2) and using remote keyless entry transmitter
number 2.With the vehicle in PARK (P), the exit position for the
previously set driver can be recalled by pressing the EXIT
button. You will hear a single beep. The mirrors and
power lumbar positions will not be stored or recalled.
Further programming for automatic seat and steering
wheel movement can be done using the Driver
Information Center (DIC). You can select or not select
the following:
Automatic seat and steering wheel movement when
the vehicle is unlocked with the remote keyless
entry transmitter, or
automatic seat and steering wheel movement when
a key is placed in the ignition.
For programming information, seeDIC Vehicle
Personalization on page 3-74.
2-59
Page 136 of 460

Power Tilt Wheel and Telescopic
Steering Column
If your vehicle has this
feature, the power tilt
wheel control is located on
the outboard side of the
steering column.
To operate the power tilt feature, push the control up
and the steering wheel will tilt up. Push the control down
and the steering wheel will go down.
If the power tilt control is pressed up or down and held
in that position, there will be a slight movement and
a slight pause followed by a continuous movement in the
direction the control is being pressed. This allows
very �ne control of the steering wheel position. If the
control is bumped, the steering wheel moves
approximately one degree in the direction commanded.Push the control forward and the steering wheel moves
toward the front of the vehicle. Push the control
rearward and the steering wheel moves toward the rear
of the vehicle. To set the memory position, seeDIC
Vehicle Personalization on page 3-74andMemory Seat,
Mirrors and Steering Wheel on page 2-55.
Heated Steering Wheel
Your vehicle may have a heated steering wheel.
The button for this feature
is located on the steering
wheel.
Press the button to turn the heated steering wheel on or
off. A light on the button will display while the feature
is on.
The steering wheel will take about three minutes to
reach it’s maximum temperature.
3-8
Page 137 of 460

Turn Signal/Multifunction Lever
The lever on the left side of the steering column
includes the following:
Turn and Lane-Change Signals
Headlamp High/Low-Beam Changer
Flash-To-Pass Feature
Windshield Wipers
Windshield Washer
For more information on the exterior lamps, seeExterior
Lamps on page 3-17.
Turn and Lane-Change Signals
To signal a turn, move the lever all the way up or down.
The lever returns automatically when the turn is
complete.
An arrow on the instrument
panel cluster and in the
outside rearview mirror will
�ash in the direction of
the turn or lane change.
Raise or lower the lever until the arrow starts to �ash to
signal a lane change. Hold it there until the lane
change is complete. The lever returns when it is
released.
If the turn signal is left on, a warning chime will sound
and the Driver Information Center (DIC) will display
TURN SIGNAL ON after driving about a mile to remind
you to turn it off.
3-9
Page 140 of 460
Rainsense™ II Wipers
If your vehicle has this feature, the moisture sensor is
mounted on the interior side of the windshield behind the
rearview mirror. It is used to automatically operate the
wipers by monitoring the amount of moisture build-up on
the windshield. Wipes occur as needed to clear the
windshield depending on driving conditions and
the sensitivity setting. In light rain or snow, fewer wipes
will occur. In heavy rain or snow, wipes will occur
more frequently. The Rainsense™ wipers operate in a
delay mode as well as a continuous low or high
speed as needed. If the system is left on for long periods
of time, occasional wipes may occur without any
moisture on the windshield. This is normal and indicates
that the Rainsense™ system is activated.
The Rainsense™ system can be activated by turning
the wiper band to one of the �ve sensitivity levels
indicated on the wiper stalk. The position closest to OFF
is the lowest sensitivity setting, level one. This allows
more rain or snow to collect on the windshield between
wipes. Turning the wiper band away from you to
higher sensitivity levels increases the sensitivity of the
system and frequency of wipes. The highest sensitivity
setting, level �ve is closest to LO. A single wipe will
occur each time you turn the wiper stalk to a higher
sensitivity level to indicate that the sensitivity level has
been increased.Notice:Going through an automatic car wash with
the wipers on can damage them. Turn the wipers
off when going through an automatic car wash.
The MIST and wash cycles operate as normal and are
not affected by the Rainsense™ function. The
Rainsense™ system can be overridden at any time by
manually turning the wiper band to LO or HI speed.
When Rainsense™ is active, the headlamps will turn on
automatically. The headlamps will turn off again once
the wipers turn off if it is light enough outside. If it
is dark, they will remain on. See “ Wiper-Activated
Headlamps” underExterior Lamps on page 3-17
for more information.
Notice:Do not place stickers or other items on the
exterior glass surface directly in front of the
moisture sensor. Doing this could cause the
moisture sensor to malfunction.
3-12
Page 153 of 460
Inadvertent Power Battery Saver
This feature is designed to protect your vehicle’s battery
against drainage from the interior lamps, trunk lamp,
glove box lamp, cigarette lighters or the garage
door opener. When the ignition is turned off, the power
to these features will automatically turn off after
10 minutes (three minutes if a new car has 15 miles
(24 km) or less). Power will be restored for an additional
10 minutes if any door is opened, the trunk is opened
or the courtesy lamp switch is turned on.
Night Vision System
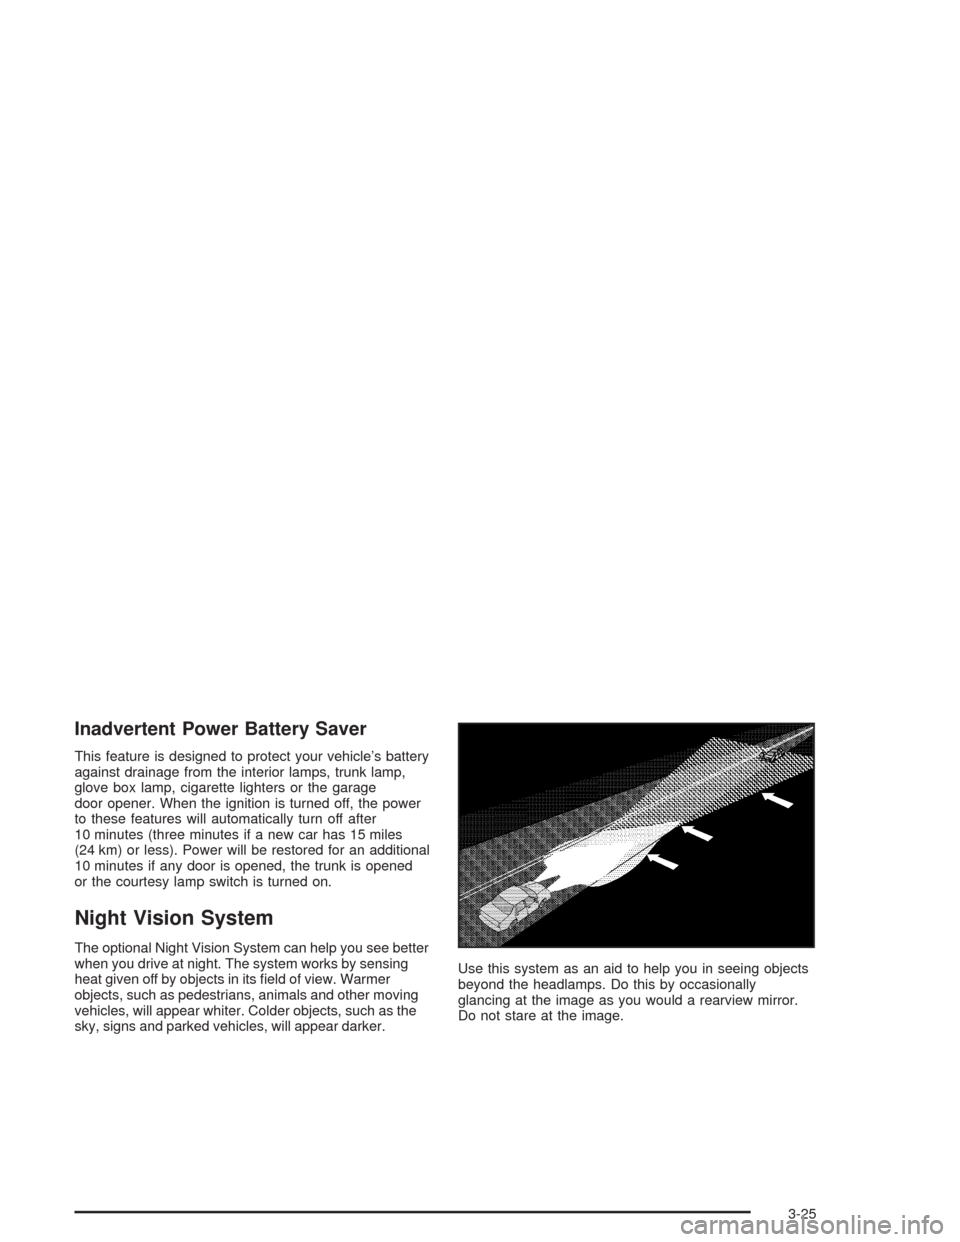
The optional Night Vision System can help you see better
when you drive at night. The system works by sensing
heat given off by objects in its �eld of view. Warmer
objects, such as pedestrians, animals and other moving
vehicles, will appear whiter. Colder objects, such as the
sky, signs and parked vehicles, will appear darker.Use this system as an aid to help you in seeing objects
beyond the headlamps. Do this by occasionally
glancing at the image as you would a rearview mirror.
Do not stare at the image.
3-25
Page 157 of 460
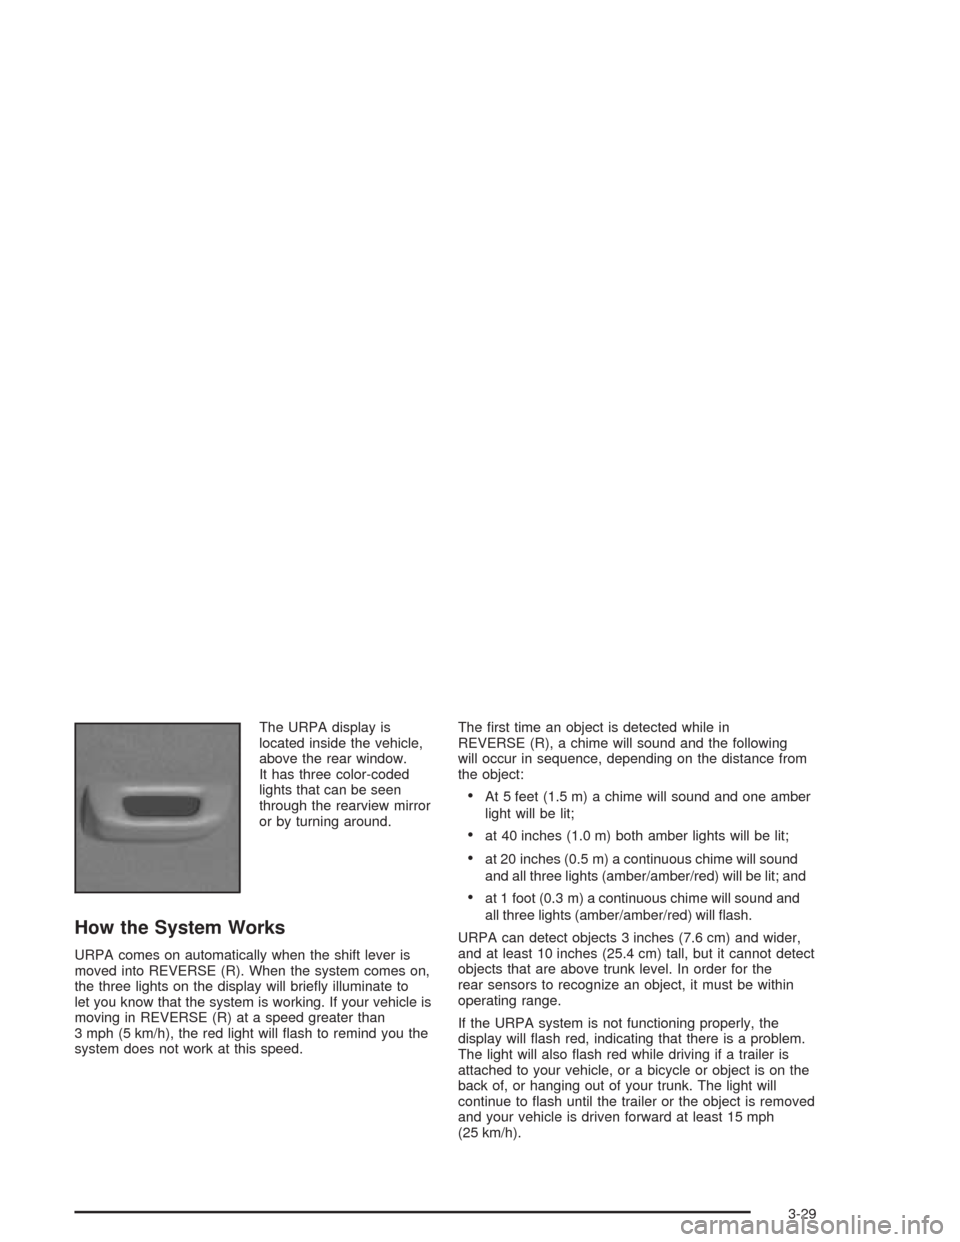
The URPA display is
located inside the vehicle,
above the rear window.
It has three color-coded
lights that can be seen
through the rearview mirror
or by turning around.
How the System Works
URPA comes on automatically when the shift lever is
moved into REVERSE (R). When the system comes on,
the three lights on the display will brie�y illuminate to
let you know that the system is working. If your vehicle is
moving in REVERSE (R) at a speed greater than
3 mph (5 km/h), the red light will �ash to remind you the
system does not work at this speed.The �rst time an object is detected while in
REVERSE (R), a chime will sound and the following
will occur in sequence, depending on the distance from
the object:
At 5 feet (1.5 m) a chime will sound and one amber
light will be lit;
at 40 inches (1.0 m) both amber lights will be lit;
at 20 inches (0.5 m) a continuous chime will sound
and all three lights (amber/amber/red) will be lit; and
at 1 foot (0.3 m) a continuous chime will sound and
all three lights (amber/amber/red) will �ash.
URPA can detect objects 3 inches (7.6 cm) and wider,
and at least 10 inches (25.4 cm) tall, but it cannot detect
objects that are above trunk level. In order for the
rear sensors to recognize an object, it must be within
operating range.
If the URPA system is not functioning properly, the
display will �ash red, indicating that there is a problem.
The light will also �ash red while driving if a trailer is
attached to your vehicle, or a bicycle or object is on the
back of, or hanging out of your trunk. The light will
continue to �ash until the trailer or the object is removed
and your vehicle is driven forward at least 15 mph
(25 km/h).
3-29