headlamp CADILLAC DTS 2006 1.G Owners Manual
[x] Cancel search | Manufacturer: CADILLAC, Model Year: 2006, Model line: DTS, Model: CADILLAC DTS 2006 1.GPages: 450, PDF Size: 2.55 MB
Page 1 of 450
Seats and Restraint Systems........................... 1-1
Front Seats
............................................... 1-2
Rear Seats
............................................... 1-7
Safety Belts
.............................................. 1-9
Child Restraints
.......................................1-30
Airbag System
.........................................1-54
Restraint System Check
............................1-71
Features and Controls..................................... 2-1
Keys
........................................................ 2-3
Doors and Locks
......................................2-10
Windows
.................................................2-15
Theft-Deterrent Systems
............................2-19
Starting and Operating Your Vehicle
...........2-23
Mirrors
....................................................2-35
OnStar
®System
......................................2-43
Universal Home Remote System
................2-45
Storage Areas
.........................................2-49
Sunroof
..................................................2-51
Vehicle Personalization
.............................2-52
Instrument Panel............................................. 3-1
Instrument Panel Overview
.......................... 3-4
Climate Controls
......................................3-44
Warning Lights, Gages, and Indicators
........3-55Driver Information Center (DIC)
..................3-71
Audio System(s)
.......................................3-97
Driving Your Vehicle....................................... 4-1
Your Driving, the Road, and Your Vehicle
..... 4-2
Towing
...................................................4-37
Service and Appearance Care.......................... 5-1
Service
..................................................... 5-3
Fuel
......................................................... 5-5
Checking Things Under the Hood
...............5-10
Headlamp Aiming
.....................................5-44
Bulb Replacement
....................................5-47
Windshield Wiper Blade Replacement
.........5-47
Tires
......................................................5-49
Appearance Care
.....................................5-83
Vehicle Identi�cation
.................................5-91
Electrical System
......................................5-92
Capacities and Speci�cations
...................5-101
Maintenance Schedule..................................... 6-1
Maintenance Schedule
................................ 6-2
Customer Assistance and Information.............. 7-1
Customer Assistance and Information
........... 7-2
Reporting Safety Defects
...........................7-13
Index................................................................ 1
2006 Cadillac DTS Owner ManualM
Page 97 of 450

Theft-Deterrent Systems
Vehicle theft is big business, especially in some cities.
Although your vehicle has a number of theft-deterrent
features, we know that nothing we put on it can make it
impossible to steal.
Valet Lockout Switch
The valet lockout switch
is located inside the
glove box.
9(Off):Press this side of the button to turn the
lockout feature off. When the lockout feature is off, you
can open the trunk using either the keyless entry
transmitter or the trunk release button located near the
headlamp switch on the instrument panel.
R(On):Press this side of the button to turn the
lockout feature on. When the lockout feature is turned
on, the trunk cannot be unlocked with the keyless
entry transmitter or the trunk release button located near
the headlamp switch on the instrument panel.
If the valet lockout feature is on it will also disable the
Universal Home Remote transmitter, if equipped.
Locking the glove box with your key will also help to
secure your vehicle.
SeeRemote Keyless Entry System Operation on
page 2-5andTrunk on page 2-13for additional
information.
Content Theft-Deterrent
The security light is
located on the instrument
panel cluster.
If the ignition is off and any door is open, the security
light will �ash, reminding you to arm the system.
2-19
Page 113 of 450
Mirrors
Automatic Dimming Rearview Mirror
with Intellibeam™, OnStar
®,
and Compass
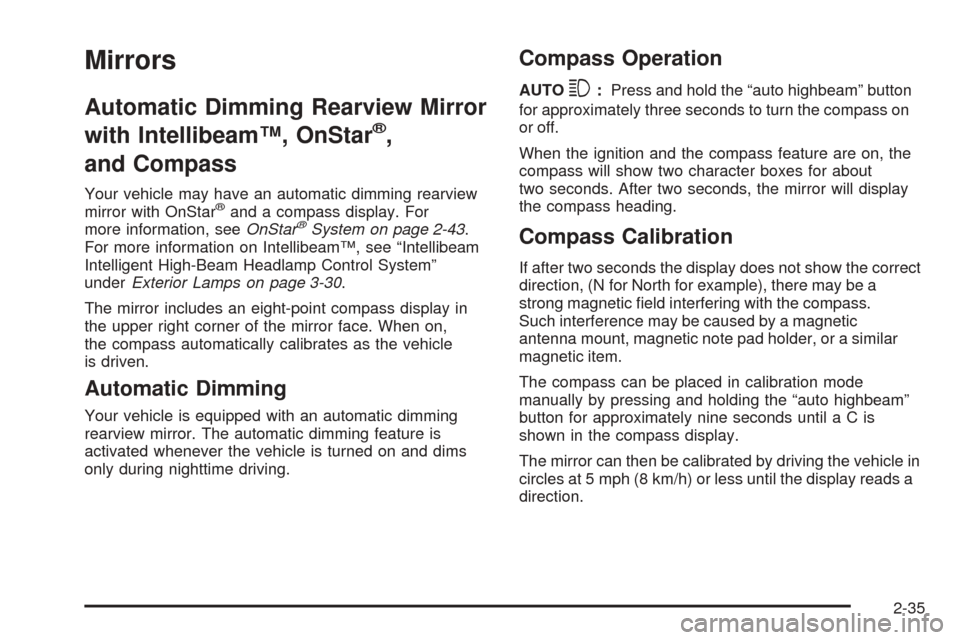
Your vehicle may have an automatic dimming rearview
mirror with OnStar®and a compass display. For
more information, seeOnStar®System on page 2-43.
For more information on Intellibeam™, see “Intellibeam
Intelligent High-Beam Headlamp Control System”
underExterior Lamps on page 3-30.
The mirror includes an eight-point compass display in
the upper right corner of the mirror face. When on,
the compass automatically calibrates as the vehicle
is driven.
Automatic Dimming
Your vehicle is equipped with an automatic dimming
rearview mirror. The automatic dimming feature is
activated whenever the vehicle is turned on and dims
only during nighttime driving.
Compass Operation
AUTO3:Press and hold the “auto highbeam” button
for approximately three seconds to turn the compass on
or off.
When the ignition and the compass feature are on, the
compass will show two character boxes for about
two seconds. After two seconds, the mirror will display
the compass heading.
Compass Calibration
If after two seconds the display does not show the correct
direction, (N for North for example), there may be a
strong magnetic �eld interfering with the compass.
Such interference may be caused by a magnetic
antenna mount, magnetic note pad holder, or a similar
magnetic item.
The compass can be placed in calibration mode
manually by pressing and holding the “auto highbeam”
button for approximately nine seconds untilaCis
shown in the compass display.
The mirror can then be calibrated by driving the vehicle in
circles at 5 mph (8 km/h) or less until the display reads a
direction.
2-35
Page 120 of 450
Outside Automatic Dimming Mirror
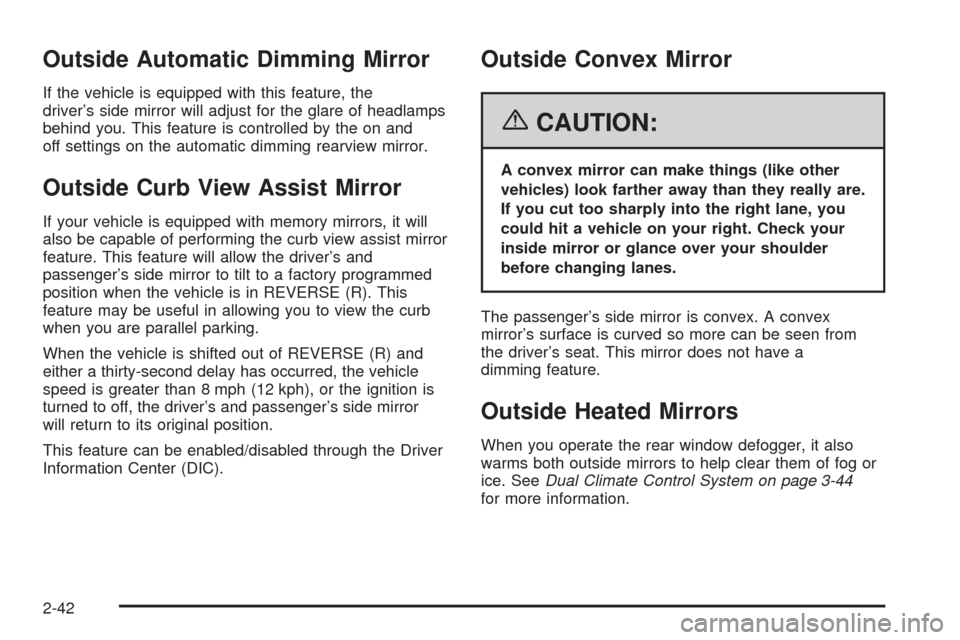
If the vehicle is equipped with this feature, the
driver’s side mirror will adjust for the glare of headlamps
behind you. This feature is controlled by the on and
off settings on the automatic dimming rearview mirror.
Outside Curb View Assist Mirror
If your vehicle is equipped with memory mirrors, it will
also be capable of performing the curb view assist mirror
feature. This feature will allow the driver’s and
passenger’s side mirror to tilt to a factory programmed
position when the vehicle is in REVERSE (R). This
feature may be useful in allowing you to view the curb
when you are parallel parking.
When the vehicle is shifted out of REVERSE (R) and
either a thirty-second delay has occurred, the vehicle
speed is greater than 8 mph (12 kph), or the ignition is
turned to off, the driver’s and passenger’s side mirror
will return to its original position.
This feature can be enabled/disabled through the Driver
Information Center (DIC).
Outside Convex Mirror
{CAUTION:
A convex mirror can make things (like other
vehicles) look farther away than they really are.
If you cut too sharply into the right lane, you
could hit a vehicle on your right. Check your
inside mirror or glance over your shoulder
before changing lanes.
The passenger’s side mirror is convex. A convex
mirror’s surface is curved so more can be seen from
the driver’s seat. This mirror does not have a
dimming feature.
Outside Heated Mirrors
When you operate the rear window defogger, it also
warms both outside mirrors to help clear them of fog or
ice. SeeDual Climate Control System on page 3-44
for more information.
2-42
Page 133 of 450

Instrument Panel Overview...............................3-4
Hazard Warning Flashers................................3-6
Other Warning Devices...................................3-6
Horn.............................................................3-6
Tilt Wheel.....................................................3-6
Power Tilt Wheel and Telescopic Steering
Column......................................................3-7
Heated Steering Wheel...................................3-7
Turn Signal/Multifunction Lever.........................3-8
Turn and Lane-Change Signals........................3-8
Headlamp High/Low-Beam Changer..................3-9
Forward Collision Alert (FCA) System................3-9
Flash-to-Pass...............................................3-13
Windshield Wipers........................................3-13
Rainsense™ II Wipers...................................3-14
Windshield Washer.......................................3-15
Cruise Control..............................................3-16
Adaptive Cruise Control.................................3-19
Exterior Lamps.............................................3-30
Wiper Activated Headlamps............................3-34
Headlamps on Reminder................................3-34
Daytime Running Lamps (DRL).......................3-34Fog Lamps..................................................3-35
Cornering Lamps..........................................3-35
Exterior Lighting Battery Saver........................3-35
Instrument Panel Brightness...........................3-36
Courtesy Lamps...........................................3-36
Entry Lighting...............................................3-36
Parade Dimming...........................................3-36
Reading Lamps............................................3-37
Battery Load Management.............................3-37
Inadvertent Power Battery Saver.....................3-37
Ultrasonic Front and Rear Parking
Assist (UFRPA).........................................3-38
Accessory Power Outlet(s).............................3-42
Ashtray(s) and Cigarette Lighter......................3-43
Analog Clock...............................................3-44
Climate Controls............................................3-44
Dual Climate Control System..........................3-44
Outlet Adjustment.........................................3-50
Rear Climate Control System.........................3-51
Passenger Compartment Air Filter...................3-53
Section 3 Instrument Panel
3-1
Page 140 of 450
Turn Signal/Multifunction Lever
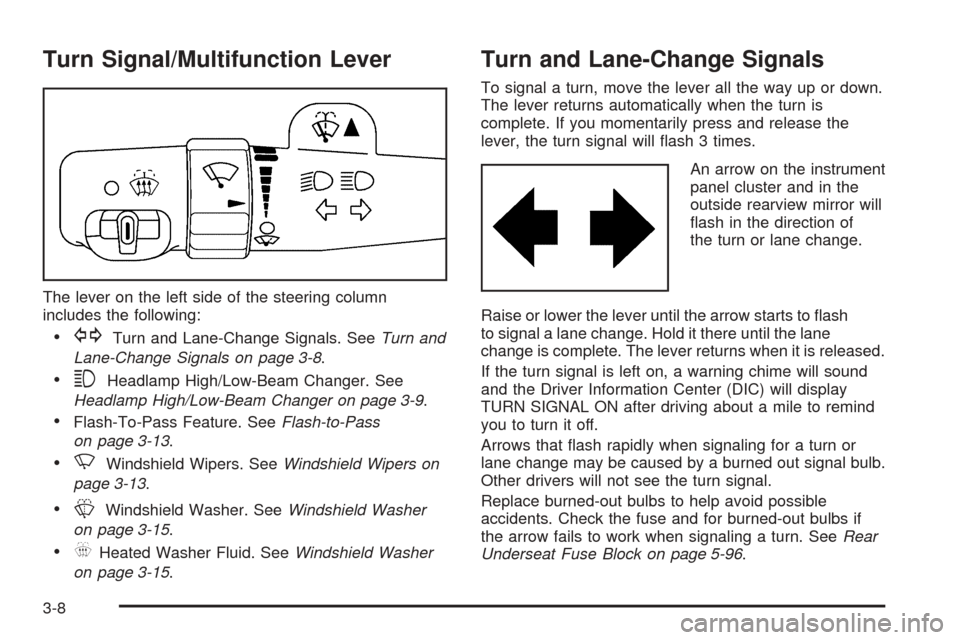
The lever on the left side of the steering column
includes the following:
GTurn and Lane-Change Signals. SeeTurn and
Lane-Change Signals on page 3-8.
3Headlamp High/Low-Beam Changer. See
Headlamp High/Low-Beam Changer on page 3-9.
Flash-To-Pass Feature. SeeFlash-to-Pass
on page 3-13.
NWindshield Wipers. SeeWindshield Wipers on
page 3-13.
LWindshield Washer. SeeWindshield Washer
on page 3-15.
_Heated Washer Fluid. SeeWindshield Washer
on page 3-15.
Turn and Lane-Change Signals
To signal a turn, move the lever all the way up or down.
The lever returns automatically when the turn is
complete. If you momentarily press and release the
lever, the turn signal will �ash 3 times.
An arrow on the instrument
panel cluster and in the
outside rearview mirror will
�ash in the direction of
the turn or lane change.
Raise or lower the lever until the arrow starts to �ash
to signal a lane change. Hold it there until the lane
change is complete. The lever returns when it is released.
If the turn signal is left on, a warning chime will sound
and the Driver Information Center (DIC) will display
TURN SIGNAL ON after driving about a mile to remind
you to turn it off.
Arrows that �ash rapidly when signaling for a turn or
lane change may be caused by a burned out signal bulb.
Other drivers will not see the turn signal.
Replace burned-out bulbs to help avoid possible
accidents. Check the fuse and for burned-out bulbs if
the arrow fails to work when signaling a turn. SeeRear
Underseat Fuse Block on page 5-96.
3-8
Page 141 of 450

Headlamp High/Low-Beam Changer
Push forward to change the headlamps from low
beam to high. Pull the lever back and then release it
to change from high beam to low.
This light on the instrument
panel cluster will be on,
indicating high-beam
usage.
Forward Collision Alert (FCA)
System
If your vehicle has this feature, be sure to read this
entire section before using it.
The system operates on a radio frequency subject to
Federal Communications Commission (FCC) Rules and
with Industry Canada.This device complies with Part 15 of the FCC Rules.
Operation is subject to the following two conditions:
1. This device may not cause interference.
2. This device must accept any interference received,
including interference that may cause undesired
operation of the device.
This device complies with RSS-210 of Industry Canada.
Operation is subject to the following two conditions:
1. This device may not cause interference.
2. This device must accept any interference received,
including interference that may cause undesired
operation of the device.
Changes or modi�cations to this system by other than
an authorized service facility could void authorization to
use this equipment.
3-9
Page 145 of 450
Cleaning the System
The radar can become blocked by snow, ice, or dirt.
If so, you may need to turn off the engine and clean
the lens. See “Cleaning the System” underAdaptive
Cruise Control on page 3-19.
Flash-to-Pass
This feature lets you use the high-beam headlamps to
signal the driver in front of you that you want to pass.
Pull and hold the turn signal lever toward you to
use. When you do, the following will occur:
If the headlamps are either off or in the Daytime
Running Lamps (DRL) mode, the high-beam
headlamps will turn on. They will stay on as long
as you hold the lever there. Release the lever
to turn them off.
If the headlamps are on high beam, they will switch
to low beam. To return to high beam, push the
lever away from you.
Windshield Wipers
You control the windshield wipers by turning the band
with the wiper symbol on it.
8(Mist):For a single wiping cycle, turn the band to
mist. Hold it there until the wipers start. Then let go.
The wipers will stop after one wipe. If you want
more wipes, hold the band on mist longer.
N(Delay):You can set the wiper speed for a long or
short delay between wipes. This can be very useful
in light rain or snow. Turn the band to choose the delay
time. The closer to the top of the lever, the shorter
the delay.
6(Low Speed):For steady wiping at low speed,
turn the band away from you to the �rst solid band
past the delay settings.
1(High Speed):For high-speed wiping, turn
the band further, to the second solid band past the
delay settings.
9(Off):To stop the wipers, move the band to off.
Be sure to clear ice and snow from the wiper blades
before using them. If they are frozen to the windshield,
carefully loosen or thaw them. If your blades do become
worn or damaged, replace with new blades or blade
inserts.
Heavy snow or ice can overload the wiper motor. A
circuit breaker will stop the motor until it cools. Clear
away snow or ice to prevent an overload.
Your vehicle is equipped with wiper-activated
headlamps. After the windshield wipers have been on
for approximately six seconds, the headlamps will
automatically turn on. SeeWiper Activated Headlamps
on page 3-34for more information.
3-13
Page 146 of 450
Rainsense™ II Wipers
If your vehicle has this feature, the moisture sensor is
mounted on the interior side of the windshield behind the
rearview mirror. It is used to automatically operate the
wipers by monitoring the amount of moisture build-up
on the windshield. Wipes occur as needed to clear
the windshield depending on driving conditions and the
sensitivity setting. In light rain or snow, fewer wipes
will occur. In heavy rain or snow, wipes will occur more
frequently. The Rainsense™ II wipers operate in a
delay mode as well as a continuous low or high speed
as needed. If the system is left on for long periods
of time, occasional wipes may occur without any
moisture on the windshield. This is normal and indicates
that the Rainsense™ II system is activated.
The Rainsense™ II system can be activated by turning
the wiper band to one of the �ve sensitivity levels
indicated on the wiper stalk. The position closest to off is
the lowest sensitivity setting, level one. This allows more
rain or snow to collect on the windshield between wipes.Turning the wiper band away from you to higher
sensitivity levels increases the sensitivity of the system
and frequency of wipes. The highest sensitivity setting,
level �ve is closest to low. A single wipe will occur each
time you turn the wiper stalk to a higher sensitivity level
to indicate that the sensitivity level has been increased.
Notice:Going through an automatic car wash with
the wipers on can damage them. Turn the wipers
off when going through an automatic car wash.
The mist and wash cycles operate as normal and
are not affected by the Rainsense™ II function. The
Rainsense™ II system can be overridden at any time by
manually turning the wiper band to low or high speed.
When Rainsense™ II is active, the headlamps will
turn on automatically. The headlamps will turn off
again once the wipers turn off if it is light enough
outside. If it is dark, they will remain on. SeeWiper
Activated Headlamps on page 3-34for more information.
Notice:Do not place stickers or other items
on the exterior glass surface directly in front of
the moisture sensor. Doing this could cause
the moisture sensor to malfunction.
3-14
Page 162 of 450
Disengaging Adaptive Cruise Control
To disengage the system, apply the brake pedal, press
the cancel button, or press the Adaptive Cruise
Control button.
Erasing Set Speed Memory
When you press the Adaptive Cruise Control button or
turn the ignition off, the set speed memory is erased.
Other Messages
There are three additional messages that may appear
on the DIC. They are SERVICE RADAR CRUISE,
RADAR CRUISE NOT READY and CLEAN RADAR.
These messages will appear to indicate a problem with
the Adaptive Cruise Control. SeeDIC Warnings and
Messages on page 3-76for more information.
Cleaning the System
The radar can become blocked by snow, ice, or dirt.
If so, you may need to turn off the engine and clean the
lens. Remember, do not use Adaptive Cruise Control
in icy conditions, or when visibility is low, such as in fog,
rain or snow.
The emblem/lens is located in the center of the grille.
To clean the emblem/lens, wipe the surface with a
soft cloth. After cleaning the emblem/lens, try to engage
the Adaptive Cruise Control. If you are unable to do
so, see your dealer.
Exterior Lamps
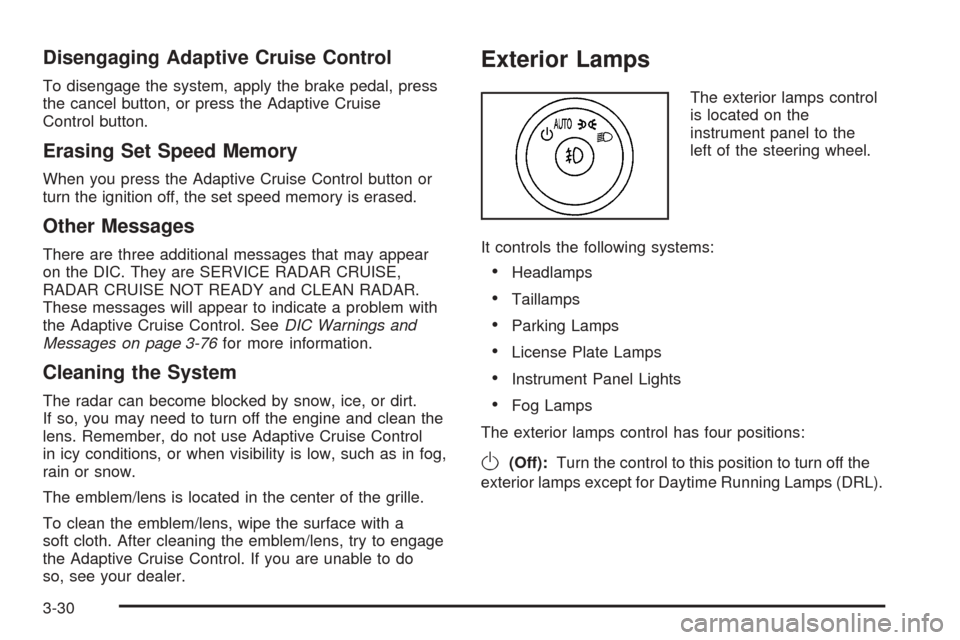
The exterior lamps control
is located on the
instrument panel to the
left of the steering wheel.
It controls the following systems:
Headlamps
Taillamps
Parking Lamps
License Plate Lamps
Instrument Panel Lights
Fog Lamps
The exterior lamps control has four positions:
O(Off):Turn the control to this position to turn off the
exterior lamps except for Daytime Running Lamps (DRL).
3-30