check engine CADILLAC ELDORADO 1995 10.G Service Manual
[x] Cancel search | Manufacturer: CADILLAC, Model Year: 1995, Model line: ELDORADO, Model: CADILLAC ELDORADO 1995 10.GPages: 395, PDF Size: 20.17 MB
Page 274 of 395
Downloaded from www.Manualslib.com manuals search engine Engine Oil Additives
c
Don’t add anything to your oil. Your Cadillac dealer is ready to advise if
you think something should be added.
When to Change Engine Oil
Your Cadillac has an “Oil Life Indicator.” This feature will let you know
when to change your oil and filter
-- usually between 3,000 miles (5 000
km) and 7,500 miles (12 500 km) since your last oil change. Under severe
conditions, the indicator may come
on before 3,000 miles (5 000 km).
Never drive your vehicle more
than 7,500 miles (12 500 km) or 12 months
without an oil change.
The system won’t detect dust in the oil.
So, if you drive in a dusty area, be
sure to change your oil every
3,000 miles (5 000 km) or sooner if the
CHANGE OIL
SOON light comes on. Remember to reset the Oil Life
Indicator when the
oil has been changed. For more information, see “Oil
Life Indicator” in the Index.
How to Reset the Oil Life Indicator
After the oil has been changed, display the OIL LIFE LEFT message by
pressing the INFORMATION button. Then press and hold the
RESET
button until the display shows “loo”. This resets the oil life index. The
message will remain off until the next
oil change is needed. The
percentage
of oil life remaining may be checked at any time by pressing
the INFORMATION button several times until the OIL LIFE LEFT
message appears. For more information on the
Oil Life Index feature, see
“Oil Life Index” in the Index.
Engine Coolant Heater
An engine coolant heater can be a big help if you have to park outside in
very cold weather, 0°F (-18OC) or colder. If your vehicle has this option,
see “Engine Coolant Heater” in the Index.
6- 15
Page 278 of 395
Downloaded from www.Manualslib.com manuals search engine Push the two tabs and
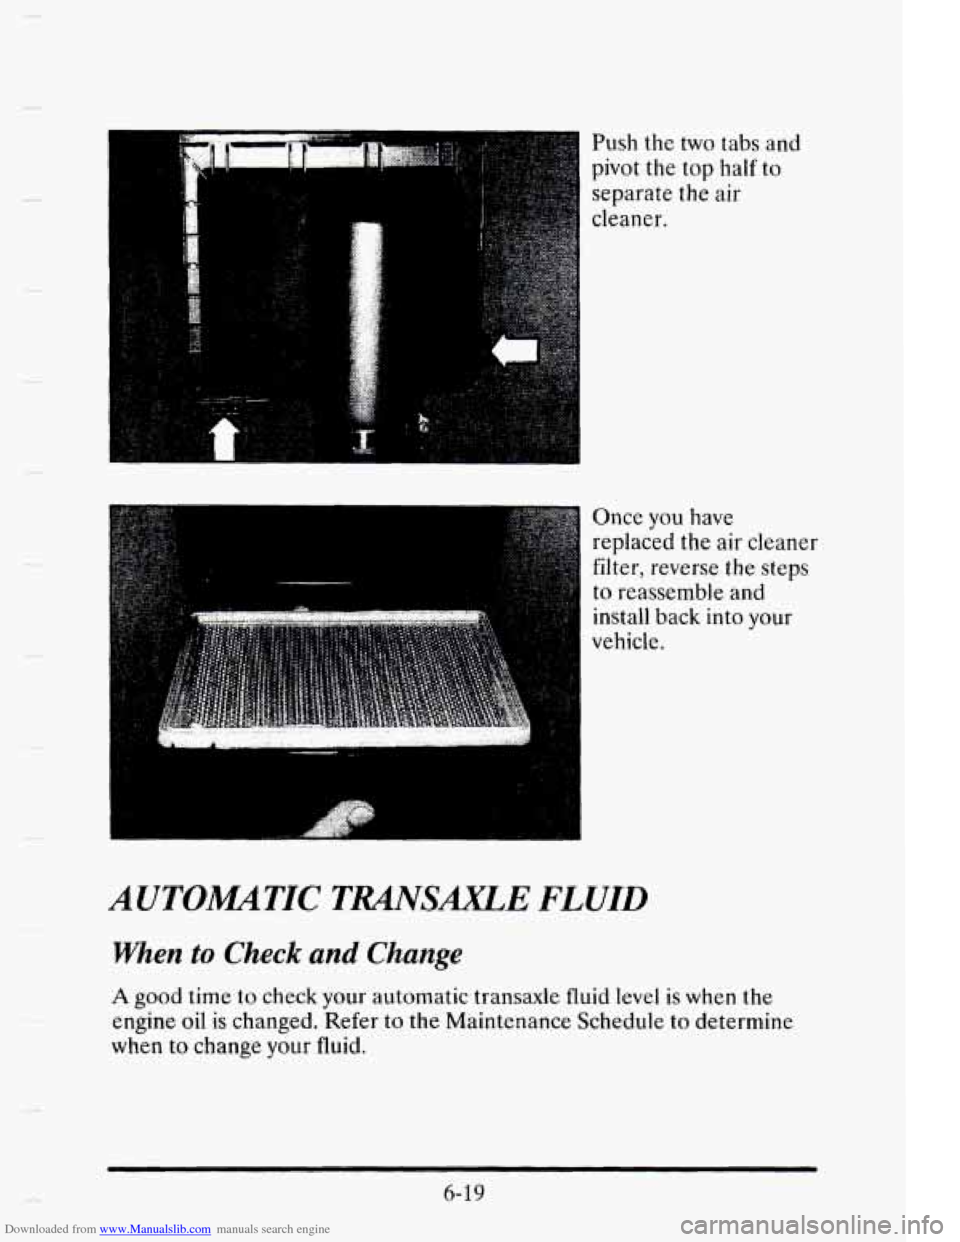
' pivot the top half to
~ separate the air
cleaner.
Once you have
replaced the air cleaner
filter, reverse the steps
to reassemble
and
install back into your
vehicle.
AUTOMTIC TMSAXLE FLUID
When to Check and Change
A good time to check your automatic transaxle fluid level is when the
engine oil
is changed. Refer to the Maintenance Schedule to determine
when to change your fluid.
6-19
Page 279 of 395
Downloaded from www.Manualslib.com manuals search engine How to Check
Because this operation can be a little difficult, you may choose to have
this done at your Cadillac dealership Service Department.
If you do it yourself, be sure to follow all the instructions here, or you
could get a false reading on the dipstick.
NOTICE:
Too much or too little fluid can damage your transaxle. Too
much can mean that some of the fluid could come out and fall
on hot engine parts or exhaust system parts, starting a fire. Be
sure to get an accurate reading if you check your transaxle fluid.
Wait at least 30 minutes before checking the transaxle fluid level if you
have been driving:
When outside temperatures are above 90°F (32'C).
0 At high speed for quite a while.
0 In heavy traffic -- especially in hot weather.
While pulling a trailer.
To get the right reading, the fluid should be at normal operating
temperature, which is
180°F to 200°F (82OC to 93°C).
Get the vehicle warmed up by driving about 15 miles (24 km) when
outside temperatures are above
50°F ( 10°C). If it's colder than 50°F
(lO"C), you may have to drive longer.
To check the fluid level
Park your vehicle on a level place. Keep the engine running.
With the parking brake applied, place the shift lever in PARK (P).
With your foot on the brake pedal, move the shift lever through each
gear range,
pausing €or about three seconds in each range. Then,
position the shift lever in PARK (P).
0 Let the engine run at idle for three to five minutes.
6-20
Page 280 of 395
Downloaded from www.Manualslib.com manuals search engine Then, without shutting off the engine, follow these steps:
.*.
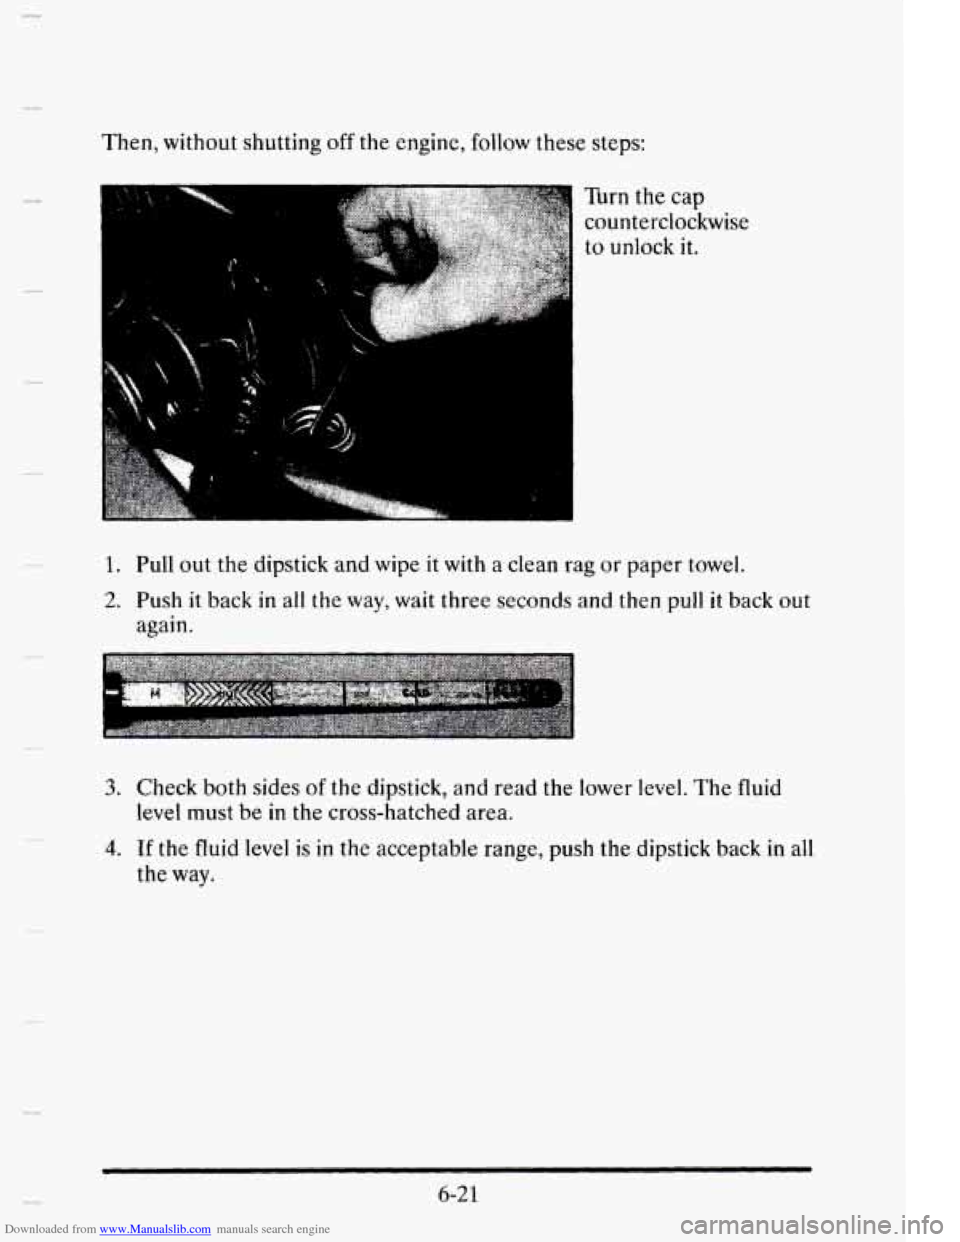
Turn the cap
counterclockwise
to unlock it.
1. Pull out the dipstick and wipe it with a clean rag or paper towel.
2. Push it back in all the way, wait three seconds and then pull it back out
again
.
3. Check both sides of the dipstick, and read the lower level. The fluid
4. If the fluid level is in the acceptable range, push the dipstick back in all
level must be in the cross-hatched area.
the way.
6-2 1
Page 281 of 395
Downloaded from www.Manualslib.com manuals search engine How to Add Fluid
If the fluid level is low, add only enough of the proper fluid to bring the
level
into the cross-hatched area on the dipstick.
1. Pull out the dipstick.
2. Using a long-neck funnel, add enough fluid at the dipstick hole to
bring it to the proper level. It doesn’t take much fluid, generally less
than a pint (OSL). Don’t overfill. We recommend you use only fluid
labeled DEXRON@-111, because fluid with that label is made
especially
for your automatic transaxle. Damage caused by fluid other
than DEXRON@-111
is not covered by your new vehicle warranty.
0 After adding fluid, recheck the fluid lcvel as described under “How to
Check.”
0 When the correct fluid level is obtained, push the dipstick back in all
the way.
How to Reset Transaxle Fluid Change Indicator:
Your vehicle is equipped with a transaxle fluid change indicator. A
CHANGE TRANS FLUID message will display on the Information
Center when the powertrain computer determines that the transaxle fluid
needs to be changed or at each
100,000 miles (160 000 krn) interval,
whichever occurs first. When
this message appears, change the transaxle
fluid and reset the transaxle fluid life indicator
as follows:
1. Turn the key ON with the engine stopped.
2. Press and hold the OFF and REAR DEFOG buttons on the climate
control simultaneously until
the TRANS FLUID RESET message
appears
in the Information Center (between five and 20 seconds).
6-22
Page 284 of 395
Downloaded from www.Manualslib.com manuals search engine To Check Coolant
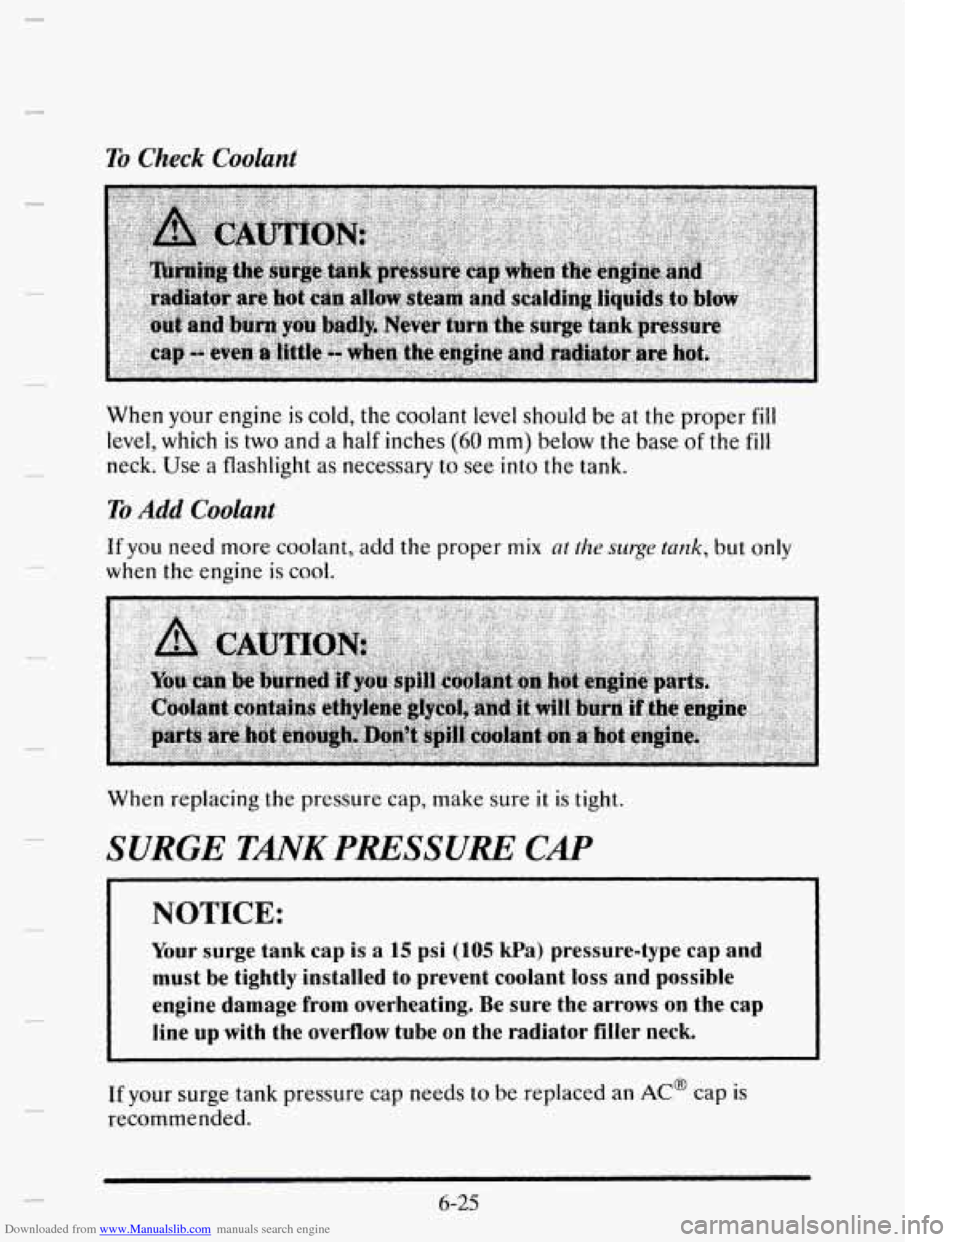
When your engine is cold, the coolant level shouId be at the proper fill
level, which is two and a half inches (60 mm) below the base of the fill
neck. Use a flashlight as necessary to see into the tank.
To Add Coolant
If you need more coolant, add the proper mix at the surge tank, but only
when the engine is cool.
When replacing
the pressure cap, make sure it is tight.
SURGE TANK PRESSURE CAP
-~
NOTICE:
Your surge tank cap is a 15 psi (105 kPa) pressure-type cap and
must be tightly installed to prevent coolant
loss and possible
engine damage
from overheating. Be sure the arrows on the cap
line up with the overflow tube on the radiator filler neck.
If your surge tank pressure cap needs to be replaced an AC@ cap is
recommended.
6-25
Page 285 of 395
Downloaded from www.Manualslib.com manuals search engine THERMOSTAT
Engine coolant temperature is controlled by a thermostat in the engine
coolant system. Thc thcrrnostat stops
the flow of coolant through the
radiator until the coolant reaches a preset temperature.
If your thermostat needs to be replaced an AC@ thermostat is
recommended.
POWER STEERING FLUID
a
How to Check Power Steering Fluid
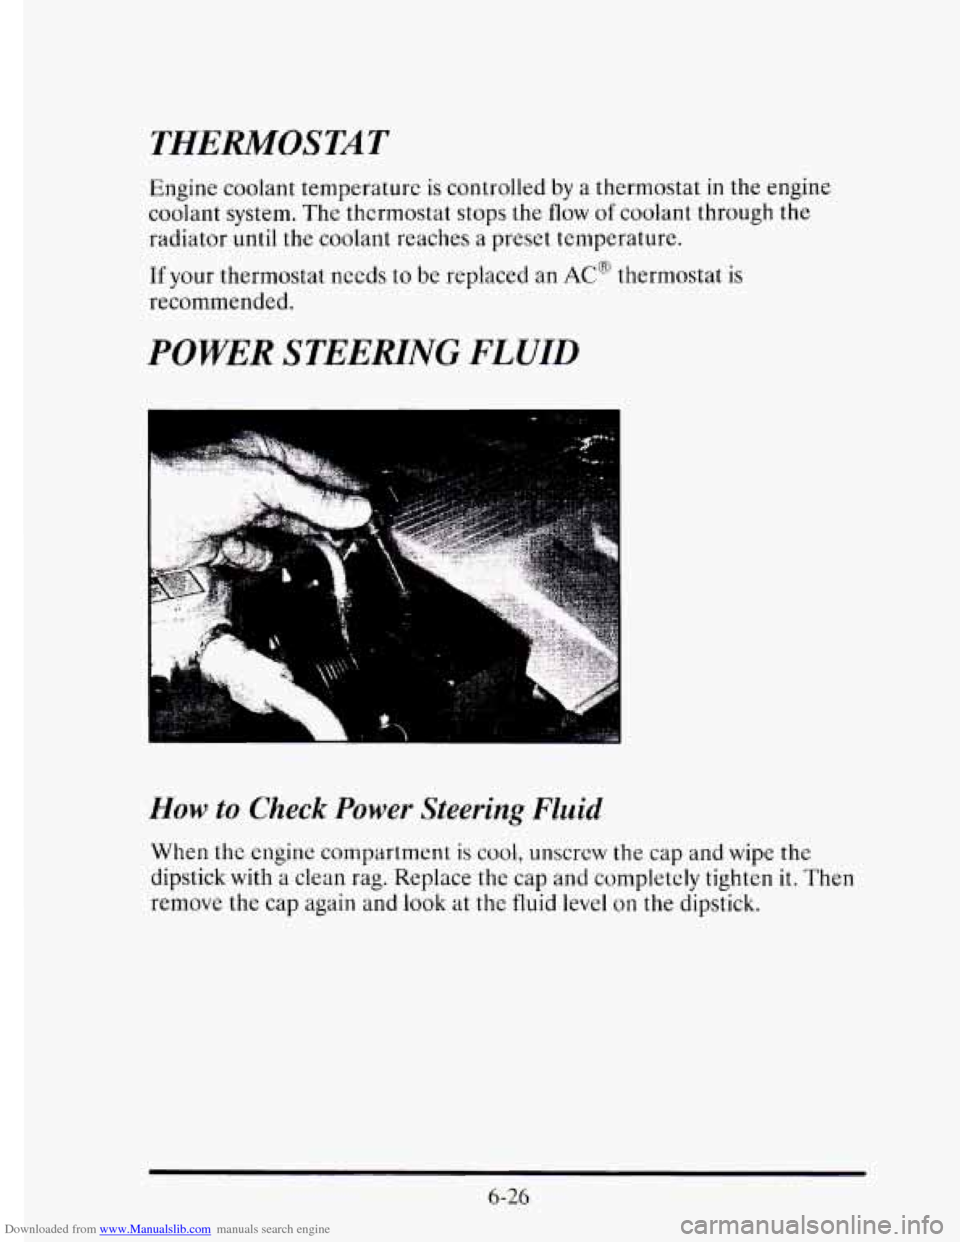
When the engine compartment is cool, unscrew the cap and wipe the
dipstick with a clean rag. Replace the cap and completely tighten it.
Then
remove the cap again and look at the fluid level on the dipstick.
6-26
Page 289 of 395
Downloaded from www.Manualslib.com manuals search engine To Check Brake Fluid
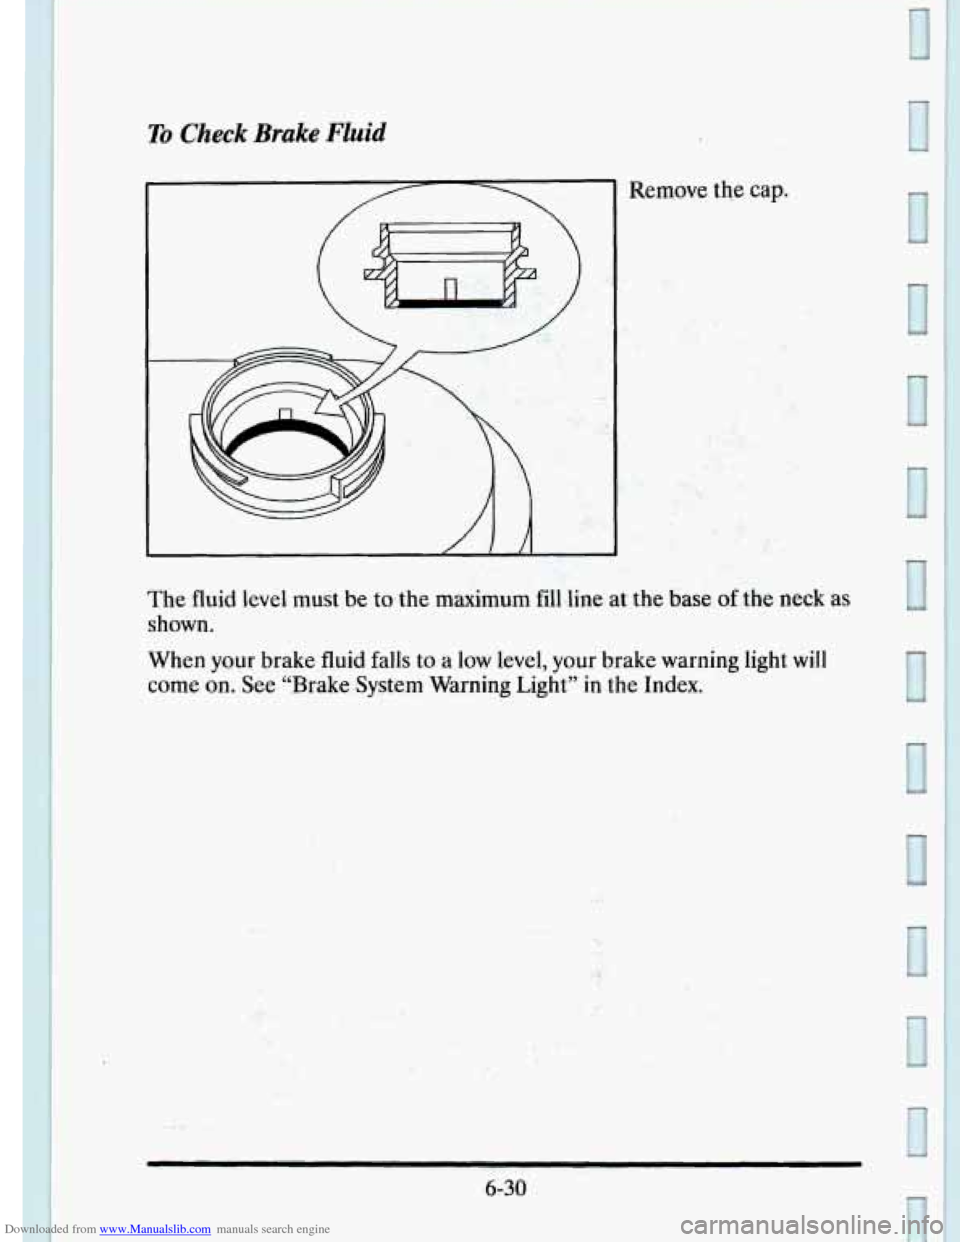
Remove the cap.
. .. .. . , ... r .._ ..:- . , -.
The fluid level must be to the maximum fill line at the base of the neck as
shown.
When your brake fluid>$alis
to a low level, your brake warning light will
come
on. See "Brake System Warning Light" in the Index.
,
6-30
Page 301 of 395
Downloaded from www.Manualslib.com manuals search engine 6. Reinstall the new insert by aligning the bladc housing tabs and the
edge
of the insert, starting with the second set from the outer edge.
Make sure that the insert is connected to all of the housing tabs and
that it moves freely back and forth.
7. To install the wiper blade, align the wiper arm pin with the hole on the
wiper blade assembly and snap
it into place. Return thc wipers to their
normal position.
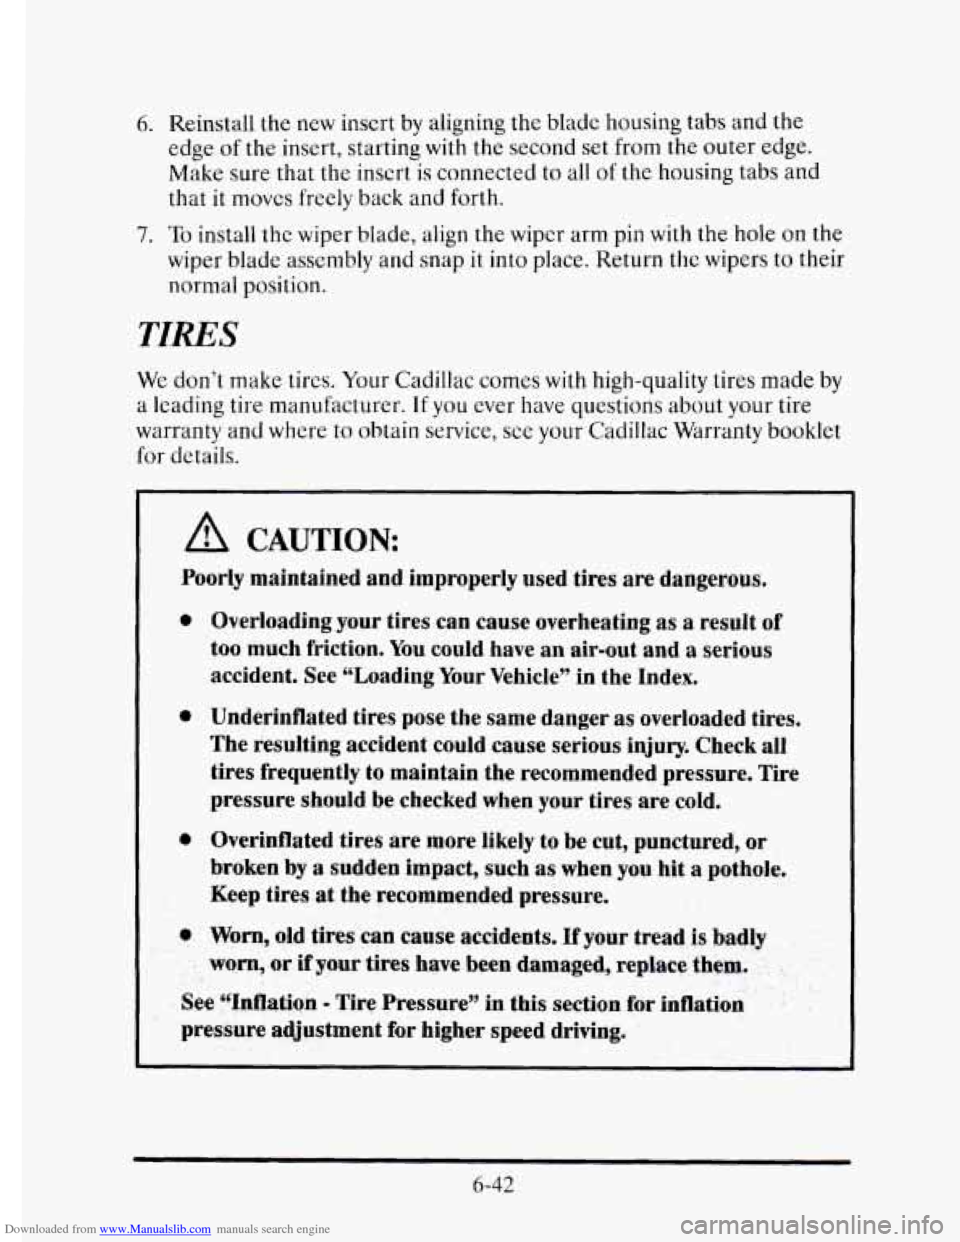
TIRES
We don’t make tires. Your Cadillac comes with high-quality tires made by
a leading tire manufacturer. If you ever have questions about your tire
warranty
and where to obtain service, see your Cadillac Warranty booklet
for details.
~~ -~
A CAUTION:
Poorly maintained and improperly used tires are dangerous.
0
0 Overloading your tires can cause overheating as a result of
too much friction. You could have an air-out and a serious
accident. See “Loading Your Vehicle”
in the Index.
Underinflated tires pose the same danger as overloaded tires.
The resulting accident could cause serious
injury. Check all
tires frequently
to maintain the recommended pressure. Tire
pressure should be checked when your tires are
cold.
Overinflated tires are more likely to be cut, punctured, or
broken by a sudden impact, such as when you hit a pothole.
Keep tires
at the recommended pressure.
Worn, old tires can cause accidents. If your tread is badly
worn, or if your tires have been damaged, replace them. . .
See (‘Inflation - Tire Pressure” in this section for inflation
pressure adjustment for higher speed
driving.
6-42
Page 303 of 395
Downloaded from www.Manualslib.com manuals search engine When to Check
Check your tires once a month or more.
Don’t forget your compact sparc tire.
It should be at 60 psi (420 kPa).
How to Check
Use a good quality pocket-type gage to check tire pressure. Simply
looking at the tires
will not tell you the pressure, especially ii you have
radial tires
-- which may look properly inflated even if they’re
underinflated.
If your tires have valve caps, be sure to put them back on. They help
prevent leaks
by keeping out dirt and moisture.
Tire Inspection and Rotation
Tires should be inspected every 6,000 to 8,000 miles (10 000 to ‘13 000 km)
for any signs
of unusual wear. If unusual wear is present, rotate your tires
as
soon as possible and check wheel alignment. Also check for damaged
tires or wheels. See “When it’s Time for
New Tires” and “Wheel
Replacement” later in this section
for more information.
The purpose of regular rotation is to achieve more uniform wear for all tires
on the vehicle. The first rotation is the most important. See “Scheduled
Maintenance Services”
in the Index for scheduled rotation intervals.
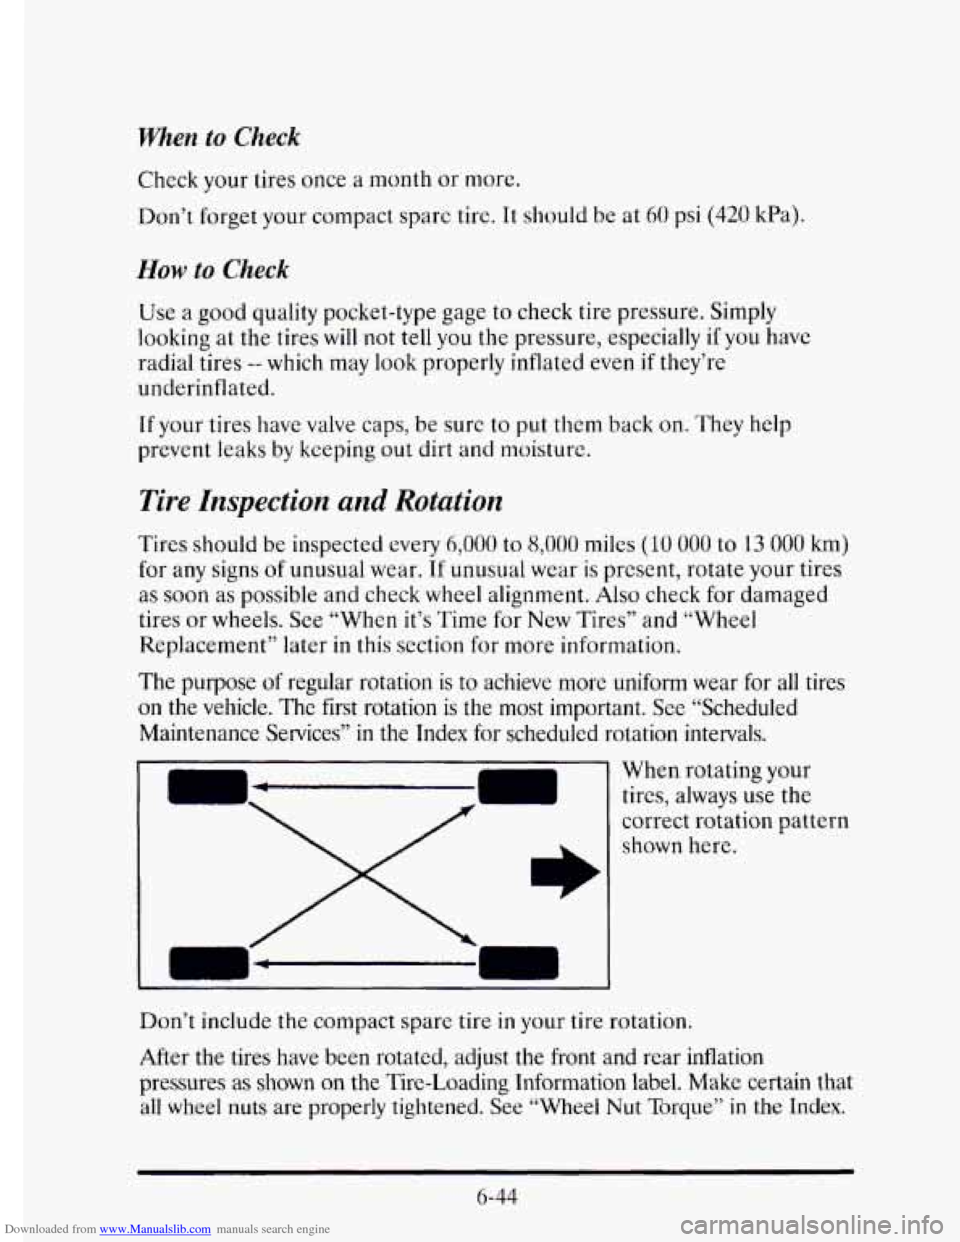
When rotating your
tires, always use
the
correct rotation pattern
shown here.
Don’t include the compact spare tire
in your tire rotation.
After the tires have been rotated, adjust
the front and rear inflation
pressures as
shown on the Tire-Loading Information label. Make certain that
all wheel nuts are properly tightened. See “Wheel Nut Torque” in the Index.
6-44