check engine light CADILLAC ELDORADO 1997 10.G User Guide
[x] Cancel search | Manufacturer: CADILLAC, Model Year: 1997, Model line: ELDORADO, Model: CADILLAC ELDORADO 1997 10.GPages: 361, PDF Size: 22.85 MB
Page 151 of 361
Downloaded from www.Manualslib.com manuals search engine 2 MINUTES, WAIT 1 MINUTE and then STAKT CAR.
When the REMOVE KEY message is displayed, remove
the ignition key. Check the ignition key for damage. If it
is damaged, it may need to be replaced. If you see no
damage, clean
the pellet contacts with a soft cloth or
napkin before inserting the key back into
the ignition.
Have your vehicle serviced if the message still appears.
SERVICE A/C SYSTEM A/C COMPRESSOR
OFF - 14: This message appears when the electronic
sensors that control the air conditioning and heating
systems
are no longer working. Have the climate control
system serviced if you notice a drop in heating and air
conditioning efficiency.
SERVICE AIR BAG - 83: There is a problem with the
Supplemental Inflatable Restraint (air bag) system when
this message appears. Let only
a qualified technician
work on your vehicle.
See your Cadillac dealership for
service at once.
SERVICE BRAKE FLUID SWITCH - 37: A defect
in the brake fluid detection circuit causes this message
to display
if the ignition is in the RUN position. Have
the brake system serviced by a Cadillac technician as
soon as possible. If the brake warning light is on, refer
to the directions listed in that part.
SERVICE CHARGING SYSTEM - 102: This
message will display when a problem
with the charging system
has been detected. Have your vehicle serviced at
your Cadillac dealership.
SERVICE ELECTRICAL SYSTEM - 106: This
message will display if
an electrical problem has
occurred within the PCM. Have your vehicle serviced
by your Cadillac dealership.
SERVICE EMISSIONS SYSTEM - 104: A problem in
the emission5 system has occurred when this message
appears. Have your Cadillac dealershp service your vehicle.
SERVICE ENGINE COOLING SYSTEM - 103: A
problem within the engine cooling system has been
detected when this message displays. See your Cadillac
dealership for service.
SERVICE FUEL SYSTEM - 101: The PCM has
detected
a problem withm the fuel system when this
message appears. See your Cadillac dealership for service.
SERVICE IDLE CONTROL SYSTEM - 187: A
problem with the idle control has occurred when this
message displays.
Bring your vehicle to your Cadillac
dealership for service.
SERVICE IGNITION SYSTEM - 105: This message
displays when
a failure in the ignition system has
been detected. Have your vehicle serviced by your
Cadillac dealership.
Page 170 of 361
Downloaded from www.Manualslib.com manuals search engine Setting the
BASS: Press this hob lightly so it extends. Turn the
knob clockwise to increase and counterclockwise to
decrease
bass.
TREB: Press this knob lightly so it extends. Turn the
knob clockwise to increase and counterclockwise to
decrease treble. If a station
is weak or noisy, YOU may
want to decrease
the treble.
Push these knobs back into their stored positions when
you’re not using them.
BAL: Press this knob lightly so it extends. Turn the
knob clockwise to adjust sound to the right speakers and
counterclockwise for the
left speakers. The middle
position balances
the sound between the speakers.
FADE: Press this knob lightly so it extends. Turn the
knob clockwise to adjust the sound to the front speakers
and counterclockwise for the rear speakers. The middle
position balances the sound between the speakers.
Push these knobs back into their stored positions when
you’re not using them.
laying a Cassette Tape
With the radio on, insert a cassette tape. The tape will
begin playing
as soon as it is inserted.
While the tape is playing, use
the VOL, FADE, BAL,
BASS and TBB controls just as you do for the radio.
Other controls may have different functions when a tape
is inserted.
The display will show TAPE with an arrow
to indicate which side of the tape is playing. PLAY will
appear on the display temporarily when a tape is
playing. The display will then revert back to showing
the time.
If an error occurs while trying
to play a cassette tape, it
could be that:
The cassette tape is tight and the cassette player
cannot turn the
hubs of the tape. Hold the cassette
tape with the open end down and try turning
the right
hub counterclockwise with a pencil. Flip the tape
over
and repeat. If the hubs do not turn easily, your
cassette tape may be damaged and should not be
used in the player. Try
a new tape to be sure your
player
is working properly.
The cassette tape is broken. (Check to see if
your
tape is broken. Try a new tape.)
Page 174 of 361
Downloaded from www.Manualslib.com manuals search engine UM: Ths setting is similar to LIVE,
however, more echo is present. The LIVE and
AUDITORIUM settings are best used for music.
LEVEL: Press the plus or minus symbol on this button
to adjust the amount
of effect desired when in DSP
mode. Some experimenting with this button will help
you determine the best sound.
usting the Speakers
AX,: Press this knob lightly so it extends. Turn the
knob clockwise to adjust sound to the right speakers and
counterclockwise for the left speakers. The middle
position balances the sound between
the speakers.
E: Press ths knob lightly so it extends. Turn the
knob clockwise
to adjust the sound to the front speakers
and counterclockwise
for the rear speakers. The middle
position balances the sound between
the speakers.
Push these knobs
back into their stored positions when
you’re
not using them.
laying a Cassette Tape
With the radio on, insert a cassette tape. The tape will
begin playing as
SOQII as it is inserted.
While
the tape is playing, we the VOL, FADE, BAL,
BASS and TREB controls just as you do for the radio.
Other controls
may have different functions when a tape
is inserted. The display will show
TAPE with an arrow
to indicate which side of the tape is playing. PLAY will
appear
on the display temporarily when a tape is
playing. The display will then revert back to showing
the time.
If an error occurs while trying to play a cassette tape, it
could be that:
The cassette tape is tight and the cassette player
cannot turn the hubs
of the tape. Hold the cassette
tape with the open end down and
try turning the right
hub counterclockwise with a pencil. Flip
the tape
over and repeat.
If the hubs do not turn easily, your
cassette tape may be damaged and should not be
used in the player. Try a new tape to be sure YQUI-
player is working properly.
The cassette tape is broken. (Check to see
if your
tape is broken.
Try a new tape.)
Page 192 of 361
Downloaded from www.Manualslib.com manuals search engine Avoid needless heavy braking. Some people drive in
spurts -- heavy acceleration followed by heavy
braking
-- rather than keeping pace with traffic. This is a
mistake. Your brakes
may not have time to cool between
hard stops. Your brakes will wear out much faster if you
do a lot of heavy braking.
If you keep pace with the
traffic and allow realistic following distances, you will
eliminate
a lot of unnecessary braking. That means
better braking and longer brake
life.
If your engine ever stops while you’re driving, brake
normally but don’t pump your brakes.
If you do, the
pedal may get harder to push down.
If your engine
stops, you will still have some power brake assist. But
you will use
it when you brake. Once the power assist is
used up, it may take longer to stop and the brake pedal
will be harder to push. Your
vehicle
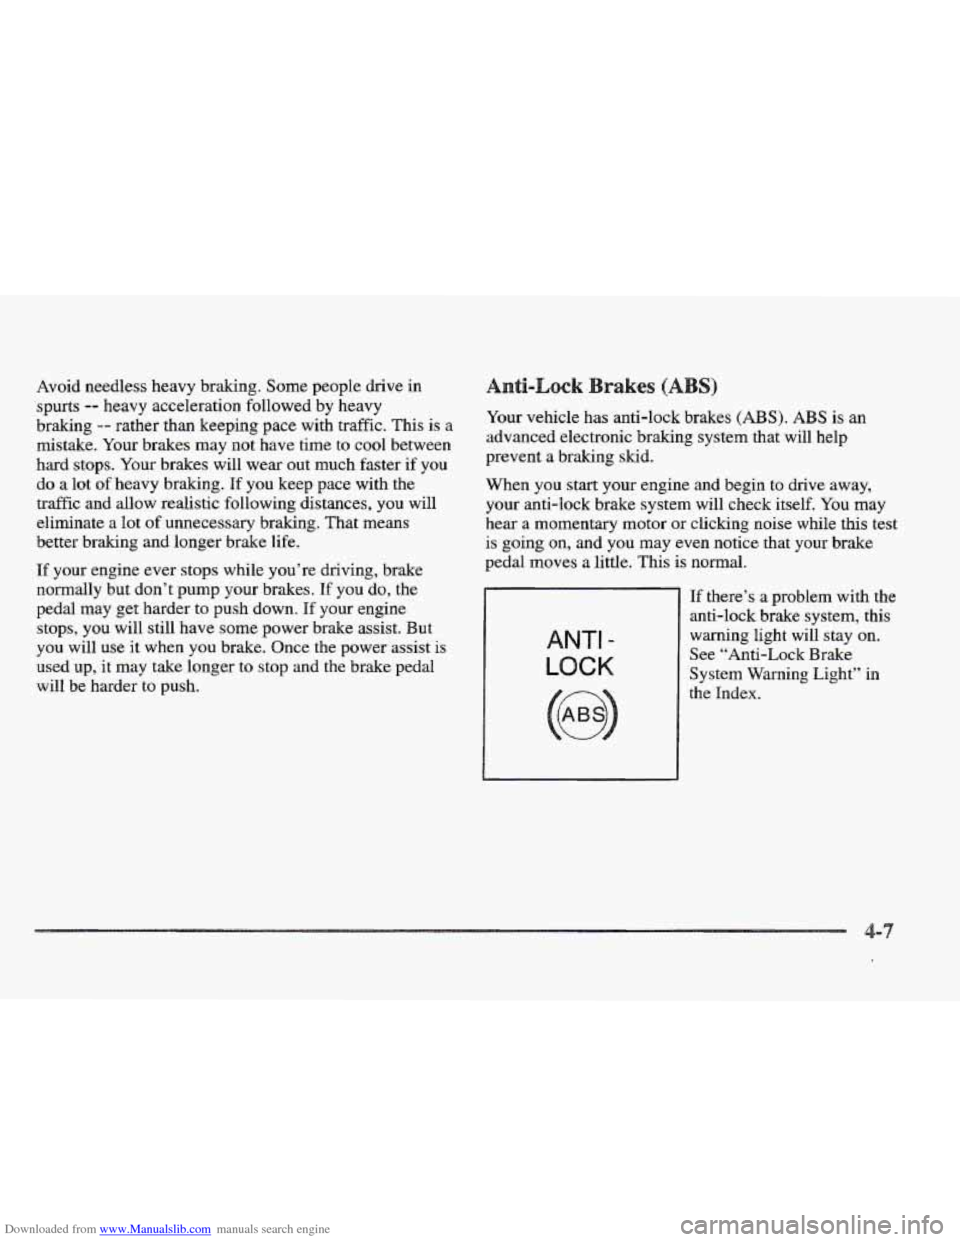
has anti-lock brakes (ABS). ABS is an
advanced electronic braking system that will help
prevent a braking skid.
When
you start your engine and begin to drive away,
your anti-lock brake system will check itself. You may
hear a momentary motor or clicking noise while this test
is going on, and you may even notice that your brake
pedal moves a little. This
is normal.
ANTI -
LOCK
If there’s a problem with the
anti-lock brake system, this
warning light will stay on.
See “Anti-Lock Brake
System Warning Light” in
Page 202 of 361
Downloaded from www.Manualslib.com manuals search engine No one can see as well at night as in the daytime. But as
we get older these differences increase.
A 50-year-old
driver may require at least twice as much light to see
the
same thing at night as a 20-year-old.
What you
do in the daytime can also affect your night
vision. For example,
if you spend the day in bright
sunshine you are wise
to wear sunglasses. Your eyes will
have less trouble adjusting to night. But
if you’re
driving, don’t wear sunglasses at night. They may cut
down on glare from headlamps, but they also make
a lot
of things invisible.
You can be temporarily blinded by approaching
headlamps.
It can take a second or two, or even several
seconds, for your eyes to readjust to the dark. When you
are faced with severe glare (as from a driver who
doesn’t lower the high beams, or
a vehicle with
misaimed headlamps),
slow down a little. Avoid staring
directly into the approaching headlamps. Keep your windshield and all the
glass on your vehicle
clean
-- inside and out. Glare at night is made much
worse by dirt on the glass. Even the inside of
the glass
can build up a film caused by dust. Dirty glass makes
lights dazzle and flash more than clean glass would,
making
the pupils of your eyes contract repeatedly.
Remember that your headlamps light
up far less of a
roadway when you are in a turn or curve. Keep your
eyes moving; that
way, it’s easier to pick out dlmly
lighted objects. Just as your headlamps should be
checked regularly for proper aim,
SO should your eyes
be examined regularly. Some drivers suffer from night
blindness
-- the inability to see in dim light -- and
aren’t even aware
of it.
Page 206 of 361
Downloaded from www.Manualslib.com manuals search engine .. .. . t. . :.
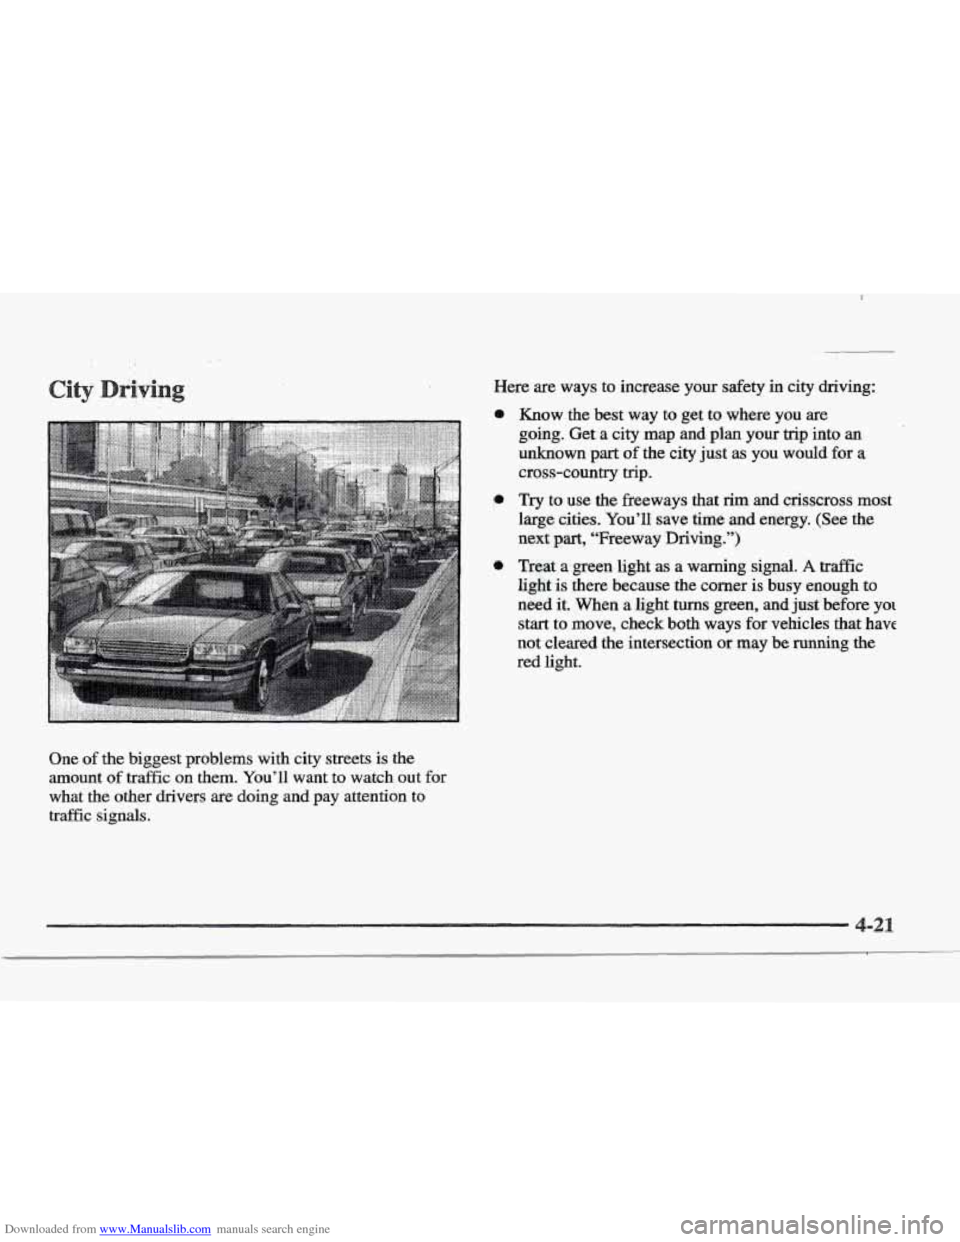
One of the biggest problems with city streets is the
amount
of traffic on them. You’ll want to watch out for
what the other drivers are doing and pay attention to
traffic
signals.
Here are ways to increase your safety in city driving:
a
a
Know the best way to get to where you are
going. Get
a city map and plan your trip into an
unknown part of the city just as you would for a
cross-country trip.
Try to use the freeways that rim and crisscross most
large cities.
You’ll save time and energy. (See the
next part, “Freeway Driving.”)
Treat a green light as a warning signal. A traffic
light
is there because the comer is busy enough to
need
it. When a light turns green, and just.before yo[
start to move, check both ways for vehicles that have
not cleared the intersection
or may be running the
red light.
Page 207 of 361
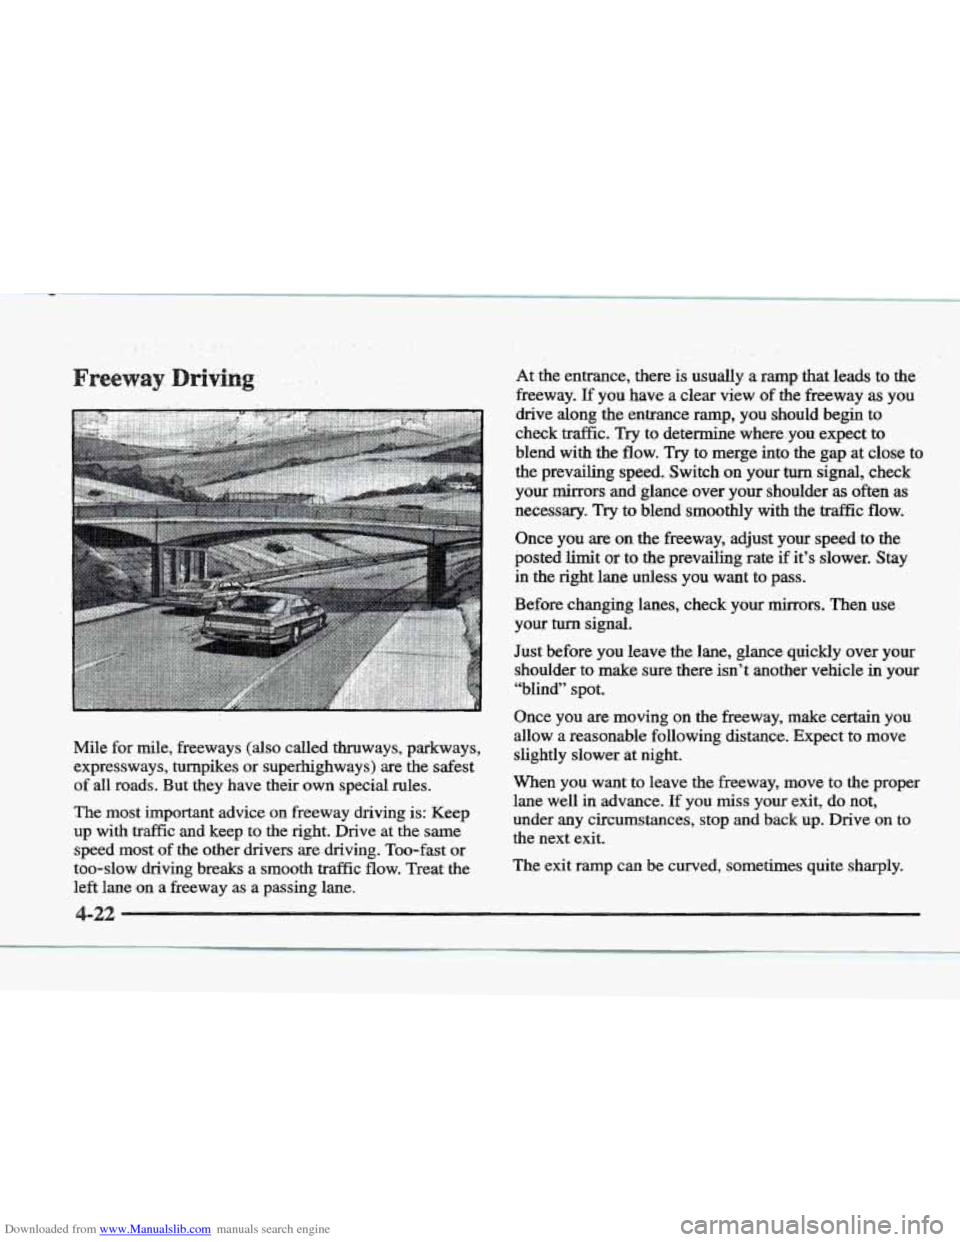
Downloaded from www.Manualslib.com manuals search engine Mile for mile, freeways (also called thruways, parkways,
expressways, turnpikes or superhighways) are the safest
of all roads. But they have their own special rules.
The most important advice on freeway driving is: Keep
up with traffic and keep to the right. Drive at the same
speed most
of the other drivers are driving. Too-fast or
too-slow driving breaks a
smooth traffic flow. Treat the
left lane
on a freeway as a passing lane. At
the entrance, there is usually a ramp that leads to the
freeway. If you have a clear view of the freeway as you
drive along the entrance ramp, you should begin to
check trafl5c.
Try to determine where. you expect to
blend with the
flow. Try to ,merge into the gap at close to
the prevailing speed. Switch on your turn Signal, check-
your mirrors and,glance..over
your shoulder as often as
necessary. Try to blend'smoothly with the traffic flow.
Once
you are on the freeway, adjust your speed to the
posted limit or to the prevailing rate if it's
slower. Stay
in the right lane unless you want to pass.
Before changing lanes, check your mirrors. Then use
your
turn signal.
Just before you leave the. lane, glance quickly over your
shoulder to make sure there isn't another vehicle in your
"blind" spot.
Once you
are moving on the freeway, make certain you
allow a reasonable following distance. Expect to move
slightly slower at night.
When you want to leave the freeway, move to the proper
lane well in advance. If you
miss your exit, do not,
under any circumstances, stop and back up. Drive
on to
the next exit.
The exit ramp can be curved, sometimes quite sharply.
Page 231 of 361
Downloaded from www.Manualslib.com manuals search engine Using a match near a battery can cause battery
gas to explode. People have been hurt doing this,
and some have been blinded. Use a flashlight if
you need more light.
Be sure the battery has enough water. You don’t
need
to add water to the Delco Freedom@ battery.
installed in every new
GM vehicle. But if a
battery has filler caps, be sure the right amount
of fluid is there. If it is IOW, add water to take care
of that first. If you don’t, explosive gas could
be present.
Battery fluid contains acid that
can burn you.
Don’t get it on
you. If you accidentally get it in
your eyes or on your skin, flush the place with
water
and get medical help immediately.
6. Check that the jumper cables don’t have loose or
missing insulation. If they do, you could get a shock.
The vehicles could
also be damaged.
Before
you connect the cables, here are some basic
things
you should know. Positive (+) will go to
positive
(+) and negative (-) will go to an unpainted
metal engine
part or a body metal surface. Don’t
connect positive
(+) to negative (-) or you will get a
short that would damage the battery and. maybe other
parts, too. Also don’t connect negative (-) to
negative
(-).
Fans or other moving engine parts can injure you
badly. Keep your hands away
from moving parts
once the engines are running.
Page 286 of 361
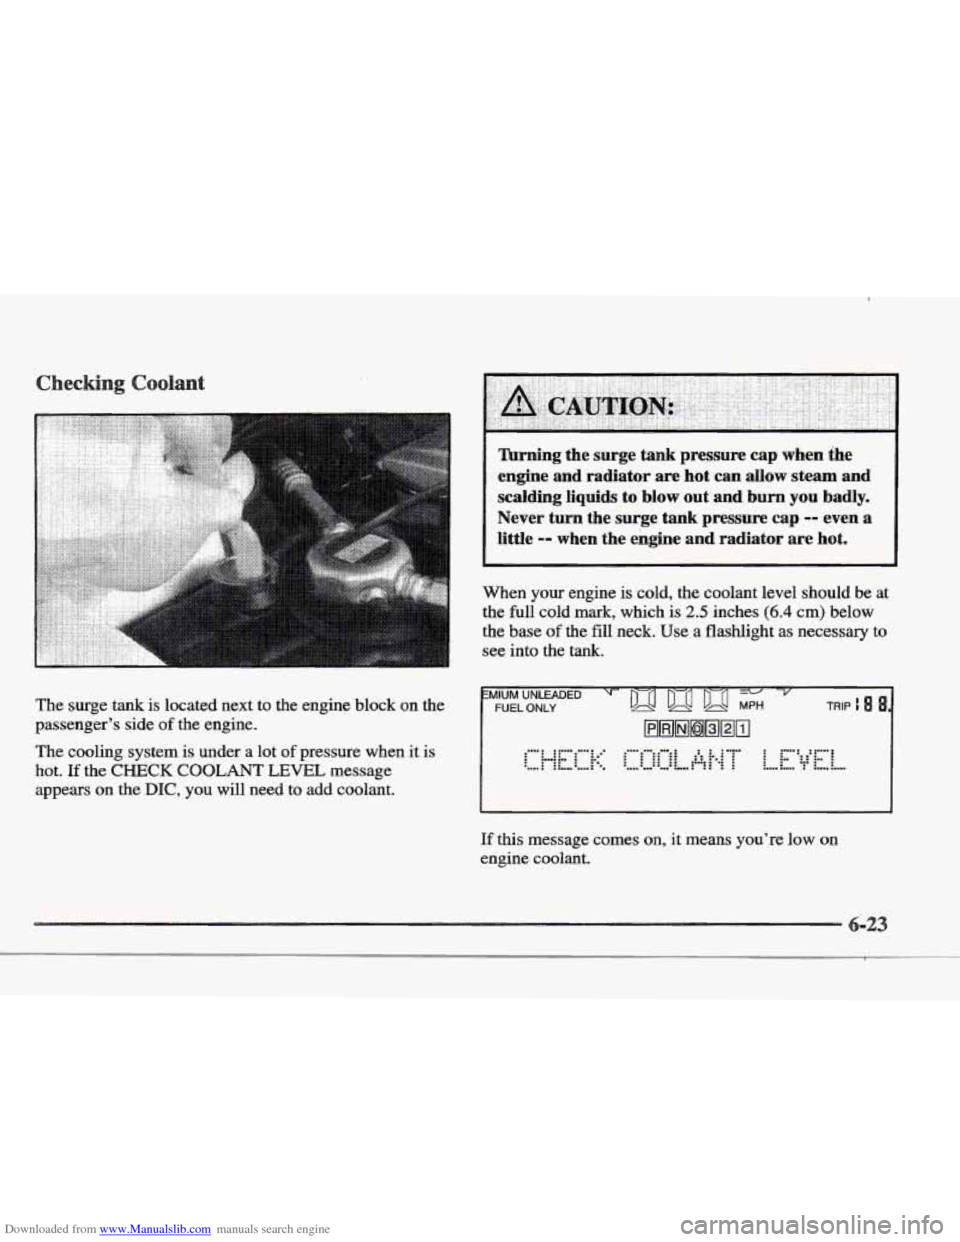
Downloaded from www.Manualslib.com manuals search engine The surge tank is located next to the engine block on the
passenger's side
of the engine.
The cooling system is under a lot
of pressure when it is
hot. If the CHECK COOLANT LEVEL message
appears on the
DIC, you will need to add coolant.
Turning the surge tank pressure cap when the
engine and radiator are hot can allow steam and
scalding liquids to blow out and burn you badly.
Never
turn the surge tank pressure cap =- even a
little -- when the engine and radiator are hot.
When your engine is cold, the coolant level should be at
the full cold mark,
which is 2.5 inches (6.4 cm) below
the base
of the fill neck. Use a flashlight as necessary to
see into the
tank.
MlUM UNLEADED - -
FUEL ONLY
DS Dg a ML
HHBHBBrn
........... ....... ." .......................... ...... ....... , : :: :: .-. :. : : ............. :.no. ... ..... : :L...-"..: ".L... ..... .............. .....
.... ...... ............ . .. . .I ......... .... . . -. . . .".. .".. .I.. ..". ." ...
If this message comes on, it means you're low on
engine
coolant.
Page 347 of 361
Downloaded from www.Manualslib.com manuals search engine attery ...................................... 6-30
Charging System Indicator Light
................. 2-7 1
Jump Starting
................................. 5-4
No Charge Message ........................... 2-85
Replacement, Remote Keyless Entry
.............. 2- 10
Volts High Message ........................... 2-85
Volts
Low Message ........................... 2-85
Battery Guard Storage
........................... 2-48
Battery Saver
.................................. 2-47
Exterior Lighting
............................. 2-47
Inadvertent Power
............................ 2-48
BBB Auto Line
................................ 7- 11
Better Business Bureau Mediation
.................. 7-1 1
Brake Adjustment
.................................. 6-29
Master Cylinder
.............................. 6-27
Replacing System
Parts ........................ 6-30
System Warning Light ......................... 2-72
Trailer
...................................... 4- 36
Transaxle Shift Interlock
....................... 2-3 1
Vacuum Problem Message ...................... 2-85
Wear
....................................... 6-2 9
Brakes, Anti-Lock ............................... 4-7
Braking ........................................ 4-6
Braking in Emergencies
.......................... 4- 10
Break-In, New Vehicle
.......................... 2-19
Brightness Control
.............................. 2-47
BTSI ......................................... 2-31
Bulb Replacement
.............................. 6-3 1
Warnings ................................ 5-4, 5-6
Fluid ....................................... 6-27
Parking
..................................... 2-26
Peddlravel ................................. 6-29
Capacities and Specifications .................... 6-45
Carbon Monoxide
.................... 2.32.4.29. 4.35
Cassette Tape Player
.................. 3.10.3.13. 3.17
Cassette Tape Player Care
........................ 3-26
Cellular Telephone
.............................. 2-58
Center Console Storage Area
...................... 2-56
Center Passenger Position
........................ 1-30
Central Door Unlocking System
.................... 2-4
Certitication Label
.............................. 4-31
Chains. Safety
................................. 4-36
Chains. Tire
................................... 6-45
Change Engine
Oil Message ...................... 2-85
Change Trans Fluid Message
...................... 2-85
Changing a Flat Tire ............................. 5-26
Charging System Indicator Light
................... 2-71
Check Brake Fluid Level Message
................. 2-86
Check Coolant Level Message ..................... 2-86
Check Fuel Gage Message
........................ 2-86
Check Oil Level Message ........................ 2-86
Check Washer Fluid Message ..................... 2-86
Checking Your Restraint Systems .................. 1-43
Chemical Paint Spotting
.......................... 6-52
Child Restraints
................................ 1-33
Securing in
a Rear Outside Seat Position ........... 1-34
Securing in the Center Rear Seat Position
.......... 1-36
Securing in
the Right Front Seat Position .......... 1-38
Wheretoput
................................ l-33
Center High-Mounted Stoplamp. Bulb Replacement ... 4-35
. TopStrap ................................... 1-34
Chrome Wheels. Cleaning
........................ 6-51
Cigarette Lighter
............................... 2-57
CHMSL ...................................... 6.35
Circuit Breakers
and Fuses ....................... 6-58
-2