check engine CADILLAC ELR 2014 Owner's Guide
[x] Cancel search | Manufacturer: CADILLAC, Model Year: 2014, Model line: ELR, Model: CADILLAC ELR 2014Pages: 408, PDF Size: 4.47 MB
Page 276 of 408

Black plate (16,1)Cadillac ELR Owner Manual (GMNA-Localizing-U.S./Canada-6081525) -
2014 - Second Edition - 1/22/14
10-16 Vehicle Care
Cooling System (Power
Electronics and Charger
Modules)
The power electronics and charger
modules are cooled using the same
coolant loop.
The power electronics and charger
modules in the vehicle are kept
below a maximum temperature.
If the temperature rises above this
temperature, the electric cooling
fans will turn on and cool the
coolant until the correct temperature
is reached.
What to Use
The power electronics and charger
modules coolant reservoir in the
vehicle is filled with a 50/50 mixture
of DEX-COOL engine coolant and
deionized water. If using this
mixture, nothing else needs to be
added.The coolant needs to be replaced at
the appropriate interval. See
Maintenance Schedule on
page 11-2.
Checking Coolant
The vehicle must be on a level
surface when checking the coolant
level.
The power electronics and charger
modules coolant reservoir is in the
engine compartment. See
Engine
Compartment Overview on
page 10-8.
Check to see if coolant is visible in
the power electronics and charger
modules coolant reservoir. If coolant
is visible but the coolant level is
below the cold fill line, there could
be a leak in the cooling system.
The power electronics and charger
modules coolant should only be
serviced by a qualified technician.
Engine Coolant
The engine cooling system in the
vehicle is filled with DEX-COOL
engine coolant. The coolant needs
to be replaced every 5 years or
240 000 km (150,000 mi), whichever
occurs first.
The following explains the cooling
system and how to check and add
coolant when it is low. If there is a
problem with engine overheating,
see Engine Overheating on
page 10-19.
Page 277 of 408

Black plate (17,1)Cadillac ELR Owner Manual (GMNA-Localizing-U.S./Canada-6081525) -
2014 - Second Edition - 1/22/14
Vehicle Care 10-17
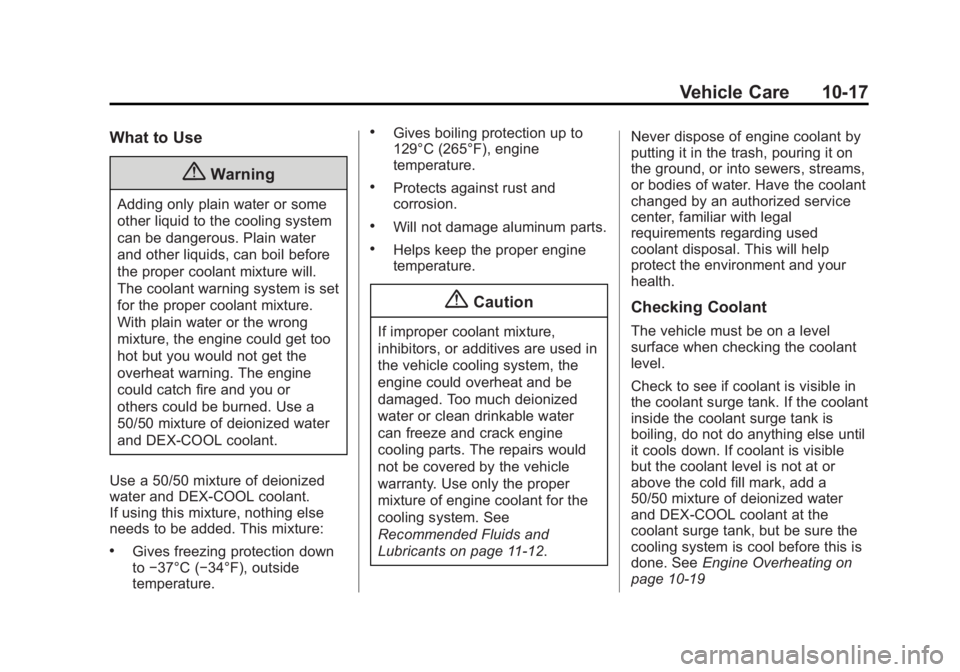
What to Use
{Warning
Adding only plain water or some
other liquid to the cooling system
can be dangerous. Plain water
and other liquids, can boil before
the proper coolant mixture will.
The coolant warning system is set
for the proper coolant mixture.
With plain water or the wrong
mixture, the engine could get too
hot but you would not get the
overheat warning. The engine
could catch fire and you or
others could be burned. Use a
50/50 mixture of deionized water
and DEX-COOL coolant.
Use a 50/50 mixture of deionized
water and DEX-COOL coolant.
If using this mixture, nothing else
needs to be added. This mixture:
.Gives freezing protection down
to −37°C (−34°F), outside
temperature.
.Gives boiling protection up to
129°C (265°F), engine
temperature.
.Protects against rust and
corrosion.
.Will not damage aluminum parts.
.Helps keep the proper engine
temperature.
{Caution
If improper coolant mixture,
inhibitors, or additives are used in
the vehicle cooling system, the
engine could overheat and be
damaged. Too much deionized
water or clean drinkable water
can freeze and crack engine
cooling parts. The repairs would
not be covered by the vehicle
warranty. Use only the proper
mixture of engine coolant for the
cooling system. See
Recommended Fluids and
Lubricants on page 11-12. Never dispose of engine coolant by
putting it in the trash, pouring it on
the ground, or into sewers, streams,
or bodies of water. Have the coolant
changed by an authorized service
center, familiar with legal
requirements regarding used
coolant disposal. This will help
protect the environment and your
health.
Checking Coolant
The vehicle must be on a level
surface when checking the coolant
level.
Check to see if coolant is visible in
the coolant surge tank. If the coolant
inside the coolant surge tank is
boiling, do not do anything else until
it cools down. If coolant is visible
but the coolant level is not at or
above the cold fill mark, add a
50/50 mixture of deionized water
and DEX-COOL coolant at the
coolant surge tank, but be sure the
cooling system is cool before this is
done. See
Engine Overheating on
page 10-19
Page 279 of 408

Black plate (19,1)Cadillac ELR Owner Manual (GMNA-Localizing-U.S./Canada-6081525) -
2014 - Second Edition - 1/22/14
Vehicle Care 10-19
The coolant surge tank pressure
cap can be removed when the
cooling system, including the surge
tank pressure cap and upper
radiator hose, is no longer hot.
1. Turn the pressure cap slowlycounterclockwise. If a hiss is
heard, wait for that to stop.
A hiss means there is still some
pressure left.
2. Keep turning the cap and remove it.3. Fill the coolant surge tank withthe proper mixture to the cold
fill line.
4. Replace the pressure cap. Be sure the pressure cap is
hand-tight and fully seated.
{Caution
If the pressure cap is not tightly
installed, coolant loss and
possible engine damage may
occur. Be sure the cap is properly
and tightly secured.
Engine Overheating
The vehicle has an indicator to warn
of engine overheating.
If the decision is made not to lift the
hood when this warning appears,
get service help right away. See
Roadside Service on page 13-5.
If the decision is made to lift the
hood, make sure the vehicle is
parked on a level surface. Then check to see if the engine
cooling fans are running. If the
engine is overheating, the fans
should be running. If they are not,
do not continue to run the vehicle
and have the vehicle serviced.
{Caution
Running the engine without
coolant may cause damage or a
fire. Vehicle damage would not be
covered by the vehicle warranty.
Washer Fluid
What to Use
When adding windshield washer
fluid to the vehicle, be sure to read
the manufacturer's instructions
before use. If operating the vehicle
in an area where the temperature
may fall below freezing, use a fluid
that has sufficient protection against
freezing.
Page 282 of 408

Black plate (22,1)Cadillac ELR Owner Manual (GMNA-Localizing-U.S./Canada-6081525) -
2014 - Second Edition - 1/22/14
10-22 Vehicle Care
{Warning
If too much brake fluid is added, it
can spill on the engine and burn,
if the engine is hot enough. You
or others could be burned, and
the vehicle could be damaged.
Add brake fluid only when work is
done on the brake hydraulic
system.
When the brake fluid falls to a low
level, the brake warning light comes
on. See Brake System Warning
Light on page 5-20.
Checking Brake Fluid
Check brake fluid by looking at the
brake fluid reservoir. See Engine
Compartment Overview on
page 10-8.
With the vehicle not running for at
least one minute, the maximum fluid
level (1) is at the top of the reservoir
body. With the vehicle running, the
fluid level should be in the proper
operating range (2) between the
MIN and MAX marks. If it is not,
have the brake hydraulic system
checked to see if there is a leak.
After work is done on the brake
hydraulic system, make sure the
level, with the vehicle running, is in
the proper operating range (2)
between the MIN and MAX marks. What to Add
Use only new DOT 3 brake fluid
from a sealed container. See
Recommended Fluids and
Lubricants on page 11-12.
Always clean the brake fluid
reservoir cap and the area around
the cap before removing it. This
helps keep dirt from entering the
reservoir.{Warning
With the wrong kind of fluid in the
brake hydraulic system, the
brakes might not work well. This
could cause a crash. Always use
the proper brake fluid.
Page 289 of 408

Black plate (29,1)Cadillac ELR Owner Manual (GMNA-Localizing-U.S./Canada-6081525) -
2014 - Second Edition - 1/22/14
Vehicle Care 10-29
borrowed. Choose some feature of
the vehicle that is not needed to use
and replace it as soon as possible.
Headlamp Wiring
An electrical overload may cause
the lamps to go on and off, or in
some cases to remain off. Have the
headlamp wiring checked right away
if the lamps go on and off or
remain off.
Windshield Wipers
If the wiper motor overheats due to
heavy snow or ice, the windshield
wipers will stop until the motor cools
and the wiper control is turned off.
After removal of the blockage, the
wiper motor will restart when the
control is then moved to the desired
operating position.
Although the circuit is protected
from electrical overload, overload
due to heavy snow or ice, may
cause wiper damage. Always clear
ice and heavy snow from the
windshield before using the
windshield wipers.If the overload is caused by an
electrical problem and not snow or
ice, be sure to get it fixed.
Engine Compartment
Fuse Block
To open the fuse block cover, press
the clips at the front and back and
rotate the cover up to the side.
{Caution
Spilling liquid on any electrical
component on the vehicle may
damage it. Always keep the
covers on any electrical
component.
Page 335 of 408

Black plate (75,1)Cadillac ELR Owner Manual (GMNA-Localizing-U.S./Canada-6081525) -
2014 - Second Edition - 1/22/14
Vehicle Care 10-75
6. Check that the jumper cables donot have loose or missing
insulation or a shock could result
and the vehicles could be
damaged.
Before connecting the jumper
cables, here are some basic
things to know. Positive (+)
jumper cable goes to positive (+)
battery terminal or a remote
positive (+) terminal if available.
Negative (−) jumper cable goes
to remote negative (−) terminal if
available, or a heavy, unpainted
metal engine part or a solid
engine ground on the vehicle
with the run-down battery.
Do not connect positive (+) to
negative (−) or there will be a
short that may damage the
battery or other parts of the
vehicle. Do not connect the
negative (−) cable to the
negative (−) terminal on the
run-down battery because this
can cause sparks.{Caution
If the jumper cables are
connected or removed in the
wrong order, electrical shorting
may occur and damage the
vehicle. The repairs would not be
covered by the vehicle warranty.
Always connect and remove the
jumper cables in the correct order,
making sure that the cables do
not touch each other or other
metal.
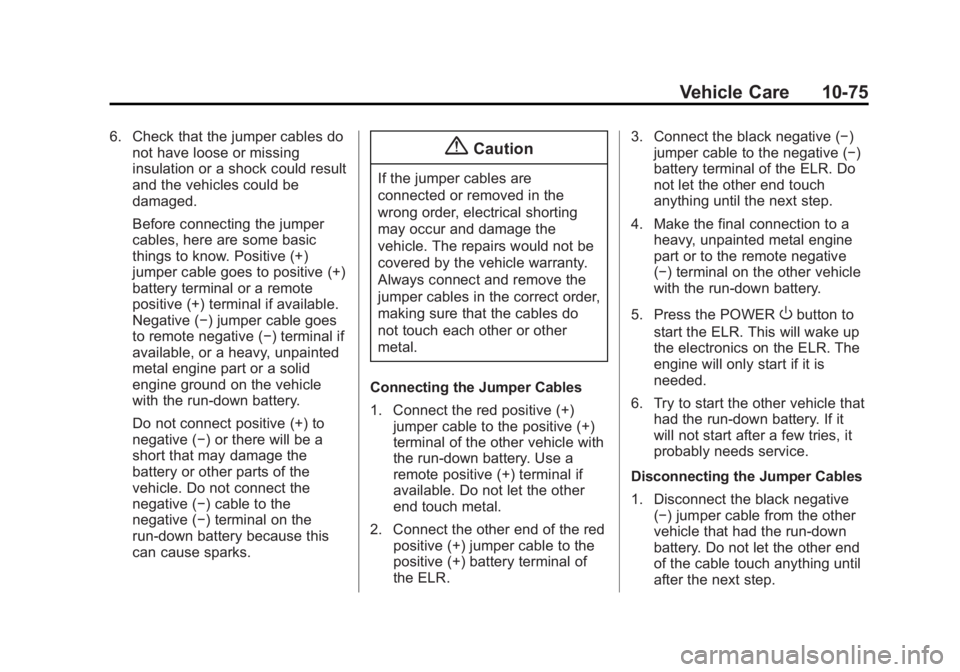
Connecting the Jumper Cables
1. Connect the red positive (+) jumper cable to the positive (+)
terminal of the other vehicle with
the run-down battery. Use a
remote positive (+) terminal if
available. Do not let the other
end touch metal.
2. Connect the other end of the red positive (+) jumper cable to the
positive (+) battery terminal of
the ELR. 3. Connect the black negative (−)
jumper cable to the negative (−)
battery terminal of the ELR. Do
not let the other end touch
anything until the next step.
4. Make the final connection to a heavy, unpainted metal engine
part or to the remote negative
(−) terminal on the other vehicle
with the run-down battery.
5. Press the POWER
Obutton to
start the ELR. This will wake up
the electronics on the ELR. The
engine will only start if it is
needed.
6. Try to start the other vehicle that had the run-down battery. If it
will not start after a few tries, it
probably needs service.
Disconnecting the Jumper Cables
1. Disconnect the black negative (−) jumper cable from the other
vehicle that had the run-down
battery. Do not let the other end
of the cable touch anything until
after the next step.
Page 352 of 408

Black plate (2,1)Cadillac ELR Owner Manual (GMNA-Localizing-U.S./Canada-6081525) -
2014 - Second Edition - 1/22/14
11-2 Service and Maintenance
Because of the way people use
vehicles, maintenance needs vary.
There may need to be more
frequent checks and services. The
Additional Required Services -
Normal are for vehicles that:
.Carry passengers and cargo
within recommended limits on
the Tire and Loading Information
label. SeeVehicle Load Limits
on page 9-12.
.Are driven on reasonable road
surfaces within legal driving
limits.
.Use the recommended fuel. See
Fuel on page 9-66.
Refer to the information in the
Maintenance Schedule Additional
Required Services - Normal chart.
The Additional Required Services -
Severe are for vehicles that are:
.Mainly driven in heavy city traffic
in hot weather.
.Mainly driven in hilly or
mountainous terrain.
.Frequently towing a trailer.
.Used for high speed or
competitive driving.
.Used for taxi, police, or delivery
service.
Refer to the information in the
Maintenance Schedule Additional
Required Services - Severe chart.
{Warning
Performing maintenance work can
be dangerous and can cause
serious injury. Perform
maintenance work only if the
required information, proper tools,
and equipment are available.
If they are not, see your dealer to
have a trained technician do the
work. See Doing Your Own
Service Work on page 10-5.
Maintenance
Schedule
Owner Checks and Services
At Each Fuel Stop
.Check the engine oil level. See
Engine Oil on page 10-9.
Once a Month
.Check the tire inflation
pressures. See Tire Pressure on
page 10-48.
.Inspect the tires for wear. See
Tire Inspection on page 10-54.
.Check the windshield washer
fluid level. See Washer Fluid on
page 10-19.
.Engine, power electronics, and
high voltage battery pack
coolant level checks. See
Cooling System (Engine) on
page 10-14 orCooling System
(High Voltage Battery) on
page 10-15 orCooling System
(Power Electronics and Charger
Modules) on page 10-16.
Page 353 of 408

Black plate (3,1)Cadillac ELR Owner Manual (GMNA-Localizing-U.S./Canada-6081525) -
2014 - Second Edition - 1/22/14
Service and Maintenance 11-3
Engine Oil Change
Every 24 months or when the
CHANGE ENGINE OIL SOON
message displays, change the
engine oil and filter as soon as
possible, within the next 1 000 km/
600 mi. The engine oil and filter
must be changed at least once
every 24 months. After each oil and
filter change, the oil life system must
be reset. SeeEngine Oil Life
System on page 10-12. More
frequent changes may be required
when the vehicle is exposed to a
corrosive environment, such as
areas of high humidity, along an
ocean coast, and/or areas that
apply road salt during winter.
Your trained dealer technician can
perform this work. If the engine oil
life system is reset accidentally,
service the vehicle within 5 000 km/
3,000 mi since the last service.
Reset the oil life system when the
oil is changed.
Tire Rotation and Required
Services Every 12 000 km/
7,500 mi
Rotate the tires, if recommended for
the vehicle, and perform the
following services. See Tire
Rotation on page 10-54.
.Check engine oil level and oil
life percentage. If needed,
change engine oil and filter, and
reset oil life system. See Engine
Oil on page 10-9 andEngine Oil
Life System on page 10-12.
.Check engine coolant level. See
Engine Coolant on page 10-16.
.Check windshield washer fluid
level. See Washer Fluid on
page 10-19.
.Visually inspect windshield wiper
blades for wear, cracking,
or contamination. See Exterior
Care on page 10-80. Replace
worn or damaged wiper blades.
See Wiper Blade Replacement
on page 10-25.
.Check tire inflation pressures.
See Tire Pressure on
page 10-48.
.Inspect tire wear. See Tire
Inspection on page 10-54.
.Visually check for fluid leaks.
.Inspect engine air cleaner filter.
See Engine Air Cleaner/Filter on
page 10-13.
.Inspect brake system.
.Visually inspect steering,
suspension, and chassis
components for damaged, loose,
or missing parts or signs of
wear. See Exterior Care on
page 10-80.
.Check restraint system
components. See Safety System
Check on page 3-18.
.Visually inspect fuel system for
damage or leaks.
.Visually inspect exhaust system
and nearby heat shields for
loose or damaged parts.
Page 355 of 408

Black plate (5,1)Cadillac ELR Owner Manual (GMNA-Localizing-U.S./Canada-6081525) -
2014 - Second Edition - 1/22/14
Service and Maintenance 11-5
Maintenance Schedule
Additional Required
Services - Normal12 000 km/7,500 mi
24 000 km/15,000 mi
36 000 km/22,500 mi
48 000 km/30,000 mi
60 000 km/37,500 mi
72 000 km/45,000 mi
84 000 km/52,500 mi
96 000 km/60,000 mi
108 000 km/67,500 mi
120 000 km/75,000 mi
132 000 km/82,500 mi
144 000 km/90,000 mi
156 000 km/97,500 mi
168 000 km/105,000 mi 180 000 km/112,500 mi
192 000 km/120,000 mi
204 000 km/127,500 mi
216 000 km/135,000 mi
228 000 km/142,500 mi
240 000 km/150,000 mi
Rotate tires and perform Required Services.
Check engine oil level and oil life percentage.
Change engine oil and filter, if needed.@ @ @ @ @ @ @ @ @ @ @ @ @ @ @ @ @ @ @ @
Replace passenger compartment air filter. (1)@ @@@@@
Inspect evaporative control system. (2)@ @@
Replace engine air cleaner filter. (3)@@@
Replace spark plugs. Inspect spark plug wires.@
Change electric drive unit fluid. Change filter if
serviceable.@
Drain and fill engine, power electronics, and high
voltage battery cooling systems. (4)@
Visually inspect accessory drive belts. (5)@
Replace brake fluid. (6)@
Page 356 of 408

Black plate (6,1)Cadillac ELR Owner Manual (GMNA-Localizing-U.S./Canada-6081525) -
2014 - Second Edition - 1/22/14
11-6 Service and Maintenance
Footnotes—Maintenance
Schedule Additional Required
Services - Normal
(1) Or every two years, whichever
comes first. More frequent
replacement may be needed if the
vehicle is driven in areas with heavy
traffic, areas with poor air quality,
or areas with high dust levels.
Replacement may also be needed if
there is a reduction in air flow,
excessive window fogging, or odors.
(2) Check all fuel and vapor lines
and hoses for proper hook-up,
routing, and condition.
(3) Or every four years, whichever
comes first.
(4) Or every five years, whichever
comes first. See Cooling System
(Engine) on page 10-14 orCooling
System (High Voltage Battery) on
page 10-15 orCooling System
(Power Electronics and Charger
Modules) on page 10-16. (5)
Or every 10 years, whichever
comes first. Inspect for fraying,
excessive cracking, or damage;
replace, if needed.
(6) Or every 10 years, whichever
comes first.