headlamp CADILLAC ESCALADE 2000 1.G Owner's Manual
[x] Cancel search | Manufacturer: CADILLAC, Model Year: 2000, Model line: ESCALADE, Model: CADILLAC ESCALADE 2000 1.GPages: 339, PDF Size: 2.59 MB
Page 215 of 339
4-40
Run your engine only as long as you must. This saves
fuel. When you run the engine, make it go a little faster
than just idle. That is, push the accelerator slightly. This
uses less fuel for the heat that you get and it keeps the
battery charged. You will need a well
-charged battery
to restart the vehicle, and possibly for signaling later on
with your headlamps. Let the heater run for a while.
Then, shut the engine off and close the window almost
all the way to preserve the heat. Start the engine again
and repeat this only when you feel really uncomfortable
from the cold. But do it as little as possible. Preserve the
fuel as long as you can. To help keep warm, you can get
out of the vehicle and do some fairly vigorous exercises
every half hour or so until help comes.
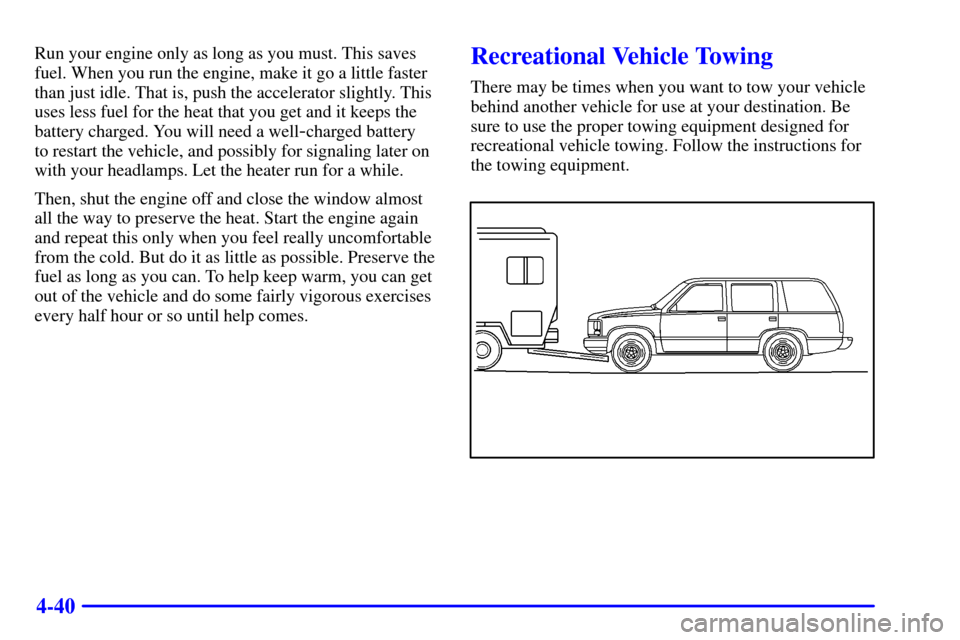
Recreational Vehicle Towing
There may be times when you want to tow your vehicle
behind another vehicle for use at your destination. Be
sure to use the proper towing equipment designed for
recreational vehicle towing. Follow the instructions for
the towing equipment.
Page 295 of 339

6-33
Bulb Replacement
The following procedure tells you how to replace your
headlamp bulbs. For the type of bulb to use, see
ªReplacement Bulbsºin the Index. For any bulbs not
listed in this section, contact your service department.
Halogen Bulbs
CAUTION:
Halogen bulbs have pressurized gas inside and
can burst if you drop or scratch the bulb. You or
others could be injured. Be sure to read and
follow the instructions on the bulb package.
Headlamps
1. Remove the parking/turn signal assembly as
described under ªParking/Turn Signal Lamps,º
following this procedure. The parking/turn signal
assembly must be removed to provide clearance for
headlamp removal.2. Remove the two turn signal bulb sockets and the
sidemarker bulb socket from the parking/turn signal
assembly by turning counterclockwise.
3. Set the parking/turn signal assembly to the side.4. Remove the two bolts at the top of the radiator
support as shown.
5. Pull the headlamp assembly out.
Page 296 of 339
6-34
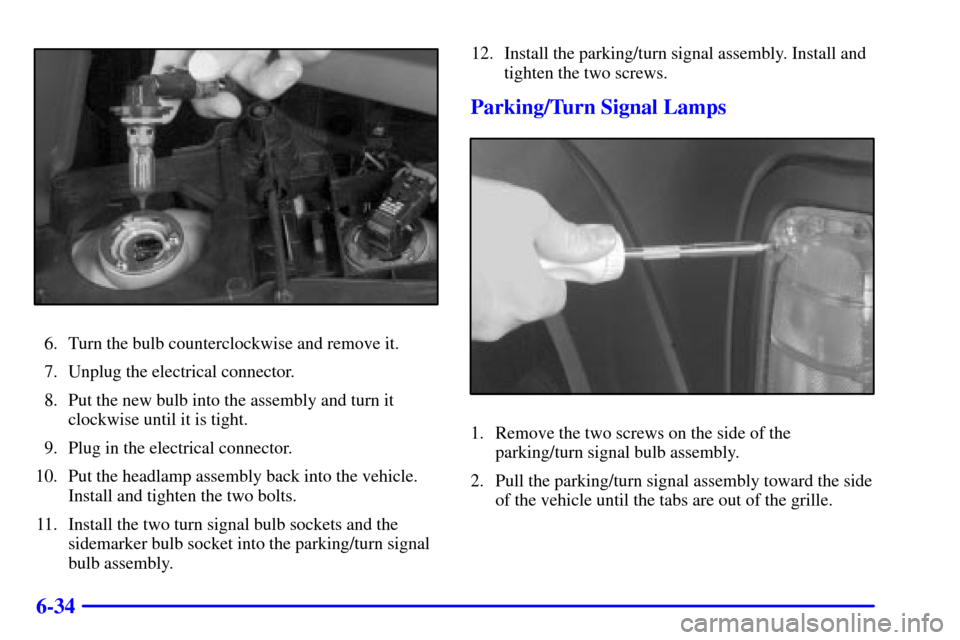
6. Turn the bulb counterclockwise and remove it.
7. Unplug the electrical connector.
8. Put the new bulb into the assembly and turn it
clockwise until it is tight.
9. Plug in the electrical connector.
10. Put the headlamp assembly back into the vehicle.
Install and tighten the two bolts.
11. Install the two turn signal bulb sockets and the
sidemarker bulb socket into the parking/turn signal
bulb assembly.12. Install the parking/turn signal assembly. Install and
tighten the two screws.
Parking/Turn Signal Lamps
1. Remove the two screws on the side of the
parking/turn signal bulb assembly.
2. Pull the parking/turn signal assembly toward the side
of the vehicle until the tabs are out of the grille.
Page 307 of 339
6-45
If you need to replace any of your wheels, wheel bolts
or wheel nuts, replace them only with new GM original
equipment parts. This way, you will be sure to have the
right wheel, wheel bolts and wheel nuts for your vehicle.
CAUTION:
Using the wrong replacement wheels, wheel bolts
or wheel nuts on your vehicle can be dangerous.
It could affect the braking and handling of your
vehicle, make your tires lose air and make you
lose control. You could have a collision in which
you or others could be injured. Always use the
correct wheel, wheel bolts and wheel nuts
for replacement.
NOTICE:
The wrong wheel can also cause problems with
bearing life, brake cooling, speedometer or
odometer calibration, headlamp aim, bumper
height, vehicle ground clearance and tire
clearance to the body and chassis.
See ªChanging a Flat Tireº in the Index for
more information.
Used Replacement Wheels
CAUTION:
Putting a used wheel on your vehicle is
dangerous. You can't know how it's been used or
how far it's been driven. It could fail suddenly
and cause an accident. If you have to replace a
wheel, use a new GM original equipment wheel.
Page 318 of 339
6-56
Electrical System
Add-On Electrical Equipment
NOTICE:
Don't add anything electrical to your vehicle
unless you check with your dealer first. Some
electrical equipment can damage your vehicle
and the damage wouldn't be covered by your
warranty. Some add
-on electrical equipment can
keep other components from working as
they should.
Your vehicle has an air bag system. Before attempting to
add anything electrical to your vehicle, see ªServicing
Your Air Bag
-Equipped Vehicleº in the Index.
Headlamp Wiring
The headlamp wiring is protected by a circuit breaker in
the lamp switch. An electrical overload will cause the
lamps to flicker on and off, or in some cases to remain
off. If this happens, have your headlamp wiring checked
right away.
Windshield Wipers
The windshield wiper motor is protected by a circuit
breaker and a fuse. If the motor overheats due to heavy
snow or ice, the wiper will stop until the motor cools.
Although the circuit is protected from electrical
overload, overload due to heavy snow or ice may cause
wiper linkage damage. Always clear ice and heavy snow
from the windshield before using the windshield wipers.
If the overload is caused by some electrical problem and
not snow, etc., be sure to get it fixed.
Power Windows and Other Power Options
Circuit breakers in the fuse panel protect the power
windows and other power accessories. When the current
load is too heavy, the circuit breaker opens and closes.
This protects the circuit until the current load returns to
normal or the problem is fixed.
Page 320 of 339

6-58
Fuse/Circuit
BreakerUsage
1 Stop/TCC Switch, Buzzer, CHMSL,
Hazard Lamps, Stoplamps
2 Transfer Case
3 Courtesy Lamps, Cargo Lamp, Glove
Box Lamp, Dome/Reading Lamps,
Vanity Mirrors, Power MirrorsFuse/Circuit
BreakerUsage
4 Instrument Cluster, DRL Relay, Lamp
Switch, Keyless Entry, Low Coolant
Module, Illuminated Entry Module
5 Rear Comfort Controls
6 Cruise Control
7 Auxiliary Power Outlet
8 Crank
9 License Lamp, Parking Lamps,
Taillamps, Tailgate Lamps, Front
Sidemarkers, Fog Lamp Relay, Door
Switch Illumination, Fender Lamps,
Headlamp Switch Illumination
10 Air Bag System
11 Wiper Motor, Washer Pump
12 A/C, A/C Blower, High Blower Relay
13 Power Amp, Rear Liftglass, Cigarette
Lighter, Door Lock Relay, Power
Lumbar Seat
Page 321 of 339

6-59
Fuse/Circuit
BreakerUsage
14 4WD Indicator, Cluster, Front and
Rear Comfort Controls, Instrument
Switches, Radio Illumination,
Chime Module
15 DRL Relay, Fog Lamp Relay
16 Front and Rear Turn Signals,
Back
-Up Lamps, Anti-lock Shift
Brake Control Solenoid
17 Radio (Ignition)
18 4WAL/VCM, ABS, Cruise Control
19 Radio (Battery)Fuse/Circuit
BreakerUsage
20 PRNDL, Automatic Transmission,
Speedometer, Check Gages,
Warning Lights
21 Security/Steering
22 Auxiliary Power, Headlamp Delay
23 Rear Wiper, Rear Washer Pump
24 Front Axle, 4WD Indicator Lamp,
TP2 Relay
A Power Door Lock, Six
-Way Power
Seat, Keyless Entry Module
B Power Windows
Page 323 of 339

6-61
Name Circuits Protected
GLOW PLUG Not Used
HORN Horn, Underhood Lamp
AUX FAN Auxiliary Fan
ECM
-1 Injectors, PCM/VCM
HTD ST
-FR Heated Front Seats
A/C Air Conditioning
HTD MIR Heated Outside Mirrors
ENG
-1 Ignition Switch, EGR, Canister
Purge, EVRV Idle Coast Solenoid,
Heated O
2
HTD ST-RR Heated Rear Seats
AUX B Trailer WiringName Circuits Protected
AUX A SEO Wiring
LIGHTING Headlamp and Panel Dimmer
Switch, Fog and Courtesy Fuses
BATT Battery, Fuse Block Busbar
IGN A Ignition Switch
IGN B Ignition Switch
ABS Anti
-Lock Brake Module
BLOWER High Blower and Rear Blower
Relays
STOP/HAZ Stoplamps
HEATED
SEATSHeated Seats
Page 324 of 339
6-62
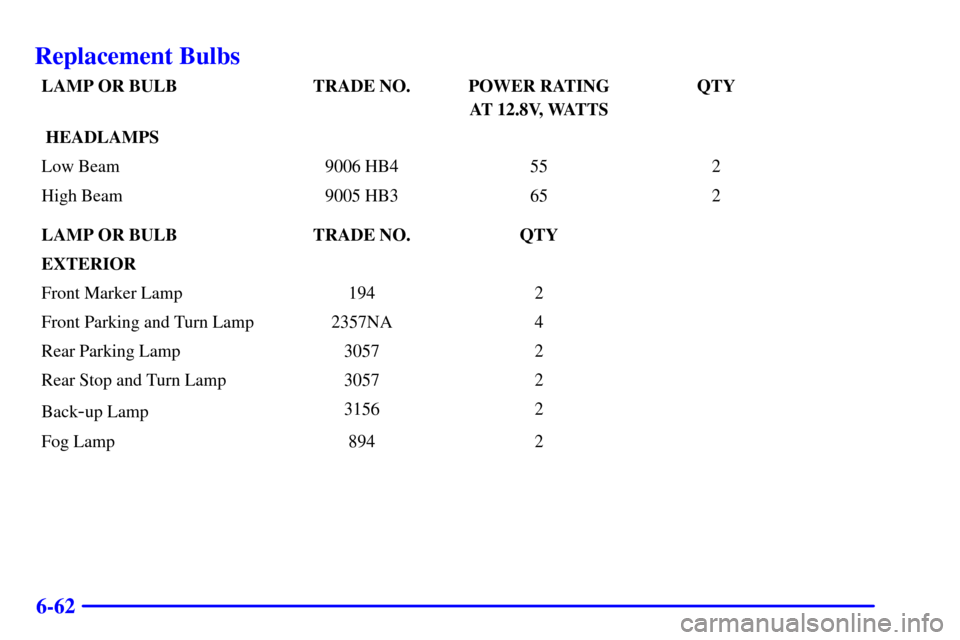
Replacement Bulbs
LAMP OR BULB TRADE NO. POWER RATING
AT 12.8V, WATTSQTY
HEADLAMPS
Low Beam 9006 HB4 55 2
High Beam 9005 HB3 65 2
LAMP OR BULB TRADE NO. QTY
EXTERIOR
Front Marker Lamp 194 2
Front Parking and Turn Lamp 2357NA 4
Rear Parking Lamp 3057 2
Rear Stop and Turn Lamp 3057 2
Back
-up Lamp3156 2
Fog Lamp 894 2