tow bar CADILLAC ESCALADE 2009 3.G Owners Manual
[x] Cancel search | Manufacturer: CADILLAC, Model Year: 2009, Model line: ESCALADE, Model: CADILLAC ESCALADE 2009 3.GPages: 586, PDF Size: 4.47 MB
Page 144 of 586
When the System Does Not Seem to
Work Properly
If the URPA system will not activate due to a temporary
condition, the message PARK ASSIST OFF will be
displayed on the DIC and a red light will be shown on
the rear URPA display when the shift lever is moved into
R (Reverse). This occurs under the following conditions:
The driver disables the system.
The ultrasonic sensors are not clean. Keep the
vehicle’s rear bumper free of mud, dirt, snow,
ice and slush. For cleaning instructions, see
Washing Your Vehicle on page 6-98.
A trailer was attached to the vehicle, or a bicycle or
an object was hanging out of the liftgate during the
last drive cycle, the red light may illuminate in
the rear display. Once the attached object is
removed, URPA will return to normal operation.
A tow bar is attached to the vehicle.
The vehicle’s bumper is damaged. Take the vehicle
to your dealer/retailer to repair the system.
Other conditions may affect system performance,
such as vibrations from a jackhammer or the
compression of air brakes on a very large truck.
If the system is still disabled, after driving forward at
least 15 mph (25 km/h), take the vehicle to your
dealer/retailer.
Side Blind Zone Alert (SBZA)
The vehicle may have a Side Blind Zone Alert (SBZA)
system. Read this entire section before using the
system.
The SBZA system operates on a radio frequency
subject to Federal Communications Commission (FCC)
Rules and with Industry Canada.
This device complies with Part 15 of the FCC Rules.
Operation is subject to the following two conditions:
1. This device may not cause harmful interference.
2. This device must accept any interference received,
including interference that may cause undesired
operation.
This device complies with RSS-310 of Industry Canada.
Operation is subject to the following two conditions:
1. This device may not cause harmful interference.
2. This device must accept any interference received,
including interference that may cause undesired
operation.
Frequency of operation: 24.05GHz – 24.25GHz
Field Strength: Not greater than 2.5V/m peak (0.25V/m
average) at a distance of 3m
2-44
Page 415 of 586
It is important that the vehicle does not exceed any of
its ratings — GCWR, GVWR, RGAWR, Maximum Trailer
Rating or Tongue Weight. The only way to be sure it
is not exceeding any of these ratings is to weigh
the vehicle and trailer.
Total Weight on the Vehicle’s Tires
Be sure the vehicle’s tires are in�ated to the upper limit
for cold tires. These numbers can be found on the
Certi�cation label at the rear edge of the driver door or
seeLoading the Vehicle on page 5-32for more
information. Make sure not to go over the GVW limit for
the vehicle, or the GAWR, including the weight of the
trailer tongue. If using a weight distributing hitch,
make sure not to go over the rear axle limit before
applying the weight distribution spring bars.
Hitches
It is important to have the correct hitch equipment.
Crosswinds, large trucks going by and rough roads
are a few reasons why the right hitch is needed.
Weight-Distributing Hitches and Weight
Carrying Hitches
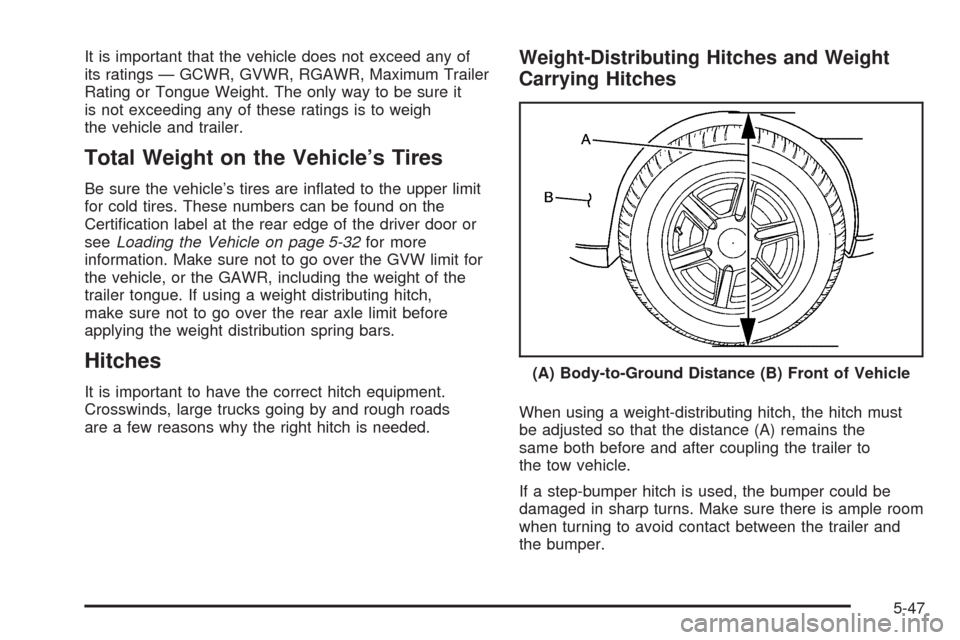
When using a weight-distributing hitch, the hitch must
be adjusted so that the distance (A) remains the
same both before and after coupling the trailer to
the tow vehicle.
If a step-bumper hitch is used, the bumper could be
damaged in sharp turns. Make sure there is ample room
when turning to avoid contact between the trailer and
the bumper.(A) Body-to-Ground Distance (B) Front of Vehicle
5-47
Page 423 of 586
Electric Brake Control Wiring
Provisions
These wiring provisions are included with the vehicle as
part of the heavy-duty trailer wiring package. These
provisions are for an electric brake controller. The
red/black stripe power feed will not be connected to the
battery until the ring terminal is unstowed and connected
to the underhood electrical center. The instrument panel
contains blunt cut wires near the data link connector for
the trailer brake controller. The harness contains the
following wires:
Dark Blue: Auxiliary
Red/Black: Battery
Light Blue/White: Brake Switch
White: Ground
The trailer brake controller should be installed by your
dealer/retailer or a quali�ed service center.
Trailer Recommendations
Subtract the hitch loads from the Cargo Weight Rating
(CWR). CWR is the maximum weight of the load
the vehicle can carry. It does not include the weight of
the people inside, but you can �gure about 150 lbs.
(68 kg) for each passenger. The total cargo load must
not be more than the vehicles CWR.
Weigh the vehicle with the trailer attached, so the
GVWR or GAWR are not exceeded. If using a
weight-distributing hitch, weigh the vehicle without the
spring bars in place.
The best performance is obtained by correctly spreading
out the weight of the load and choosing the correct
hitch and trailer brakes.
For more information seeTowing a Trailer on page 5-42.
5-55
Page 519 of 586
Laundry detergents or dishwashing soaps with
degreasers can leave residue that streaks and
attracts dirt. For liquid cleaners, about 20 drops
per gallon (3.78 L) of water is a good guide.
Use only mild, neutral-pH soaps.
Too much cleaner that saturates the upholstery.
Organic solvents such as naptha, alcohol, etc.
that can damage the vehicle’s interior.
Fabric/Carpet
Use a vacuum cleaner with a soft brush attachment
frequently to remove dust and loose dirt. A canister
vacuum with a beater bar in the nozzle may only
be used on �oor carpet and carpeted �oor mats. For
any soil, always try to remove it �rst with plain water or
club soda. Before cleaning, gently remove as much
of the soil as possible using one of the following
techniques:
For liquids: gently blot the remaining soil with a
paper towel. Allow the soil to absorb into the
paper towel until no more can be removed.
For solid dry soils: remove as much as possible
and then vacuum.To clean:
1. Saturate a lint-free, clean white cloth with water
or club soda.
2. Wring the cloth to remove excess moisture.
3. Start on the outside edge of the soil and gently rub
toward the center. Continue cleaning, using a clean
area of the cloth each time it becomes soiled.
4. Continue to gently rub the soiled area until the
cleaning cloth remains clean.
5. If the soil is not completely removed, use a mild
soap solution and repeat the cleaning process
that was used with plain water.
If any of the soil remains, a commercial fabric cleaner
or spot lifter may be necessary. When a commercial
upholstery cleaner or spot lifter is to be used, test
a small hidden area for colorfastness �rst. If the locally
cleaned area gives any impression that a ring
formation may result, clean the entire surface.
After the cleaning process has been completed, a paper
towel can be used to blot excess moisture from the
fabric or carpet.
6-95
Page 582 of 586
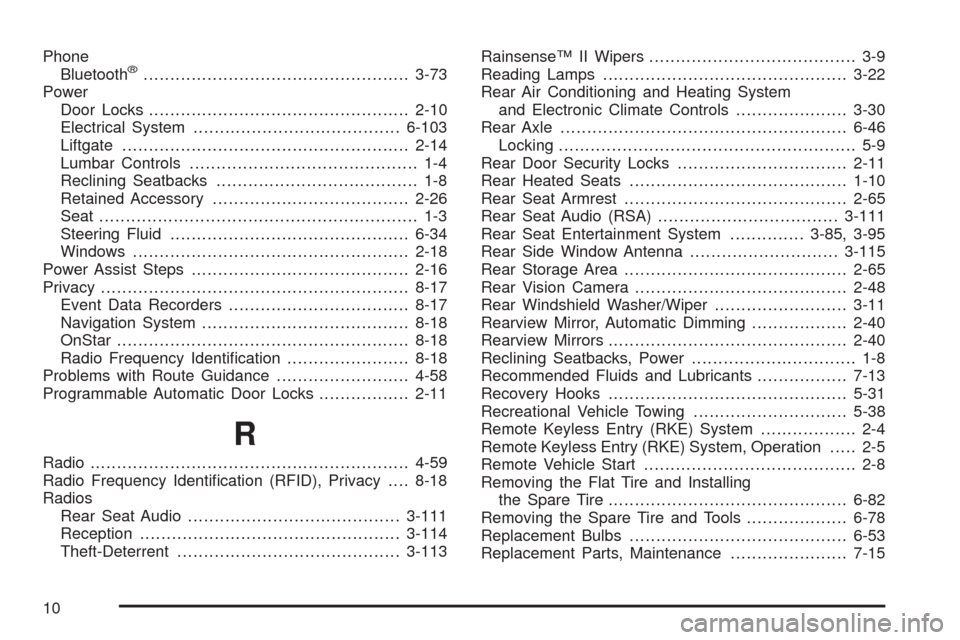
Phone
Bluetooth®..................................................3-73
Power
Door Locks.................................................2-10
Electrical System.......................................6-103
Liftgate......................................................2-14
Lumbar Controls........................................... 1-4
Reclining Seatbacks...................................... 1-8
Retained Accessory.....................................2-26
Seat ............................................................ 1-3
Steering Fluid.............................................6-34
Windows....................................................2-18
Power Assist Steps.........................................2-16
Privacy..........................................................8-17
Event Data Recorders..................................8-17
Navigation System.......................................8-18
OnStar .......................................................8-18
Radio Frequency Identi�cation.......................8-18
Problems with Route Guidance.........................4-58
Programmable Automatic Door Locks.................2-11
R
Radio............................................................4-59
Radio Frequency Identi�cation (RFID), Privacy....8-18
Radios
Rear Seat Audio........................................3-111
Reception.................................................3-114
Theft-Deterrent..........................................3-113Rainsense™ II Wipers....................................... 3-9
Reading Lamps..............................................3-22
Rear Air Conditioning and Heating System
and Electronic Climate Controls.....................3-30
Rear Axle......................................................6-46
Locking........................................................ 5-9
Rear Door Security Locks................................2-11
Rear Heated Seats.........................................1-10
Rear Seat Armrest..........................................2-65
Rear Seat Audio (RSA)..................................3-111
Rear Seat Entertainment System..............3-85, 3-95
Rear Side Window Antenna............................3-115
Rear Storage Area..........................................2-65
Rear Vision Camera........................................2-48
Rear Windshield Washer/Wiper.........................3-11
Rearview Mirror, Automatic Dimming..................2-40
Rearview Mirrors.............................................2-40
Reclining Seatbacks, Power............................... 1-8
Recommended Fluids and Lubricants.................7-13
Recovery Hooks.............................................5-31
Recreational Vehicle Towing.............................5-38
Remote Keyless Entry (RKE) System.................. 2-4
Remote Keyless Entry (RKE) System, Operation..... 2-5
Remote Vehicle Start........................................ 2-8
Removing the Flat Tire and Installing
the Spare Tire.............................................6-82
Removing the Spare Tire and Tools...................6-78
Replacement Bulbs.........................................6-53
Replacement Parts, Maintenance......................7-15
10