four wheel drive CADILLAC ESCALADE 2012 3.G Owners Manual
[x] Cancel search | Manufacturer: CADILLAC, Model Year: 2012, Model line: ESCALADE, Model: CADILLAC ESCALADE 2012 3.GPages: 538, PDF Size: 7.59 MB
Page 334 of 538
Black plate (34,1)Cadillac Escalade/Escalade ESV Owner Manual - 2012
9-34 Driving and Operating
Drive Systems
All-Wheel Drive
If the vehicle has this feature,
engine power is sent to all four
wheels when extra traction is
needed. This is like four-wheel
drive, but there is no separate lever
or switch to engage or disengage
the front axle. It is fully automatic,
and adjusts itself as needed for road
conditions.
If the vehicle is a hybrid, see
“Four-Wheel Drive”in the hybrid
supplement.
Brakes
Antilock Brake
System (ABS)
This vehicle has the Antilock Brake
System (ABS), an advanced
electronic braking system that helps
prevent a braking skid.
When the engine is started and the
vehicle begins to drive away, ABS
checks itself. A momentary motor or
clicking noise might be heard while
this test is going on, and it might
even be noticed that the brake
pedal moves a little. This is normal.
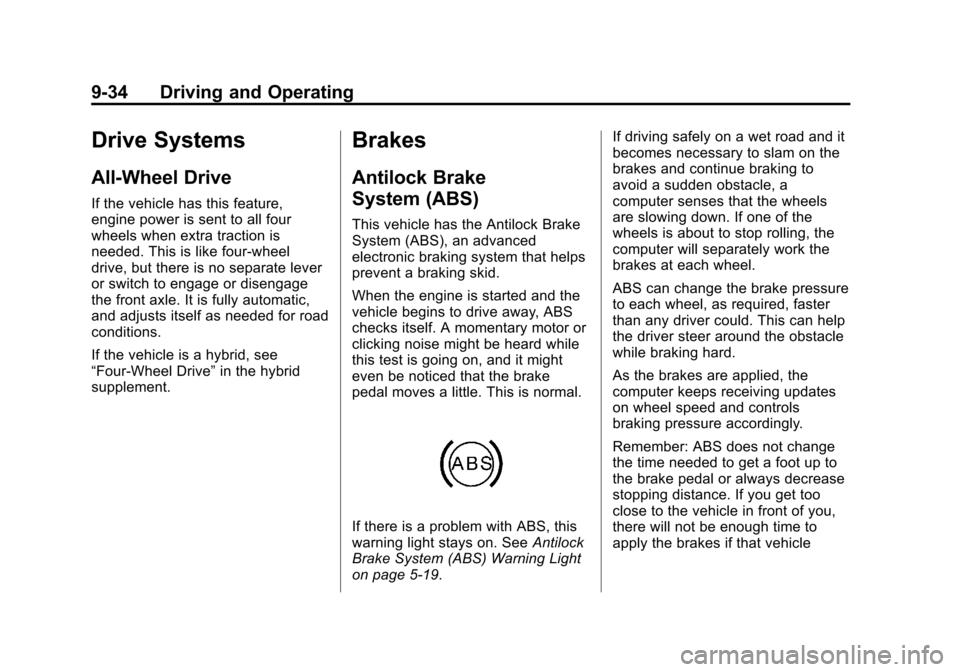
If there is a problem with ABS, this
warning light stays on. See Antilock
Brake System (ABS) Warning Light
on page 5‑19. If driving safely on a wet road and it
becomes necessary to slam on the
brakes and continue braking to
avoid a sudden obstacle, a
computer senses that the wheels
are slowing down. If one of the
wheels is about to stop rolling, the
computer will separately work the
brakes at each wheel.
ABS can change the brake pressure
to each wheel, as required, faster
than any driver could. This can help
the driver steer around the obstacle
while braking hard.
As the brakes are applied, the
computer keeps receiving updates
on wheel speed and controls
braking pressure accordingly.
Remember: ABS does not change
the time needed to get a foot up to
the brake pedal or always decrease
stopping distance. If you get too
close to the vehicle in front of you,
there will not be enough time to
apply the brakes if that vehicle
Page 425 of 538
Black plate (57,1)Cadillac Escalade/Escalade ESV Owner Manual - 2012
Vehicle Care 10-57
.Operating electronic devices or
being near facilities using radio
wave frequencies similar to the
TPMS could cause the TPMS
sensors to malfunction.
If the TPMS is not functioning
properly, it cannot detect or signal a
low tire condition. See your dealer
for service if the TPMS malfunction
light and DIC message comes on
and stays on.
TPMS Sensor Matching
Process
Each TPMS sensor has a unique
identification code. The identification
code needs to be matched to a new
tire/wheel position after rotating the
vehicle’s tires or replacing one or
more of the TPMS sensors. The
TPMS sensor matching process
should also be performed after
replacing a spare tire with a road
tire containing the TPMS sensor.
The malfunction light and the DIC
message should go off at the next
ignition cycle. The sensors are
matched to the tire/wheel positions, using a TPMS relearn tool, in the
following order: driver side front tire,
passenger side front tire, passenger
side rear tire, and driver side rear.
See your dealer for service or to
purchase a relearn tool.
There are two minutes to match
the first tire/wheel position, and
five minutes overall to match all
four tire/wheel positions. If it takes
longer, the matching process stops
and must be restarted.
The TPMS sensor matching process
is outlined below:
1. Set the parking brake.
2. Turn the ignition to ON/RUN with
the engine off.
3. Press
QandKon the
Remote Keyless Entry (RKE)
transmitter at the same time for
approximately five seconds. The
horn sounds twice to signal the
receiver is in relearn mode and
TIRE LEARNING ACTIVE
message displays on the DIC
screen. 4. Start with the driver side
front tire.
5. Place the relearn tool against the tire sidewall, near the valve
stem. Then press the button
to activate the TPMS sensor.
A horn chirp confirms that the
sensor identification code has
been matched to this tire and
wheel position.
6. Proceed to the passenger side front tire, and repeat the
procedure in Step 5.
7. Proceed to the passenger side rear tire, and repeat the
procedure in Step 5.
8. Proceed to the driver side rear tire, and repeat the procedure
in Step 5. The horn sounds
two times to indicate the sensor
identification code has been
matched to the driver side rear
tire, and the TPMS sensor
matching process is no longer
active. The TIRE LEARNING
ACTIVE message on the DIC
display screen goes off.
Page 457 of 538
Black plate (89,1)Cadillac Escalade/Escalade ESV Owner Manual - 2012
Vehicle Care 10-89
2. Get the vehicles close enoughso the jumper cables can reach,
but be sure the vehicles are
not touching each other. If they
are, it could cause a ground
connection you do not want. You
would not be able to start your
vehicle, and the bad grounding
could damage the electrical
systems.
To avoid the possibility of the
vehicles rolling, set the parking
brake firmly on both vehicles
involved in the jump start
procedure. Put the automatic
transmission in P (Park) or
a manual transmission in
N (Neutral) before setting the
parking brake. If you have a
four-wheel-drive vehicle, be sure
that the transfer case is in a
drive gear, not in N (Neutral). Notice:
If any accessories are left
on or plugged in during the jump
starting procedure, they could
be damaged. The repairs would
not be covered by the vehicle
warranty. Whenever possible,
turn off or unplug all accessories
on either vehicle when jump
starting the vehicle.
3. Turn off the ignition on both
vehicles. Unplug unnecessary
accessories plugged into the
cigarette lighter or the accessory
power outlets. Turn off the radio
and all the lamps that are not
needed. This avoids sparks and
helps save both batteries. And it
could save the radio! 4. Open the hood on the other
vehicle and locate the
positive (+) and negative (−)
terminal locations on that
vehicle.
Your vehicle has a remote
positive (+) jump starting
terminal and a remote
negative (−) jump starting
terminal. You should always
use these remote terminals
instead of the terminals on the
battery.
If the vehicle has a remote
positive (+) terminal, it is located
under a red plastic cover at the
positive battery post. To uncover
the remote positive (+) terminal,
open the red plastic cover.
Page 462 of 538
Black plate (94,1)Cadillac Escalade/Escalade ESV Owner Manual - 2012
10-94 Vehicle Care
All-Wheel-Drive Vehicles
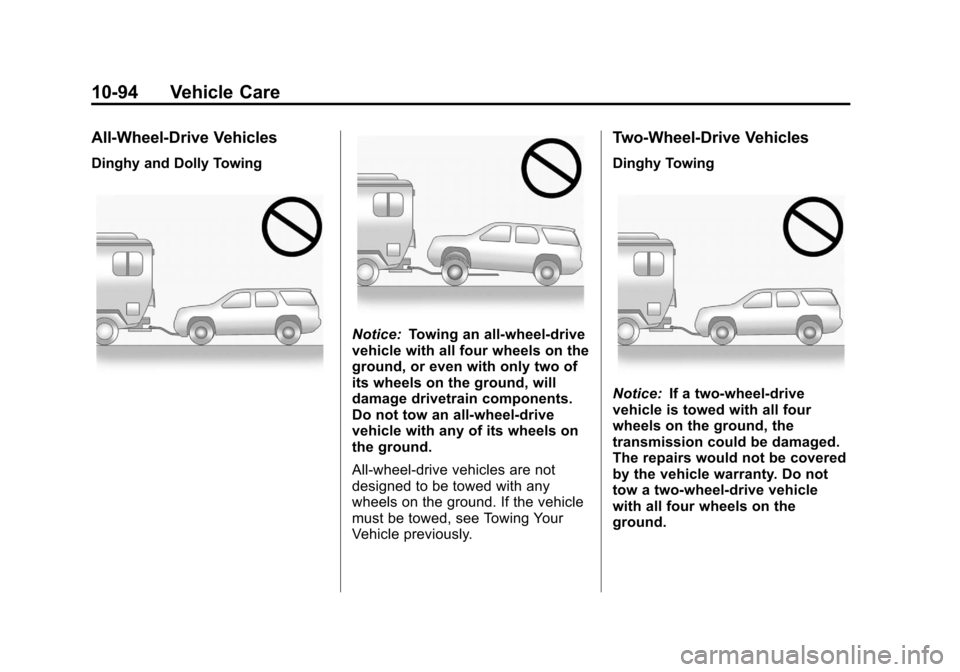
Dinghy and Dolly Towing
Notice:Towing an all-wheel-drive
vehicle with all four wheels on the
ground, or even with only two of
its wheels on the ground, will
damage drivetrain components.
Do not tow an all-wheel-drive
vehicle with any of its wheels on
the ground.
All-wheel-drive vehicles are not
designed to be towed with any
wheels on the ground. If the vehicle
must be towed, see Towing Your
Vehicle previously.
Two-Wheel-Drive Vehicles
Dinghy Towing
Notice: If a two-wheel-drive
vehicle is towed with all four
wheels on the ground, the
transmission could be damaged.
The repairs would not be covered
by the vehicle warranty. Do not
tow a two-wheel-drive vehicle
with all four wheels on the
ground.
Page 463 of 538
Black plate (95,1)Cadillac Escalade/Escalade ESV Owner Manual - 2012
Vehicle Care 10-95
Two-wheel-drive vehicles should
not be towed with all four wheels
on the ground. Two-wheel-drive
transmissions have no provisions
for internal lubrication while being
towed.
To dolly tow a two‐wheel‐drive
vehicle, the vehicle must be towed
with the rear wheels on the dolly.
See“Dolly Towing (Rear Wheels Off
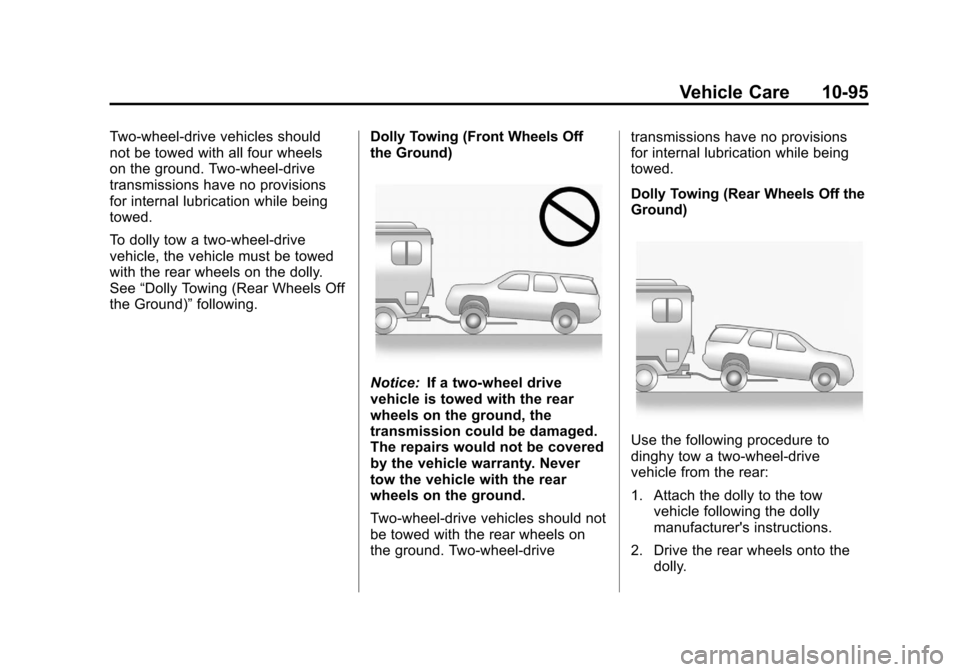
the Ground)” following. Dolly Towing (Front Wheels Off
the Ground)
Notice:
If a two-wheel drive
vehicle is towed with the rear
wheels on the ground, the
transmission could be damaged.
The repairs would not be covered
by the vehicle warranty. Never
tow the vehicle with the rear
wheels on the ground.
Two-wheel-drive vehicles should not
be towed with the rear wheels on
the ground. Two-wheel-drive transmissions have no provisions
for internal lubrication while being
towed.
Dolly Towing (Rear Wheels Off the
Ground)
Use the following procedure to
dinghy tow a two-wheel-drive
vehicle from the rear:
1. Attach the dolly to the tow
vehicle following the dolly
manufacturer's instructions.
2. Drive the rear wheels onto the dolly.