ECU CADILLAC ESCALADE ESV 2004 2.G Service Manual
[x] Cancel search | Manufacturer: CADILLAC, Model Year: 2004, Model line: ESCALADE ESV, Model: CADILLAC ESCALADE ESV 2004 2.GPages: 504, PDF Size: 3.27 MB
Page 153 of 504
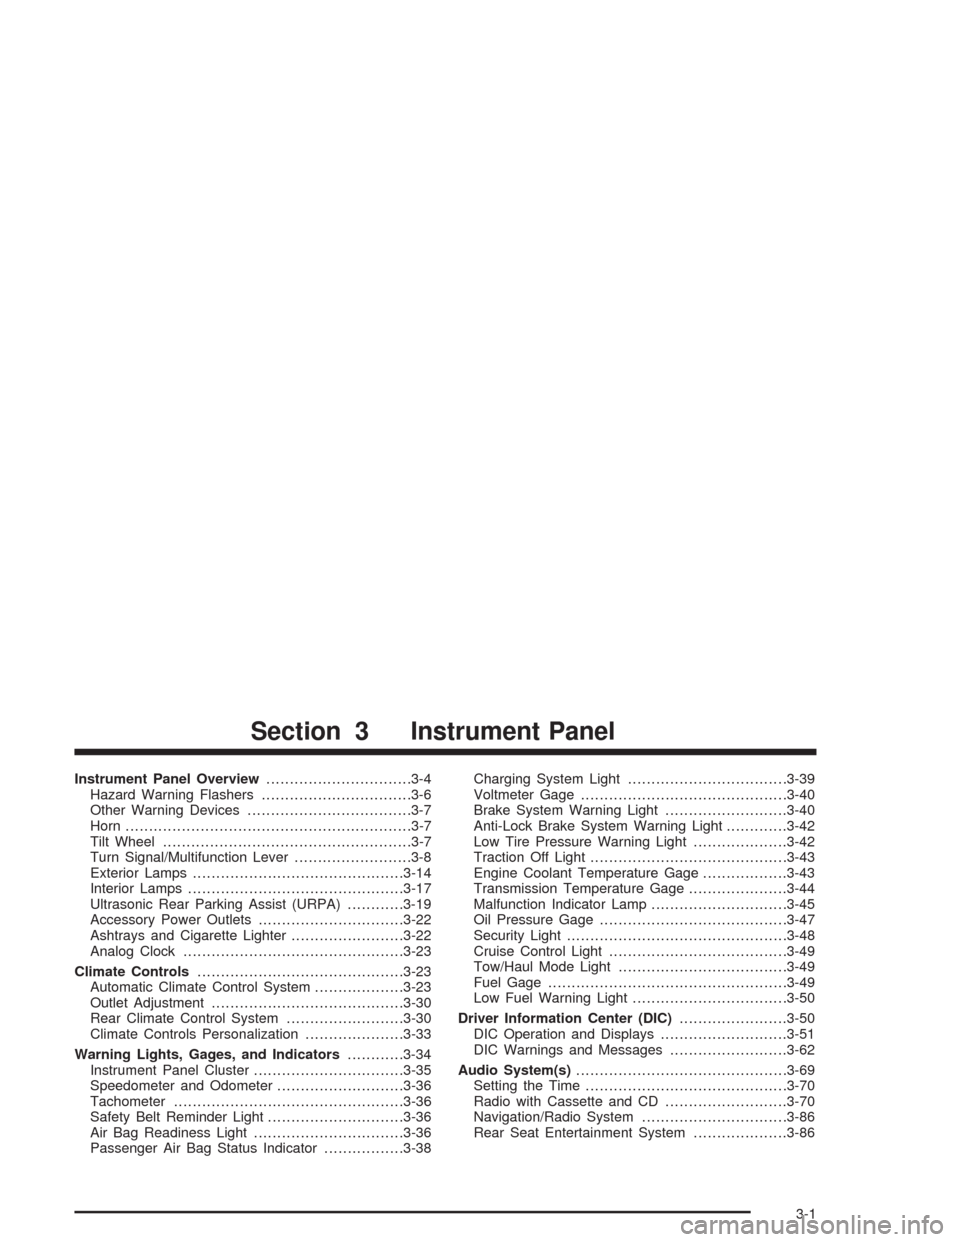
Instrument Panel Overview...............................3-4
Hazard Warning Flashers................................3-6
Other Warning Devices...................................3-7
Horn.............................................................3-7
Tilt Wheel.....................................................3-7
Turn Signal/Multifunction Lever.........................3-8
Exterior Lamps.............................................3-14
Interior Lamps..............................................3-17
Ultrasonic Rear Parking Assist (URPA)............3-19
Accessory Power Outlets...............................3-22
Ashtrays and Cigarette Lighter........................3-22
Analog Clock...............................................3-23
Climate Controls............................................3-23
Automatic Climate Control System...................3-23
Outlet Adjustment.........................................3-30
Rear Climate Control System.........................3-30
Climate Controls Personalization.....................3-33
Warning Lights, Gages, and Indicators............3-34
Instrument Panel Cluster................................3-35
Speedometer and Odometer...........................3-36
Tachometer.................................................3-36
Safety Belt Reminder Light.............................3-36
Air Bag Readiness Light................................3-36
Passenger Air Bag Status Indicator.................3-38Charging System Light..................................3-39
Voltmeter Gage............................................3-40
Brake System Warning Light..........................3-40
Anti-Lock Brake System Warning Light.............3-42
Low Tire Pressure Warning Light....................3-42
Traction Off Light..........................................3-43
Engine Coolant Temperature Gage..................3-43
Transmission Temperature Gage.....................3-44
Malfunction Indicator Lamp.............................3-45
Oil Pressure Gage........................................3-47
Security Light...............................................3-48
Cruise Control Light......................................3-49
Tow/Haul Mode Light....................................3-49
Fuel Gage...................................................3-49
Low Fuel Warning Light.................................3-50
Driver Information Center (DIC).......................3-50
DIC Operation and Displays...........................3-51
DIC Warnings and Messages.........................3-62
Audio System(s).............................................3-69
Setting the Time...........................................3-70
Radio with Cassette and CD..........................3-70
Navigation/Radio System...............................3-86
Rear Seat Entertainment System....................3-86
Section 3 Instrument Panel
3-1
Page 200 of 504

A reading in the low pressure zone may be caused by a
dangerously low oil level or some other problem
causing low oil pressure. Check your oil as soon as
possible. SeeDIC Warnings and Messages on
page 3-62.
{CAUTION:
Do not keep driving if the oil pressure is low.
If you do, your engine can become so hot that
it catches �re. You or others could be burned.
Check your oil as soon as possible and have
your vehicle serviced.
Notice:Lack of proper engine oil maintenance may
damage the engine. The repairs would not be
covered by your warranty. Always follow the
maintenance schedule in this manual for changing
engine oil.
Security Light
This light will come on
brie�y when you turn the
key toward START.
The light will stay on until
the engine starts.
If the light �ashes, the Passlock
®system has entered a
tamper mode. If the vehicle fails to start, seePasslock®
on page 2-17.
If the light comes on continuously while driving and
stays on, there may be a problem with the Passlock
®
system. Your vehicle will not be protected by Passlock®,
and you should see your dealer.
Also, seeContent Theft-Deterrent on page 2-16for
additional information regarding the security light.
3-48
Page 231 of 504
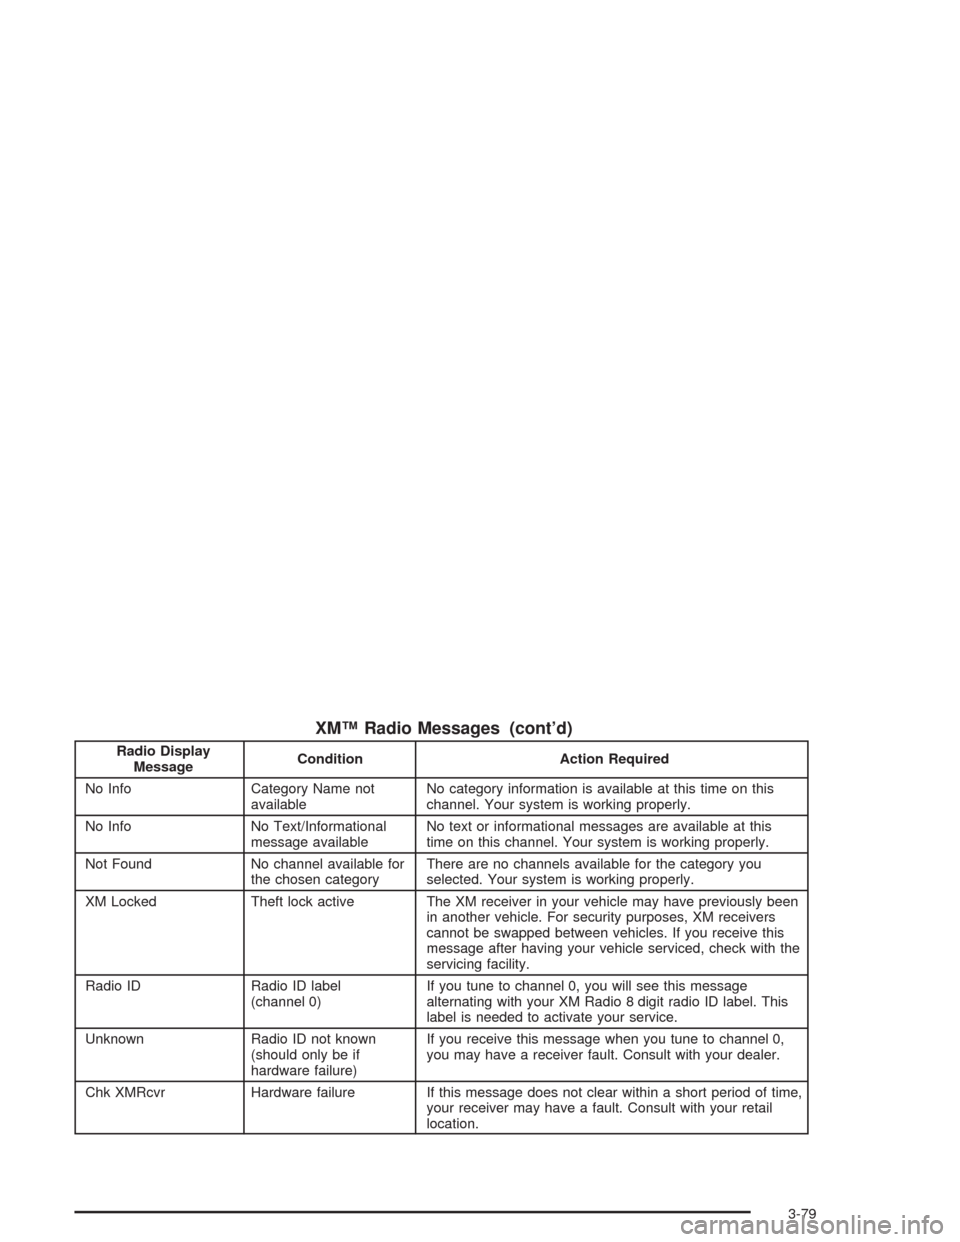
XM™ Radio Messages (cont’d)
Radio Display
MessageCondition Action Required
No Info Category Name not
availableNo category information is available at this time on this
channel. Your system is working properly.
No Info No Text/Informational
message availableNo text or informational messages are available at this
time on this channel. Your system is working properly.
Not Found No channel available for
the chosen categoryThere are no channels available for the category you
selected. Your system is working properly.
XM Locked Theft lock active The XM receiver in your vehicle may have previously been
in another vehicle. For security purposes, XM receivers
cannot be swapped between vehicles. If you receive this
message after having your vehicle serviced, check with the
servicing facility.
Radio ID Radio ID label
(channel 0)If you tune to channel 0, you will see this message
alternating with your XM Radio 8 digit radio ID label. This
label is needed to activate your service.
Unknown Radio ID not known
(should only be if
hardware failure)If you receive this message when you tune to channel 0,
you may have a receiver fault. Consult with your dealer.
Chk XMRcvr Hardware failure If this message does not clear within a short period of time,
your receiver may have a fault. Consult with your retail
location.
3-79
Page 246 of 504
s(Play/Pause):Press this button to start play of a
DVD or CD. Press this button while a DVD or CD is
playing to pause it. Press this button again to continue
the play of the DVD or CD.
When the DVD is playing, press the pause button then
press the fast forward button. The DVD will continue
playing in a slow play mode. To cancel slow play mode,
press the play/pause button.
u(Next Track/Chapter):Press this button to advance
to the beginning of the next track or chapter. This
button may not work when the DVD is playing the
copyright information or the previews.
Battery Replacement
To change the batteries, do the following:
1. Remove the battery compartment door located on
the bottom of the remote control.
2. Replace the two AA batteries in the compartment.
Make sure that they are installed correctly, using
the diagram on the inside of the battery
compartment.
3. Close the battery door securely.
If the remote control is to be stored for a long period of
time, remove the batteries and keep them in a cool,
dry place.
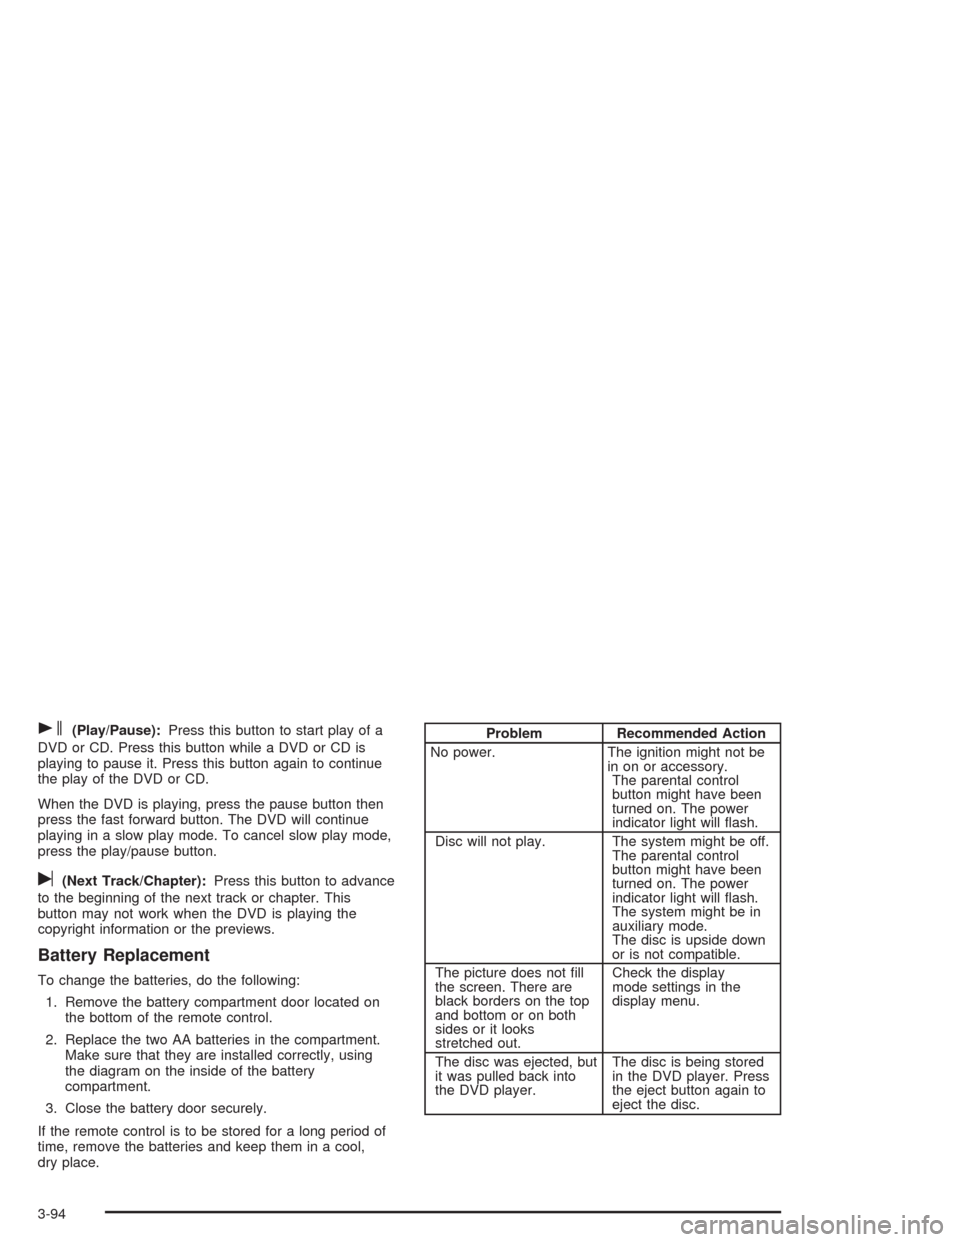
Problem Recommended Action
No power. The ignition might not be
in on or accessory.
The parental control
button might have been
turned on. The power
indicator light will �ash.
Disc will not play. The system might be off.
The parental control
button might have been
turned on. The power
indicator light will �ash.
The system might be in
auxiliary mode.
The disc is upside down
or is not compatible.
The picture does not �ll
the screen. There are
black borders on the top
and bottom or on both
sides or it looks
stretched out.Check the display
mode settings in the
display menu.
The disc was ejected, but
it was pulled back into
the DVD player.The disc is being stored
in the DVD player. Press
the eject button again to
eject the disc.
3-94
Page 277 of 504
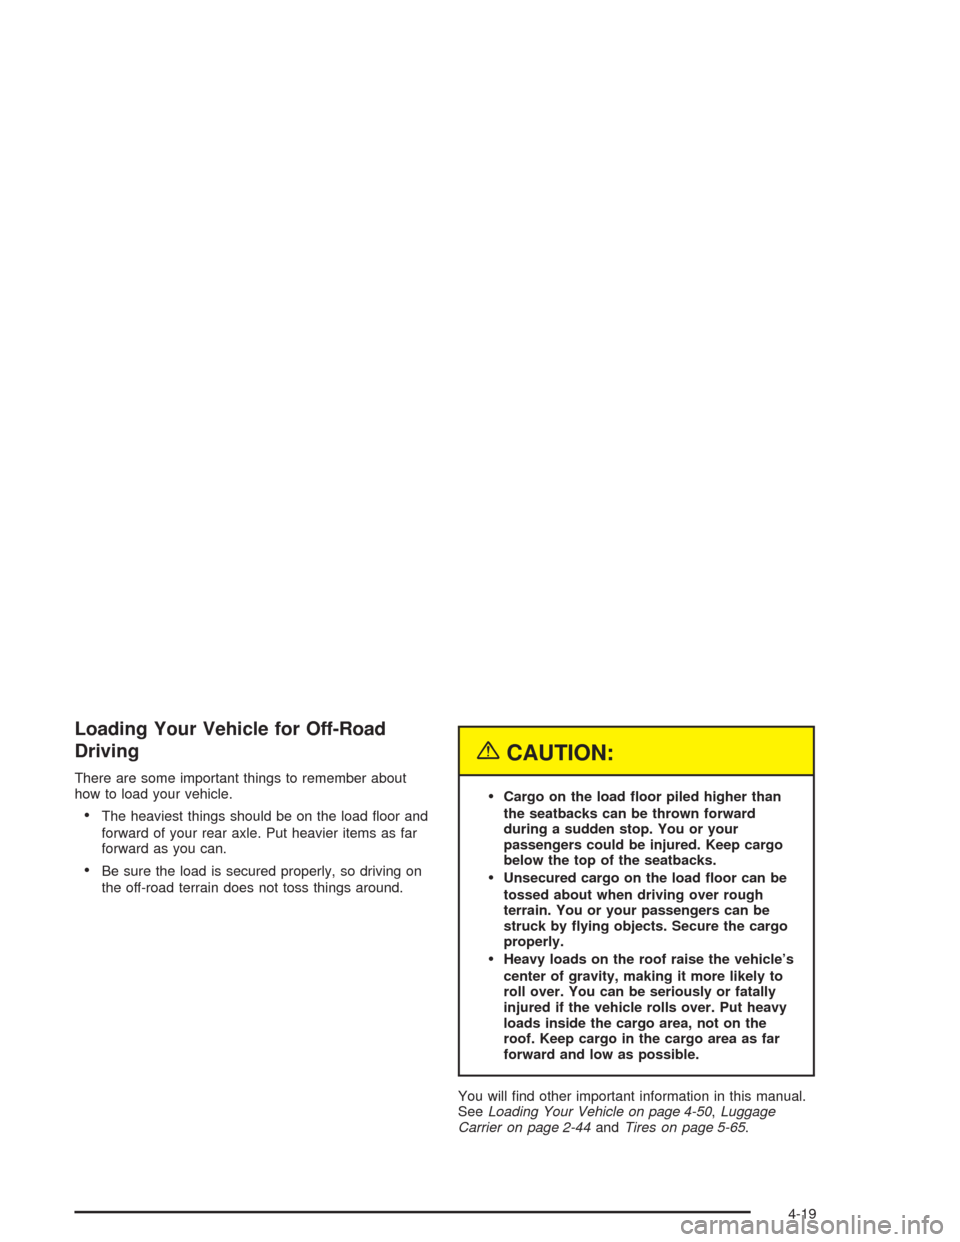
Loading Your Vehicle for Off-Road
Driving
There are some important things to remember about
how to load your vehicle.
The heaviest things should be on the load �oor and
forward of your rear axle. Put heavier items as far
forward as you can.
Be sure the load is secured properly, so driving on
the off-road terrain does not toss things around.
{CAUTION:
Cargo on the load �oor piled higher than
the seatbacks can be thrown forward
during a sudden stop. You or your
passengers could be injured. Keep cargo
below the top of the seatbacks.
Unsecured cargo on the load �oor can be
tossed about when driving over rough
terrain. You or your passengers can be
struck by �ying objects. Secure the cargo
properly.
Heavy loads on the roof raise the vehicle’s
center of gravity, making it more likely to
roll over. You can be seriously or fatally
injured if the vehicle rolls over. Put heavy
loads inside the cargo area, not on the
roof. Keep cargo in the cargo area as far
forward and low as possible.
You will �nd other important information in this manual.
SeeLoading Your Vehicle on page 4-50,Luggage
Carrier on page 2-44andTires on page 5-65.
4-19
Page 300 of 504
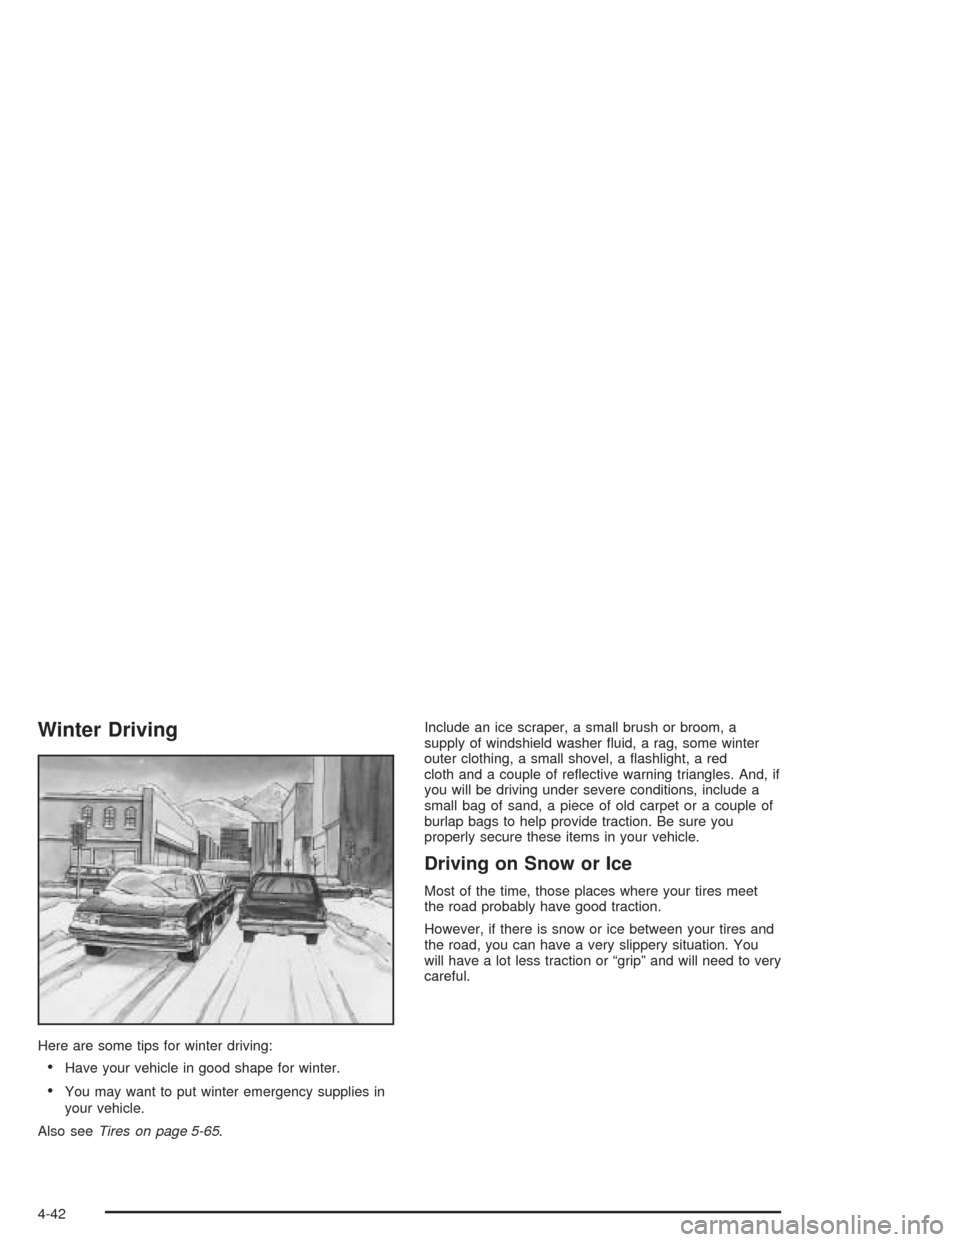
Winter Driving
Here are some tips for winter driving:
Have your vehicle in good shape for winter.
You may want to put winter emergency supplies in
your vehicle.
Also seeTires on page 5-65.Include an ice scraper, a small brush or broom, a
supply of windshield washer �uid, a rag, some winter
outer clothing, a small shovel, a �ashlight, a red
cloth and a couple of re�ective warning triangles. And, if
you will be driving under severe conditions, include a
small bag of sand, a piece of old carpet or a couple of
burlap bags to help provide traction. Be sure you
properly secure these items in your vehicle.
Driving on Snow or Ice
Most of the time, those places where your tires meet
the road probably have good traction.
However, if there is snow or ice between your tires and
the road, you can have a very slippery situation. You
will have a lot less traction or “grip” and will need to very
careful.
4-42
Page 313 of 504
{CAUTION:
Things you put inside your vehicle can strike
and injure people in a sudden stop or turn, or
in a crash.
Put things in the cargo area of your
vehicle. Try to spread the weight evenly.
Never stack heavier things, like suitcases,
inside the vehicle so that some of them
are above the tops of the seats.
Do not leave an unsecured child restraint
in your vehicle.
When you carry something inside the
vehicle, secure it whenever you can.
Do not leave a seat folded down unless
you need to.
There’s also important loading information for off-road
driving in this manual. See “Loading Your Vehicle
for Off-Road Driving” underOperating Your
All-Wheel-Drive Vehicle Off Paved Roads on page 4-18.
Add-On Equipment
When you carry removable items, you may need to
put a limit on how many people you can carry inside
your vehicle. Be sure to weigh your vehicle before
you buy and install the new equipment.
Notice:Overloading your vehicle may cause
damage. Repairs would not be covered by your
warranty. Do not overload your vehicle.
Remember not to exceed the Gross Axle Weight
Rating (GAWR) of the front or rear axle. SeeLoading
Your Vehicle on page 4-50.
The Cargo Weight Rating (CWR) is the maximum
weight of the load your vehicle can carry. It doesn’t
include the weight of the people inside. But you
can �gure about 150 lbs. (68 kg) for each seat.
The total cargo load must not be more than your
vehicle’s CWR.
4-55
Page 322 of 504

Driving with a Trailer
{CAUTION:
If you have a rear-most window open and you
pull a trailer with your vehicle, carbon
monoxide (CO) could come into your vehicle.
You can not see or smell CO. It can cause
unconsciousness or death. SeeEngine
Exhaust on page 2-30. To maximize your safety
when towing a trailer:
Have your exhaust system inspected for
leaks, and make necessary repairs before
starting on your trip.
Keep the rear-most windows closed.
If exhaust does come into your vehicle
through a window in the rear or another
opening, drive with your front, main
heating or cooling system on and with the
fan on any speed. This will bring fresh,
outside air into your vehicle. Do not use
the climate control setting for maximum air
because it only recirculates the air inside
your vehicle. SeeAutomatic Climate
Control System on page 3-23.Towing a trailer requires a certain amount of experience.
Before setting out for the open road, you’ll want to get
to know your rig. Acquaint yourself with the feel of
handling and braking with the added weight of the trailer.
And always keep in mind that the vehicle you are
driving is now a good deal longer and not nearly as
responsive as your vehicle is by itself.
Before you start, check all trailer hitch parts and
attachments, safety chains, electrical connector, lamps,
tires and mirror adjustment. If the trailer has electric
brakes, start your vehicle and trailer moving and then
apply the trailer brake controller by hand to be sure
the brakes are working. This lets you check your
electrical connection at the same time.
During your trip, check occasionally to be sure that the
load is secure, and that the lamps and any trailer
brakes are still working.Following Distance
Stay at least twice as far behind the vehicle ahead as
you would when driving your vehicle without a trailer.
This can help you avoid situations that require
heavy braking and sudden turns.
4-64
Page 355 of 504

Adding Coolant
If you need more coolant, add the proper DEX-COOL®
coolant mixtureat the surge tank, but only when the
engine is cool.
{CAUTION:
You can be burned if you spill coolant on hot
engine parts. Coolant contains ethylene glycol,
and it will burn if the engine parts are hot
enough. Do not spill coolant on a hot engine.
When replacing the pressure cap, make sure it is
hand-tight.
Coolant Surge Tank Pressure Cap
The coolant surge tank pressure cap must be fully
installed on the coolant surge tank.
Notice:If the pressure cap is not tightly installed,
coolant loss and possible engine damage may
occur. Be sure the cap is properly and tightly
secured.
5-27
Page 406 of 504
Tire Inspection and Rotation
Tires should be rotated every 5,000 to 8,000 miles
(8 000 to 13 000 km).
Any time you notice unusual wear, rotate your tires as
soon as possible and check wheel alignment. Also
check for damaged tires or wheels. SeeWhen It Is Time
for New Tires on page 5-79andWheel Replacement
on page 5-83for more information.
Make sure the spare tire is stored securely. Push, pull,
and then try to rotate or turn the tire. If it moves,
use the ratchet/wheel wrench to tighten the cable. See
Changing a Flat Tire on page 5-86.
The purpose of regular rotation is to achieve more
uniform wear for all tires on the vehicle. The �rst rotation
is the most important. SeeScheduled Maintenance
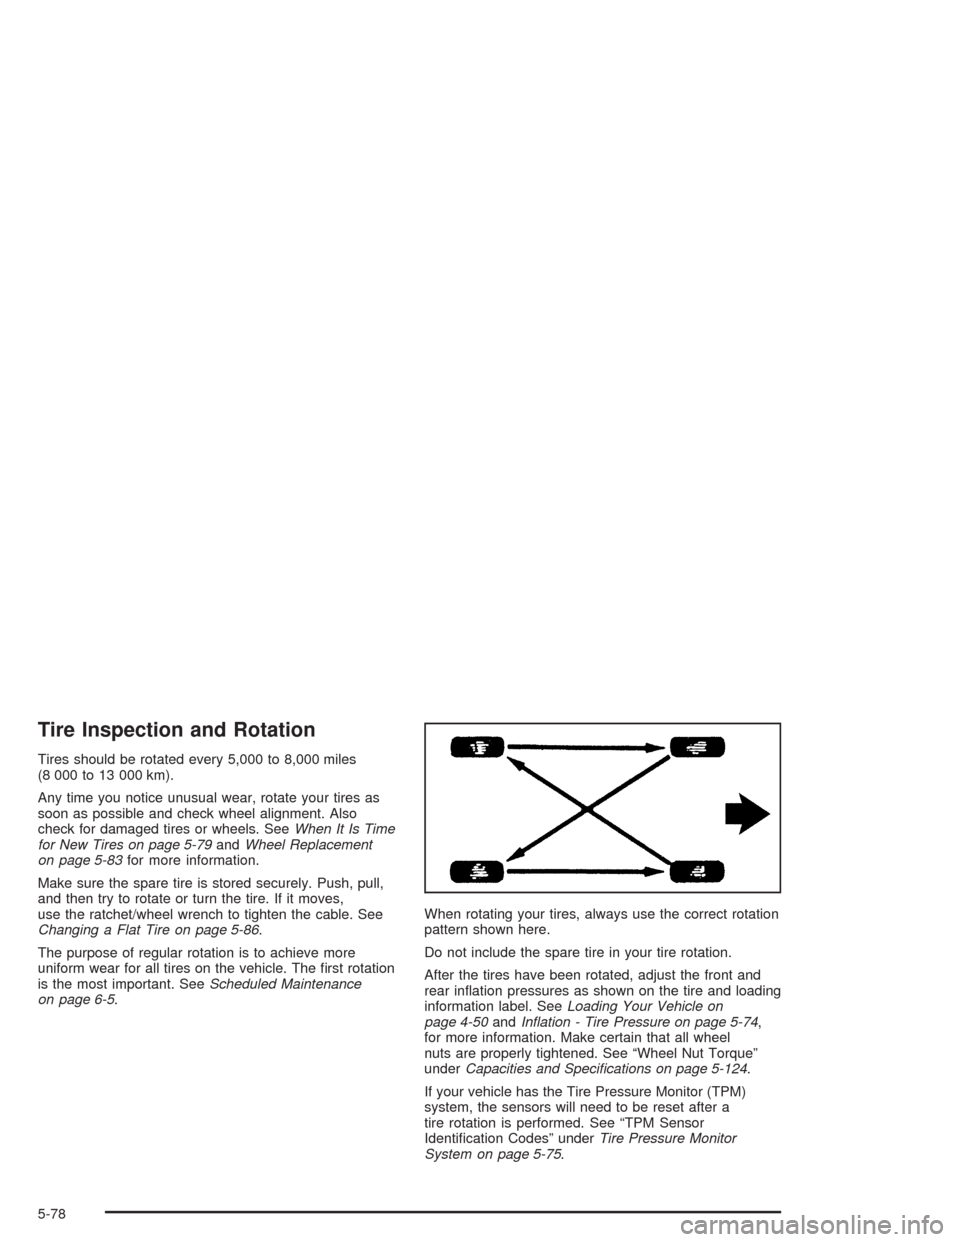
on page 6-5.When rotating your tires, always use the correct rotation
pattern shown here.
Do not include the spare tire in your tire rotation.
After the tires have been rotated, adjust the front and
rear in�ation pressures as shown on the tire and loading
information label. SeeLoading Your Vehicle on
page 4-50andIn�ation - Tire Pressure on page 5-74,
for more information. Make certain that all wheel
nuts are properly tightened. See “Wheel Nut Torque”
underCapacities and Speci�cations on page 5-124.
If your vehicle has the Tire Pressure Monitor (TPM)
system, the sensors will need to be reset after a
tire rotation is performed. See “TPM Sensor
Identi�cation Codes” underTire Pressure Monitor
System on page 5-75.
5-78