remote start CADILLAC ESCALADE ESV 2005 2.G Owners Manual
[x] Cancel search | Manufacturer: CADILLAC, Model Year: 2005, Model line: ESCALADE ESV, Model: CADILLAC ESCALADE ESV 2005 2.GPages: 470, PDF Size: 2.86 MB
Page 93 of 470
Keys...............................................................2-3
Remote Keyless Entry System.........................2-4
Remote Keyless Entry System Operation...........2-5
Doors and Locks.............................................2-8
Door Locks....................................................2-8
Power Door Locks..........................................2-9
Delayed Locking.............................................2-9
Programmable Automatic Door Locks..............2-10
Rear Door Security Locks..............................2-12
Lockout Protection........................................2-12
Liftgate/Liftglass............................................2-13
Windows........................................................2-14
Power Windows............................................2-15
Sun Visors...................................................2-15
Theft-Deterrent Systems..................................2-16
Content Theft-Deterrent.................................2-16
Passlock
®....................................................2-17Starting and Operating Your Vehicle................2-18
New Vehicle Break-In....................................2-18
Ignition Positions..........................................2-18
Retained Accessory Power (RAP)...................2-19
Starting the Engine.......................................2-19
Adjustable Throttle and Brake Pedal................2-20
Engine Coolant Heater..................................2-21
Automatic Transmission Operation...................2-22
Tow/Haul Mode............................................2-24
All-Wheel Drive............................................2-24
Parking Brake..............................................2-25
Shifting Into Park (P).....................................2-26
Shifting Out of Park (P).................................2-27
Parking Over Things That Burn.......................2-28
Engine Exhaust............................................2-28
Running the Engine While Parked...................2-29
Section 2 Features and Controls
2-1
Page 97 of 470
At times you may notice a decrease in range. This is
normal for any remote keyless entry system. If the
transmitter does not work or if you have to stand closer
to your vehicle for the transmitter to work, try this:
Check the distance. You may be too far from your
vehicle. You may need to stand closer during
rainy or snowy weather.
Check the location. Other vehicles or objects may
be blocking the signal. Take a few steps to the
left or right, hold the transmitter higher, and
try again.
Check to determine if battery replacement is
necessary. See “Battery Replacement” under
Remote Keyless Entry System Operation on
page 2-5.
If you are still having trouble, see your dealer or a
quali�ed technician for service.
Remote Keyless Entry System
Operation
You can lock and unlock your doors from about 3 feet
(1 m) up to 100 feet (30 m) away using the remote
keyless entry transmitter supplied with your vehicle.
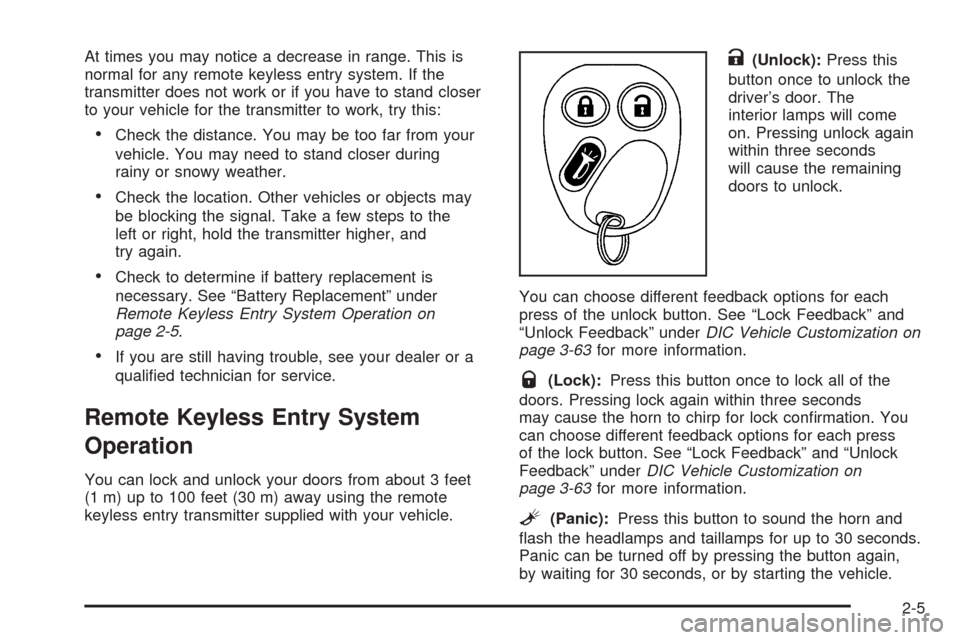
K(Unlock):Press this
button once to unlock the
driver’s door. The
interior lamps will come
on. Pressing unlock again
within three seconds
will cause the remaining
doors to unlock.
You can choose different feedback options for each
press of the unlock button. See “Lock Feedback” and
“Unlock Feedback” underDIC Vehicle Customization on
page 3-63for more information.
Q(Lock):Press this button once to lock all of the
doors. Pressing lock again within three seconds
may cause the horn to chirp for lock con�rmation. You
can choose different feedback options for each press
of the lock button. See “Lock Feedback” and “Unlock
Feedback” underDIC Vehicle Customization on
page 3-63for more information.
L(Panic):Press this button to sound the horn and
�ash the headlamps and taillamps for up to 30 seconds.
Panic can be turned off by pressing the button again,
by waiting for 30 seconds, or by starting the vehicle.
2-5
Page 108 of 470
Theft-Deterrent Systems
Vehicle theft is big business, especially in some cities.
Although your vehicle has a number of theft-deterrent
features, we know that nothing we put on it can make it
impossible to steal.
Content Theft-Deterrent
Your vehicle is equipped with a content theft-deterrent
alarm system.
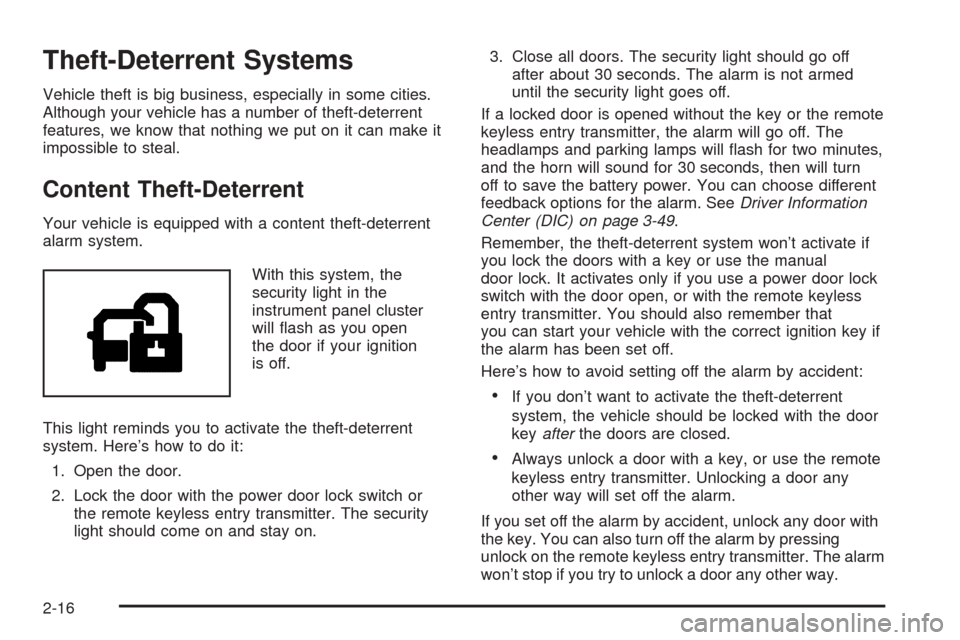
With this system, the
security light in the
instrument panel cluster
will �ash as you open
the door if your ignition
is off.
This light reminds you to activate the theft-deterrent
system. Here’s how to do it:
1. Open the door.
2. Lock the door with the power door lock switch or
the remote keyless entry transmitter. The security
light should come on and stay on.3. Close all doors. The security light should go off
after about 30 seconds. The alarm is not armed
until the security light goes off.
If a locked door is opened without the key or the remote
keyless entry transmitter, the alarm will go off. The
headlamps and parking lamps will �ash for two minutes,
and the horn will sound for 30 seconds, then will turn
off to save the battery power. You can choose different
feedback options for the alarm. SeeDriver Information
Center (DIC) on page 3-49.
Remember, the theft-deterrent system won’t activate if
you lock the doors with a key or use the manual
door lock. It activates only if you use a power door lock
switch with the door open, or with the remote keyless
entry transmitter. You should also remember that
you can start your vehicle with the correct ignition key if
the alarm has been set off.
Here’s how to avoid setting off the alarm by accident:
If you don’t want to activate the theft-deterrent
system, the vehicle should be locked with the door
keyafterthe doors are closed.
Always unlock a door with a key, or use the remote
keyless entry transmitter. Unlocking a door any
other way will set off the alarm.
If you set off the alarm by accident, unlock any door with
the key. You can also turn off the alarm by pressing
unlock on the remote keyless entry transmitter. The alarm
won’t stop if you try to unlock a door any other way.
2-16
Page 109 of 470
Testing the Alarm
The alarm can be tested by following these steps:
1. From inside the vehicle, lower the driver’s window
and open the driver’s door.
2. Activate the system by locking the doors with the
power door lock switch while the door is open, or
with the remote keyless entry transmitter.
3. Get out of the vehicle, close the door and wait for
the security light to go out.
4. Then reach in through the window, unlock the door
with the manual door lock and open the door. This
should set off the alarm.
While the alarm is set, the power door unlock switch is
not operational.
If the alarm does not sound when it should but the
headlamps �ash, check to see if the horn works. The
horn fuse may be blown. To replace the fuse, seeFuses
and Circuit Breakers on page 5-107.
If the alarm does not sound or the headlamps do not
�ash, the vehicle should be serviced by your dealer.
Passlock®
Your vehicle is equipped with the Passlock®
theft-deterrent system.
Passlock®is a passive theft-deterrent system. Passlock®
enables fuel if the ignition lock cylinder is turned with
a valid key. If a correct key is not used or the ignition
lock cylinder is tampered with, the fuel system is
disabled and the vehicle will not start.
During normal operation, the security light will turn off
approximately �ve seconds after the key is turned
to RUN.
If the engine stalls and the security light �ashes, wait
about 10 minutes until the light stops �ashing before
trying to restart the engine. Remember to release
the key from START as soon as the engine starts.
If the engine does not start after three tries, the vehicle
needs service.
If the engine is running and the security light comes on,
you will be able to restart the engine if you turn the
engine off. However, your Passlock
®system is
not working properly and must be serviced by your
dealer. Your vehicle is not protected by Passlock
®at this
time. You may also want to check the fuse. See
Fuses and Circuit Breakers on page 5-107. See your
dealer for service.
In an emergency, call the Roadside Assistance Center.
SeeRoadside Service on page 7-5.
2-17
Page 227 of 470
s(Play/Pause):Press this button to start play of a
DVD or CD. Press this button while a DVD or CD is
playing to pause it. Press this button again to continue
the play of the DVD or CD.
y(Main DVD Menu):Press this button to access the
DVD menu. The DVD menu is different on every
DVD. Use the up, down, left, and right arrow buttons to
move the cursor around the DVD menu. After making
a selection press the enter button. This button only
operates when playing a DVD.
z(Set-up Menu):Press this button to adjust the
color, tint, brightness, contrast, display mode, and
dynamic range compression. The dynamic range
compression feature can be used to reduce loud audio
and increase low audio produced by some DVDs.
If your vehicle has the third row video screen, press the
set-up menu button twice, to access the set-up menu.
To change a feature back to the factory default setting,
press this button to display the feature, then press
and hold this button. The default setting will appear on
the display.While playing an Audio or DVD disc, press and hold this
button to display and to remove the track and time
information.
n,q,p,o(Menu Navigation Arrows):Use the
arrow buttons to navigate through a menu.
r(Enter):Press this button to select the choices
that are highlighted in any menu.
Playing a Disc
To play a disc, gently insert the disc with the label side
up into the loading slot. The DVD player will continue
loading the disc and the player will automatically start,
if the vehicle is in RUN, ACCESSORY, or when
RAP is active.
If a disc is already in the player, press the play/pause
button on the DVD player faceplate or on the remote
control.
Some DVDs will not allow fast forwarding or skipping of
the copyright information or previews. Some DVDs
will begin playing after the previews have �nished. If the
DVD does not begin to play the main title, refer to the
on-screen instructions.
3-89
Page 229 of 470
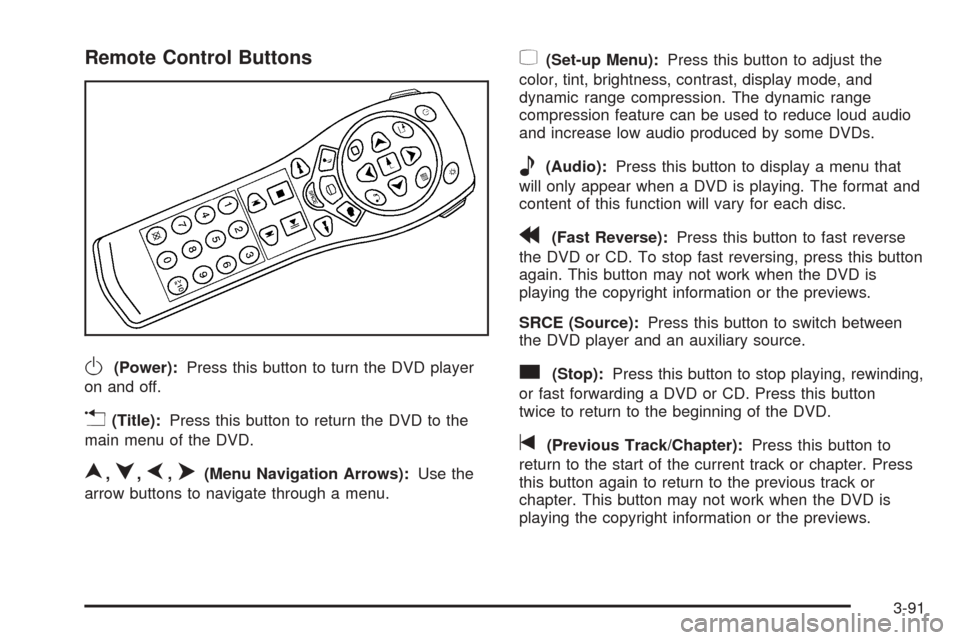
Remote Control Buttons
O(Power):Press this button to turn the DVD player
on and off.
v(Title):Press this button to return the DVD to the
main menu of the DVD.
n,q,p,o(Menu Navigation Arrows):Use the
arrow buttons to navigate through a menu.
z(Set-up Menu):Press this button to adjust the
color, tint, brightness, contrast, display mode, and
dynamic range compression. The dynamic range
compression feature can be used to reduce loud audio
and increase low audio produced by some DVDs.
e(Audio):Press this button to display a menu that
will only appear when a DVD is playing. The format and
content of this function will vary for each disc.
r(Fast Reverse):Press this button to fast reverse
the DVD or CD. To stop fast reversing, press this button
again. This button may not work when the DVD is
playing the copyright information or the previews.
SRCE (Source):Press this button to switch between
the DVD player and an auxiliary source.
c(Stop):Press this button to stop playing, rewinding,
or fast forwarding a DVD or CD. Press this button
twice to return to the beginning of the DVD.
t(Previous Track/Chapter):Press this button to
return to the start of the current track or chapter. Press
this button again to return to the previous track or
chapter. This button may not work when the DVD is
playing the copyright information or the previews.
3-91
Page 230 of 470
1 through 0 (Numeric Keypad):The numeric keypad
provides the capability of direct chapter, title, and
track number selection.
}10 (Double Digit Entries):Press the button, to
select chapter, title, and track numbers greater than 9.
Press this button before inputting the number.
\(Clear):Press this button, within three seconds
after inputting a number to clear the number(s).
P(Illumination):Press this button to turn the remote
control backlight on. The backlight will time out after
about 7 to 10 seconds if no other button is pressed while
the backlight is on.
y(Main DVD Menu):Press this button to access the
DVD menu. The DVD menu is different on every
DVD. Use the up, down, left, and right arrow buttons to
move the cursor around the DVD menu. After making
a selection press the enter button. This button only
operates when playing a DVD.
r(Enter):Press this button to select the choices
that are highlighted in any menu.
q(Return):Press this button to exit the current
active menu and return to the previous menu. This
button will operate only when a DVD is playing and a
menu is active.
|(Camera Angle):Press this button to change
camera angles on DVDs that have this feature when a
DVD is playing. The format and content of this
function will vary for each disc.
{(Subtitle):Press this button to turn on subtitles and
to move through subtitle options when a DVD is
playing. The format and content of this function will vary
for each disc.
[(Fast Forward):Press this button to fast forward
the DVD or CD. To stop fast forwarding, press this
button again. This button may not work when the DVD
is playing the copyright information or the previews.
s(Play/Pause):Press this button to start play of a
DVD or CD. Press this button while a DVD or CD is
playing to pause it. Press this button again to continue
the play of the DVD or CD.
When the DVD is playing, press the pause button then
press the fast forward button. The DVD will continue
playing in a slow play mode. To cancel slow play mode,
press the play/pause button.
u(Next Track/Chapter):Press this button to advance
to the beginning of the next track or chapter. This
button may not work when the DVD is playing the
copyright information or the previews.
3-92
Page 232 of 470
Problem Recommended Action
In auxiliary mode, the
picture moves or scrolls.Check the auxiliary input
connections at both
devices.
Change the Video
Format to PAL or NTSC.
See “Stereo RCA Jacks”
previously for how to
change the video format.
The language in the
audio or on the screen
is wrong.Check the audio or
language selection in the
main DVD menu.
The remote control does
not work.Check to make sure
there is no obstruction
between the remote
control and the
transmitter window.
Check the batteries to
make sure they are not
dead or installed
incorrectly.
The parental control
button might have been
turned on. The power
indicator light will �ash.Problem Recommended Action
After stopping the player, I
push Play but sometimes
the DVD starts where I
left off and sometimes at
the beginning.If the stop button was
pressed one time, the
DVD player will resume
playing where the DVD
was stopped. If the stop
button was pressed
two times the DVD player
will begin to play from the
beginning of the DVD.
The auxiliary source is
running but there is no
picture or sound.Check that the DVD
player is in the auxiliary
source mode.
Check the auxiliary input
connections at both
devices.
My disc is stuck in the
player. The Load/Eject
button does not work.Turn the DVD power off,
then on, then press the
load/eject button on the
DVD player.
Do not attempt to forcibly
remove the disc from the
DVD player. This could
permanently damage the
disc and DVD player.
3-94
Page 319 of 470
A. Engine Air Cleaner/Filter. SeeEngine Air
Cleaner/Filter on page 5-18.
B. Coolant Surge Tank and Pressure Cap. SeeCooling
System on page 5-28andCoolant Surge Tank
Pressure Cap on page 5-26.
C. Air Filter Restriction Indicator (If Equipped). See
Engine Air Cleaner/Filter on page 5-18.
D. Engine Oil Fill Cap. See “When to Add Engine Oil”
underEngine Oil on page 5-13.
E. Engine Oil Dipstick. See “Checking Engine Oil”
underEngine Oil on page 5-13.
F. Automatic Transmission Fluid Dipstick. See
“Checking the Fluid Level” underAutomatic
Transmission Fluid on page 5-21.
G. Engine Cooling Fan. SeeCooling System on
page 5-28.
H. Remote Negative (−) Terminal (GND). SeeJump
Starting on page 5-40.
I. Remote Positive (+) Terminal. SeeJump Starting on
page 5-40.J. Power Steering Fluid Reservoir (Out of View). See
Power Steering Fluid on page 5-33.
K. Brake Fluid Reservoir. See “Brake Fluid” under
Brakes on page 5-36.
L. Underhood Fuse Block. SeeUnderhood Fuse Block
on page 5-111.
M. Battery. SeeBattery on page 5-39.
N. Windshield Washer Fluid Reservoir. See “Adding
Washer Fluid” underWindshield Washer Fluid
on page 5-34.
Engine Oil
If the CHECK OIL LEVEL message appears on the
Driver Information Center (DIC), it means you need to
check your engine oil level right away. For more
information, see CHECK OIL LEVEL underDIC
Warnings and Messages on page 3-53.
You should check your engine oil level regularly; this is
an added reminder.
5-13
Page 347 of 470
Notice:If you leave your radio or other accessories
on during the jump starting procedure, they could
be damaged. The repairs would not be covered
by your warranty. Always turn off your radio and
other accessories when jump starting your vehicle.
3. Turn off the ignition on both vehicles. Unplug
unnecessary accessories plugged into the cigarette
lighter or accessory power outlets. Turn off the
radio and all lamps that are not needed. This will
avoid sparks and help save both batteries. And
it could save your radio!
4. Open the hoods and locate the positive (+) and
negative (−) terminal locations of the other vehicle.
Your vehicle has a remote positive (+) jump
starting terminal and a remote negative (−) jump
starting terminal. You should always use these
remote terminals instead of the terminals on the
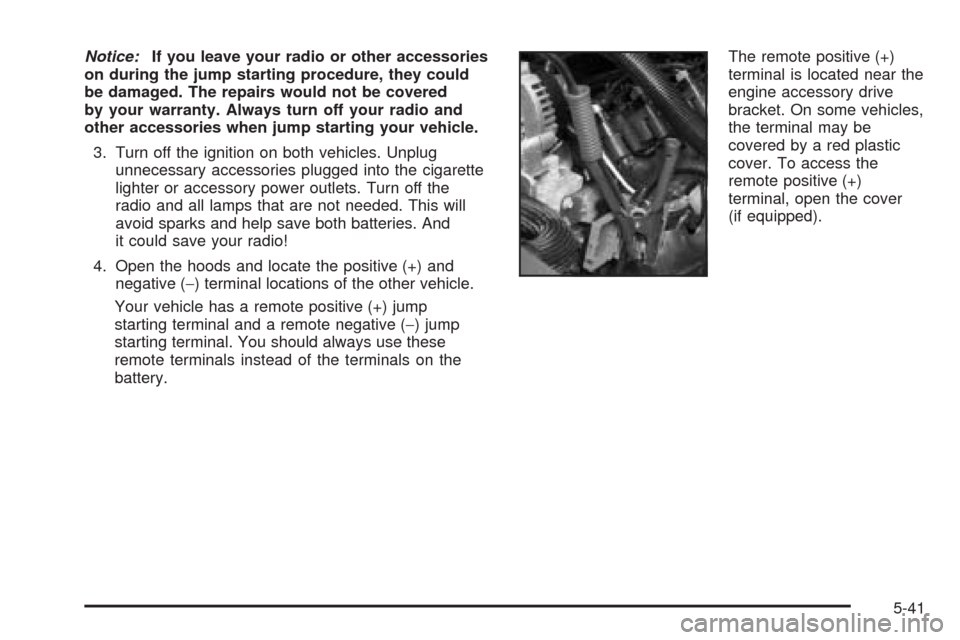
battery.The remote positive (+)
terminal is located near the
engine accessory drive
bracket. On some vehicles,
the terminal may be
covered by a red plastic
cover. To access the
remote positive (+)
terminal, open the cover
(if equipped).
5-41