climate settings CADILLAC ESCALADE EXT 2004 2.G Owners Manual
[x] Cancel search | Manufacturer: CADILLAC, Model Year: 2004, Model line: ESCALADE EXT, Model: CADILLAC ESCALADE EXT 2004 2.GPages: 478, PDF Size: 3.43 MB
Page 141 of 478

Vehicle Personalization
Memory Seat
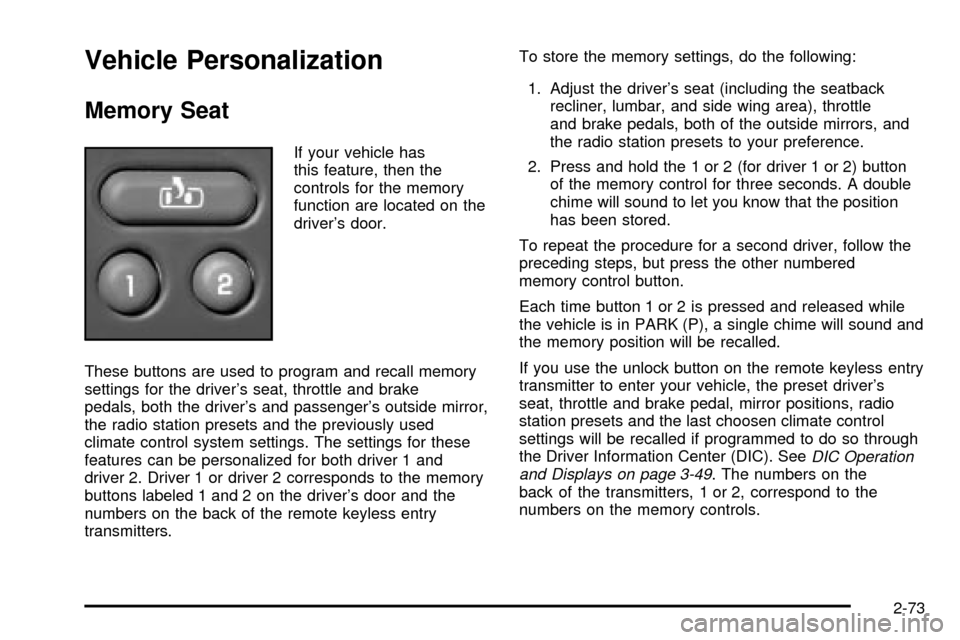
If your vehicle has
this feature, then the
controls for the memory
function are located on the
driver's door.
These buttons are used to program and recall memory
settings for the driver's seat, throttle and brake
pedals, both the driver's and passenger's outside mirror,
the radio station presets and the previously used
climate control system settings. The settings for these
features can be personalized for both driver 1 and
driver 2. Driver 1 or driver 2 corresponds to the memory
buttons labeled 1 and 2 on the driver's door and the
numbers on the back of the remote keyless entry
transmitters.To store the memory settings, do the following:
1. Adjust the driver's seat (including the seatback
recliner, lumbar, and side wing area), throttle
and brake pedals, both of the outside mirrors, and
the radio station presets to your preference.
2. Press and hold the 1 or 2 (for driver 1 or 2) button
of the memory control for three seconds. A double
chime will sound to let you know that the position
has been stored.
To repeat the procedure for a second driver, follow the
preceding steps, but press the other numbered
memory control button.
Each time button 1 or 2 is pressed and released while
the vehicle is in PARK (P), a single chime will sound and
the memory position will be recalled.
If you use the unlock button on the remote keyless entry
transmitter to enter your vehicle, the preset driver's
seat, throttle and brake pedal, mirror positions, radio
station presets and the last choosen climate control
settings will be recalled if programmed to do so through
the Driver Information Center (DIC). See
DIC Operation
and Displays on page 3-49. The numbers on the
back of the transmitters, 1 or 2, correspond to the
numbers on the memory controls.
2-73
Page 166 of 478

Analog Clock
To adjust the clock, do the following:
1. Locate the adjustment button to the lower left
corner of the clock.
2. Push and hold the adjustment button to spin the
clock hands. Release the button
beforeyou get to
the desired time.
3. Push and release the button to increase the time by
one minute increments until the desired time is
reached.
Climate Controls
Automatic Climate Control System
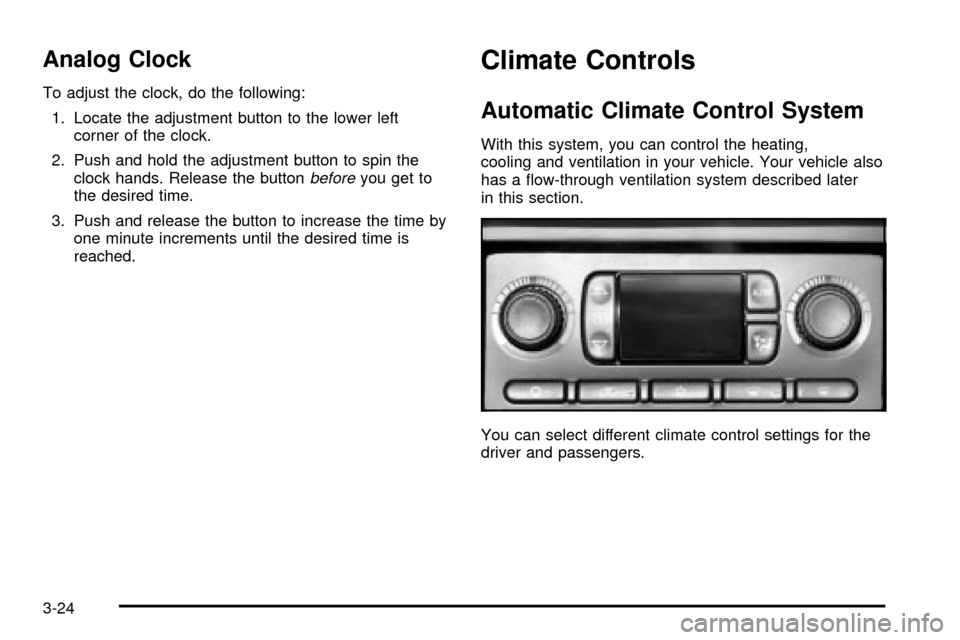
With this system, you can control the heating,
cooling and ventilation in your vehicle. Your vehicle also
has a ¯ow-through ventilation system described later
in this section.
You can select different climate control settings for the
driver and passengers.
3-24
Page 174 of 478

Outlet Adjustment
Your vehicle has air outlets located in the center and on
the side of your instrument panel that allow you to
adjust the direction and amount of air¯ow inside the
vehicle. Move the louvers up or down. Use the
thumbwheel next to or underneath the outlet to close
the louvers. For the most efficient air¯ow and
temperature control, keep the outlet in the fully opened
position.
Operation Tips
·
Keep the hood and front air inlets free of ice, snow,
or any other obstruction (such as leaves). The
heater and defroster will work far better, reducing
the chance of fogging the inside of your windows.
·Keep the air path under the front seats clear
of objects. This helps air to circulate throughout your
vehicle.
·Adding outside equipment to the front of your
vehicle, such as hood-air de¯ectors, etc., may affect
the performance of the heating and air conditioning
system. Check with your dealer before adding
equipment to the outside of your vehicle.
Climate Controls Personalization
You can store and recall the climate control settings for
temperature, air delivery mode and fan speed for
two different drivers. The personal choice settings
recalled are determined by the transmitter used to enter
the vehicle.
After the button with the unlock symbol on a remote
keyless entry transmitter is pressed, the climate control
will adjust to the last settings of the identi®ed driver.
The settings can also be changed by pressing one of the
memory buttons (1 or 2) located on the driver's door.
When adjustments are made, the new settings are
automatically saved for that driver.
3-32