lock CADILLAC ESCALADE EXT 2005 2.G Workshop Manual
[x] Cancel search | Manufacturer: CADILLAC, Model Year: 2005, Model line: ESCALADE EXT, Model: CADILLAC ESCALADE EXT 2005 2.GPages: 460, PDF Size: 2.95 MB
Page 135 of 460
If a hand, arm, or other object is blocking the sunroof
glass panel as it is closing, the glass panel will stop
at the obstruction. After the obstruction is removed, the
glass panel can be closed or opened.
Use care not to leave the sunroof open for long periods
of time as debris may collect in the tracks.
If the battery has been recharged, disconnected or is
not working, the sunroof may need to be reprogrammed.
To do this, start the vehicle and press the forward
side of the sunroof button until the glass panel moves to
a fully closed position. Release, and press again to
move to the vent position which occurs when the sunroof
is fully tilted rearward. This will reset the memory and
enable the sunroof to function properly.Vehicle Personalization
Memory Seat
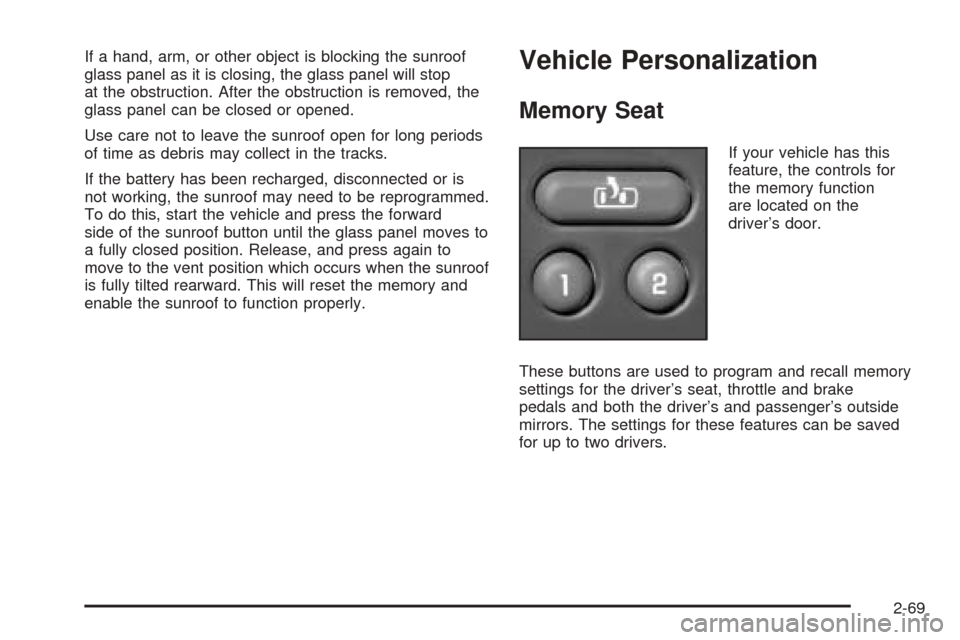
If your vehicle has this
feature, the controls for
the memory function
are located on the
driver’s door.
These buttons are used to program and recall memory
settings for the driver’s seat, throttle and brake
pedals and both the driver’s and passenger’s outside
mirrors. The settings for these features can be saved
for up to two drivers.
2-69
Page 137 of 460
Instrument Panel Overview...............................3-4
Hazard Warning Flashers................................3-6
Other Warning Devices...................................3-6
Horn.............................................................3-6
Tilt Wheel.....................................................3-7
Turn Signal/Multifunction Lever.........................3-7
Turn and Lane-Change Signals........................3-8
Headlamp High/Low-Beam Changer..................3-9
Flash-to-Pass.................................................3-9
Windshield Wipers..........................................3-9
Windshield Washer.......................................3-10
Cruise Control..............................................3-10
Exterior Lamps.............................................3-13
Headlamps on Reminder................................3-14
Daytime Running Lamps (DRL).......................3-15
Automatic Headlamp System..........................3-15
Fog Lamps..................................................3-16
Exterior Cargo Lamps....................................3-17
Instrument Panel Brightness...........................3-17
Dome Lamps...............................................3-18
Entry/Exit Lighting.........................................3-18
Reading Lamps............................................3-18
Battery Run-Down Protection..........................3-19
Ultrasonic Rear Parking Assist (URPA)............3-19
Accessory Power Outlets...............................3-22
Ashtrays and Cigarette Lighter........................3-22
Analog Clock...............................................3-23Climate Controls............................................3-23
Dual Automatic Climate Control System...........3-23
Outlet Adjustment.........................................3-28
Warning Lights, Gages, and Indicators............3-29
Instrument Panel Cluster................................3-30
Speedometer and Odometer...........................3-31
Tachometer.................................................3-31
Safety Belt Reminder Light.............................3-31
Airbag Readiness Light..................................3-32
Passenger Airbag Status Indicator...................3-33
Charging System Light..................................3-34
Voltmeter Gage............................................3-35
Brake System Warning Light..........................3-35
Anti-Lock Brake System Warning Light.............3-37
Low Tire Pressure Warning Light....................3-37
Traction Off Light..........................................3-38
Engine Coolant Temperature Gage..................3-38
Transmission Temperature Gage.....................3-39
Malfunction Indicator Lamp.............................3-40
Oil Pressure Gage........................................3-42
Security Light...............................................3-43
Cruise Control Light......................................3-44
Highbeam On Light.......................................3-44
Tow/Haul Mode Light....................................3-44
Fuel Gage...................................................3-45
Low Fuel Warning Light.................................3-45
Section 3 Instrument Panel
3-1
Page 141 of 460
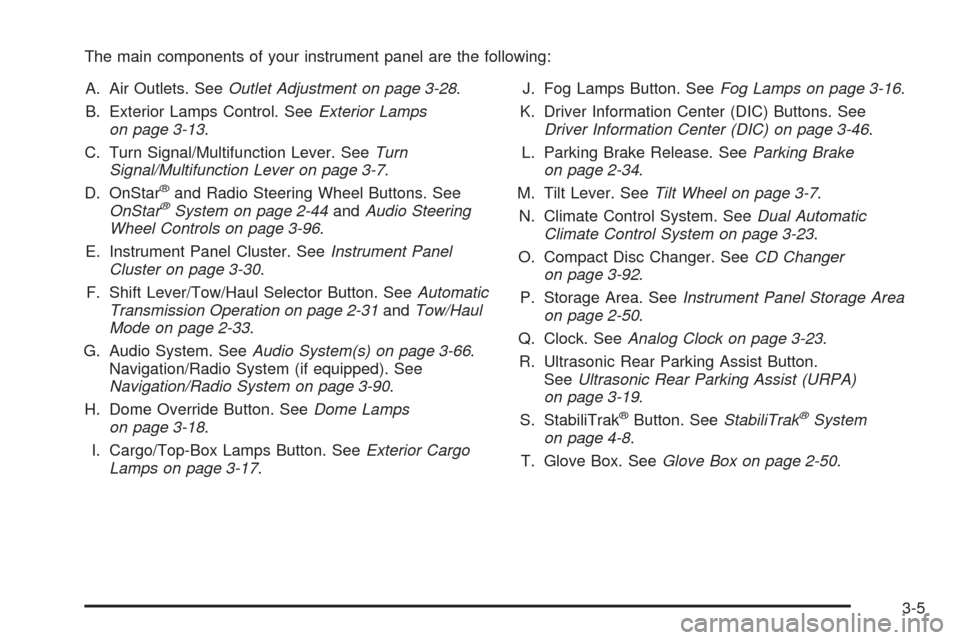
The main components of your instrument panel are the following:
A. Air Outlets. SeeOutlet Adjustment on page 3-28.
B. Exterior Lamps Control. SeeExterior Lamps
on page 3-13.
C. Turn Signal/Multifunction Lever. SeeTurn
Signal/Multifunction Lever on page 3-7.
D. OnStar
®and Radio Steering Wheel Buttons. See
OnStar®System on page 2-44andAudio Steering
Wheel Controls on page 3-96.
E. Instrument Panel Cluster. SeeInstrument Panel
Cluster on page 3-30.
F. Shift Lever/Tow/Haul Selector Button. SeeAutomatic
Transmission Operation on page 2-31andTow/Haul
Mode on page 2-33.
G. Audio System. SeeAudio System(s) on page 3-66.
Navigation/Radio System (if equipped). See
Navigation/Radio System on page 3-90.
H. Dome Override Button. SeeDome Lamps
on page 3-18.
I. Cargo/Top-Box Lamps Button. SeeExterior Cargo
Lamps on page 3-17.J. Fog Lamps Button. SeeFog Lamps on page 3-16.
K. Driver Information Center (DIC) Buttons. See
Driver Information Center (DIC) on page 3-46.
L. Parking Brake Release. SeeParking Brake
on page 2-34.
M. Tilt Lever. SeeTilt Wheel on page 3-7.
N. Climate Control System. SeeDual Automatic
Climate Control System on page 3-23.
O. Compact Disc Changer. SeeCD Changer
on page 3-92.
P. Storage Area. SeeInstrument Panel Storage Area
on page 2-50.
Q. Clock. SeeAnalog Clock on page 3-23.
R. Ultrasonic Rear Parking Assist Button.
SeeUltrasonic Rear Parking Assist (URPA)
on page 3-19.
S. StabiliTrak
®Button. SeeStabiliTrak®System
on page 4-8.
T. Glove Box. SeeGlove Box on page 2-50.
3-5
Page 143 of 460
Tilt Wheel
The tilt steering wheel allows you to adjust the steering
wheel before you drive. You can raise it to the highest
level to give your legs more room when you enter
and exit the vehicle.
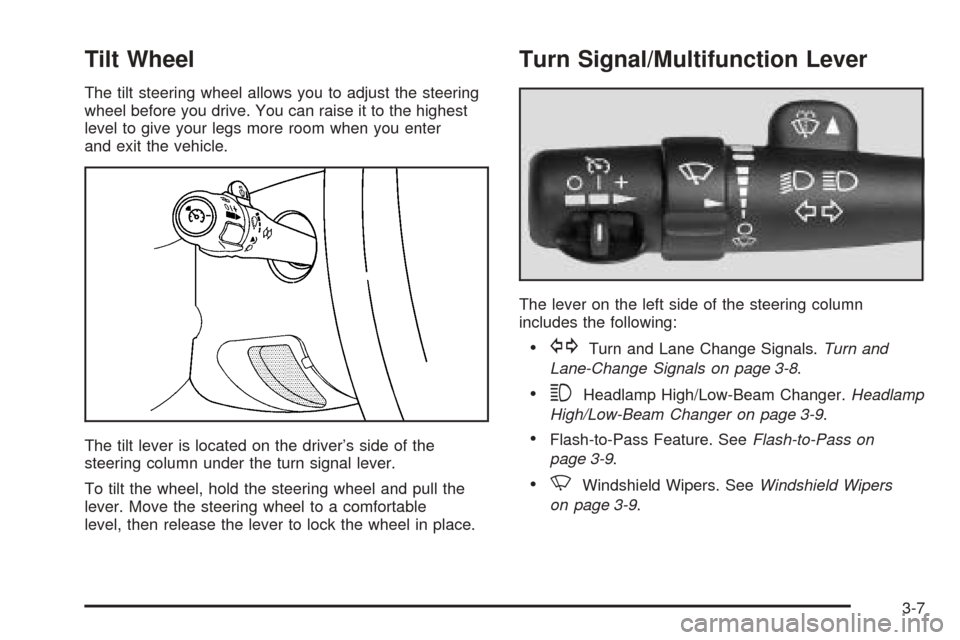
The tilt lever is located on the driver’s side of the
steering column under the turn signal lever.
To tilt the wheel, hold the steering wheel and pull the
lever. Move the steering wheel to a comfortable
level, then release the lever to lock the wheel in place.
Turn Signal/Multifunction Lever
The lever on the left side of the steering column
includes the following:
GTurn and Lane Change Signals.Turn and
Lane-Change Signals on page 3-8.
3Headlamp High/Low-Beam Changer.Headlamp
High/Low-Beam Changer on page 3-9.
Flash-to-Pass Feature. SeeFlash-to-Pass on
page 3-9.
NWindshield Wipers. SeeWindshield Wipers
on page 3-9.
3-7
Page 144 of 460
LWindshield Washer. SeeWindshield Washer
on page 3-10.
ICruise Control.Cruise Control on page 3-10.
For information on the exterior lamps, seeExterior
Lamps on page 3-13later in this section.
Turn and Lane-Change Signals
The turn signal has two upward (for right) and two
downward (for left) positions. These positions allow you
to signal a turn or a lane change.
To signal a turn, move the lever all the way up or down.
When the turn is �nished, the lever will return
automatically.
To signal a lane change, just raise or lower the lever
until the arrow starts to �ash. Hold it there until you
complete your lane change. The lever will return by itself
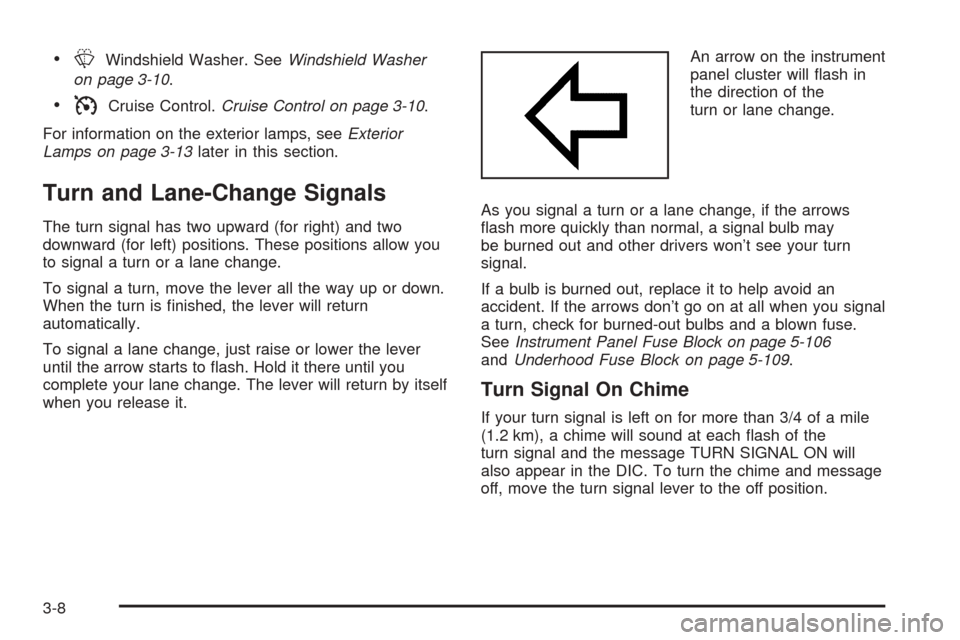
when you release it.An arrow on the instrument
panel cluster will �ash in
the direction of the
turn or lane change.
As you signal a turn or a lane change, if the arrows
�ash more quickly than normal, a signal bulb may
be burned out and other drivers won’t see your turn
signal.
If a bulb is burned out, replace it to help avoid an
accident. If the arrows don’t go on at all when you signal
a turn, check for burned-out bulbs and a blown fuse.
SeeInstrument Panel Fuse Block on page 5-106
andUnderhood Fuse Block on page 5-109.
Turn Signal On Chime
If your turn signal is left on for more than 3/4 of a mile
(1.2 km), a chime will sound at each �ash of the
turn signal and the message TURN SIGNAL ON will
also appear in the DIC. To turn the chime and message
off, move the turn signal lever to the off position.
3-8
Page 146 of 460
1(High Speed):For high-speed wiping, turn the
band further, to the second solid band past the
delay settings.
9(Off):To stop the wipers, move the band to off.
Be sure to clear ice and snow from the wiper blades
before using them. If they’re frozen to the windshield,
carefully loosen or thaw them. If your blades do become
worn or damaged, get new blades or blade inserts.
Windshield Washer
L(Washer Fluid):There is a paddle marked with the
windshield washer symbol at the top of the multifunction
lever. To spray washer �uid on the windshield, push
the paddle. The wipers will clear the window and then
either stop or return to your preset speed.
{CAUTION:
In freezing weather, do not use your washer
until the windshield is warmed. Otherwise the
washer �uid can form ice on the windshield,
blocking your vision.
Cruise Control
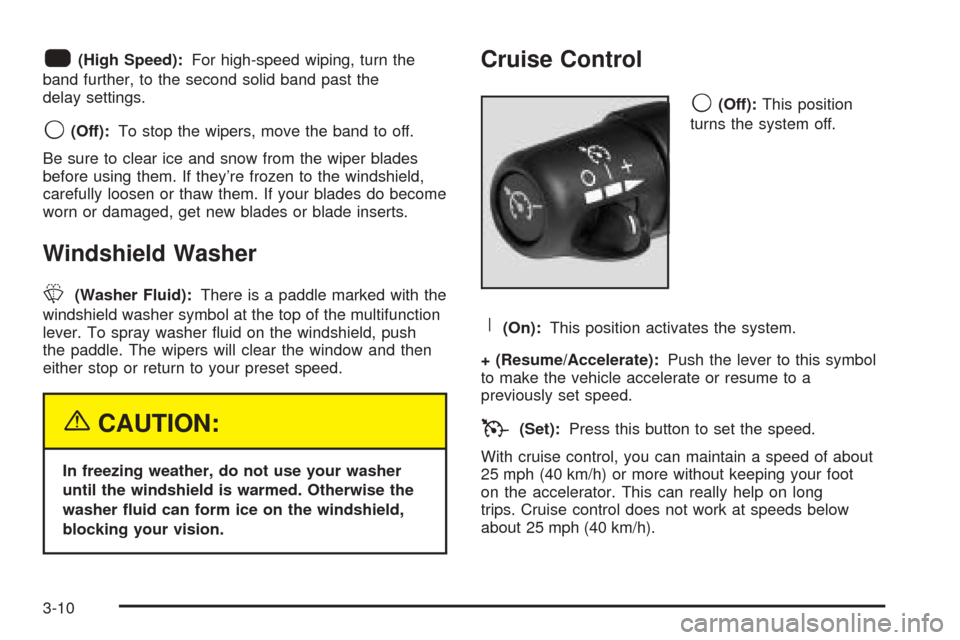
9(Off):This position
turns the system off.
R(On):This position activates the system.
+ (Resume/Accelerate):Push the lever to this symbol
to make the vehicle accelerate or resume to a
previously set speed.
T(Set):Press this button to set the speed.
With cruise control, you can maintain a speed of about
25 mph (40 km/h) or more without keeping your foot
on the accelerator. This can really help on long
trips. Cruise control does not work at speeds below
about 25 mph (40 km/h).
3-10
Page 150 of 460
The exterior lamp control has four positions:
9(Off):Turn the knob to this position and release
it to turn off all exterior lamps including the DRL. To turn
any lamps back on when in the off mode, turn the
knob to the desired lamp mode. To return to the AUTO
mode, turn the knob to the off position and release
it. The off or AUTO mode will also cancel and the lamps
will return to the AUTO when the vehicle is turned off.
This mode is not available for vehicles sold in Canada.
AUTO:Turn the control to this position to put the
system into automatic headlamp mode. The Daytime
Running Lamps (DRL) will also be activated if it is light
enough outside.
;(Parking Lamps):Turn the control to this position
to turn on the parking lamps, together with the
following:
Sidemarker Lamps
Taillamps
License Plate Lamps
Instrument Panel Lights
2(Headlamps):Turn the control to this position to
turn on the headlamps, together with the previously
listed lamps and lights.
When the vehicle is turned off and the headlamps are in
AUTO, the headlamps may automatically remain on
for a set time. You can change this delay time using the
DIC. SeeDriver Information Center (DIC) on page 3-46.
You can switch your headlamps from low to high-beam
by pushing the turn signal/multifunction lever toward
the instrument panel.
Headlamps on Reminder
If a door is open, a reminder chime will sound when your
headlamps or parking lamps are manually turned on and
your key is out of the ignition. To turn off the chime, turn
the headlamp switch to off or AUTO and then back on.
In the AUTO mode, the headlamps turn off once the
ignition is in LOCK or may remain on until the headlamp
delay ends (if enabled in the DIC).
3-14
Page 155 of 460
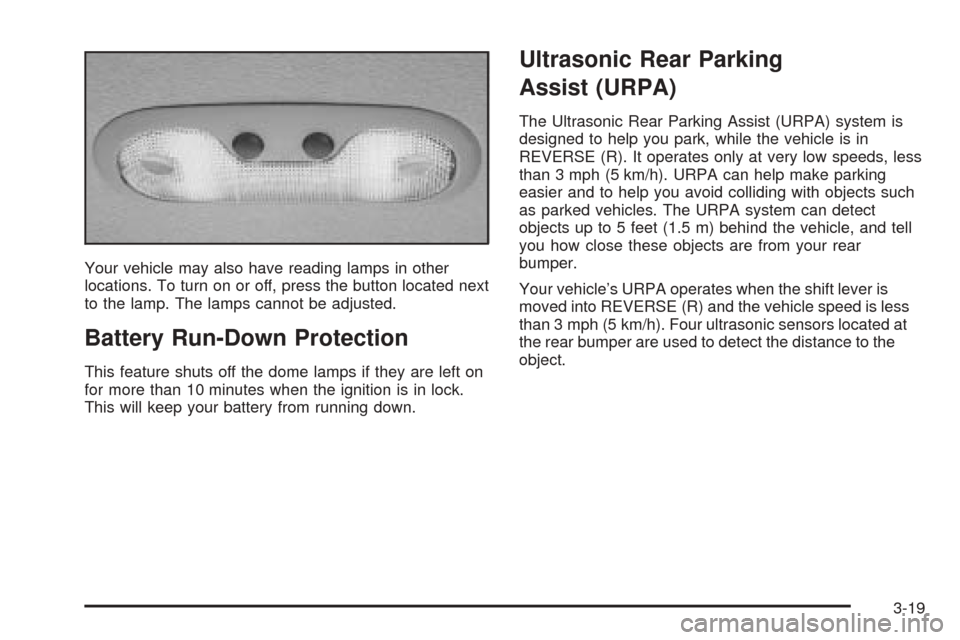
Your vehicle may also have reading lamps in other
locations. To turn on or off, press the button located next
to the lamp. The lamps cannot be adjusted.
Battery Run-Down Protection
This feature shuts off the dome lamps if they are left on
for more than 10 minutes when the ignition is in lock.
This will keep your battery from running down.
Ultrasonic Rear Parking
Assist (URPA)
The Ultrasonic Rear Parking Assist (URPA) system is
designed to help you park, while the vehicle is in
REVERSE (R). It operates only at very low speeds, less
than 3 mph (5 km/h). URPA can help make parking
easier and to help you avoid colliding with objects such
as parked vehicles. The URPA system can detect
objects up to 5 feet (1.5 m) behind the vehicle, and tell
you how close these objects are from your rear
bumper.
Your vehicle’s URPA operates when the shift lever is
moved into REVERSE (R) and the vehicle speed is less
than 3 mph (5 km/h). Four ultrasonic sensors located at
the rear bumper are used to detect the distance to the
object.
3-19
Page 159 of 460
Analog Clock
To adjust the clock, do the following:
1. Locate the adjustment button to the lower left
corner of the clock.
2. Push and hold the adjustment button to advance
the clock hands. Release the buttonbeforeyou
get to the desired time.
3. Push and release the button to increase the time by
one minute increments until the desired time is
reached.
Climate Controls
Dual Automatic Climate Control
System
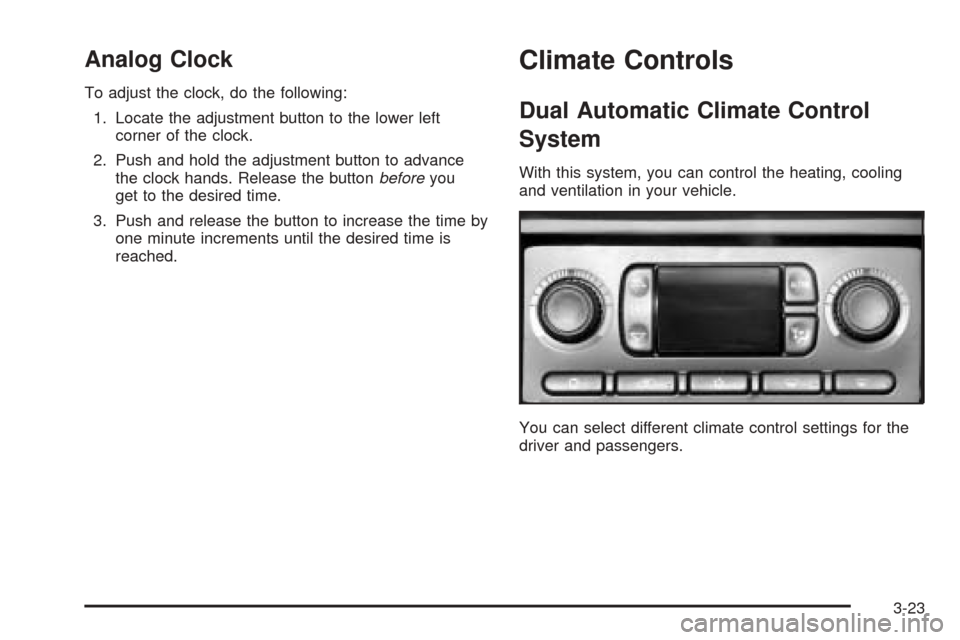
With this system, you can control the heating, cooling
and ventilation in your vehicle.
You can select different climate control settings for the
driver and passengers.
3-23
Page 160 of 460
Driver’s Side Temperature Knob
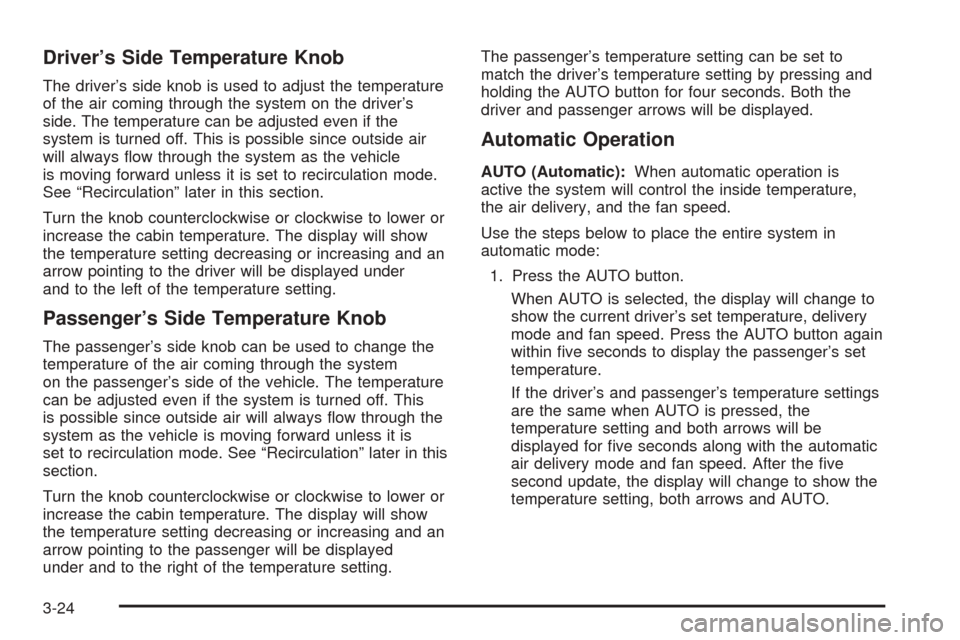
The driver’s side knob is used to adjust the temperature
of the air coming through the system on the driver’s
side. The temperature can be adjusted even if the
system is turned off. This is possible since outside air
will always �ow through the system as the vehicle
is moving forward unless it is set to recirculation mode.
See “Recirculation” later in this section.
Turn the knob counterclockwise or clockwise to lower or
increase the cabin temperature. The display will show
the temperature setting decreasing or increasing and an
arrow pointing to the driver will be displayed under
and to the left of the temperature setting.
Passenger’s Side Temperature Knob
The passenger’s side knob can be used to change the
temperature of the air coming through the system
on the passenger’s side of the vehicle. The temperature
can be adjusted even if the system is turned off. This
is possible since outside air will always �ow through the
system as the vehicle is moving forward unless it is
set to recirculation mode. See “Recirculation” later in this
section.
Turn the knob counterclockwise or clockwise to lower or
increase the cabin temperature. The display will show
the temperature setting decreasing or increasing and an
arrow pointing to the passenger will be displayed
under and to the right of the temperature setting.The passenger’s temperature setting can be set to
match the driver’s temperature setting by pressing and
holding the AUTO button for four seconds. Both the
driver and passenger arrows will be displayed.
Automatic Operation
AUTO (Automatic):When automatic operation is
active the system will control the inside temperature,
the air delivery, and the fan speed.
Use the steps below to place the entire system in
automatic mode:
1. Press the AUTO button.
When AUTO is selected, the display will change to
show the current driver’s set temperature, delivery
mode and fan speed. Press the AUTO button again
within �ve seconds to display the passenger’s set
temperature.
If the driver’s and passenger’s temperature settings
are the same when AUTO is pressed, the
temperature setting and both arrows will be
displayed for �ve seconds along with the automatic
air delivery mode and fan speed. After the �ve
second update, the display will change to show the
temperature setting, both arrows and AUTO.
3-24