seat memory CADILLAC ESCALADE EXT 2006 2.G Owners Manual
[x] Cancel search | Manufacturer: CADILLAC, Model Year: 2006, Model line: ESCALADE EXT, Model: CADILLAC ESCALADE EXT 2006 2.GPages: 484, PDF Size: 2.98 MB
Page 8 of 484
Front Seats
Power Seats
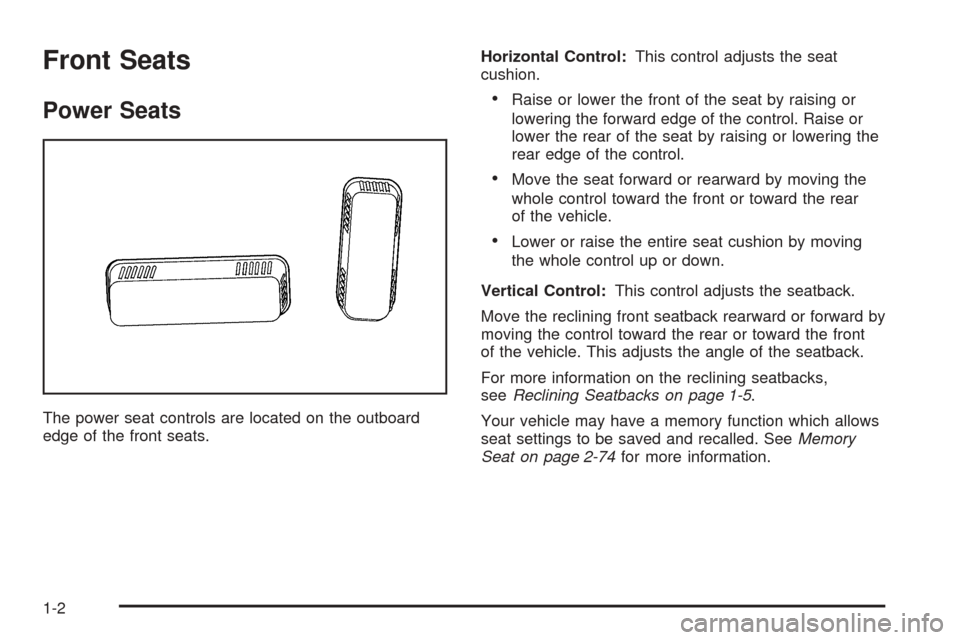
The power seat controls are located on the outboard
edge of the front seats.Horizontal Control:This control adjusts the seat
cushion.
Raise or lower the front of the seat by raising or
lowering the forward edge of the control. Raise or
lower the rear of the seat by raising or lowering the
rear edge of the control.
Move the seat forward or rearward by moving the
whole control toward the front or toward the rear
of the vehicle.
Lower or raise the entire seat cushion by moving
the whole control up or down.
Vertical Control:This control adjusts the seatback.
Move the reclining front seatback rearward or forward by
moving the control toward the rear or toward the front
of the vehicle. This adjusts the angle of the seatback.
For more information on the reclining seatbacks,
seeReclining Seatbacks on page 1-5.
Your vehicle may have a memory function which allows
seat settings to be saved and recalled. SeeMemory
Seat on page 2-74for more information.
1-2
Page 9 of 484
Power Lumbar
Your vehicle’s seats may be equipped with power
lumbar.
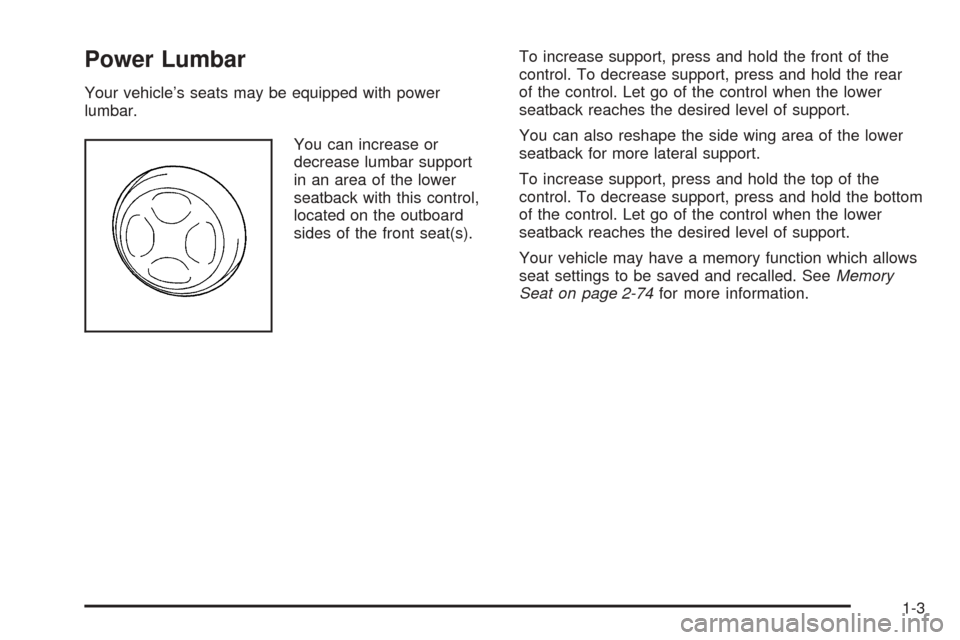
You can increase or
decrease lumbar support
in an area of the lower
seatback with this control,
located on the outboard
sides of the front seat(s).To increase support, press and hold the front of the
control. To decrease support, press and hold the rear
of the control. Let go of the control when the lower
seatback reaches the desired level of support.
You can also reshape the side wing area of the lower
seatback for more lateral support.
To increase support, press and hold the top of the
control. To decrease support, press and hold the bottom
of the control. Let go of the control when the lower
seatback reaches the desired level of support.
Your vehicle may have a memory function which allows
seat settings to be saved and recalled. SeeMemory
Seat on page 2-74for more information.
1-3
Page 76 of 484
OnStar®System.............................................2-46
Universal Home Remote System......................2-48
Universal Home Remote System Operation......2-49
Storage Areas................................................2-53
Glove Box...................................................2-53
Cupholder(s)................................................2-53
Instrument Panel Storage Area.......................2-53
Center Console Storage Area.........................2-53Luggage Carrier...........................................2-54
Rear Seat Armrest........................................2-55
Cargo Cover Panels......................................2-55
All-Weather Cargo Area.................................2-68
Top-Box Storage..........................................2-72
Sunroof.........................................................2-73
Vehicle Personalization...................................2-74
Memory Seat...............................................2-74
Section 2 Features and Controls
2-2
Page 102 of 484
Adjustable Throttle and Brake Pedal
If your vehicle has this feature, you can change the
position of the throttle and brake pedals. This feature is
designed for shorter drivers, since the pedals cannot
move farther away from the standard position, but can
move closer to you for better pedal reach. This feature
can be programmed to work with the memory function
(if equipped) on your vehicle. SeeMemory Seat on
page 2-74.
The vehicle must be in PARK (P) for this feature to
operate.
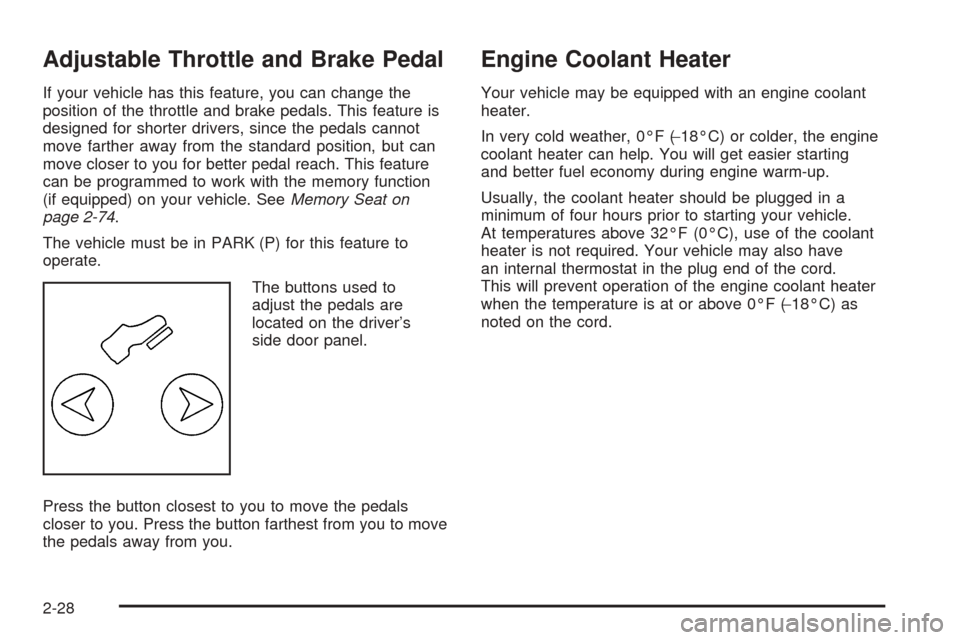
The buttons used to
adjust the pedals are
located on the driver’s
side door panel.
Press the button closest to you to move the pedals
closer to you. Press the button farthest from you to move
the pedals away from you.
Engine Coolant Heater
Your vehicle may be equipped with an engine coolant
heater.
In very cold weather, 0°F (−18°C) or colder, the engine
coolant heater can help. You will get easier starting
and better fuel economy during engine warm-up.
Usually, the coolant heater should be plugged in a
minimum of four hours prior to starting your vehicle.
At temperatures above 32°F (0°C), use of the coolant
heater is not required. Your vehicle may also have
an internal thermostat in the plug end of the cord.
This will prevent operation of the engine coolant heater
when the temperature is at or above 0°F (−18°C) as
noted on the cord.
2-28
Page 117 of 484
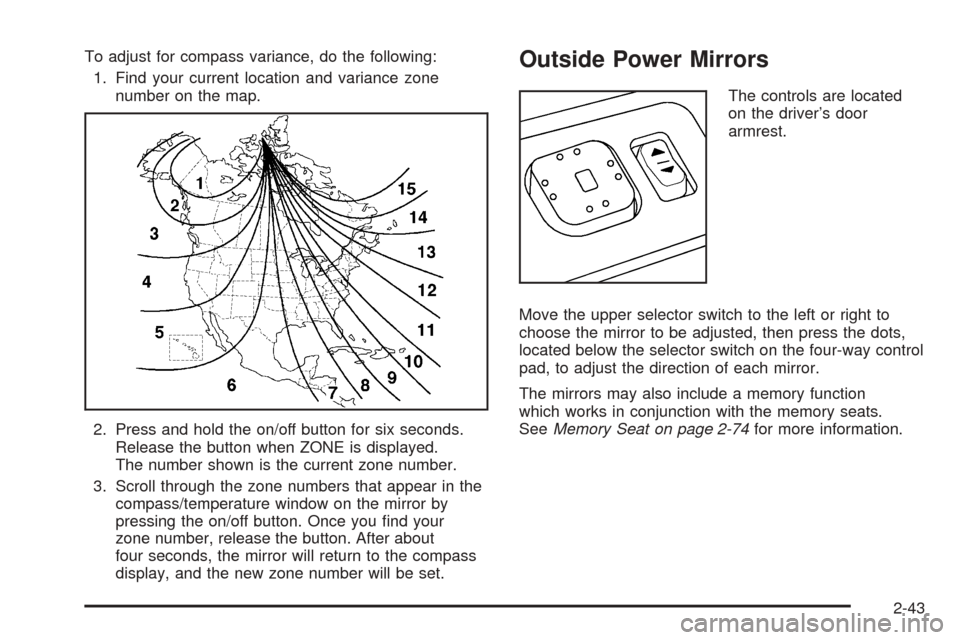
To adjust for compass variance, do the following:
1. Find your current location and variance zone
number on the map.
2. Press and hold the on/off button for six seconds.
Release the button when ZONE is displayed.
The number shown is the current zone number.
3. Scroll through the zone numbers that appear in the
compass/temperature window on the mirror by
pressing the on/off button. Once you �nd your
zone number, release the button. After about
four seconds, the mirror will return to the compass
display, and the new zone number will be set.Outside Power Mirrors
The controls are located
on the driver’s door
armrest.
Move the upper selector switch to the left or right to
choose the mirror to be adjusted, then press the dots,
located below the selector switch on the four-way control
pad, to adjust the direction of each mirror.
The mirrors may also include a memory function
which works in conjunction with the memory seats.
SeeMemory Seat on page 2-74for more information.
2-43
Page 147 of 484
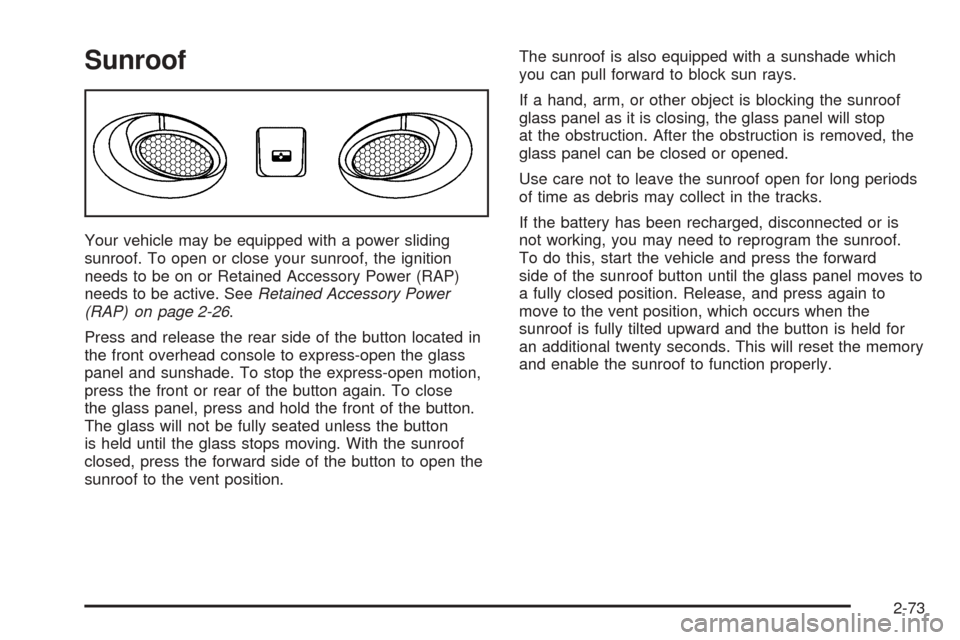
Sunroof
Your vehicle may be equipped with a power sliding
sunroof. To open or close your sunroof, the ignition
needs to be on or Retained Accessory Power (RAP)
needs to be active. SeeRetained Accessory Power
(RAP) on page 2-26.
Press and release the rear side of the button located in
the front overhead console to express-open the glass
panel and sunshade. To stop the express-open motion,
press the front or rear of the button again. To close
the glass panel, press and hold the front of the button.
The glass will not be fully seated unless the button
is held until the glass stops moving. With the sunroof
closed, press the forward side of the button to open the
sunroof to the vent position.The sunroof is also equipped with a sunshade which
you can pull forward to block sun rays.
If a hand, arm, or other object is blocking the sunroof
glass panel as it is closing, the glass panel will stop
at the obstruction. After the obstruction is removed, the
glass panel can be closed or opened.
Use care not to leave the sunroof open for long periods
of time as debris may collect in the tracks.
If the battery has been recharged, disconnected or is
not working, you may need to reprogram the sunroof.
To do this, start the vehicle and press the forward
side of the sunroof button until the glass panel moves to
a fully closed position. Release, and press again to
move to the vent position, which occurs when the
sunroof is fully tilted upward and the button is held for
an additional twenty seconds. This will reset the memory
and enable the sunroof to function properly.
2-73
Page 148 of 484
Vehicle Personalization
In addition to the following features, your vehicle may
also have features that can be programmed through the
Driver Information Center (DIC). SeeDIC Vehicle
Customization on page 3-57for more information.
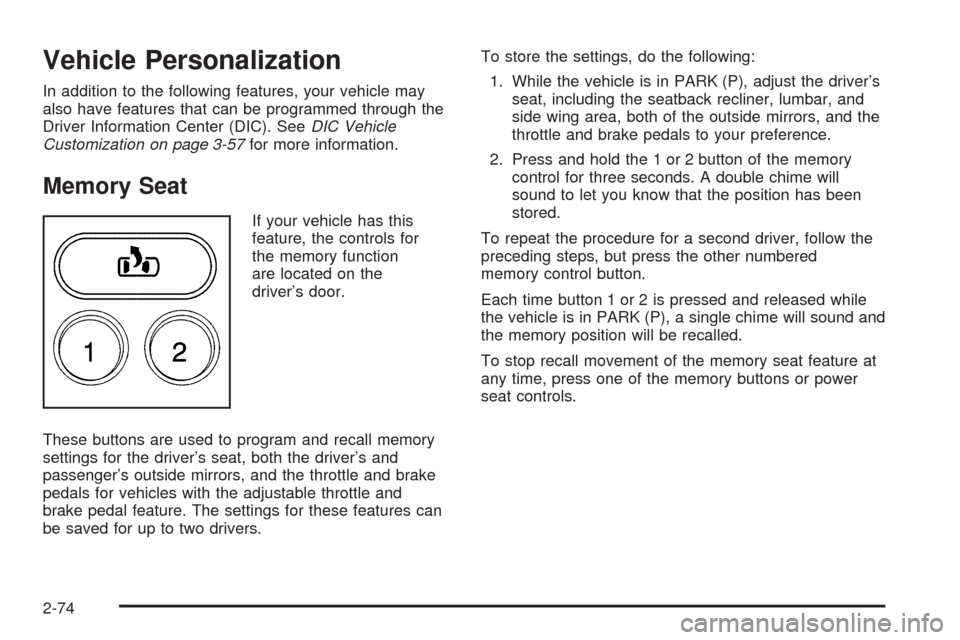
Memory Seat
If your vehicle has this
feature, the controls for
the memory function
are located on the
driver’s door.
These buttons are used to program and recall memory
settings for the driver’s seat, both the driver’s and
passenger’s outside mirrors, and the throttle and brake
pedals for vehicles with the adjustable throttle and
brake pedal feature. The settings for these features can
be saved for up to two drivers.To store the settings, do the following:
1. While the vehicle is in PARK (P), adjust the driver’s
seat, including the seatback recliner, lumbar, and
side wing area, both of the outside mirrors, and the
throttle and brake pedals to your preference.
2. Press and hold the 1 or 2 button of the memory
control for three seconds. A double chime will
sound to let you know that the position has been
stored.
To repeat the procedure for a second driver, follow the
preceding steps, but press the other numbered
memory control button.
Each time button 1 or 2 is pressed and released while
the vehicle is in PARK (P), a single chime will sound and
the memory position will be recalled.
To stop recall movement of the memory seat feature at
any time, press one of the memory buttons or power
seat controls.
2-74
Page 149 of 484

Easy Exit Seat
The controls for this memory function are located on
the driver’s door.
B(Easy Exit Seat):This button is used to program
and recall the desired driver’s seat position when exiting
or entering the vehicle. The seat position can be
saved for up to two drivers.
To store the seat exit position, do the following:
1. Press and release the 1 or 2 button. The seat will
move to the stored memory position.
2. Adjust the seat to the desired exit position.
3. Press and hold the exit button of the memory
control for three seconds. A double chime will sound
to let you know that the position has been stored
for the selected button (1 or 2).To repeat the procedure for a second driver,
follow the preceding steps, but press the other
numbered memory control button.
To use the seat exit position, do one of the following:Press the exit button on the memory control.
If this feature is activated in the Driver Information
Center (DIC), removing the key from the ignition
will move the seat to the exit position.
See “Easy Exit Seat” underDIC Vehicle Customization
on page 3-57for more information on activating this
feature in the DIC.
2-75
Page 211 of 484
Easy Exit Seat
Press the customization button until EASY EXIT SEAT
appears in the display. To select your preference for
seat position exit, press the select button while
EASY EXIT SEAT is displayed on the DIC. Pressing the
select button will scroll through the following choices:
EASY EXIT SEAT: OFF (default):No seat exit
recall will occur.
EASY EXIT SEAT: ON:The driver’s seat will move
to the exit position when the key is removed from
the ignition.
Choose one of the available options and press the
customization button while it is displayed on the DIC to
select it and move on to the next feature. For more
information on seat position exit, seeMemory Seat on
page 2-74.
Curb View
Press the customization button until CURB VIEW
appears in the display. To select your preference for
curb view, press the select button while CURB VIEW is
displayed on the DIC. Pressing the select button will
scroll through the following choices:
CURB VIEW: OFF (default):Neither outside mirror
will be tilted down when the vehicle is shifted into
REVERSE (R).CURB VIEW: PASSENGER:The passenger’s outside
mirror will be tilted down when the vehicle is shifted
into REVERSE (R).
CURB VIEW: DRIVER:The driver’s outside mirror
will be tilted down when the vehicle is shifted into
REVERSE (R).
CURB VIEW: BOTH:The driver’s and passenger’s
outside mirrors will be tilted down when the vehicle is
shifted into REVERSE (R).
Choose one of the available options and press the
customization button while it is displayed on the DIC to
select it and move on to the next feature. For more
information on tilt mirror in reverse, seeOutside
Automatic Dimming Mirror with Curb View Assist on
page 2-45.
Alarm Warning
Press the customization button until ALARM WARNING
appears in the display. To select your preference for
alarm warning, press the select button while ALARM
WARNING is displayed on the DIC. Pressing the select
button will scroll through the following choices:
ALARM WARNING: BOTH (default):The
headlamps will �ash and the horn will chirp when
the alarm is active.
ALARM WARNING: OFF:There will be no alarm
warning on activation.
3-61
Page 478 of 484
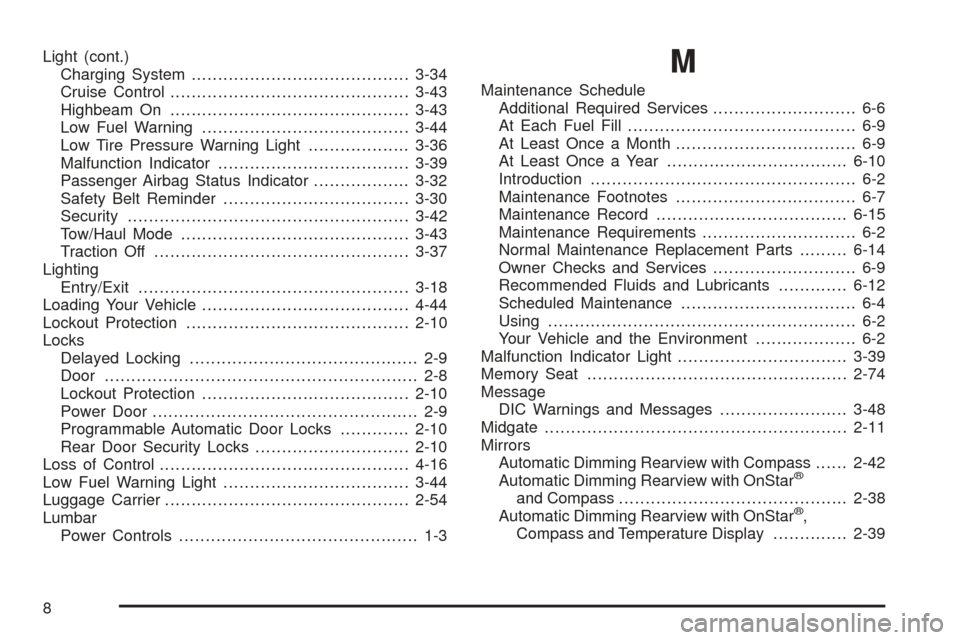
Light (cont.)
Charging System.........................................3-34
Cruise Control.............................................3-43
Highbeam On.............................................3-43
Low Fuel Warning.......................................3-44
Low Tire Pressure Warning Light...................3-36
Malfunction Indicator....................................3-39
Passenger Airbag Status Indicator..................3-32
Safety Belt Reminder...................................3-30
Security.....................................................3-42
Tow/Haul Mode...........................................3-43
Traction Off................................................3-37
Lighting
Entry/Exit...................................................3-18
Loading Your Vehicle.......................................4-44
Lockout Protection..........................................2-10
Locks
Delayed Locking........................................... 2-9
Door........................................................... 2-8
Lockout Protection.......................................2-10
Power Door.................................................. 2-9
Programmable Automatic Door Locks.............2-10
Rear Door Security Locks.............................2-10
Loss of Control...............................................4-16
Low Fuel Warning Light...................................3-44
Luggage Carrier..............................................2-54
Lumbar
Power Controls............................................. 1-3M
Maintenance Schedule
Additional Required Services........................... 6-6
At Each Fuel Fill........................................... 6-9
At Least Once a Month.................................. 6-9
At Least Once a Year..................................6-10
Introduction.................................................. 6-2
Maintenance Footnotes.................................. 6-7
Maintenance Record....................................6-15
Maintenance Requirements............................. 6-2
Normal Maintenance Replacement Parts.........6-14
Owner Checks and Services........................... 6-9
Recommended Fluids and Lubricants.............6-12
Scheduled Maintenance................................. 6-4
Using.......................................................... 6-2
Your Vehicle and the Environment................... 6-2
Malfunction Indicator Light................................3-39
Memory Seat.................................................2-74
Message
DIC Warnings and Messages........................3-48
Midgate.........................................................2-11
Mirrors
Automatic Dimming Rearview with Compass......2-42
Automatic Dimming Rearview with OnStar
®
and Compass...........................................2-38
Automatic Dimming Rearview with OnStar®,
Compass and Temperature Display..............2-39
8